Using Photoshop to Color Dodge
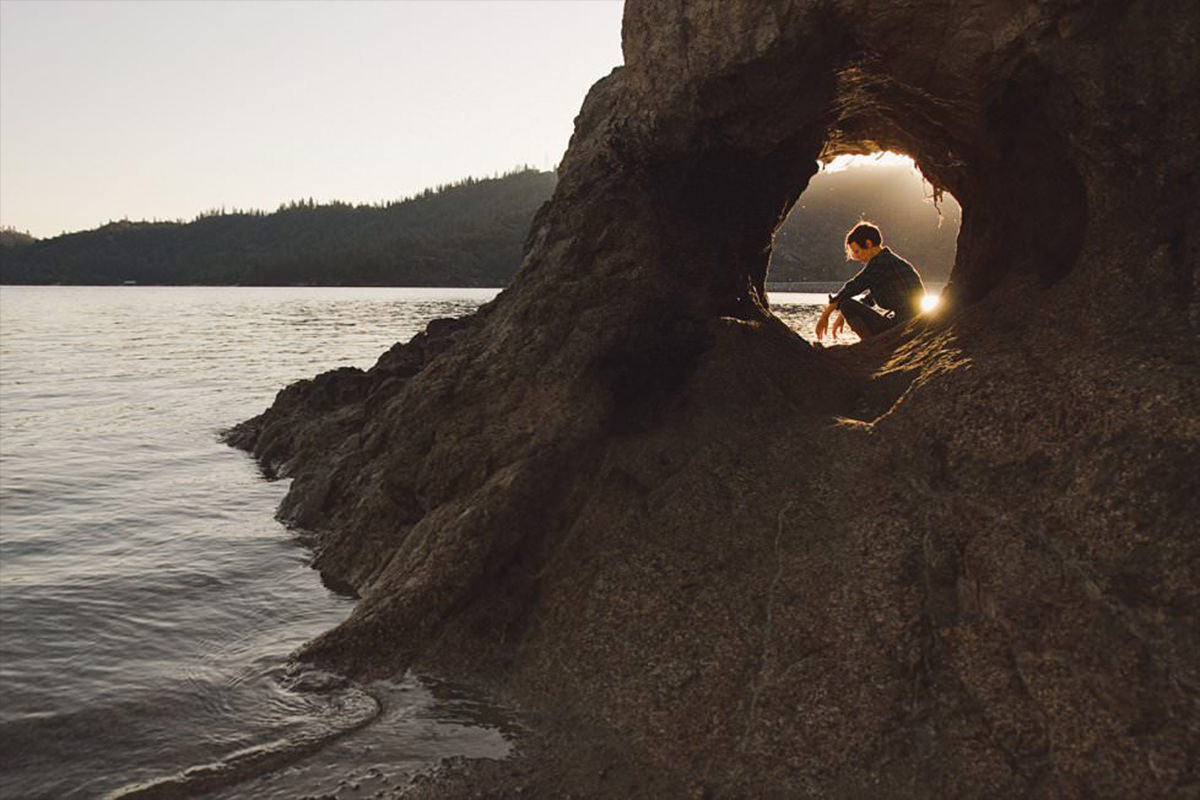
In this episode, we use an image taken by a member of our Phlearn phamily to show some cool color dodging techniques.
Color Tone Highlights
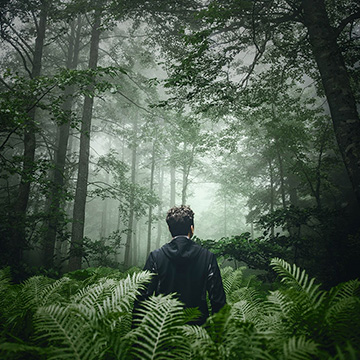
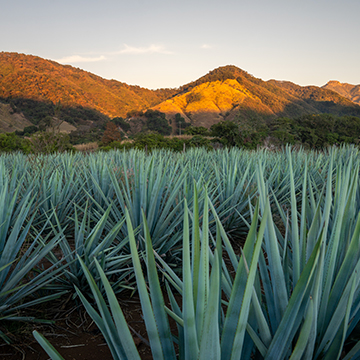
If you have ever taken a photo that was exposed well for your subject but overexposed for the sky, this episode provides a great solution. Instead of trying to Composite another sky into the photo, we use Curves to Color the Highlights of the image.
To make sure the Coloring just effects the highlights of the image we use “Blend If” in the layer blending options. “Blend If” allows you to choose how to blend a layer with your image, making that layer visible in the Highlight or Shadow range. In this case, we slide the left side of the bottom slider to make this layer not visible in the Shadow range. Be sure to hold ALT/OPTN while dragging to feather the effect and make it more seamless.
Color Dodge
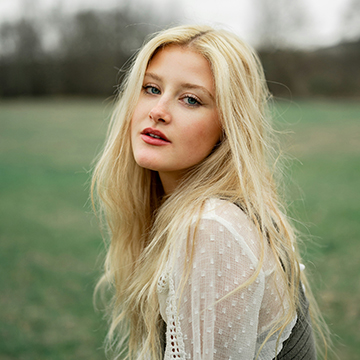
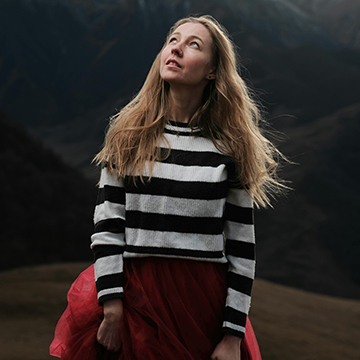
A great way to add interest to a photo with a Light source (such as a sun or lamp) is to use the Color Dodge blending mode. First choose a soft edge Brush and lower your Flow to about 10%, then hold ALT/OPTN to sample a Color that already exists near your Highlight range. Once you have a Color you’re happy with, paint over the highlighted areas and change the blending mode of the layer to “Color Dodge”.
Using this method is great for adding interest to your Highlights because the Colors will blend together well, making the effect look more natural.
Feel free to use a Layer Mask to define which areas of the photos will receive the highlight effect and which areas will remain hidden.