

BEFORE
AFTER
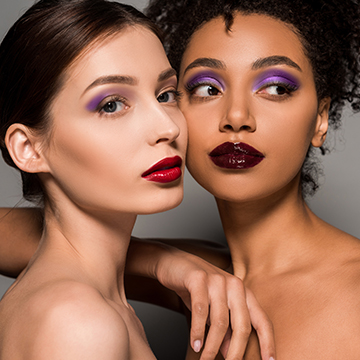
Making Selections and Changing Skin Tones
Ever wonder how to remove tan lines and sunburn in Photoshop? When you have a visible Difference between two areas of skin the best way to being them back together is to make a selection of one of the areas then alter it to look like the other. Because the red skin is more saturated than the normal skin tone we use it to make a selection. Select > Color Range is a great Tool for selecting an area of Color like red Skin. We adjust the Range so as not to select the entire image, just the “problem area”. After turning the red skin into a selection we use a Hue/Saturation Adjustment Layer to change the values in the selection. When you create a new Adjustment Layer with a selection active the selection will automatically load into the Layer Mask of the Adjustment Layer, NICE! We use “Colorize” in the Hue/Sat Adj Layer and change the sliders to match the red area to the lighter Skin. Bring Saturation down and Lightness up.
Blending the Visible Tan Lines
After matching the two areas of Skin it is time to take care of the Transition area. Use the Healing Brush Tool on a New Layer and sample from the lighter area and heal over the Transition line. You will also need to take care of skin “blotches” that tend to happen with sun damage.
Creating a Tan in Photoshop
It looks like our subject wanted a nice warm tan. Instead of spending time in the sun we are going to give her one in Photoshop. We use Hue/Saturation and the Colorize function to bring the darkness down and adjust the Hue to a warm Color. Paint the Layer Mask white over the skin and you have an instant tan.
Dodging and Burning to Bring Back Detail
After we get the Skin tones evened out it is time to bring more definition to her chest. We are using a simple method of Dodging and Burning to add dark under her breasts and Light above them. To do this create a New Layer and change the Blend Mode to “Soft Light” and paint Black and White to Dodge and Burn. To make the Transitions more subtle use a low Flow (around 10%) and buildup the effect.