
Download Sample Images
Click the link below to download the sample images and follow along with this tutorial.
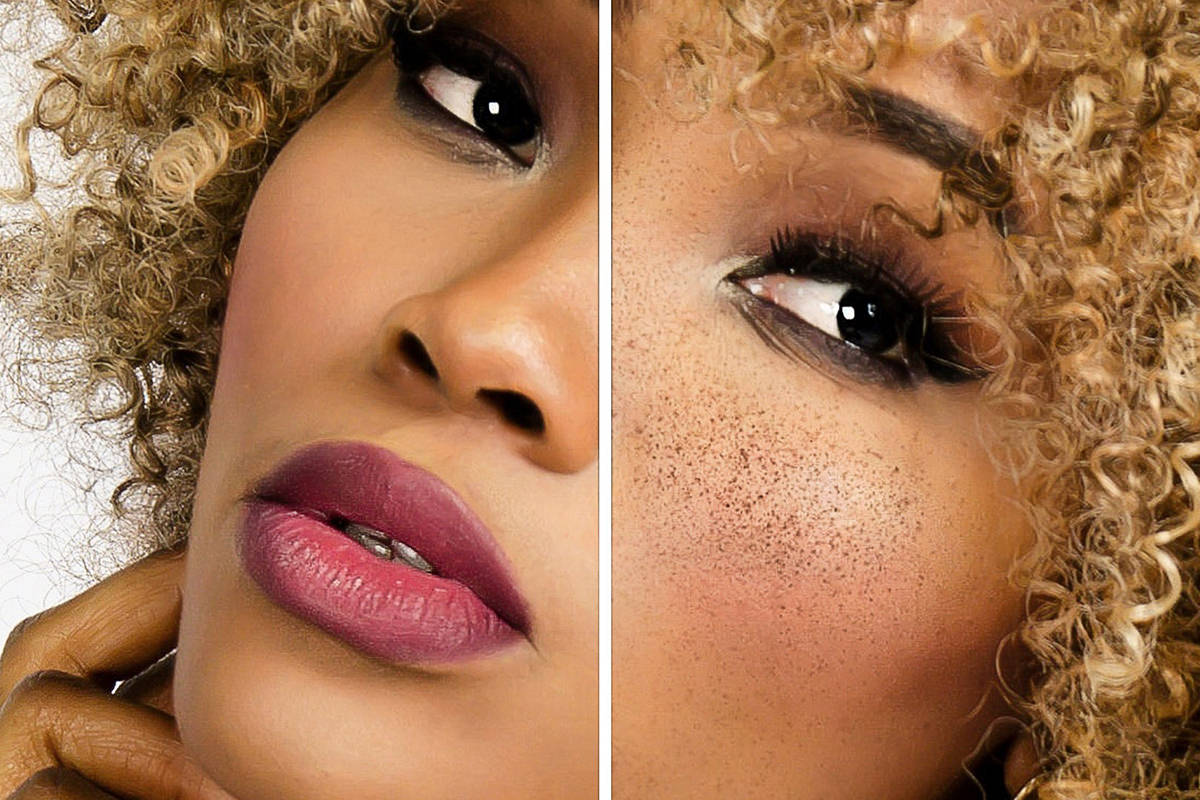
DownloadAdd More Interest to Your Portraits With Realistic Freckles
In this tutorial, we’ll walk you through how to create your own custom Photoshop Brush to add realistic freckles to any portrait in Photoshop! You can also save time and download our FREE custom brushes to use on your own images.
Freckles, the Easy Way
What if we told you that you can have natural-looking freckles without exposing your face to unforgiving solar radiation? Grab your sunscreen and open up Photoshop. We’ll show you how.
We’re going to start by creating a custom brush that can replicate the variation found in naturally occurring freckles. If you want, you can skip this section and download our pre-made brushes for FREE at the top of this page.
But learning Photoshop is the fun part, so we recommend starting from scratch.
Creating the Custom Brushes
Our goal is to create a few different freckle types, load them as Custom Brushes, and then adjust some of the parameters that will create the necessary randomness and variation. The first freckle will be small and well-defined, the next will be a bit larger and softer, and the third will be larger yet.
Start with the Brush Tool B and create a new layer. Using a soft, small (about the size a freckle) brush with a low flow, paint until you’ve created something that resembles the shape and consistency of a freckle. Don’t worry about color at this point! We only need to create a shape for our brush, so you’ll want to paint in black for the time being. Once you’ve got a shape you’re happy with, create a new layer and use the Rectangular Marquee Tool M to create a square behind your shape by dragging and holding SHIFT. Fill that new square selection with white.
At this point, you should have your custom freckle painted in black on top of a white square. Select your painted freckle layer and then go to Edit and Define Custom Brush. This dialogue is where all the magic happens. In order to make the freckles look as natural as possible, there needs to be variation. By adjusting the Shape Dynamics, Scattering, Transfer, and Smoothing we can edit the size, shape and distribution of our original freckle. As you do this, you can test the results by painting on a new layer. Be sure to do this often to be sure that everything looks natural. You can always go back and change these settings at any time.
Once you’ve got something that works well, repeat this entire process a couple more times. You’ll want to paint your original freckle so that it’s slightly larger and softer each time. Three custom freckle brushes should work great but feel free to use as many as you feel are necessary to achieve the look that you want.
If You Downloaded Our Custom Brushes, Start Here
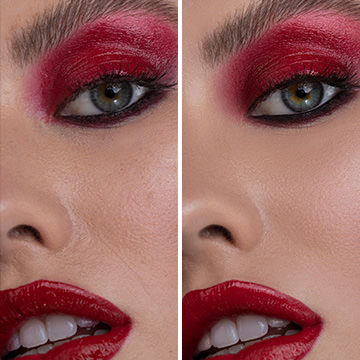
When you’ve finished creating your brushes – or if you’ve downloaded our FREEBIES – you can start painting freckles onto your subject. Create a new curves adjustment layer over your subject and pull the center of the curve down until the skin tones are just a bit darker. Reveal the layer mask for the curves adjustment layer and hit CTRL or CMD + I to invert it. Now simply paint white on that layer mask using your different custom brushes. This should result in slightly darker skin tones with the shape, texture, and distribution of freckles.
Remember that freckles are caused by exposure to the sun! Be sure to paint more freckles in areas that are more frequently exposed to natural light (i.e. the tops of cheeks, nose, shoulders).
After you’ve painted for a while, switch to the Eraser Tool and use a very large, soft brush with a low flow to help blend everything together and remove freckles from unwanted areas.
“Happy frecklin’!”
– Aaron Nace, 2017