download sample images
Description
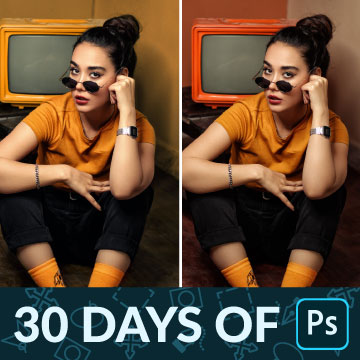
Levels and Curves are two of the most powerful Adjustment Layers in Photoshop. Learn how they work and how you can use them to make detailed adjustments to both exposure and color in any photo!
This is Day 6 of our 30 Days of Photoshop series. Follow along with all 30 episodes as we explore the the magic of Photoshop together!
watch next
30 days of photoshop

Sign up to receive email updates to keep you going, sample images to follow along, and a printable calendar to keep track of your progress!
Share


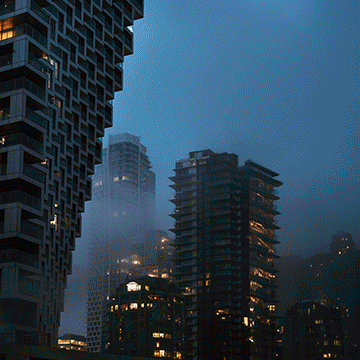
AFTER CURVES
BEFORE
Control Highlights & Shadows
All About Levels & Curves
On the surface, it looks like Levels and Curves do pretty much the same thing. And this is mostly true! Both Adjustment Layers allow you to define the darkest and brightest points within a photo, make general adjustments to exposure, and even color tone an image. Since both function like normal Layers, you can combine their effects with Layers Masks, Blending Modes, and Layer Styles to get very precise and specific effects.
Let’s take a closer look at each to see how they work.
The Levels Dialog
Both Levels and Curves display a histogram of your image to help inform the adjustments you make. In the Levels dialog, you’ll see a couple of sliders.
The first is the input levels. As you move the shadows slider from the left to the right, everything to the left of the slider will turn to pure black. As you move the highlight slider from the right to the left, everything to the right of the slider will turn to pure white.
The slider below controls the output levels. This slider allows you to simply brighten up the darker areas of a photo using the shadows slider, or darken the highlights using the highlight slider.
By choosing a specific color channel from the drop-down at the top, you can shift the highlights and shadows to different colors. This is a powerful way to color tone and color correct an image, as it gives you precise control over where the colors appear in a photo.
Curves
As with Levels, the Curves dialog also displays a histogram. But instead of sliders, you’re given a line that goes from the bottom left corner to the top right of the histogram. While it looks more complex, the Curves dialog provides the exact same functionality as Levels, just with a little extra precision if you choose to use it.
You can add point to the line and then click and drag it up or down to make those light levels lighter (by dragging it up) or darker (by dragging it down). The trick is that you can add as many points as you want to the line. For example, if you wanted to add more contrast to an image, you could add a point near the bottom left corner and drag it down slighty, and then add a point near the top right and drag it up slightly. This ‘S curves’ will make the highlights a little brighter, and the shadows a little darker, adding more contrast to the entire image.