In this episode we combine two different images into one amazing memory. The the main learning points consist of coloring, and masking.
Adding some Texture back to the Skin of a model can help bring Depth and life back to their Face. Perfection often looks fake, and character and Texture adds personality to images.
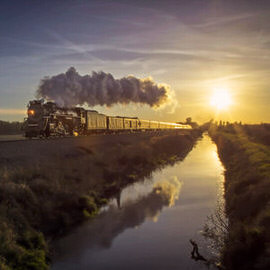
In this tutorial we show you how to use the Pen Tool to cut out your subject, and then do some work to recovery detail in the sky.
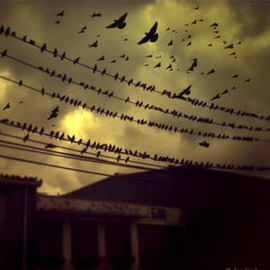
Learning how to create custom Brushes in Photoshop is a skill that will benefit many images. In this tutorial, we show you how to make a selection around a bird and promote it onto a new document in order to create the Brush.
Sample Images Included
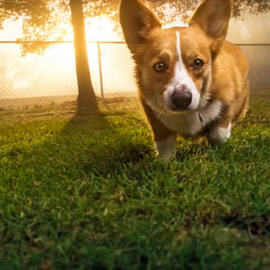
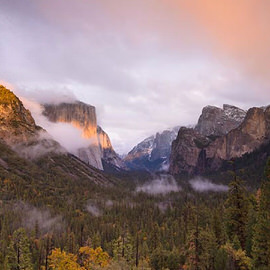
In most cases, using the Color Ranges that exist naturally in a photo will help to bring out the best in the image. In this image we focus on adding orange to the top of the image and green to the bottom.
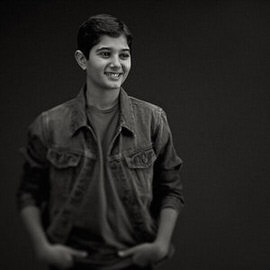
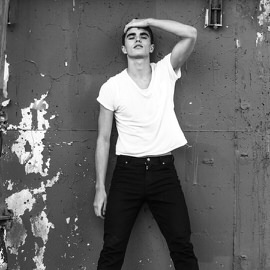
There are many ways to make an image Black and White in Photoshop. In most cases you will be best off using the “Black and White” Adjustment Layer.
In this episode, we use an image taken by a member of our Phlearn Phamily to show some cool color dodging techniques.
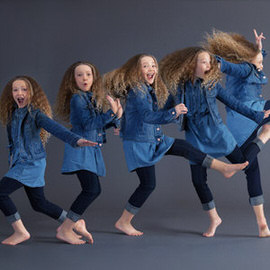
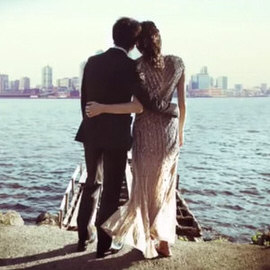
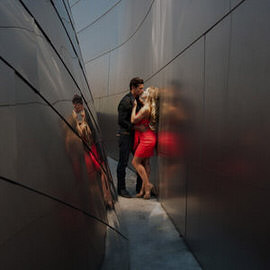
You saw the behind the scenes of our Gap inspired fashion shoot and part 1 of the post processing. Now we put the finishing touches on the image.
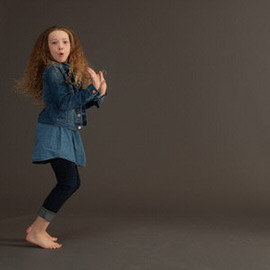
We take the images from our Gap inspired shoot into Photoshop to start the Compositing and Retouching process. Make sure to check back for part 2 of the post production later this week.
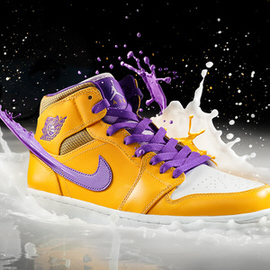
Sometimes it’s just fun to make a mess. We had wanted to play with paint for a while, and came up with this concept to create shoes splashing and blending with paint.
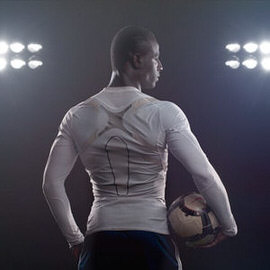
Portraits of athletes are a great place to experiment with using a contrasty, high energy, dramatic Retouching technique. Here are a couple of our favorite methods to achieve this look.
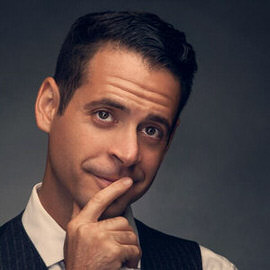
You saw the behind the scenes of our corporate/editorial photo shoot, and Part 1 and Part 2 of the Retouching. Now we’ll wrap up this image with some final Retouching and Styling.
Now we’ll continue with the Retouching to get this image refined even more.
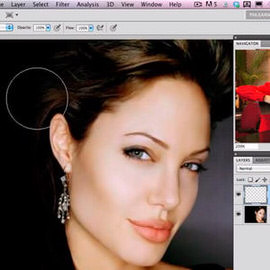
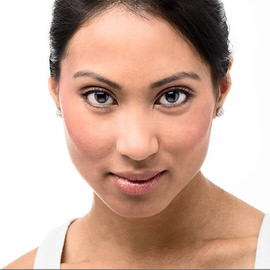
To start our headshot retouching, we use the clone to remove some blemishes, do some hair retouching, and add a bit of skin texture.
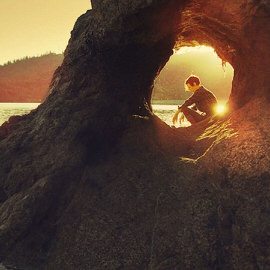
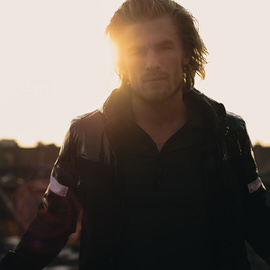
Today we’re using this incredible image from Chris to show how to use Photoshop to bring back detail into the Shadows of an image and then doing some Coloring and stylizing.
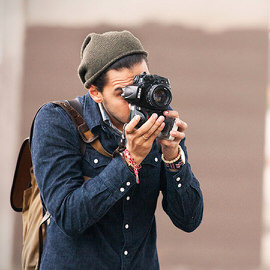
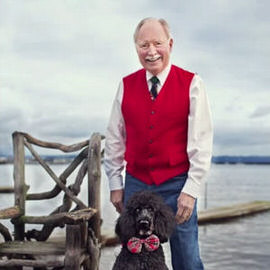
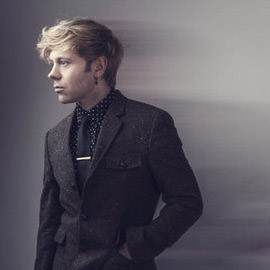
In Part 3, we tag along Chicago Photographer Grant Legan as he takes some awesome portraits.
After our interview in Part 1, we go behind the scenes with Grant Legan during a photoshoot.
Grant Legan is a Chicago based photographer who works very closely with modeling agencies, testing new models and filling out their portfolio’s with a variety of looks.
Learn to edit in a way that is not as destructive to your images, and retain the maximum amount of quality. Use these 8 steps!
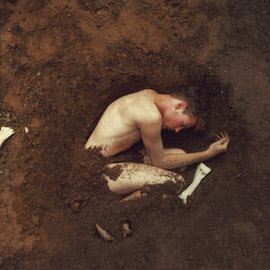
In today’s episode we create a custom Brush that looks like dirt and show you how to configure it perfectly. We then save the Brush and load it into the Clone Stamp tool to finish the job. The resulting effect is seamless and fun!
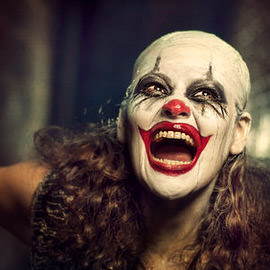
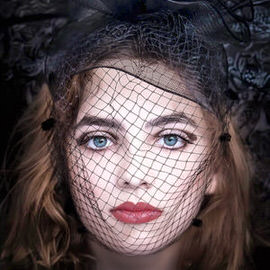
Today we are using an image from our latest Halloween contest to show you how to add Color to enhance the overall feel of an image.
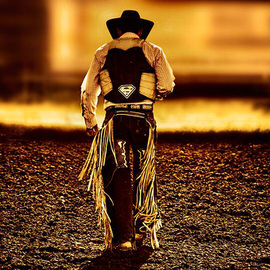
Adding a gradient Color Tone to an image can help with it’s Depth and help Draw the viewers eyes towards your intended point of focus. You’ll see how as we take you through a few curves, a little Pen Tool Action and just one Levels Adjustment Layer.
This started as an incredible image by Daniel. We noticed just a couple small improvements that could really help to give it the magazine feel. We’re just going to add a touch of Style and refinement.
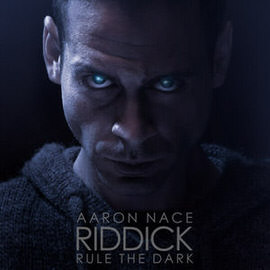
We pick up where we left off in Creating a Movie Poster: Riddick – Part 1. Having taken care of most of the Coloring and Shadow work in part one, now it is time to create the eyes that make this image stand out.
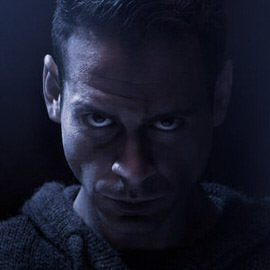
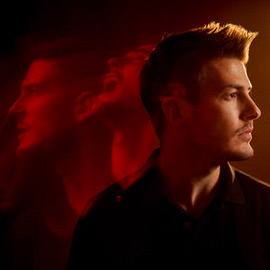
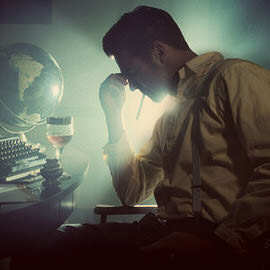
In this episode we show you how to go from an image straight out of camera, into the dark image you see as the final. We cover how to Color your images to strip everything down to one Hue. Then you will learn how to cover your subject in Shadow.
How best to make your images look their sharpest has always been a key aspect of our craft. One of the quickest ways to make your photos look more “professional” is by making them critically sharp.
Camera sensors are very powerful tools that capture tons of information, you just need to know how to massage that information out of it. This episode shows you how to bring out those details from your Shadows.
In this episode we show you how to create a custom Brush that creates dust anywhere you want it. All you have to do it paint over the area you would like the dust and erase the rest!
Sample Images Included
The most basic rules of composition are rather simple but can be extremely difficult to master. Here are a few less orthodox compositional suggestion that might help you make the most of your next photoshoot.
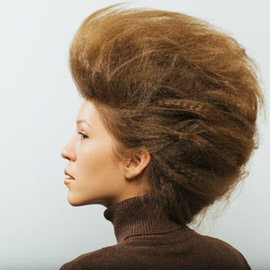
You are going to learn how to fix up a hairstyle in Photoshop using the Liquify Tool. There are a few different strategies to consider when reshaping something like Hair.
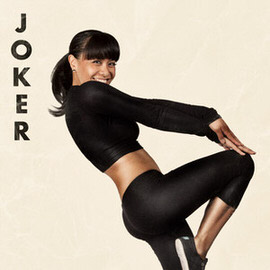
After Kat is cut out from her Background we then extract her Shadow to make it slightly visible under her. From here you are ready to place your subject on any Background you desire, whether it be a solid Color, another image, or a playing Card.