How to Install Lightroom Presets
Watch our video guides on installing Lightroom Presets for Mobile & Desktop.

Lightroom Mobile Installation Guide
To install presets on Lightroom Mobile you’ll need to download the included DNG image files, import them into Lightroom, and then save the color settings from each as a Lightroom Preset. Don’t worry, we’ll walk you through it!
Download, Unzip & Transfer to Mobile Device
(We recommend that you download the presets on your computer, and then transfer them to your mobile device using one of the methods listed in step 4.)
- Using your computer, click the download button on the Preset Pack web page.
- Locate the Preset Pack ZIP file in your Downloads folder.
- Unzip the Preset Pack ZIP file.
Windows: Right-click the ZIP file, and select Extract All…. Choose where you want the preset folder to be created and click the Extract button.
Mac: Double-click on the ZIP file. A new folder will automatically be created with the DNG files inside.
- Now that the presets are unzipped, you’ll need to transfer the DNG files to your mobile device.
There are a variety of ways to transfer files from a computer to a mobile device. If you’re unfamiliar with the process for your specific devices, try searching for a step-by-step guide that covers one of the following options:
- USB/Bluetooth Connection: Android to PC/Mac transfers.
- Airdrop: iPhone to Mac transfers.
- E-Mail: This method will work across most devices. Attach the DNG files to an e-mail and send it to yourself. Open the e-mail on your mobile device and then download the attached files.
- Once the DNG files are on your mobile device, make sure you have the Adobe Lightroom app installed and updated to the latest version.
Saving Presets in Lightroom Mobile
- Open the Lightroom App.
- Tap on the Library icon in the top left corner.
- Tap on the + icon in the Albums bar. You’ll be prompted to create a new item. Tap Album.
- Name the new Album. We recommend giving the Album the same name as the Preset Pack you’re using (i.e. PHLEARN Beach). This will help you keep all of your presets organized!
- Tap on the newly created Album to open it. It’s currently empty, but we’re going to fill it with the DNG images you downloaded.
- Tap on the Photo+ icon in the bottom right corner, then select the directory where you saved the DNG files.
- Select all of the DNG files and tap Add. The DNG files will load within the Album. Each DNG image has a different preset applied to it, which you can save to use on other images in Lightroom.
- Open the first DNG image and tap on the (…) icon in the top right corner. Select Create Preset. The Create Preset menu will open.
- The default settings will work, just make sure that Profile: Color, Light, Color, Effects, and Detail are all checked.
- Tap on Preset Group, and select Create New Preset Group. We recommend naming the group after the preset pack you downloaded (i.e. PHLEARN Beach). Once you’ve named the Preset Group, tap the Check Mark icon in the top right corner.
- Back at the New Preset menu, give the preset a name. We recommend giving it the same name as the Preset Group, followed by a number (i.e. PHLEARN Beach 1). After naming the preset, tap the Check Mark icon in the top right corner. The first preset has been saved!
- Repeat this process for each of the other DNG images.
Using Your New Presets
- Tap on the image you want to apply a preset to.
- Locate the toolbar at the bottom of the screen. Scroll to the right until you see the Presets option. Tap on Presets.
- Select the Preset Group, and then select the preset that you want to apply.
- If you want to see a before and after to compare, just tap and hold your finger on the image to see the original, and release it to see it with the preset coloring applied.
- You’re done! Now go and have some fun with your new set of Lightroom Presets.
Lightroom Classic Installation Guide (Newer Versions: 7.3 and Later)
Download & Unzip Preset Pack
- Using your computer, click the download button on the Preset Pack web page.
- Locate the Preset Pack ZIP file in your Downloads folder.
- Unzip the Preset Pack ZIP file.
Windows: Right-click the ZIP file, and select Extract All…. Choose where you want the preset folder to be created and click the Extract button.
Mac: Double-click on the ZIP file. A new folder will automatically be created with theXMP files inside.
- Now that the presets are unzipped, they’re ready to be imported into Lightroom Classic! We recommend using the latest version of Lightroom Classic. You can download and install the most recent version through the Adobe Creative Cloud application.
Importing Presets in Lightroom Classic (versions 7.3 and higher)
- Open Lightroom Classic.
- Select an image that you want to apply a preset to, and then open the Develop Module by clicking the Develop button near the top right of the screen.
- In the left panel, there is a drop-down bar labeled Presets. Click on the + icon in the Presets bar, and then select Import Presets….
- Navigate to the folder containing the Lightroom Preset XMP files you downloaded. Each XMP file is a different preset. Select every XMP file, and then click on Import.
- Click on the Arrow icon in the Presets drop-down bar. This will expand the menu and show you all of the presets that you have available. You should see an option with the name of the Preset Pack you just imported (i.e. PHLEARN Beach).
- Click on the Arrow icon next to the new PHLEARN Preset Pack to reveal all of the presets within that pack. Simply click on any preset to apply it to an image.
- Done!
Lightroom Classic Installation Guide (Older Versions: 7.2 and Earlier)
To install presets in older versions of Lightroom Classic you’ll need to download the included DNG image files, import them into Lightroom, and then save the color settings from each as a Lightroom Preset. Don’t worry, we’ll walk you through it!
Download & Unzip Preset Pack
- Using your computer, click the download button on the Preset Pack web page.
- Locate the Preset Pack ZIP file in your Downloads folder.
- Unzip the Preset Pack ZIP file.
Windows: Right-click the ZIP file, and select Extract All…. Choose where you want the preset folder to be created and click the Extract button.
Mac: Double-click on the ZIP file. A new folder will automatically be created with the DNG files inside.
- Now that the presets are unzipped, they’re ready to be imported into Lightroom Classic!
Importing the Presets in Lightroom Classic (v7.2 and Earlier)
- Open Lightroom Classic. Open the Library Module by clicking on the Library tab near the top right of the screen.
- Within the Library Module, click on the Import button near the bottom left corner of the screen.
- Navigate to the folder where you saved the Lightroom Preset Pack. Open the folder labeled Desktop (Old Lightroom Version). Select all of the DNG files, and click the Import button near the bottom right of the screen.
- Click on the first image.
- In the left-hand sidebar you’ll see a drop-down menu for Presets. Click on the + icon in the Presets menu bar.
- A dialog window will appear. Let’s start by making a new folder for the new Preset Pack. Click on the Folder drop-down and select New Folder.
- Name the folder. We recommend giving it the same title as the Preset Pack you’re importing (i.e. PHLEARN Beach). Click Create.
- Now enter a name for the first preset. We recommend giving it the same name as the DNG file. You can see the DNG file name near the top right corner of the image that’s open (i.e. PHLEARN Beach Soft Bronze).
- Make sure all of the boxes in the Settings section are checked. Then click on Create.
- The first preset is done! You’ll see a new folder created in the left sidebar under Presets. Clicking on the folder will reveal the preset you just added.
- Follow these steps for each of the DNG files. Each DNG image is a different preset in the pack.
- Once each new preset has been added, try applying them to your own photos. Bring one of your images into Lightroom, open the Develop Module, and then click on the preset you want to use in the left sidebar.
- Done!
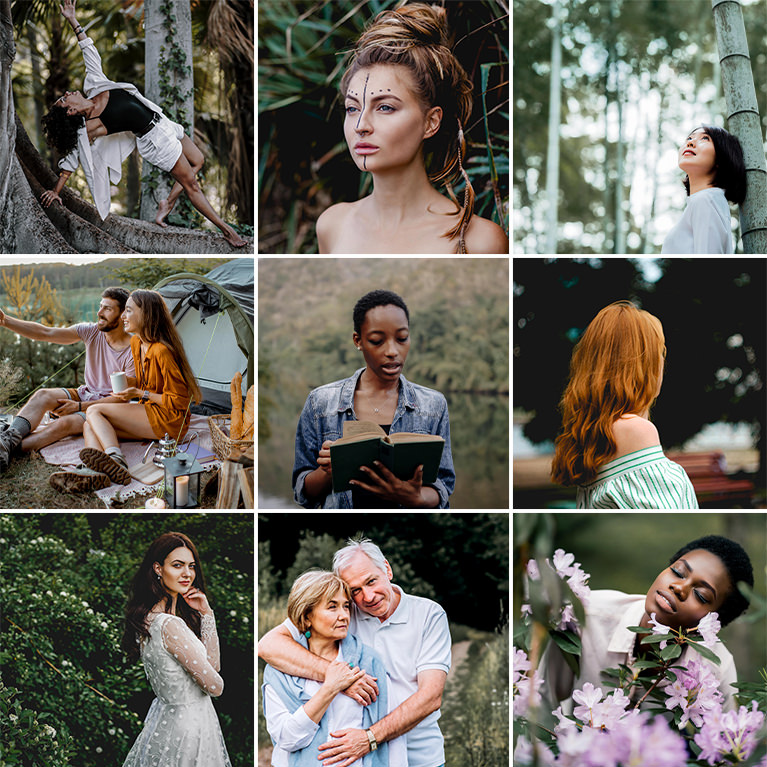
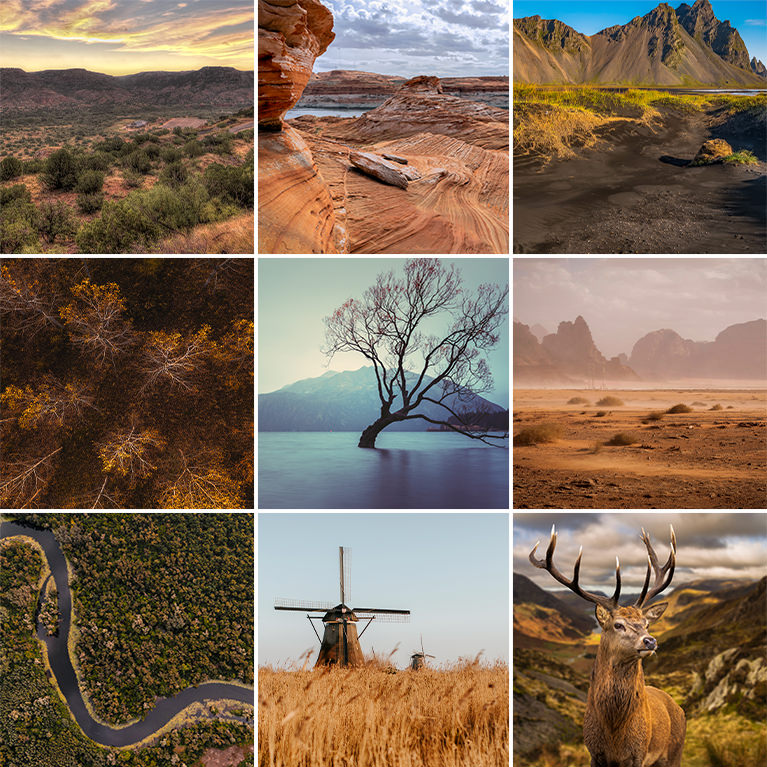
Featured Lightroom Presets


FAQ
First, try restarting Lightroom.
Make sure the folder you copied into the Develop Presets folder actually holds the presets and not another folder.
Do NOT check “Store Presets With Catalog.” This setting is found to the left of "Show Lightroom Presets Folder" in your Preferences menu. If you have multiple catalogs, your presets will not show up in additional ones.
Make sure that you EXTRACTED the zip file. If you merely double clicked on the folder (on a PC), you will get access to the presets, but those will NOT be extracted files and will NOT copy/paste correctly and will NOT show up in your Lightroom.
Please try another internet browser. We recommend the current version of Google Chrome
Yes we do! Please contact us through the Support Page
If on a PC right clicking does not offer “extract files”, then you may need to download an external program to unzip. We recommend trying WinRar, a free unzipping program.