Photoshop Tutorials
When there is a need to replace a window in Photoshop, or bringing part of one photo into another, it is absolutely necessary that you match the colors and perspective to make it look like it belongs there.
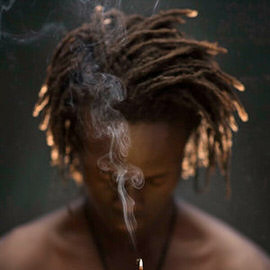
Through a couple easy techniques, you can use Clipping Masks, Smart Objects, and Filters to create your very own skin textures. Add seamless skin texture to you projects.
Channels are great for making selections that would otherwise be very difficult to make.
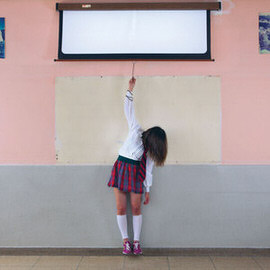
By duplicating the layer and using a Layer Mask, we extend the wall up, but the projector still needs some work.
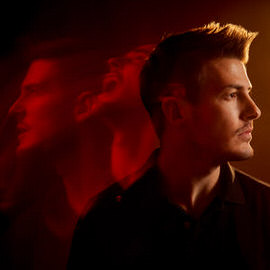
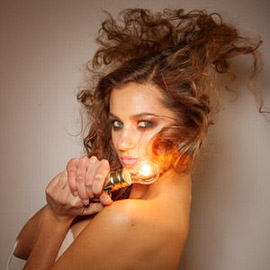
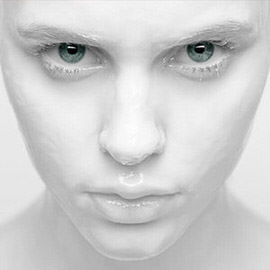
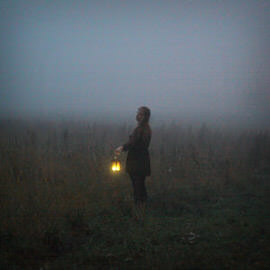
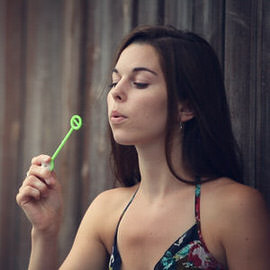
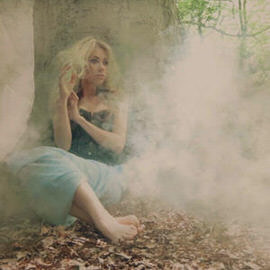
Today we’re editing an amazing self portrait by Amelia Fletcher.
We get a lot of people asking us what the difference is between the Healing Brush Tool and the Clone Stamp. While they both have similar uses, there is a Difference in how these Tools get the job done.
In this episode we discuss something that sounds extremely boring but is actually quite interesting: Light Falloff.
It’s always great to have shadows in your photographs to add definition, but sometimes they become too dark and Subtract from the detail in your image.
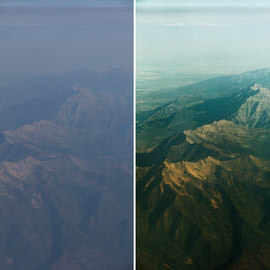
It can be hard to pump up the Colors in a photograph without making it look unnatural. In RGB mode, changing your Colors in Curves will also produce changes in Brightness and Exposure. To fix this, we can easily switch to LAB Mode.
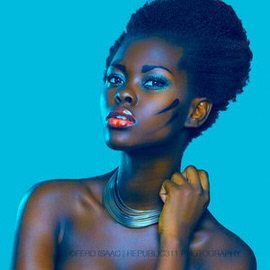
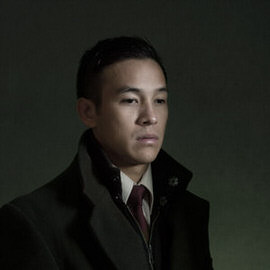
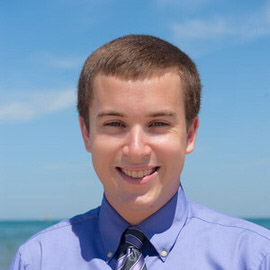
We’ll be editing Jason’s image and showing you how to make your subject stand out better from the Background by using some simple Coloring techniques.
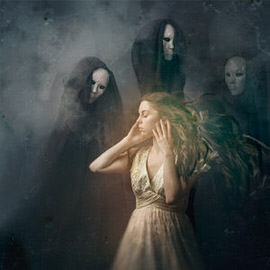
In order to make the existing Highlights in this image stand out even more, first we make the Lights and Midtones of the image darker using a Levels Adjustment Layer.
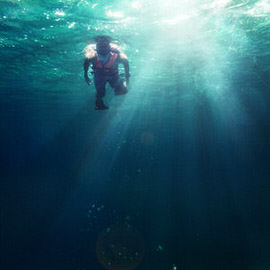
For adding Light rays to your image, make sure you first have an image that will properly support light coming through. You want to have an image that is either lit from the back or from the side.
When you increase your ISO on a digital camera, your processor amplifies the signal it receives from the sensor to make it stronger, much like an amplifier on a stereo, it makes a quiet signal much louder.
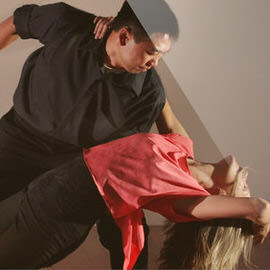
Dan Winters is a great photographer who produces gripping work. He has a way of pulling emotion out of his subjects that will leave you breathless. Today we look at one of his famous portraits of Tom Hanks, and try to reproduce it.

Today we are completing this beer image in Photoshop. We cover the Lighting Effects as well as adding the splashes around the beer. The trick when doing this sort of Composite is to know how much masking needs to be done.
Yesterday we showed you the photoshoot and how to light beer, and today we are showing you exactly what happens when you bring those photos into Photoshop.
These will make the biggest Difference! Curves can be used to easily adjust Light Levels and Colors in your images.

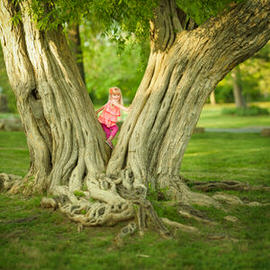
Today we work on a user submitted landscape image. We are going to add some lights and effects requested by Sam.
In yesterday’s episode we showed you everything you need to know for shooting video to be used in a cinemagraph, and today we’ll bring it all together in Photoshop!
Today’s episode will cover everything you need to know about shooting for a cinemagraph, and tomorrow we’ll cover how to bring it all together in Photoshop!

Giving objects a Reflection in post becomes a bit more of a difficult task when the bottom of the still life (in this case, a Coca-Cola can) is curved.
We’re going to talk about everything that there is to know about Curves, and also we’re going to show you some cool ways to Color your images using Curves.
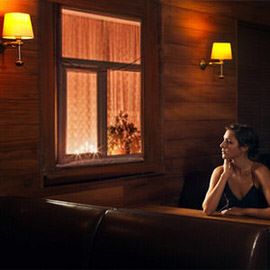
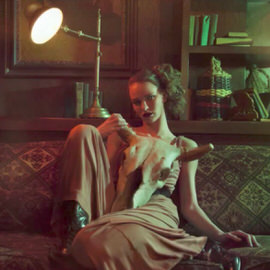
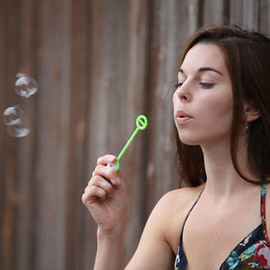
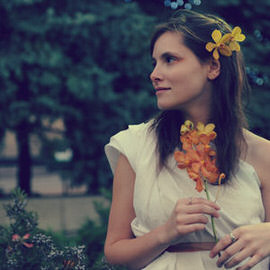
In today’s episode we’re going to be editing an image taken by Angela of the Phlearn team.
We are going to focus on what to edit in Photoshop. The first thing I noticed when looking at this photo is that the paintings in the Background are a little distracting.
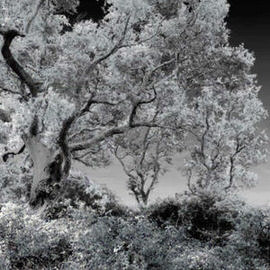
There are a few different ways to get these effects, you can shoot with IR film and a red Filter, convert a digital camera, OR get the same type of look in post.
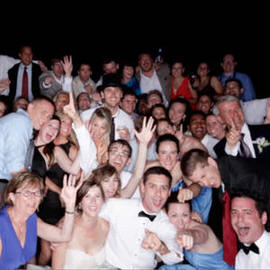
Today I’m going to show you how to create a movie out of still images, and in this case, how to make a movie out of photos from a photobooth.
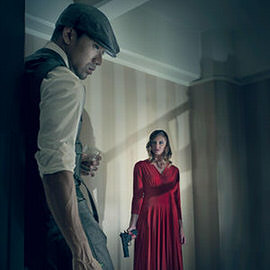
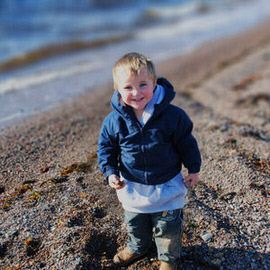
Today we’re doing another start to finish edit! This image was submitted by Stevie Keen.
Sample Images Included