Retouching – Free & PRO Tutorials
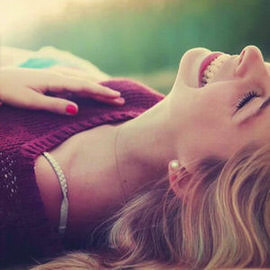
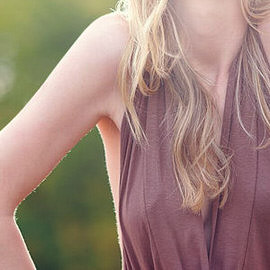
In today’s episode we show you how to get rid of those straps (or other similar details) in a very simple tutorial that will have you amazed at how far Photoshop has come.
Learn a Simple Technique for adding textures to your images. We are using multiple textures combined together to create the final effect.
Sample Images Included
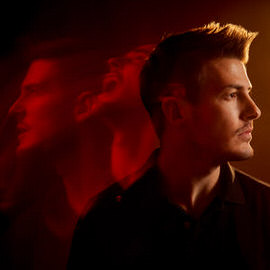
This tutorial is perfect for those images that have a strong backlight, such as when you are shooting into the sun. We show you how to enhance a lens flare and create lighting effects that will make your image more interesting.
In today’s episode we show you how to add layer FX to duplicates of a layer. The reason we use duplicates is to stack multiple effects.
Bags and Blemishes can be tricky to remove. We will teach you how to take them right out!

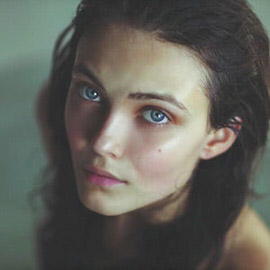
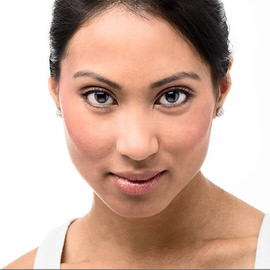
Adding some Texture back to the Skin of a model can help bring Depth and life back to their Face. Perfection often looks fake, and character and Texture adds personality to images.
In this tutorial we show you how to use the Pen Tool to cut out your subject, and then do some work to recovery detail in the sky.
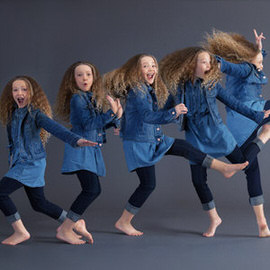
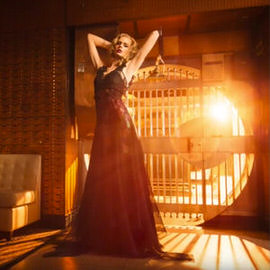
You saw the behind the scenes of our Gap inspired fashion shoot and part 1 of the post processing. Now we put the finishing touches on the image.
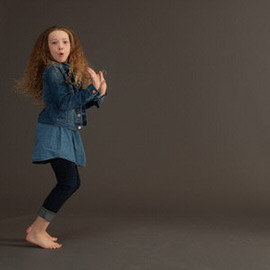
We take the images from our Gap inspired shoot into Photoshop to start the Compositing and Retouching process. Make sure to check back for part 2 of the post production later this week.
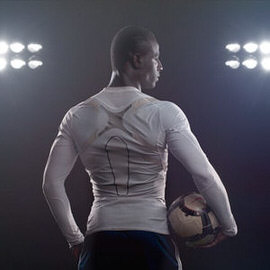
Portraits of athletes are a great place to experiment with using a contrasty, high energy, dramatic Retouching technique. Here are a couple of our favorite methods to achieve this look.

You saw the behind the scenes of our corporate/editorial photo shoot, and Part 1 and Part 2 of the Retouching. Now we’ll wrap up this image with some final Retouching and Styling.
Now we’ll continue with the Retouching to get this image refined even more.
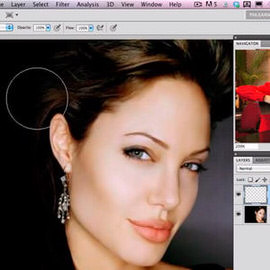
To start our headshot retouching, we use the clone to remove some blemishes, do some hair retouching, and add a bit of skin texture.
How best to make your images look their sharpest has always been a key aspect of our craft. One of the quickest ways to make your photos look more “professional” is by making them critically sharp.
Camera sensors are very powerful tools that capture tons of information, you just need to know how to massage that information out of it. This episode shows you how to bring out those details from your Shadows.
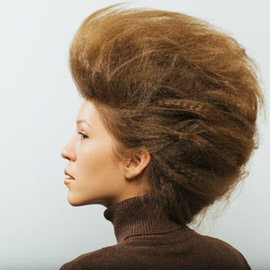
You are going to learn how to fix up a hairstyle in Photoshop using the Liquify Tool. There are a few different strategies to consider when reshaping something like Hair.
A new take on dodging and burning. Save yourself time and trouble!
Today we are going over some great techniques that can be applied to most images to make them a bit more interesting. By adding Color and Contrast to the image as a whole you can make your subject stand out a bit better in a few easy steps.
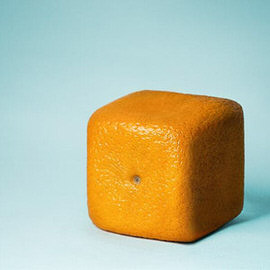
Andri Geroisa did a great job of photographing this orange and Phlearn will tap into dodging and burning to make product look perfect in Photoshop.
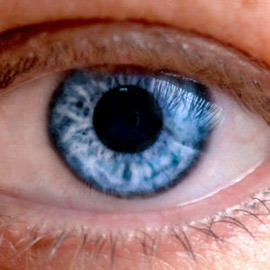
These minuscule, and red squiggly lines are usually very unnoticeable, but when there is an involvement of a macro shot such as this one by Fernando Braga, they can become a Distraction of interfering with your great eyeball shot.
We’re going to go over a quick and easy technique as well as a harder technique that has a more refined result.
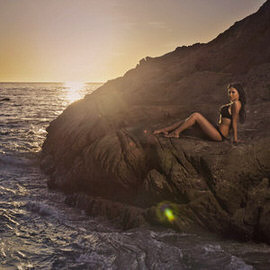
Photographing a sunset can be really tricky, but we have some wonderful tips for you.
For extreme speed-editing Exposure we’re editing this image by Aleksandar Jaredic, and we only have five minutes to do so!
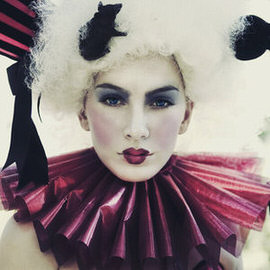
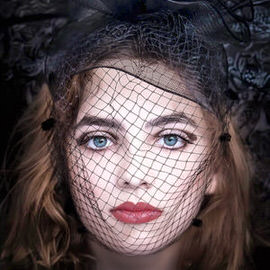
Learn how to use the Brush Tool to apply makeup in Photoshop. We create a custom brush to achieve the exact look we need.
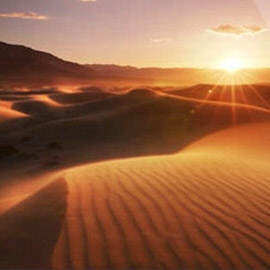
A student on a Death Valley photography workshop I recently taught groused, “My problem is that when I take a picture of a sand dune, it looks like a sand dune. It doesn’t look like art.”
We’ve focused on Retouching a lot here at Phlearn, taking care of zits, applying Makeup in Photoshop, you name it. But we’ve never covered taking care of larger Scale blemishes and redness, such as rosacea or in this case red powder.
When there is a need to replace a window in Photoshop, or bringing part of one photo into another, it is absolutely necessary that you match the colors and perspective to make it look like it belongs there.
Through a couple easy techniques, you can use Clipping Masks, Smart Objects, and Filters to create your very own skin textures. Add seamless skin texture to you projects.
When you increase your ISO on a digital camera, your processor amplifies the signal it receives from the sensor to make it stronger, much like an amplifier on a stereo, it makes a quiet signal much louder.

Today we are completing this beer image in Photoshop. We cover the Lighting Effects as well as adding the splashes around the beer. The trick when doing this sort of Composite is to know how much masking needs to be done.
Yesterday we showed you the photoshoot and how to light beer, and today we are showing you exactly what happens when you bring those photos into Photoshop.