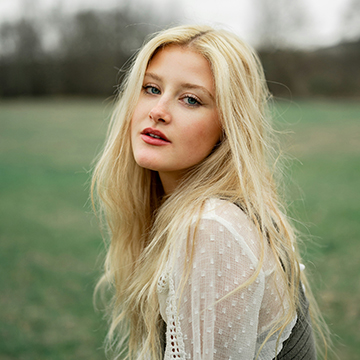

REFLECTOR OPTION 1
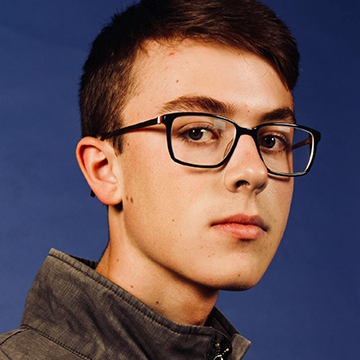
REFLECTOR OPTION 2
Tutorial Description
Before spending money on multiple lights and lighting modifiers, experiment with a 5-in-1 Reflector.
You may be amazed at how a simple bounce or diffusion panel can improve your portrait lighting.
How to Use a 5-in-1 Reflector
Basically the job of a 5-in-1 Reflector is to give you a few different options to diffuse and bounce light. The inner surface of these reflectors is almost always a diffusion panel, meant to have light shine through the light before it hits your subject. The outer surfaces come in a variety of colors – usually you will see gold, silver, white and black. Each of these will bounce light in their own way.
Now, just because there is a product for photographers called a “5-in-1 Reflector,” that doesn’t meant you can’t use anything else to reflect or bounce light.
Here is a breakdown of the 5-in-1 Reflector.
- Gold Reflector – The gold reflector will bounce a lot of light and give the light a “gold” color. This can be perfect for bouncing light during a sunset, or when you want to add some warmth to a portrait. In our experience the gold reflector is used less than silver or white.
- Silver Reflector – The silver reflector will bounce a lot of light and keep the light color neutral. This is great when you need more light in a portrait or when your reflector has to be far from your subject. Be careful you don’t blind your subject with light, as the reflection can be quite strong.
- White Reflector – The white reflector will bounce a small amount of light with a neutral color. These reflectors are great because they produce softer light than gold or silver.
- Black Reflector – Black reflectors are used to add “negative fill.” Use the black reflector to reduce the amount of light around your subject. Black reflectors are generally used with portraits on the left and right side of the subject to give them more depth.
- Diffusion – Diffusion panels are meant to diffuse or soften light. Generally, you will shine a light through a diffusion panel and then the light will hit your subject.
These panels will make the light softer and larger, but they will also reduce the amount of light that hits your subject.

Quick Tip: Try other objects like a bed sheet or poster board to bounce and diffuse light.
Keep in mind that the closer the reflector is to your subject, the more effect it will have. You can also use multiple reflectors to bounce light from different directions.
In this episode we use a studio strobe as the light source, but you can achieve the same results with natural light sources like the sun.
One Light, Six Lighting Setups with Reflectors
To show the versatility of reflectors, we created six different lighting setups using a combination of reflectors and v-flats. A v-flat is a large reflector made from two 4’x8′ sheets of poster board taped together.
Softbox & Reflector – For this setup, we placed a softbox to the camera left and a 5-in-1 reflector to the camera right to bounce light and fill in shadows. This is a classic lighting setup and a good place to start when using a reflector.
Softbox & Side & Bottom Reflector – To add to the first setup, we placed another reflector below our subject and had her hold it to make sure the light was bouncing on her face and filling in shadows. Portraits will often have dark shadows under eyes if lit from above – adding a reflector below will help fill those shadows with light and produce a more flattering portrait.
Strobe through Diffusion – This simple setup involves shooting a strobe through diffusion fabric. The diffusion will make the light source appear larger and softer, creating more even light on the subject.
V-Flat As Wrap – This setup involves “wrapping” your subject with a v-flat and using it to fill in shadows on the side and front of your subject. The strobe is firing through diffusion as well, creating a large soft light source.
Strobe & V-flat & Reflector – For this setup,
we used the v-flat as a large “bounce” to make the light source appear larger. The strobe is pointed towards the v-flat, bouncing light and making the light source appear larger and softer. An additional reflector is added camera right to fill in shadows.
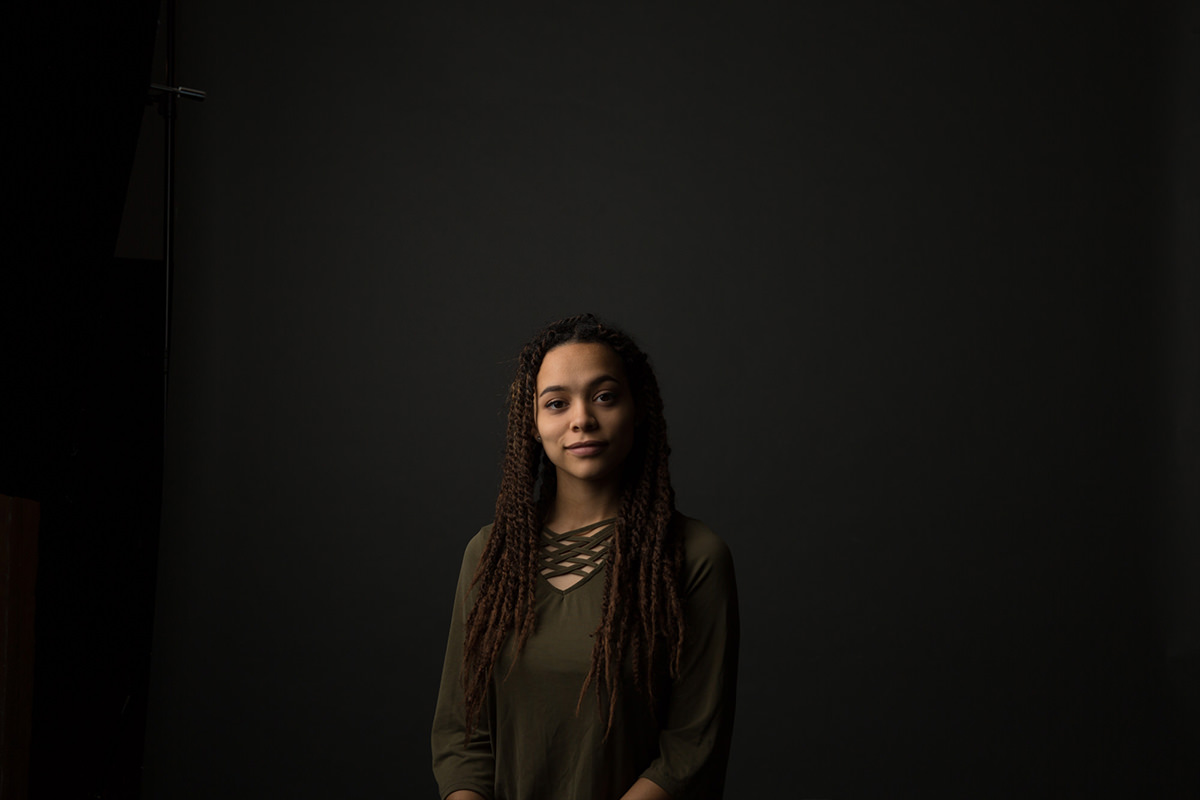
Strobe through Diffusion From Behind – Thus setup is a bit more complicated and involves two reflectors and a v-flat. We placed a strobe behind the subject and fired it through one of the diffusion panels to soften the light. Next, we added a v-flat to the left and front of the subject to provide some fill light on the front and wrap the light around the subject. Third,
we placed another reflector on the camera-right side of the subject to fill in the shadows on the face. The resulting portrait is well-lit from all sides using just one light!