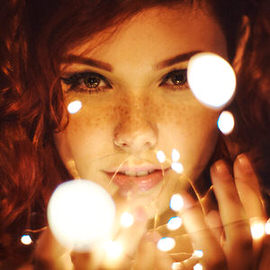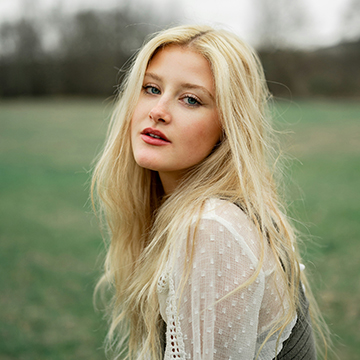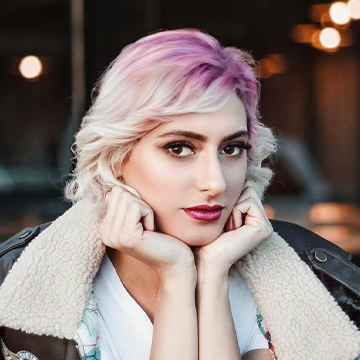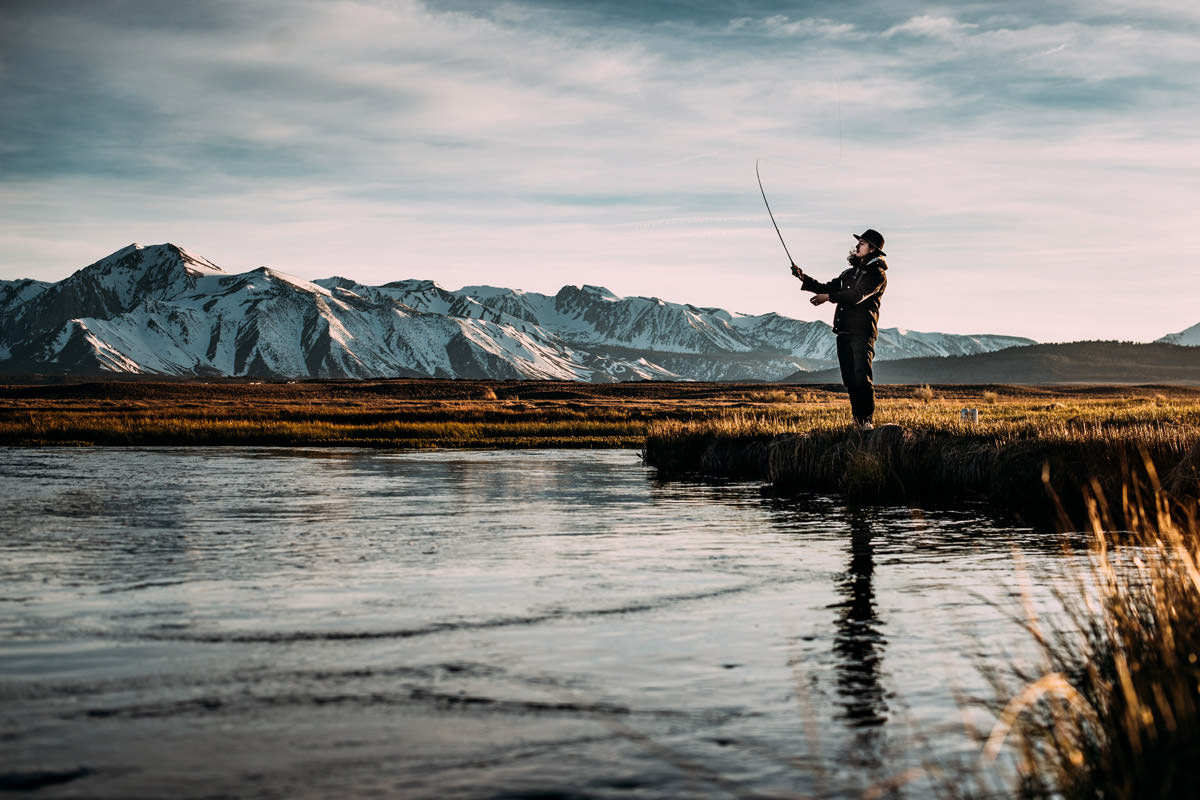

ORIGINAL
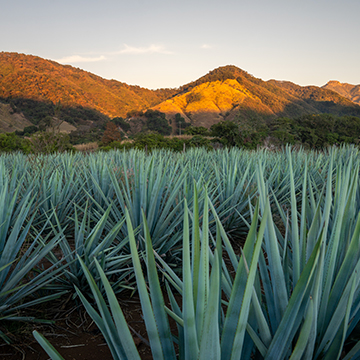
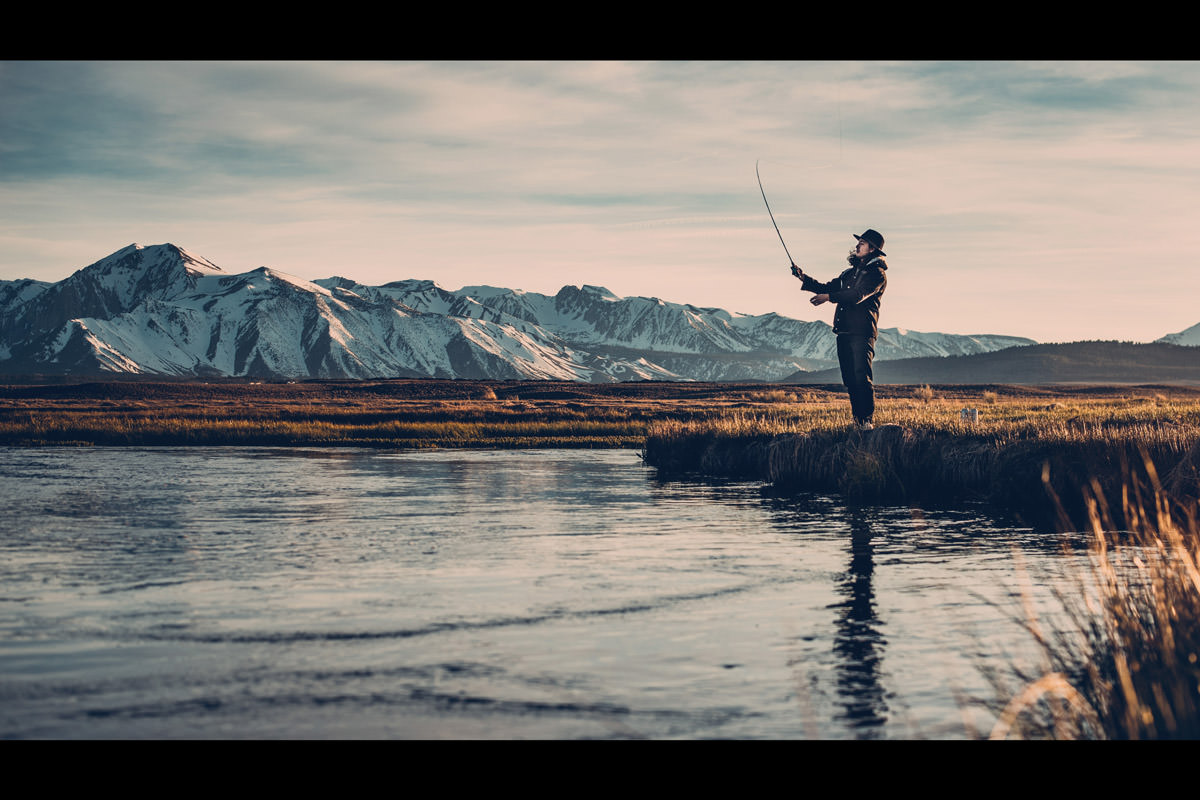
AFTER PHOTOSHOP COLORING
Download Sample Images
Click the link below to download the sample images and follow along with this tutorial.
DownloadTutorial Description
The popular cinematic look is no longer a style only reserved for the movies. Photographers and visual artists all around the world apply the color grading to their photos to achieve the same high-production value effect. In this tutorial, we’ll show you an incredibly easy method to give your photos a striking cinematic look. Not only that, we’ve also included a free Photoshop Action that you can use to split tone your images automatically.
Simple Technique to Color Your Photos
The key to this technique is in the blending modes. We can put a layer of color above our image, and use a special blending mode to instantly apply a split tone color effect. A cinematic look consists of just that; a color in the highlights and its complement in the shadows. Teal and orange, anyone?
To do this, we first create a Color Fill Layer (by going to FX and over to Solid Color). You can choose any color at this point, as we will be able change it later; here we select a bright, saturated blue. Now, simply change the layer blend mode of the Color Fill Layer from Normal down to Exclusion. This little-known blend mode makes split toning simple: it puts the color in your Fill Layer into the shadows of your image, and automatically puts its complementary color into the highlights. Best of all, it will do this using any color you choose in your Fill Layer dialog. We recommend sticking with a cool color (blue, purple, green) because its complementary warm color (red, orange, yellow) in the highlights will keep your skin tones looking natural.
Step-by-Step
Download the Sample Image and Photoshop Action
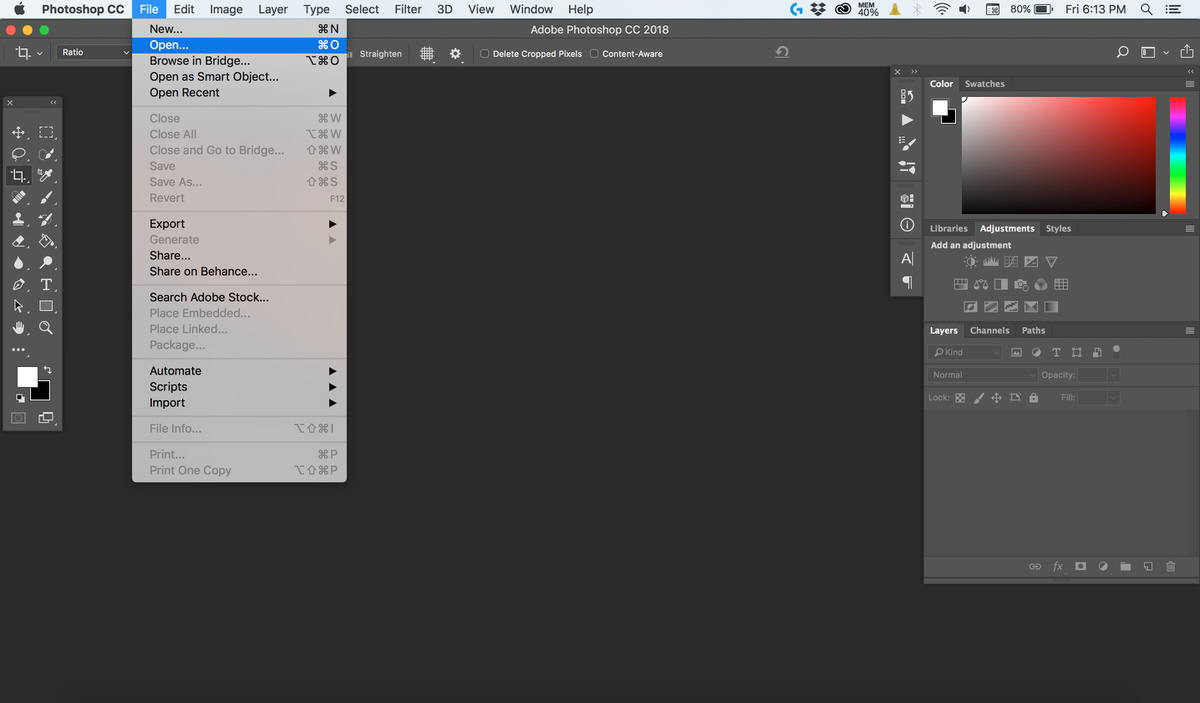
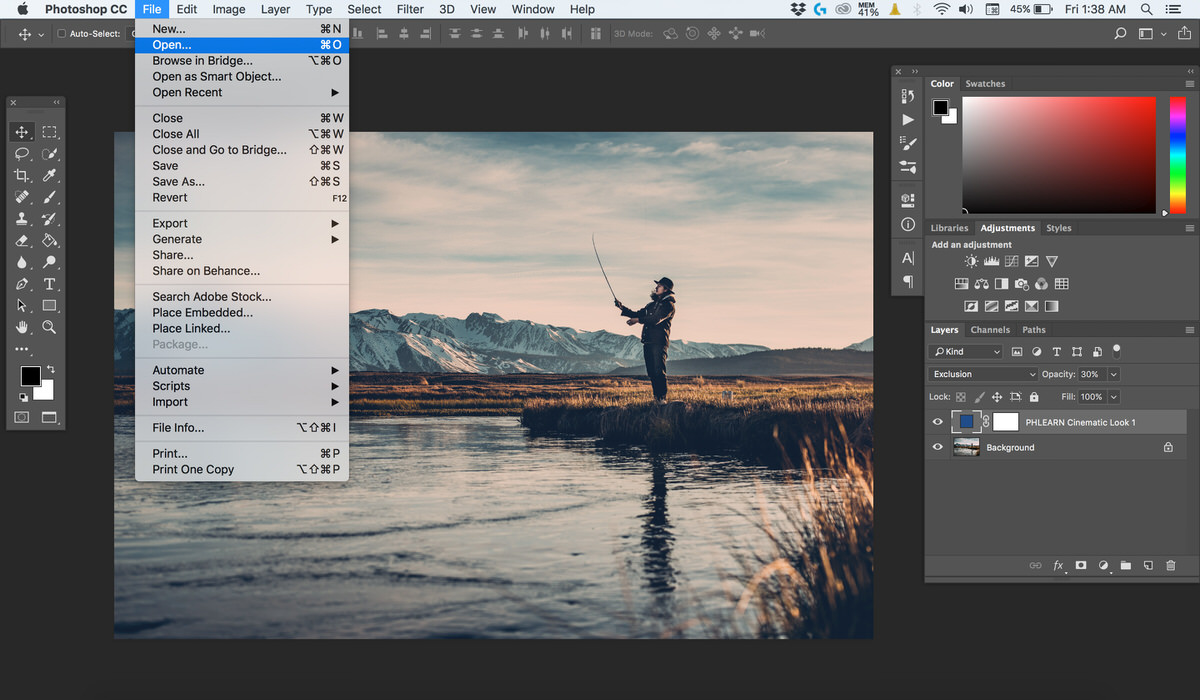
DownloadOpen Image in Photoshop
First I need to bring my image into Photoshop. You can either click on File and go down to Open…, select your file, and click on the Open button in the bottom right corner of the window or you can drag and drop the image into your Photoshop workspace.
- Double-Click on the Background in Photoshop
- Press CTRL/CMD + O
Add a Solid Color Fill Layer
So the first thing I’m going to add is an Adjustment Layer, which is located at the bottom of your Layers tab. To add an Adjustment Layer, go to the bottom of your Layers window where you should see a few different tabs you can choose from. The one we are looking for is the half filled in circle, which is located in the middle. Click on the small arrow below Adjustment Layer and select Solid Color.
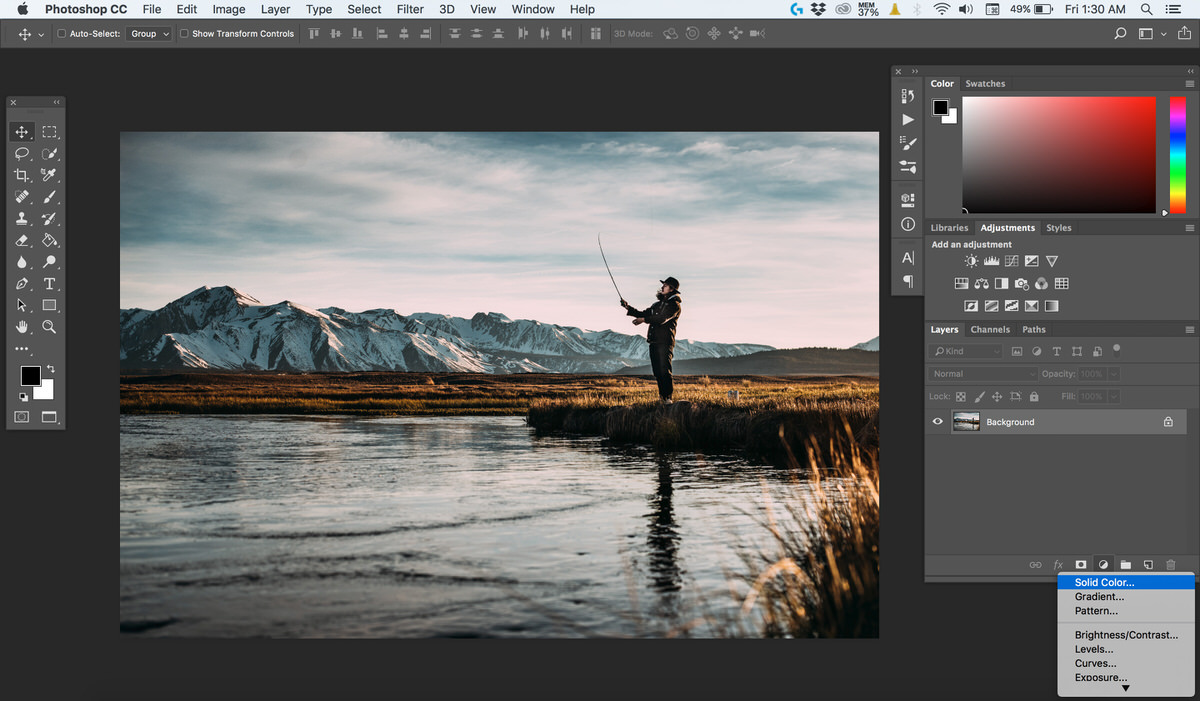
A window called the Color Picker (Solid Color) should show up in your workspace. The Color Picker allows you to choose almost any color you want. Now for this, we are going to pick a saturated blue.
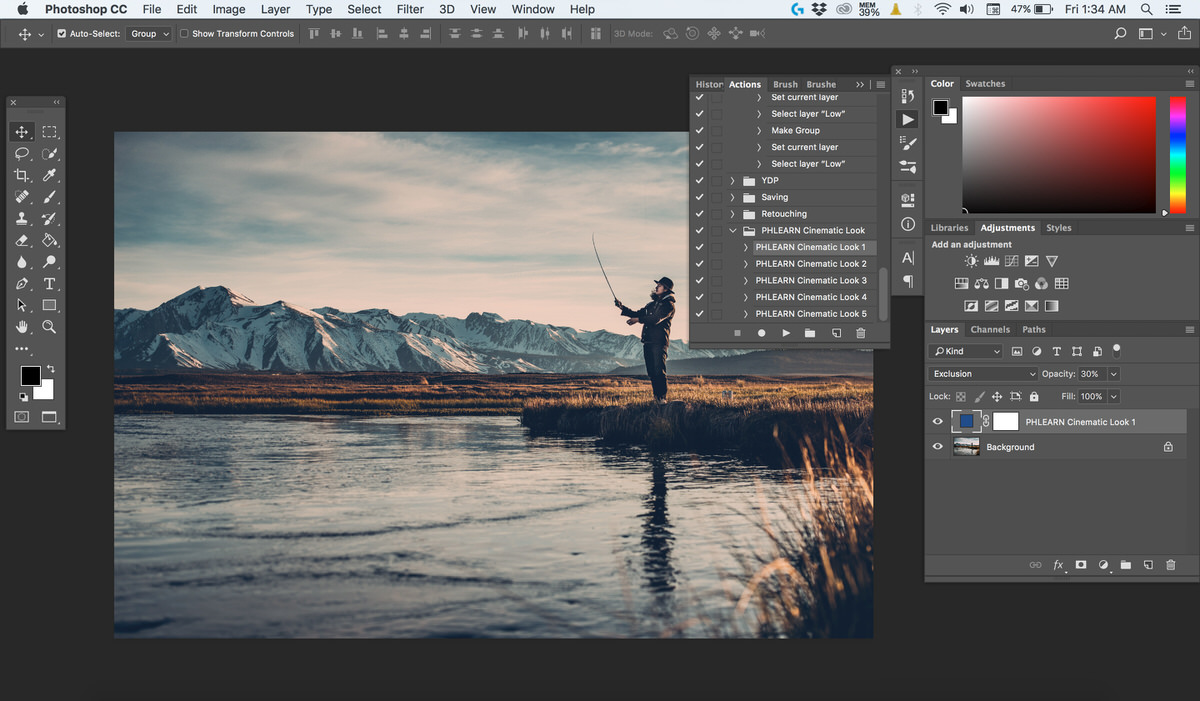
Change the Blending Mode to Exclusion
Next, we want to change the Blending Mode of the Color Fill. In your Layers panel, you will see that your Blending Mode is currently set to Normal. Click on the Blending Mode tab and you will see that you have all sorts of ways to blend the Color Fill into your image. For this image, we are going to change your Blending Mode from Normal to Exclusion. Exclusion is a blend mode that you probably don’t use very often but it adds a color into your shadows and then it’s complimented into the highlights.

Adjust the Opacity to Around 30%
Right next to your Blending Mode is Opacity. Opacity controls how much of the selected layer you want to apply to your image. To get the cinematic look, adjust the slider to about 30%. I find that around 30% is around the sweet spot for cinematic coloring.

Now you can just simply double-click on your Adjustment Layer Color in your Layers window. You can change your color at any time but I mostly suggest sticking to cool colors. This is going to add cool colors to your shadows and warm colors to your highlights, which will look really good on skin tones.
Using the PHLEARN Action
To make it easier, I’ve made an action that you can download on PHLEARN.com.
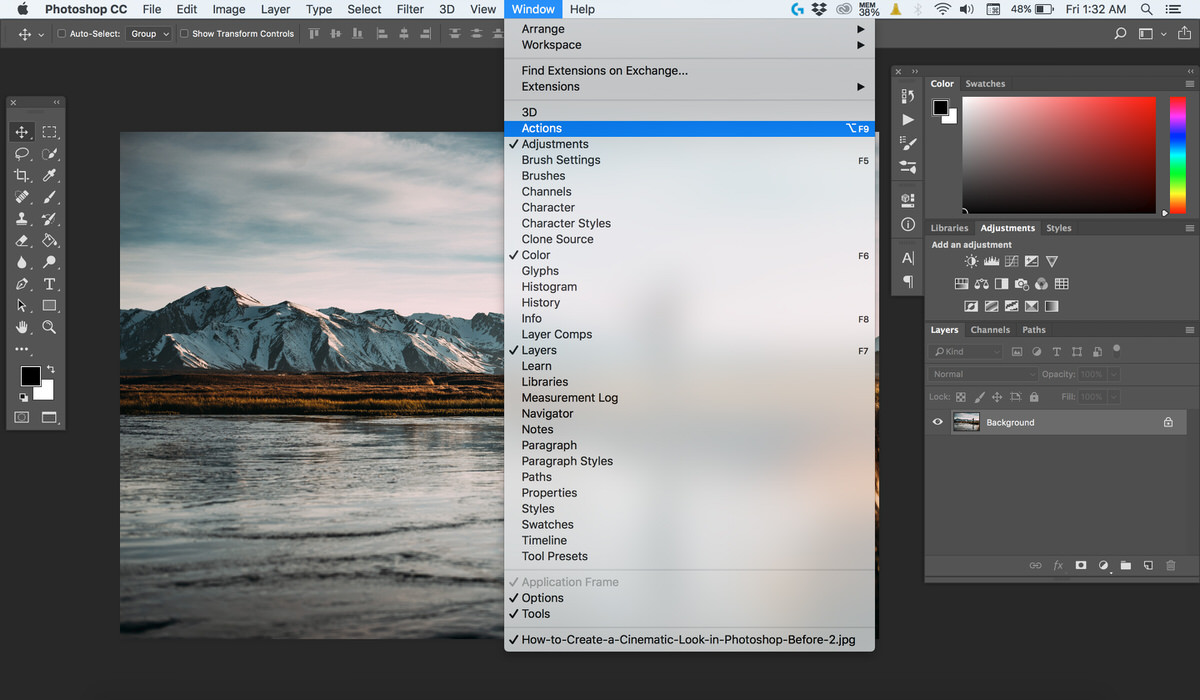
The first thing you want to do is go to the top of your screen and click on Window. You’re going to see that Window gives you a lot of different options to customize your workspace. Since we want to apply an action to our image go down and select Actions. Your Actions Panel should show up in your workplace.
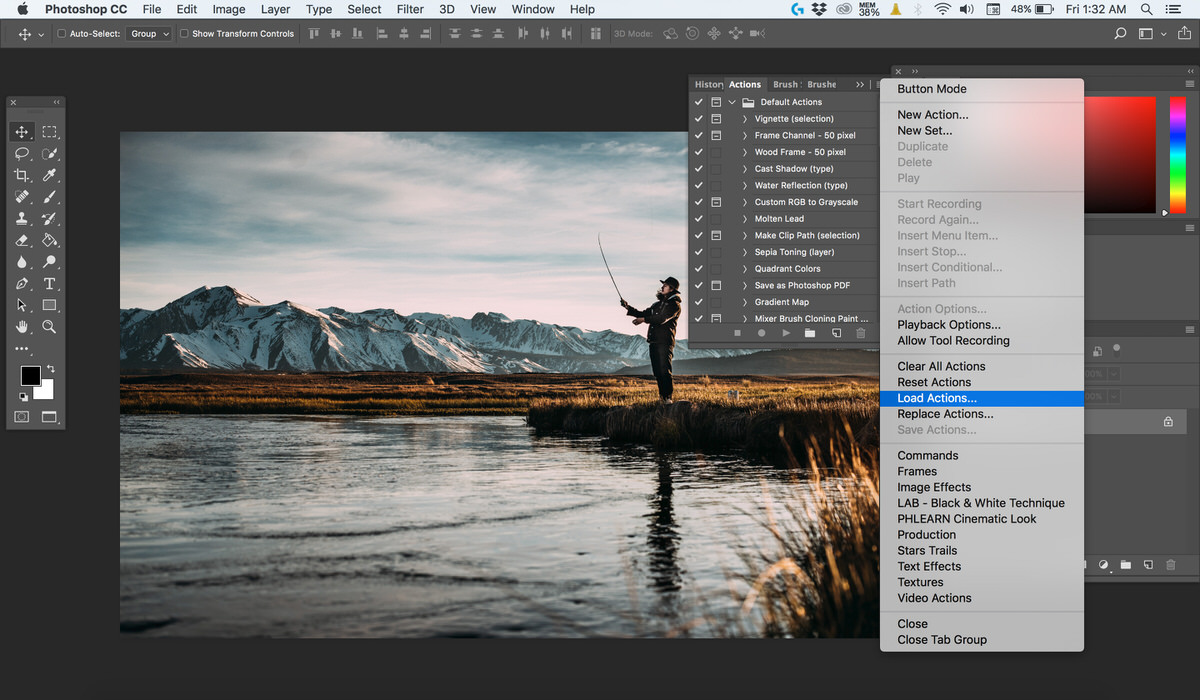
Now at the top right of the Actions Panel, you should see four small horizontal lines, which represent the Menu Tab.

Load the Provided Photoshop Action
Click on the Menu Tab icon and select Load Actions…
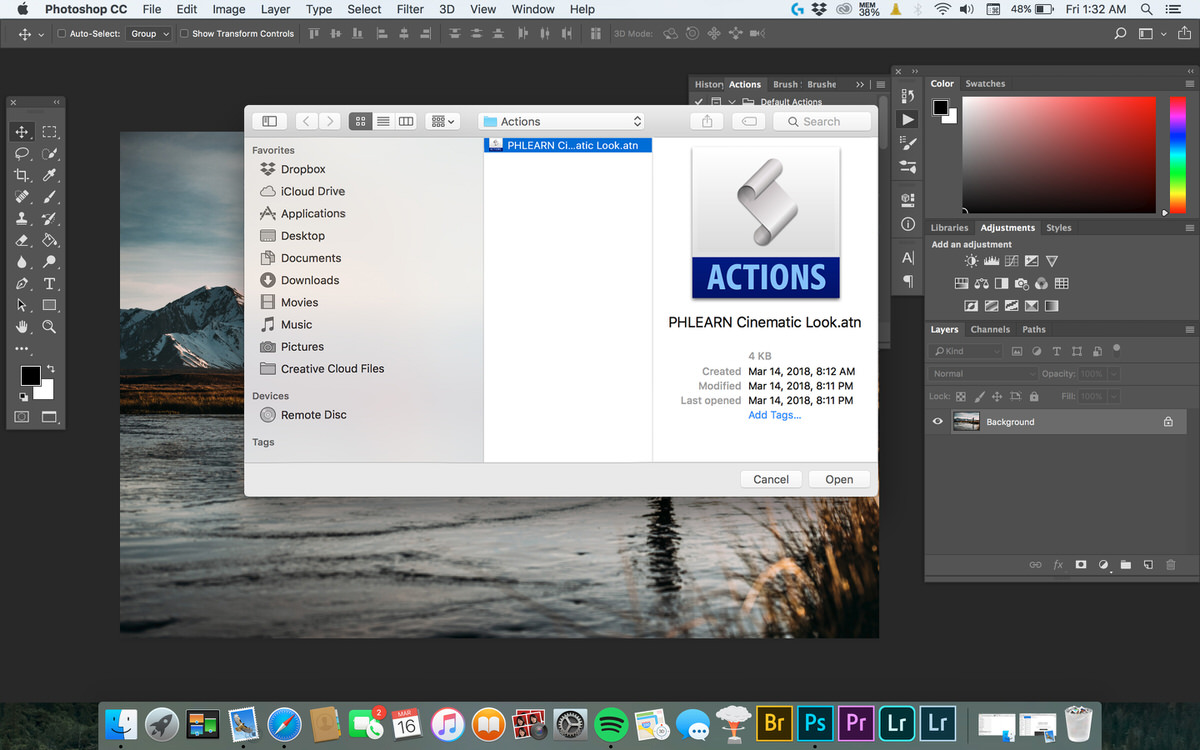
A window will pop up and select the file PHLEARN Cinematic Look.atn and click the Open button in the bottom right corner of the window.
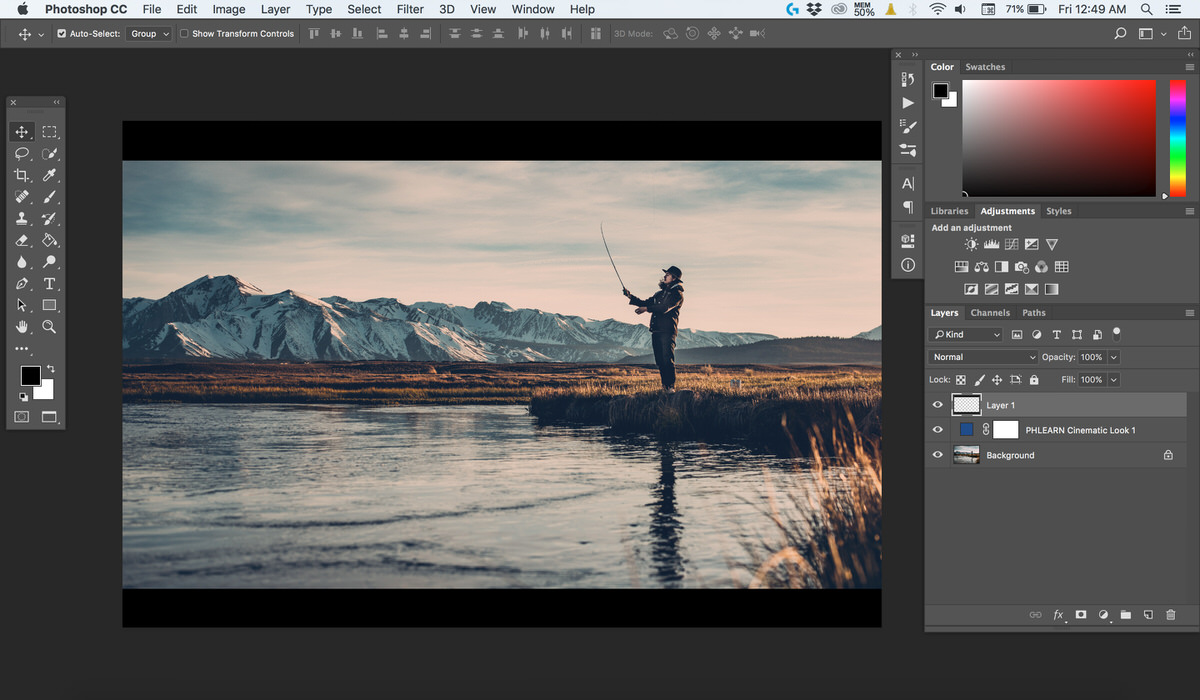
Add 5 Cinematic Looks with the Photoshop Action
The PHLEARN Ciematic Look.atn file should show up in your Actions Panel. Simply click on one of the looks such as PHEARN Cinematic Look 1 and click on the triangular play button on the bottom of the window, which represents Play. By clicking on Play, the look that you selected will be applied to your image.
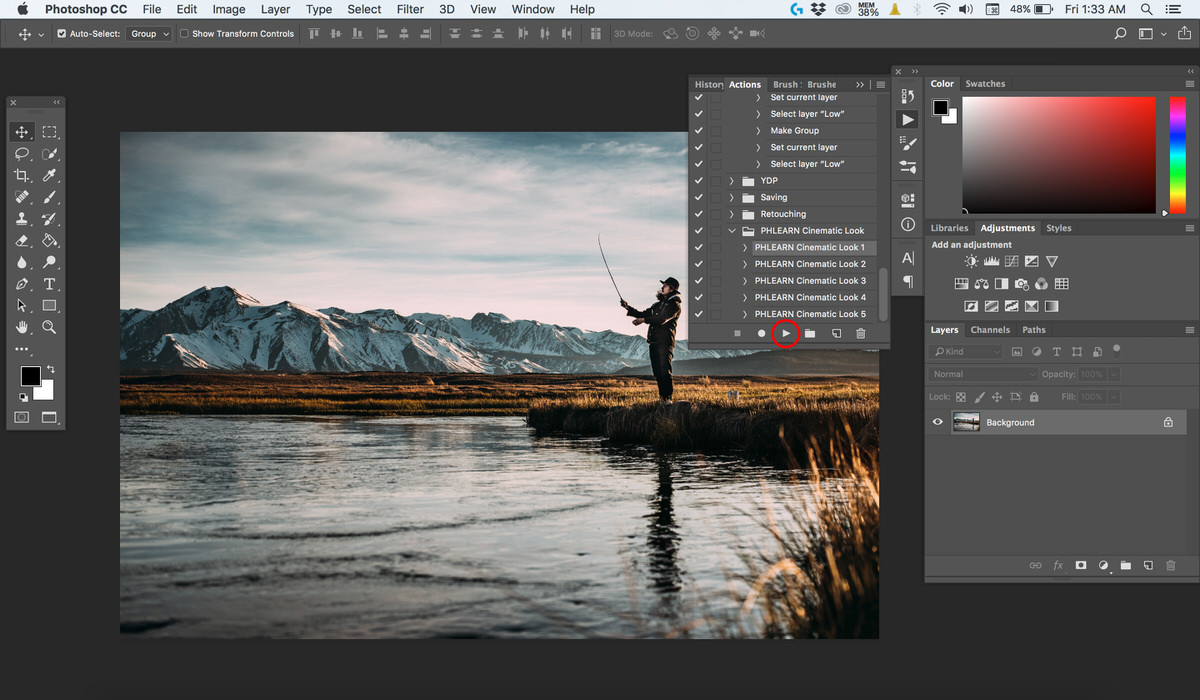
Now you can see that the action has toned your image with the unique cinematic look that you have selected.
Adding Black Bars
Now if you want to complete the cinematic look, you want to add black bars on the top and bottom of the image so that it is constricting your photo to a 16:9 aspect ratio. This ratio is the most common for television and computer monitors.
To load the black bars on top of your image you have two different options. You can either drag and drop the image on top of the other or go to File and click on Open…
Load the Provided .png
Find and select the Cinematic-Look-Film-Bars.png and click on the Open button.
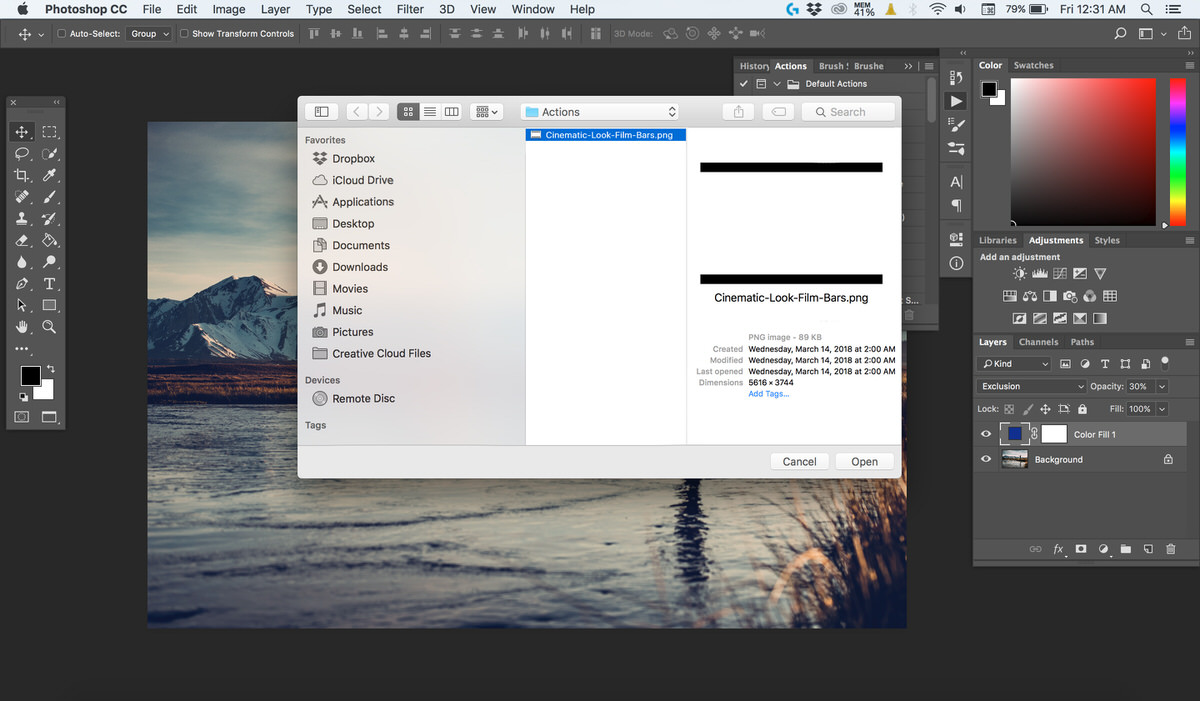
This png file has transparency built into it so all you need to do is select your Move Tool. The Move Tool is located in the Tool Bar, which is on the left side of your workspace. The Move Tool is the very first item in the Tool Bar and has four arrows pointing in different directions.
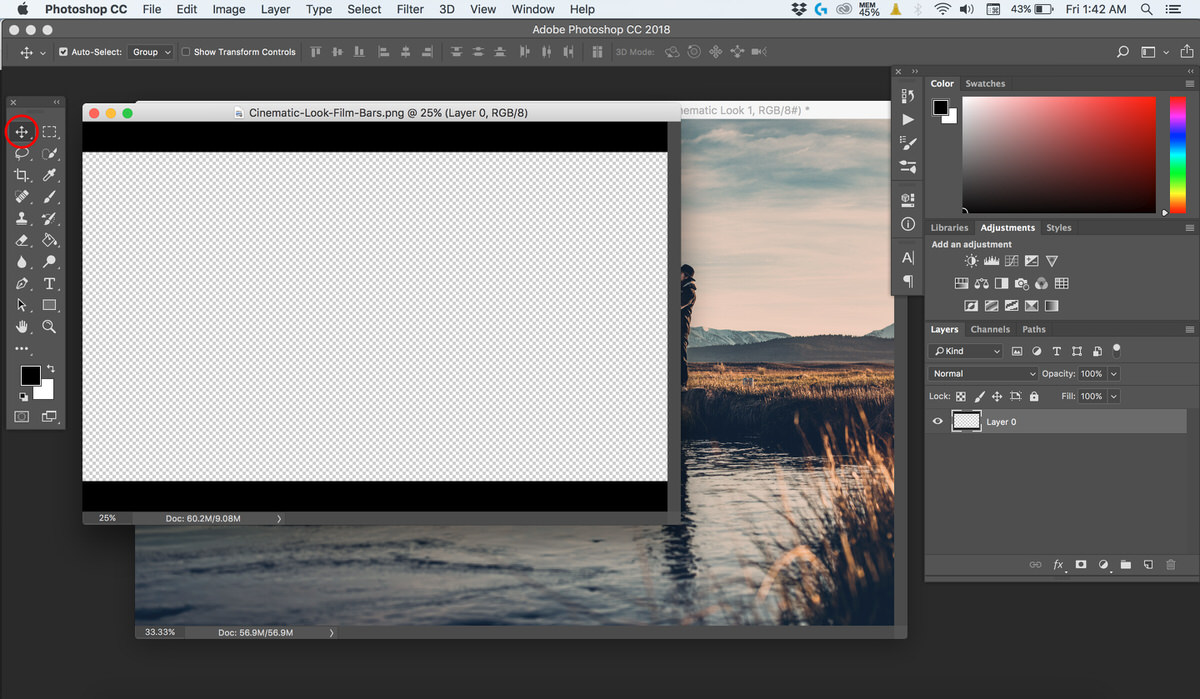
Move the Black Bar .png into Place
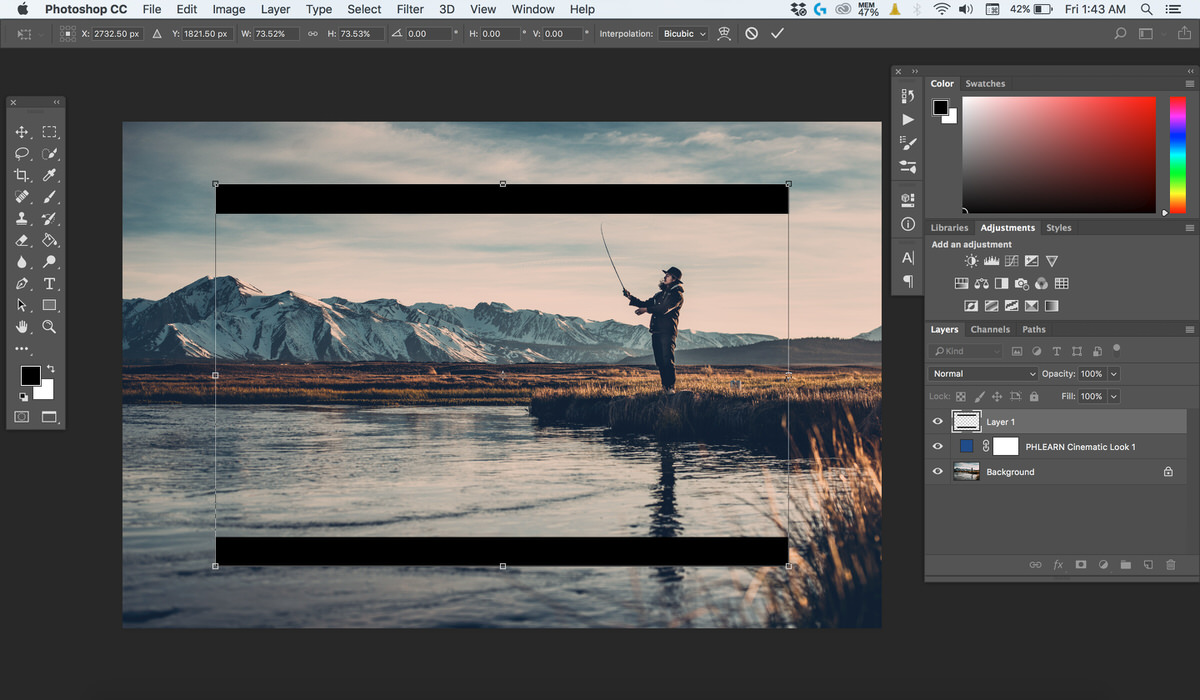
Select the Move Tool and drag and drop the Cinematic-Look-Film-Bars.png onto your main image. Now you should see the black bars across your image.
If you need to, you are always able to resize the bars larger or smaller while you drag your mouse and hold SHIRT and ALT/OPTION when transforming to lock aspect ratio and resize around the image center. The black bars have a 16:9 ratio, which is perfect for film.
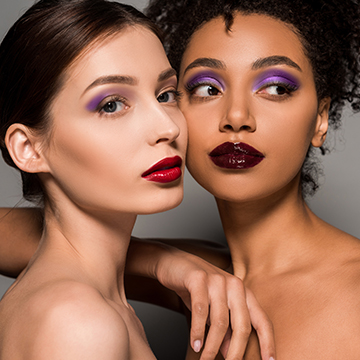
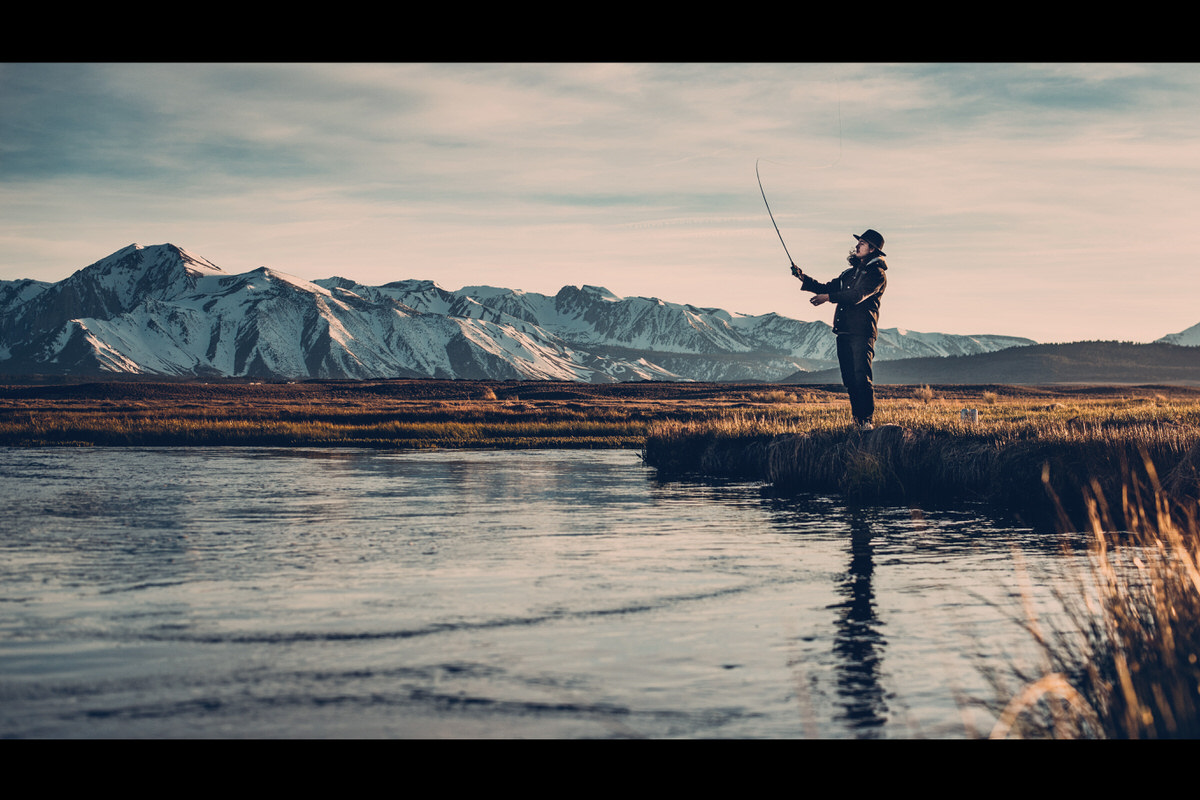
Final Image
If you want to go more in-depth and have access to hundreds of hours of tutorials, check out PHLEARN PRO for access to over 120 professional tutorials!
Color Grade Your Photos Automatically with a Free Action
PHLEARN is giving away a Photoshop action built to add cinematic color to your photos in less time. It’s included in the download above along with the sample image. To install it, go to Windows > Actions to open the Actions dialog box. In the menu on the top right of the dialog, select Load Actions and Photoshop will open your Finder/Explorer. Now select the .atn file from your downloads, and hit Open. For more information, check out our Quick Installation Guide.
Playing the action is just as quick. Highlight one of the five available actions, and hit the play button at the bottom of the Actions dialog box. Our actions create a new layer above your image that adds color according to Aaron Nace’s five favorite cinematic looks.
Transparent Black Bars to Make Your Photos have a Cinematic Aspect Ratio
Your download (above) includes file called Cinematic-Look-Film-Bars.png. A .png is an image format that supports transparency, so simply drag it onto your image in Photoshop, and you will be able to see through the bars at your new, cinematic image. You may need to resize it to fit properly, so hit CTRL or CMD + T to scale it up or down. The bars will only do their job if the transparent part keeps its 16:9 aspect ratio, so hold SHIFT to maintain the aspect ratio as you change the size. Because 16:9 is the standard ratio of length and width for film and video, your image will look like it’s straight from a movie screen. And you’re all set!
Lights, Camera, ACTION.