description
This tutorial, just like all of our PRO tutorials on Phlearn.com, contains all of the instruction and assets you’ll need to follow along including keyboard shortcuts, on-screen tips, and tricks, as well as the original 16-bit RAW files.
THIS COURSE INCLUDES
- 11 Sample Images
Share
Course Downloads
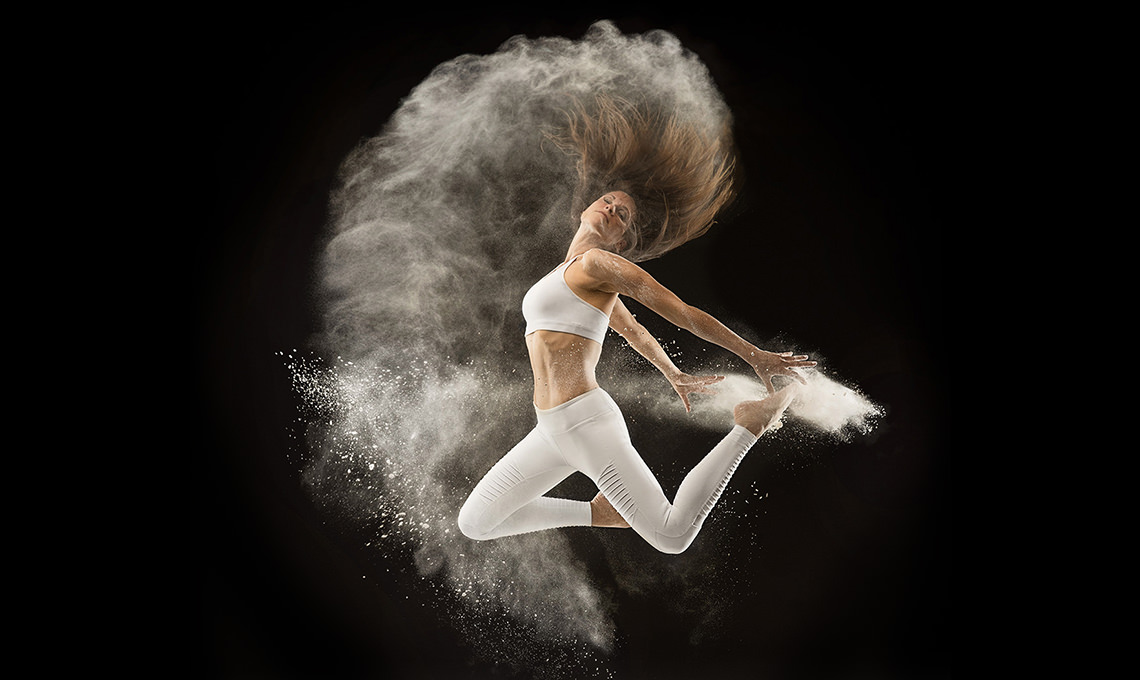
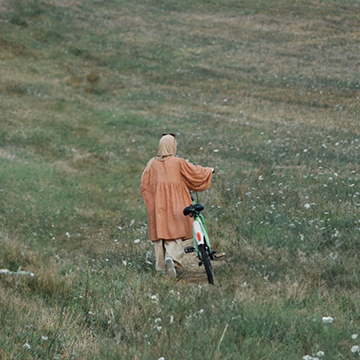
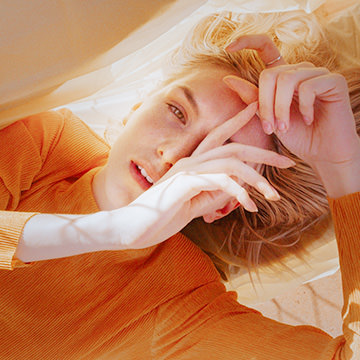
Bring Your Image to Life

Learn Compositing Workflow
Take the best part of multiple different photos and combine them together to create one flawless image. This technique can be applied to any type of photography including wedding, portrait, architecture and product.
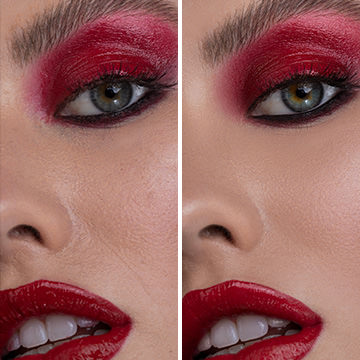
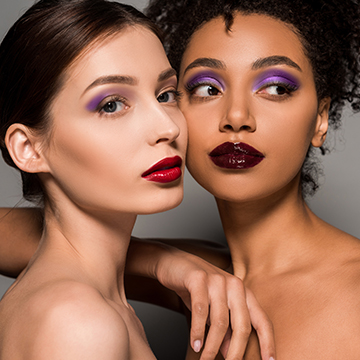
Enhance Detail
Add more shape and definition to your images using our exclusive Dodge & Burn Technique. This effect makes images appear more three-dimensional, helping you to stand out from other photographers.
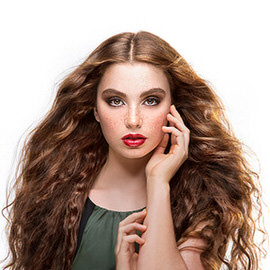
Retouch & Enhance Clothing
Clothing is often overlooked when it comes to retouching and post-production. A few wrinkles can be distracting and make a clean image look messy. Learn techniques for removing wrinkles, correcting color, and enhancing details of clothing.
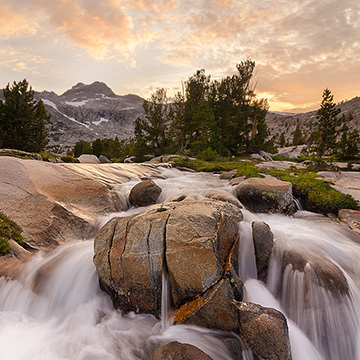
16-Bit RAW Photos Included
Everything you need for increased proficiency and skill is included with your download. Watch at your pace and follow along with the included 16-Bit RAW Photos.
Reviews
New & Popular Tutorials

Training Site in
the World
Tutorials!
Ratings
and Counting
Subscribers
Amazing tutorial. It says “easy” but easily you can use the technique from this tutorial to create very advanced projects. The way how Aaron explains everything is remarkable, step by step you follow his guidelines and you never lost, even working with multiplied layers, groups etc. Learning with Aaron motivates you to start exploring your imagination, he encourages you to be creative and play with Photoshop. I am never tired when I am learning with Aaron, even after long tutorial I am always full of creative energy.
War mein erstes Pro. Hat mir gut gefallen. Danke
I was disappointed that there was no information about shooting the images, how they were lit, what powder was used, etc.
Great tutorial as always. But in a tutorial where you insist so much on checking for luminosity transitions by using temporary curves etc., I’d expect the final image to show up correctly on my screen, which it doesn’t! (and I’m talking about the downloaded final image) It seems that when you make the final export for the web, the change to sRGB brings back some of the harsh transition. Why not use some levels on the layers that are set to Lighten? I imagine if you make the blacks blacker on those, the problem should go away more easily than painting and feathering on the layer mask?
Excellent, really enjoy your videos. As always I have learned many new thing
Really nice! great job! would be cool to have some details about the shooting too… Thank you! ps: what powder did you use?
It’s just general purpose flour 🙂
Your tutorials are a great learning source. I’m 60ish and retired but love photography and photoshop. Have done many of your tuts and I do it for phun and not professionally. I’ve won many awards at our Camera Club and won a trophy, (Color Creative of the Year ), at the Greater Detroit Camera Club Council. Really liking this subscription deal and looking forward to the new Phlearn projects.
This is so amazing. I’m really interesting to make a backdrop and much more following Aaron’s step by step. Can’t say i’m thankful for this tutorial so much. Thanks You & expect more tutorials like this soon. Psst ???
Amazing! Tutorial. One of my favorites. I’ve been working in PS almost daily over the last 7 years, having learned much of what I know from Aaron. My work flow is mostly composites using photographs creating artistic work. This Tut is listed as Easy but it is actually quite advanced, packed a lot helpful information and tips. It’s easy because Aaron doesn’t miss a beat in noting exactly what he’s doing. Very professionally done. Easy on the ears to listen to and ?’s to watch. The model should love this photograph of her. However, it had to be very hard on the model, as well as, on the clean up crew to do this beautiful project. Wow! This Tut is worth the cost and buyers won’t be disappointed.
Excellent, really enjoy your videos. As always I have learned many new thing, now to pratice with them
Great course, learned a lot (again). What about compositing some photos not being from the same shoot. Tell something about color, saturation, exposure matching.
Excellent tutorial. As a note though, it does not appear that the Liquify tool works on a smart object in PS CS6.
I’ve always wanted to phlearn this, so you’re basically making my dream come true! As always you guys never disappoint! It is very phun to watch, very clear and easy to follow. Excellent work!! ¡Gracias!