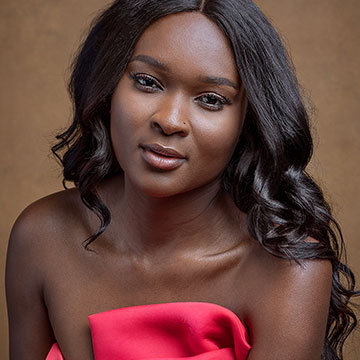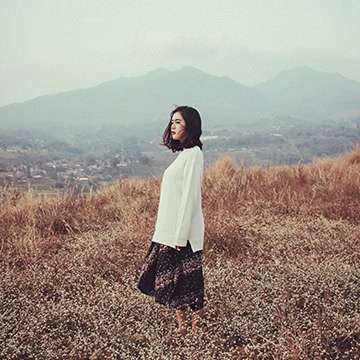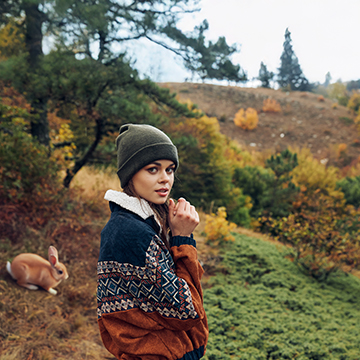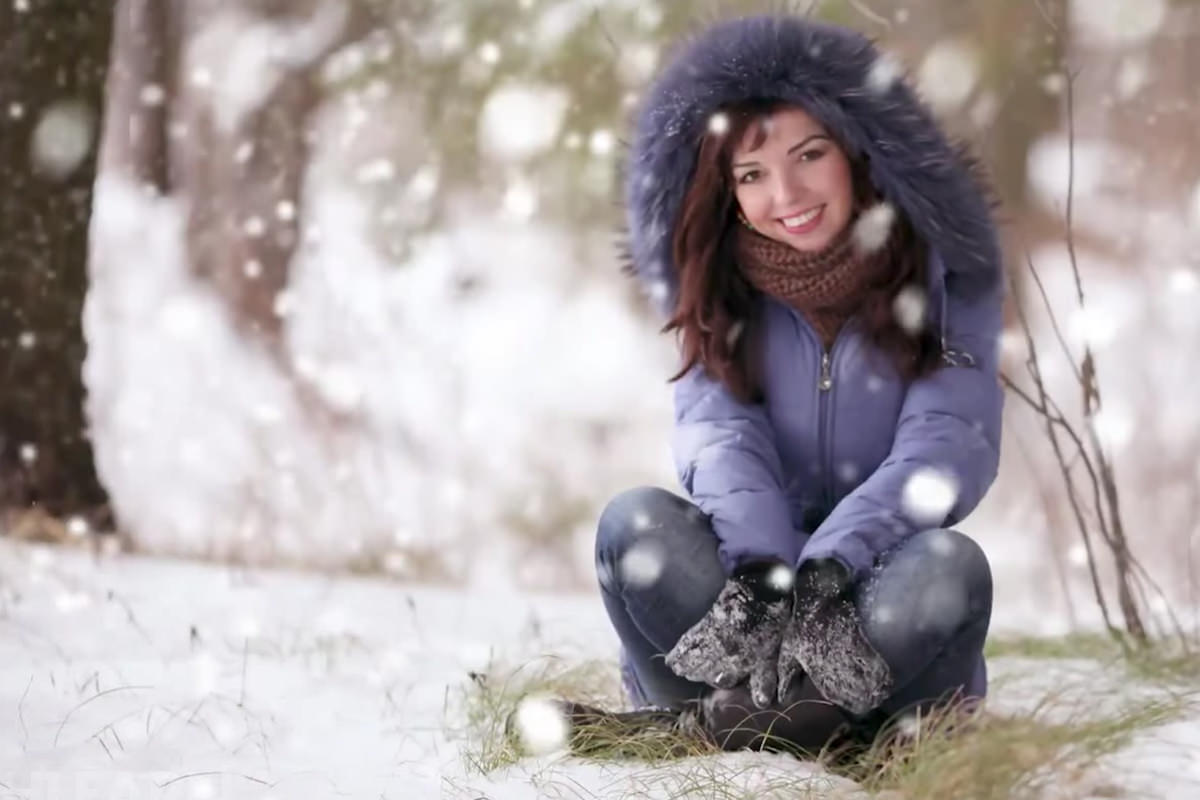
Let it Snow
Have you ever wondered if it is possible to create snow from scratch? In today’s episode, we show you that all you need is a custom Brush and some blurs to create your own winter wonderland!
Custom Brush
Creating a brush from scratch is simpler than you might think!
Create a new document (500 x 500 pixels is great) and then create two round shapes apart from each other with the Elliptical Marquee Tool. Click Shift + Delete on a New Layer to fill them with black. These will end up being our snowflakes later on. Make sure to select Edit —> define brush preset to turn your dots into a Brush.
We can then go back into the image document and select the Brush Tool. Right click to bring up all of the Brushes and select the one we just made! Next, go to Window —> Brush. This will bring up all of the brush settings we need to make our dots look like actual snow. Here, we adjust elements such as the Size, Angle, and Roundness Jitter to create a more random look. We also increase the Scattering and Opacity Jitter.
If you’d like to download the Phlearn Snow Brush, click the link below!
Layers and layers
A huge part of making our image look realistic is using multiple layers of snow (literally!). We can use our first layer to create the snow farthest in the Distance. These snowflakes will be smaller and should be created with a smaller sized Brush.
The next layer will consist of snow that is closer to the camera. This means that it can be painted onto the ground and the subject.
The next layer will have larger snowflakes, and so on and so forth. 5 layers is a good number, but every image is different and this may vary.
Blurry Blizzard
Without a blur, our round flakes look quite Photoshopped. By going to Filter —> Blur —> Gaussian Blur, we can select whichever amount of blur looks best for the image. This technique looks great and can be used on all of the layers of snow.
To create the illusion that the snow is actually falling, we can also add a Motion Blur to the snow closest to the foreground. Filter —> Blur —> Motion Blur will bring up the Motion Blur dialogue. Here, we can choose the Angle and the Distance of blur.
Final Touches
What is the best part about Photoshopping snow rather than shooting in it? You can erase and move as you please! Don’t be afraid to duplicate the layers and move them around to adjust the position of the snow. We can also press E for the Eraser Tool to eliminate distracting flakes.