
BEFORE
AFTER DODGE & BURN
Download Sample Image & Custom Brush
Click the link below to download the sample images and follow along with this tutorial.
DownloadTutorial Description
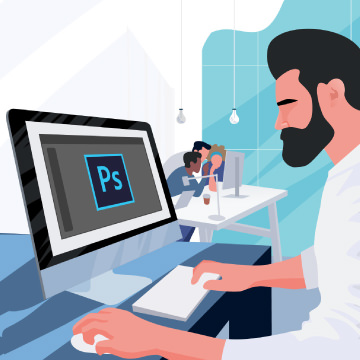
Whether you’ve already got a Wacom Tablet (or any other brand of pressure-sensitive tablet) or you’ve been thinking about picking one up, we want to show you how you can use it to take your editing to the next level. Learn how to apply a beautiful, subtle dodge and burn effect using the features of a Wacom Tablet and by creating a custom brush in Photoshop!
And if you don’t want to go through the motions of making the custom brush, we’ve included it in the sample image download. For free!
And once you’re ready to put your Wacom to work, try our PRO tutorial How to Master Dodging & Burning in Photoshop. Up your editing and retouching game while taking full advantage of your Wacom Tablet.
Mouse vs. Wacom Tablet
Let’s be clear; you can create beautiful images and edits in Photoshop with a mouse or a pressure-sensitive tablet. While a Wacom Tablet can give you more control and help save you a bit of time, there are plenty of talented artists and craftspeople out there that create extraordinary work with standard computer peripherals.
Do we recommend using a pressure-sensitive tablet? Absolutely! If you have the budget and the time to get used to the change, we think it can vastly improve your workflow.
Do we think you need a pressure-sensitive tablet to be successful? Not at all. Whether you don’t want to invest in another piece of computer or hardware or you just love your mouse, you’ll still be able to get professional results without compromise.
If you’re using a mouse, you can still get a build-up effect when painting by setting your Brush to a lower flow. Using a flow of 2-5% will allow you to gradually blend any effects.
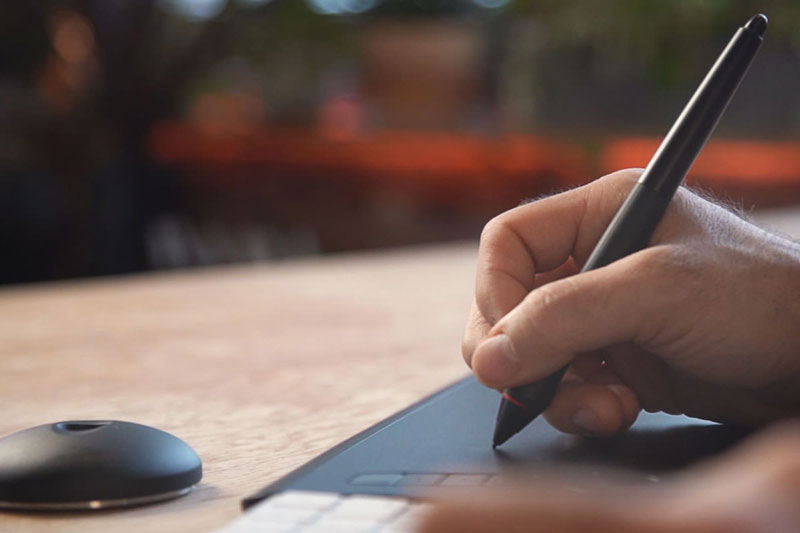
A pressure-sensitive tablet effectively does the same thing, but rather than using the Flow setting you simple need to apply more or less pressure as you paint. Not only can you get more control when blending, you can also have the amount of pressure applied affect brush size as well. Combining these options, you end up with a very natural-feeling process that acts similarly to painting with a real paint brush.
Wacom Intuos Pro
Get complete control of your editing with 8192 levels of pressure sensitivity! Perfect for blending effects and for a more ergonomic, natural feel as you work.
Create a Custom Brush
If you’re using a pressure-sensitive tablet, try setting up a custom brush that allows you to utilize its most powerful features. By setting Shape Dynamics and Flow Jitter to Pen Pressure, you can get full control over both the size of the brush as well as how much of an effect is applied–all by simply applying more or less pressure with the pen!
Follow along with the tutorial, load our Wacom Tablet-optimized custom brush, and try it for yourself!