Download Assets
description
Learn the best workflow to edit your baby photos in Photoshop! From seamlessly removing distractions to adding a magical glow effect, this class will equip you with the skills to create stunning portraits that capture the essence of your little one.
Go PRO:
Explore more of the world of In-Studio photo editing with our in-depth PRO course Intro to In-Studio Photo Editing in Photoshop. We’ll teach you how to make precise cutouts, manipulate backgrounds, add creative elements, and more!
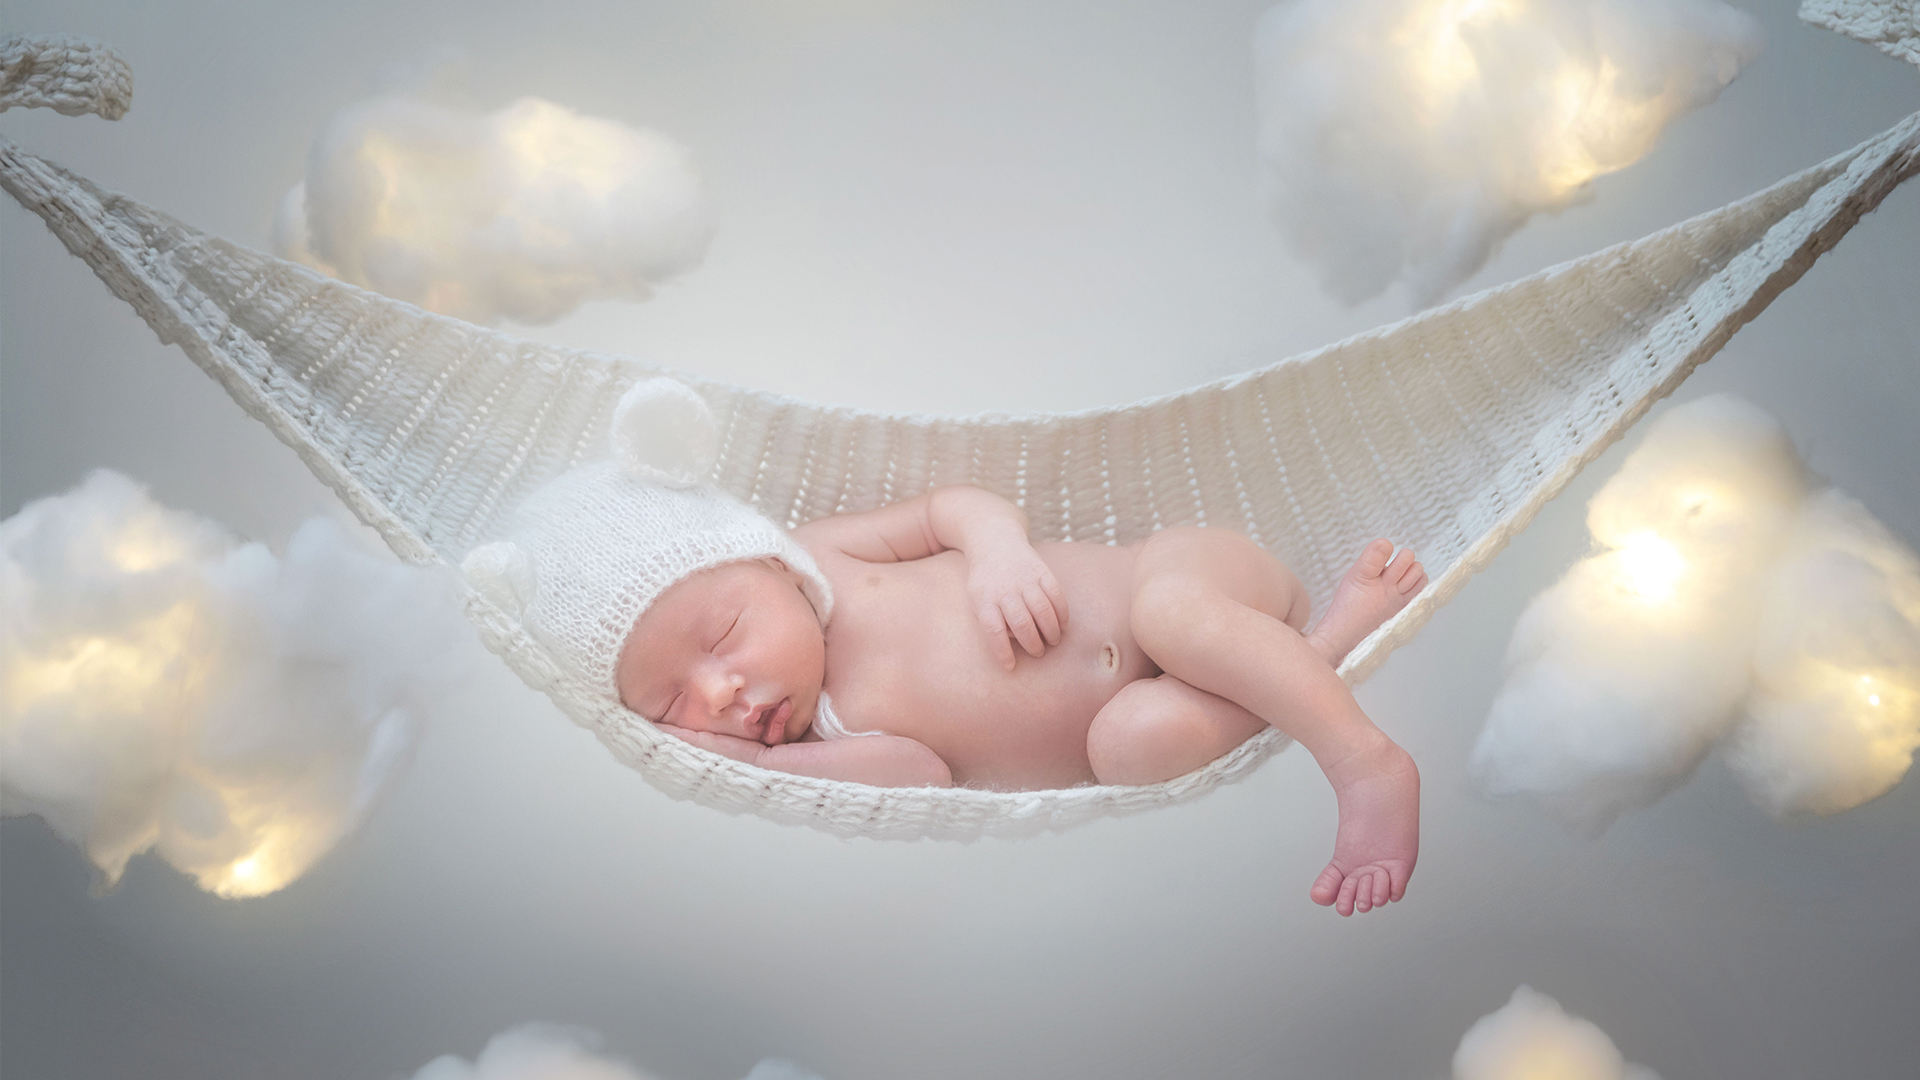
Image Source
Due to Adobe’s copyright limitations, we’re only able to offer a low-resolution preview image. Download the high-resolution image for FREE here.
Share
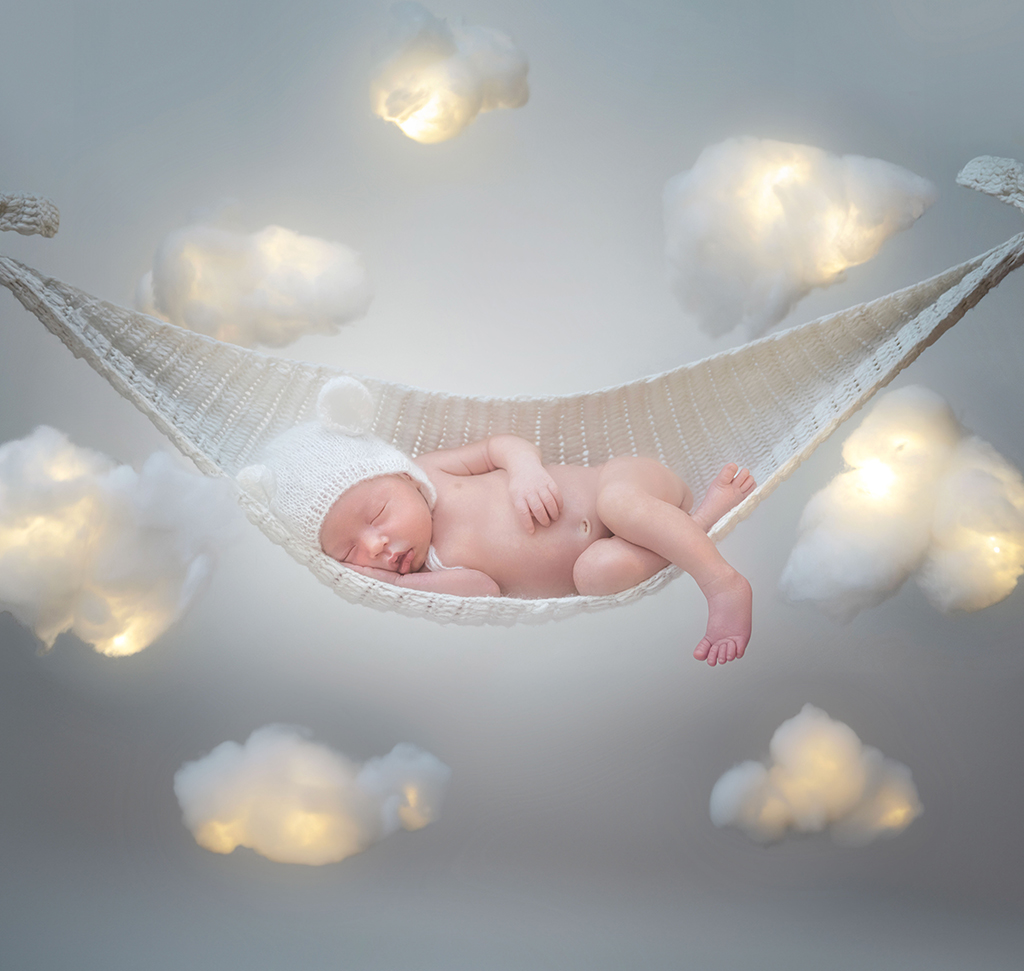
AFTER
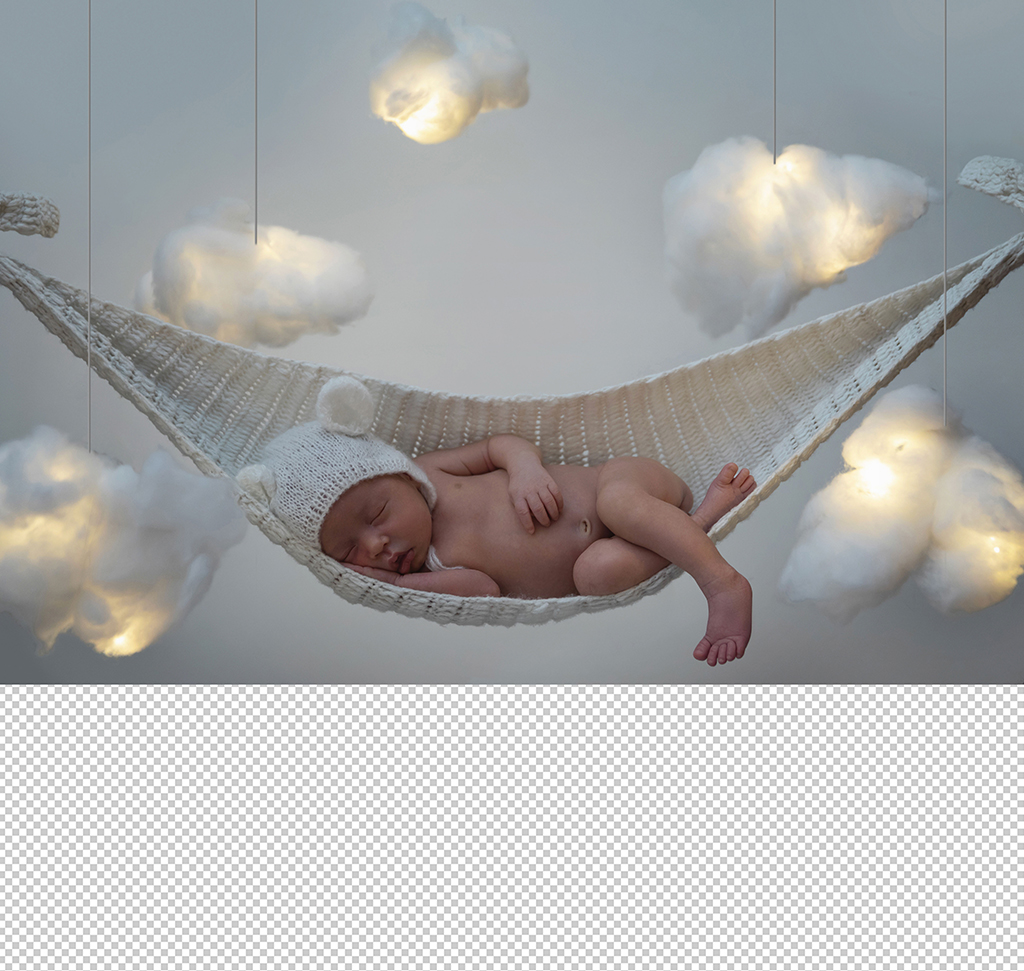
BEFORE
Simple Steps, Stunning Results.
Editing baby photos can be a rewarding experience, but it requires a thoughtful workflow to achieve professional results. This guide will walk you through the essential steps, from removing distractions and adding details to color correcting your images.
Clean Up & Enhance
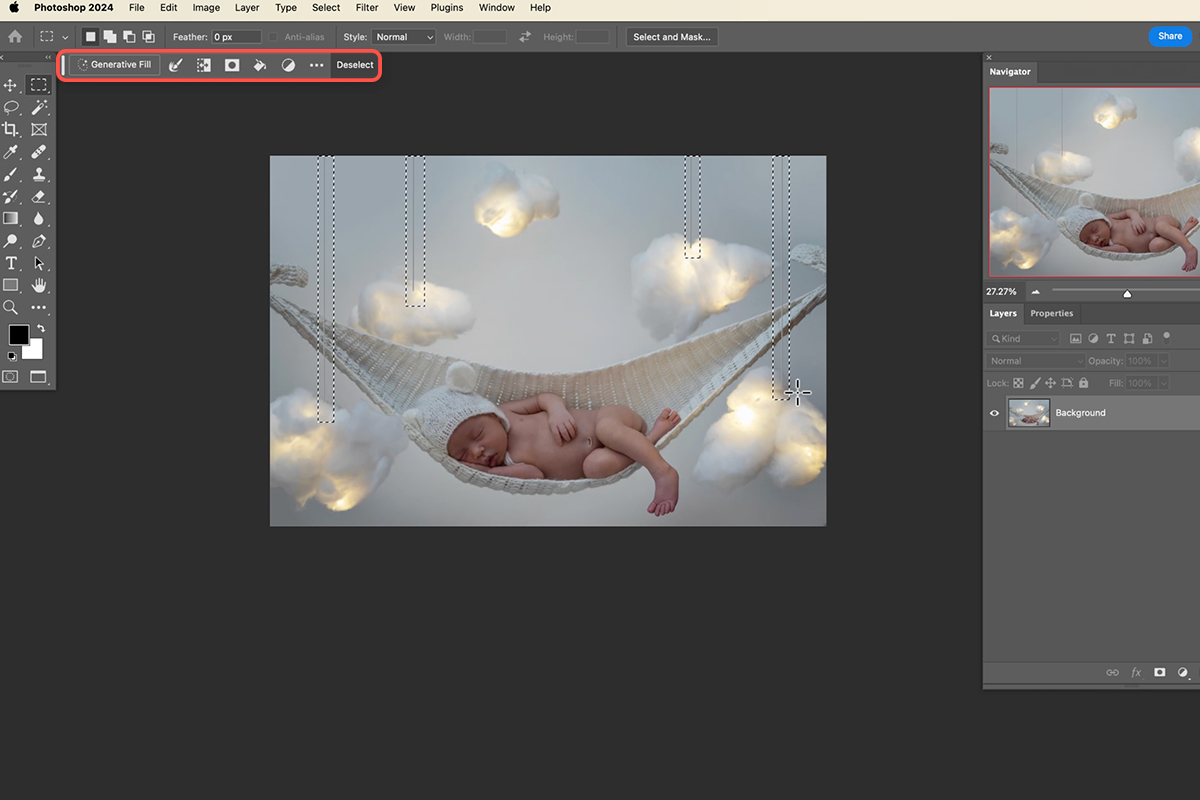
1. Use the Marquee Tool (Keyboard Shortcut “M”) to select unnecessary objects like strings. Then, apply Generative Fill to replace them with matching content.
2. If the baby is too close to the edge, use the Crop Tool (Keyboard Shortcut “C”) with Generative Expand to add more space around the subject.
3. Use Generative Fill to create more clouds or other elements that match the existing image. Remember you can always experiment with different selections and generative fill options to find the best fit.
Focused Editing
4. Duplicate the current layer to preserve the original image (Keyboard Shortcut “Ctrl/Cmd+J”) and convert it to a Smart Object.
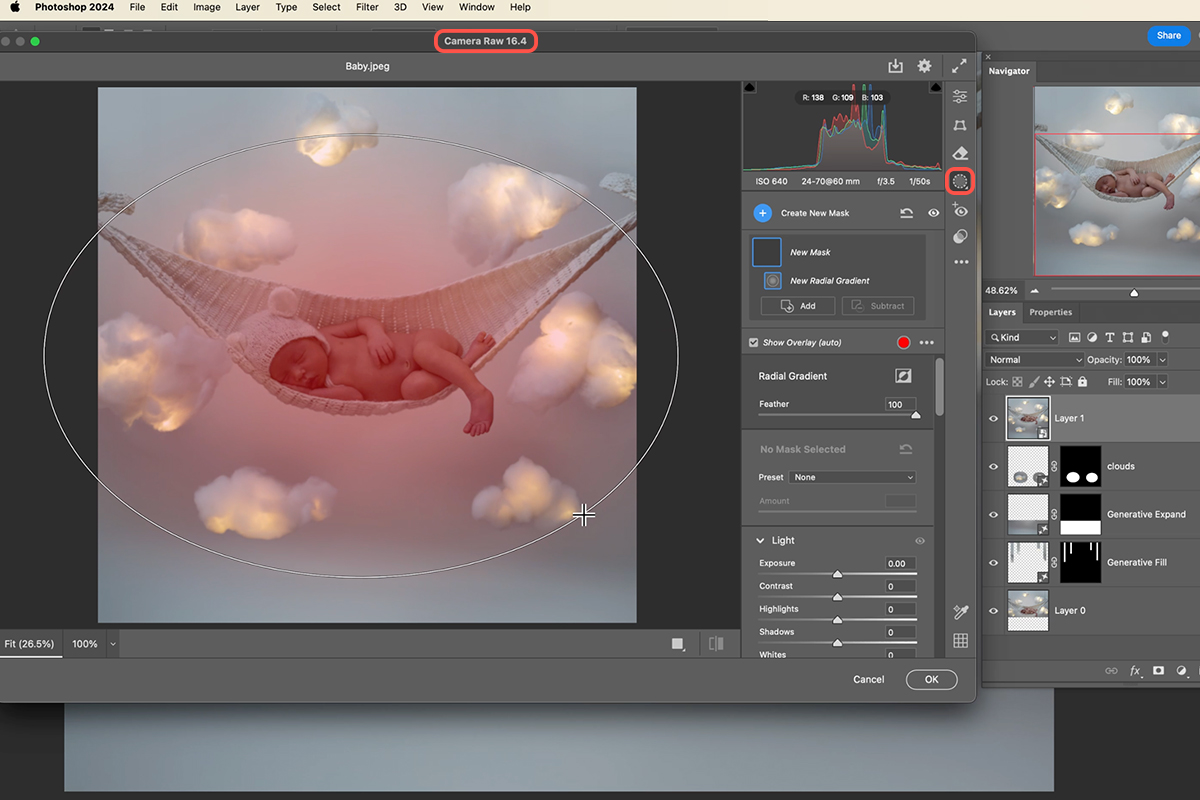
5. Use Adobe Camera Raw to adjust Exposure, Shadows, and other settings to brighten the baby’s face and body. To access Adobe Camera Raw, go to Filter > Camera Raw Filter.
6. Use Radial Gradients to create masks and selectively apply adjustments to specific areas like the face or feet.
Adding a Glow Effect
7. Create a new layer containing only the baby (Keyboard Shortcut “Ctrl/Cmd+Shift+N”).
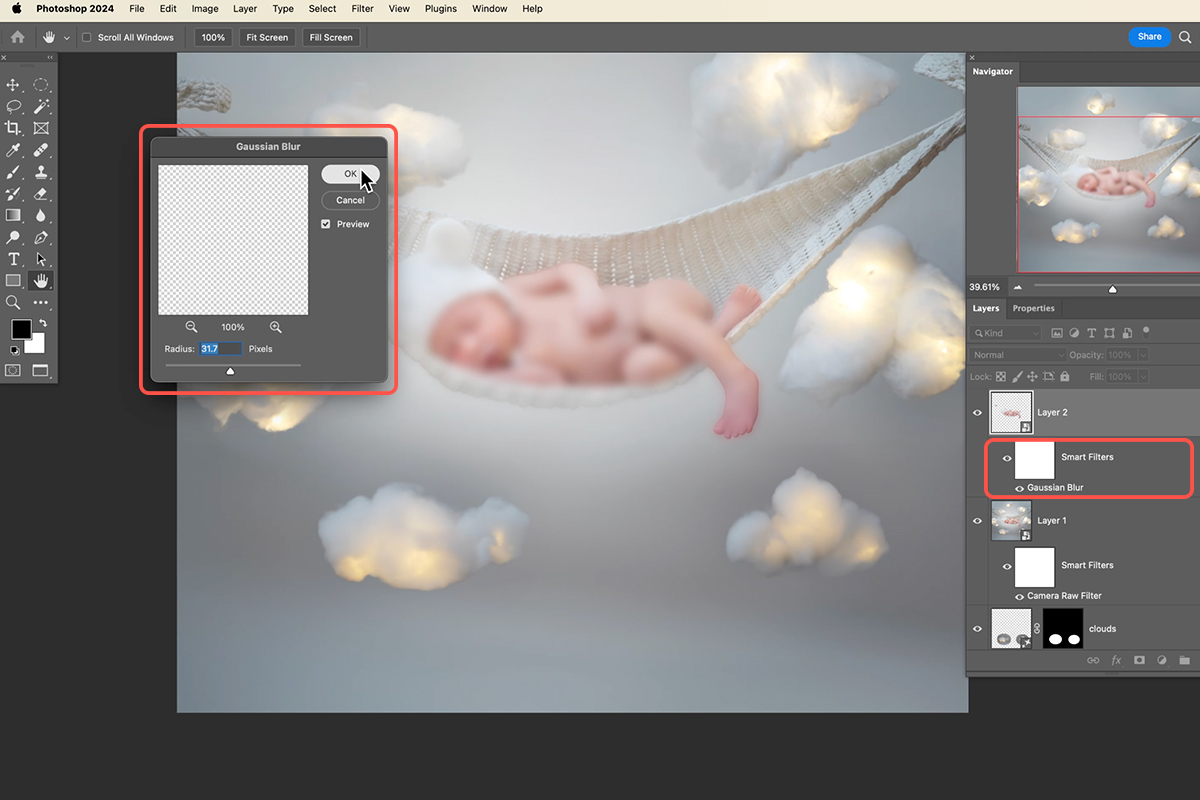
8. Blur the duplicated layer to create a soft, glowing effect.
9. Set the layer’s blending mode to Lighten to create a subtle glow.
10. Apply Blend If to make the glow less noticeable in darker areas, preserving the baby’s features.
Adding a Global Effect
12.Duplicate the entire image (Keyboard Shortcut “Ctrl/Cmd+J”).
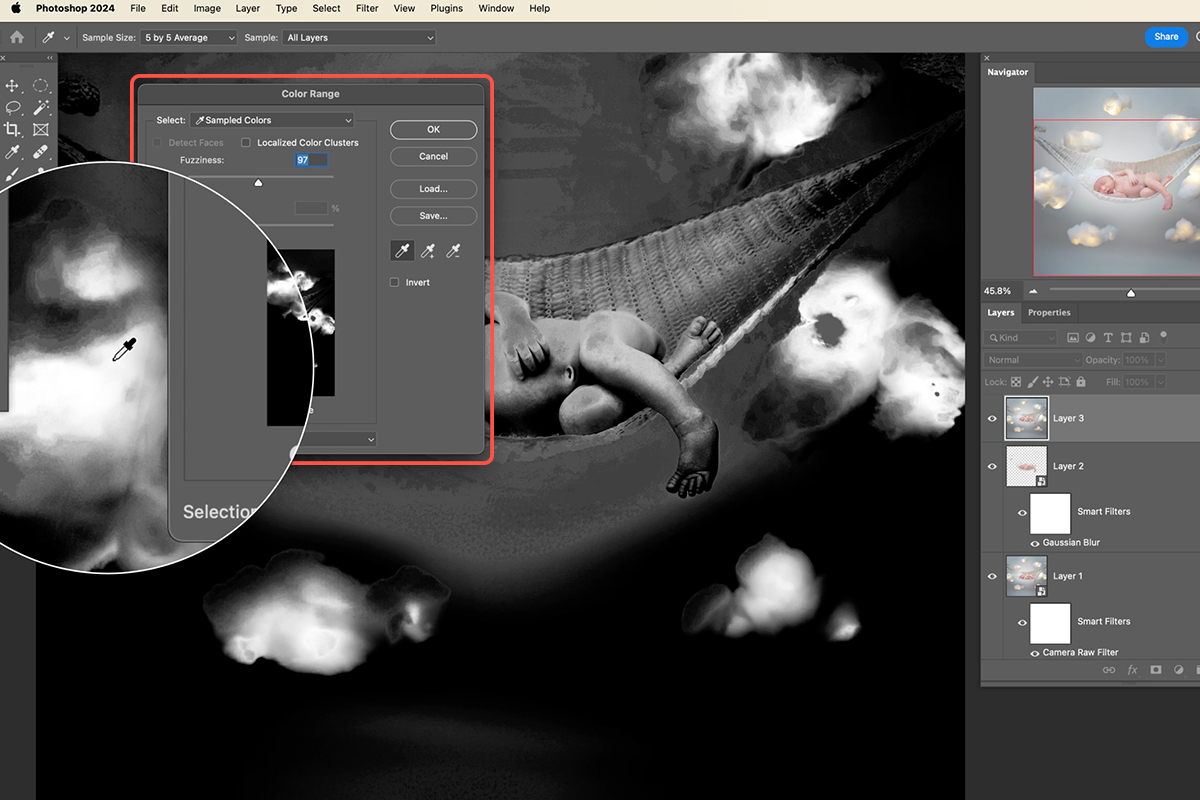
13. Use Color Range to select the lighter parts of the image and blur the selected areas to create a soft glow.
14. Set the layer’s blending mode to Lighten and use Blend If to control the visibility in darker areas.
15. Duplicate the glow layer multiple times and adjust the blur intensity to create a more pronounced effect.
Remember to prioritize non-destructive editing techniques, such as using Smart Objects and adjustment layers, to maintain flexibility and avoid permanently altering your original image. Don’t be afraid to try new techniques and experiment with different settings. Most importantly, enjoy the process of creating beautiful memories for your little one!
