
Download Assets
This tutorial includes 9 sample images, 1 sample PSD and 1 PDF guide. Downloads are free with a PHLEARN account.
- Download the sample images and PSDs from every free tutorial on PHLEARN
- New free tutorials published every week
- One free account — sign up once, then download anything
Free PDF Guide · 3 Pages
This Tutorial as a Step-by-Step PDF
Every step from the video in order: the shrink-and-enlarge test with and without a Smart Object, Convert to Smart Object, Cmd/Ctrl-drag corners for perspective, the Magic Wand selection loaded as a mask, Cmd/Ctrl+J and Multiply for the shadows, and double-clicking the Smart Object to swap the painting and save. Keep it next to your keyboard.
description
Experience the power of Smart Objects in Photoshop! This tutorial will guide you through using Smart Objects to modify layers without sacrificing image quality or losing the flexibility to revert edits. We’ll even show you how to use them for compositing!
Enjoying This Free Tutorial?
We publish a new free tutorial every week, each one with sample images and PSDs you can download and follow along with. Sign up and they land straight in your inbox, along with early word on sales, events and subscriber-only offers.
Image Source
How to Use Smart Objects in Photoshop
A Smart Object is a Photoshop document living inside another Photoshop document. That sounds abstract until you see what it buys you: you can scale a layer down to two percent and back up to full size with no loss of quality, and you can swap out its entire contents at any point without redoing a single piece of the work built on top of it — the transform, the mask, the shadows, all of it stays.
That second property is what makes Smart Objects essential for mockups, product shots, and any composite where the artwork might change. This tutorial covers both, and builds a framed-artwork composite that demonstrates why it matters.
What Happens Without a Smart Object
Take an ordinary pixel layer and press Ctrl+T or Cmd+T. Scale it down to around three percent and commit. Then transform again and scale it back to full size.
The result is unusable. Scaling down discards pixels permanently, and scaling back up can only interpolate between what survived. A photograph that was sharp is now soft and blocky, and nothing recovers it.
This is what “destructive” means in practice: the operation threw away data, and it is gone.
Convert to a Smart Object
Two routes, both one step:
-
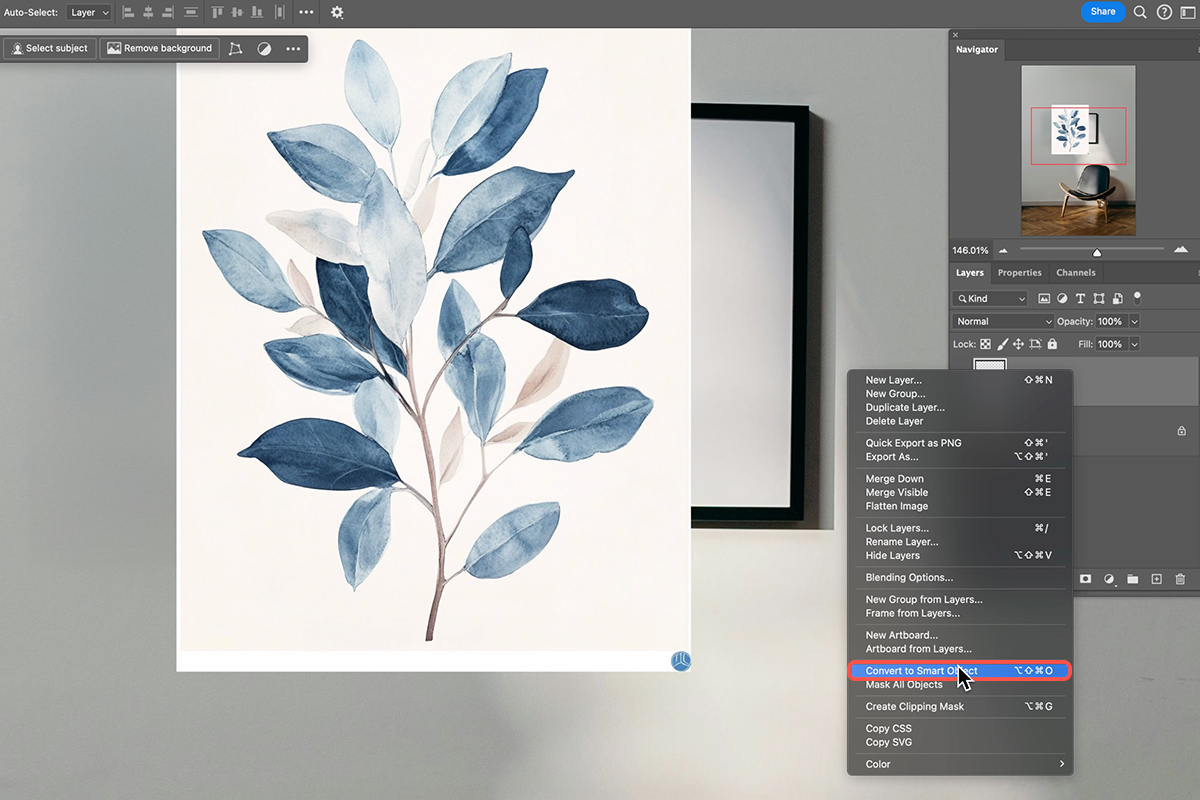
Right-click the layer
Choose Convert to Smart Object from the bottom of the menu.
-
Or use the Layer menu
Layer → Smart Objects → Convert to Smart Object.
A small badge appears on the layer thumbnail to mark it. That badge is your reminder that the original data is intact underneath whatever you do next.
Now Repeat the Test
Transform the Smart Object down to two percent, commit, then transform again.
Notice what the options bar says: it reads 2%. Photoshop is not showing you the current size as a fresh 100 percent — it remembers the original dimensions and is telling you where you stand relative to them. Type 100 into the width field and press Enter, and the layer returns to its original size at full quality.
Nothing was ever discarded. Transforms on a Smart Object are stored as instructions applied to the original data, not as edits to the pixels themselves. Scale it a hundred times and the source is untouched.
Build the Composite
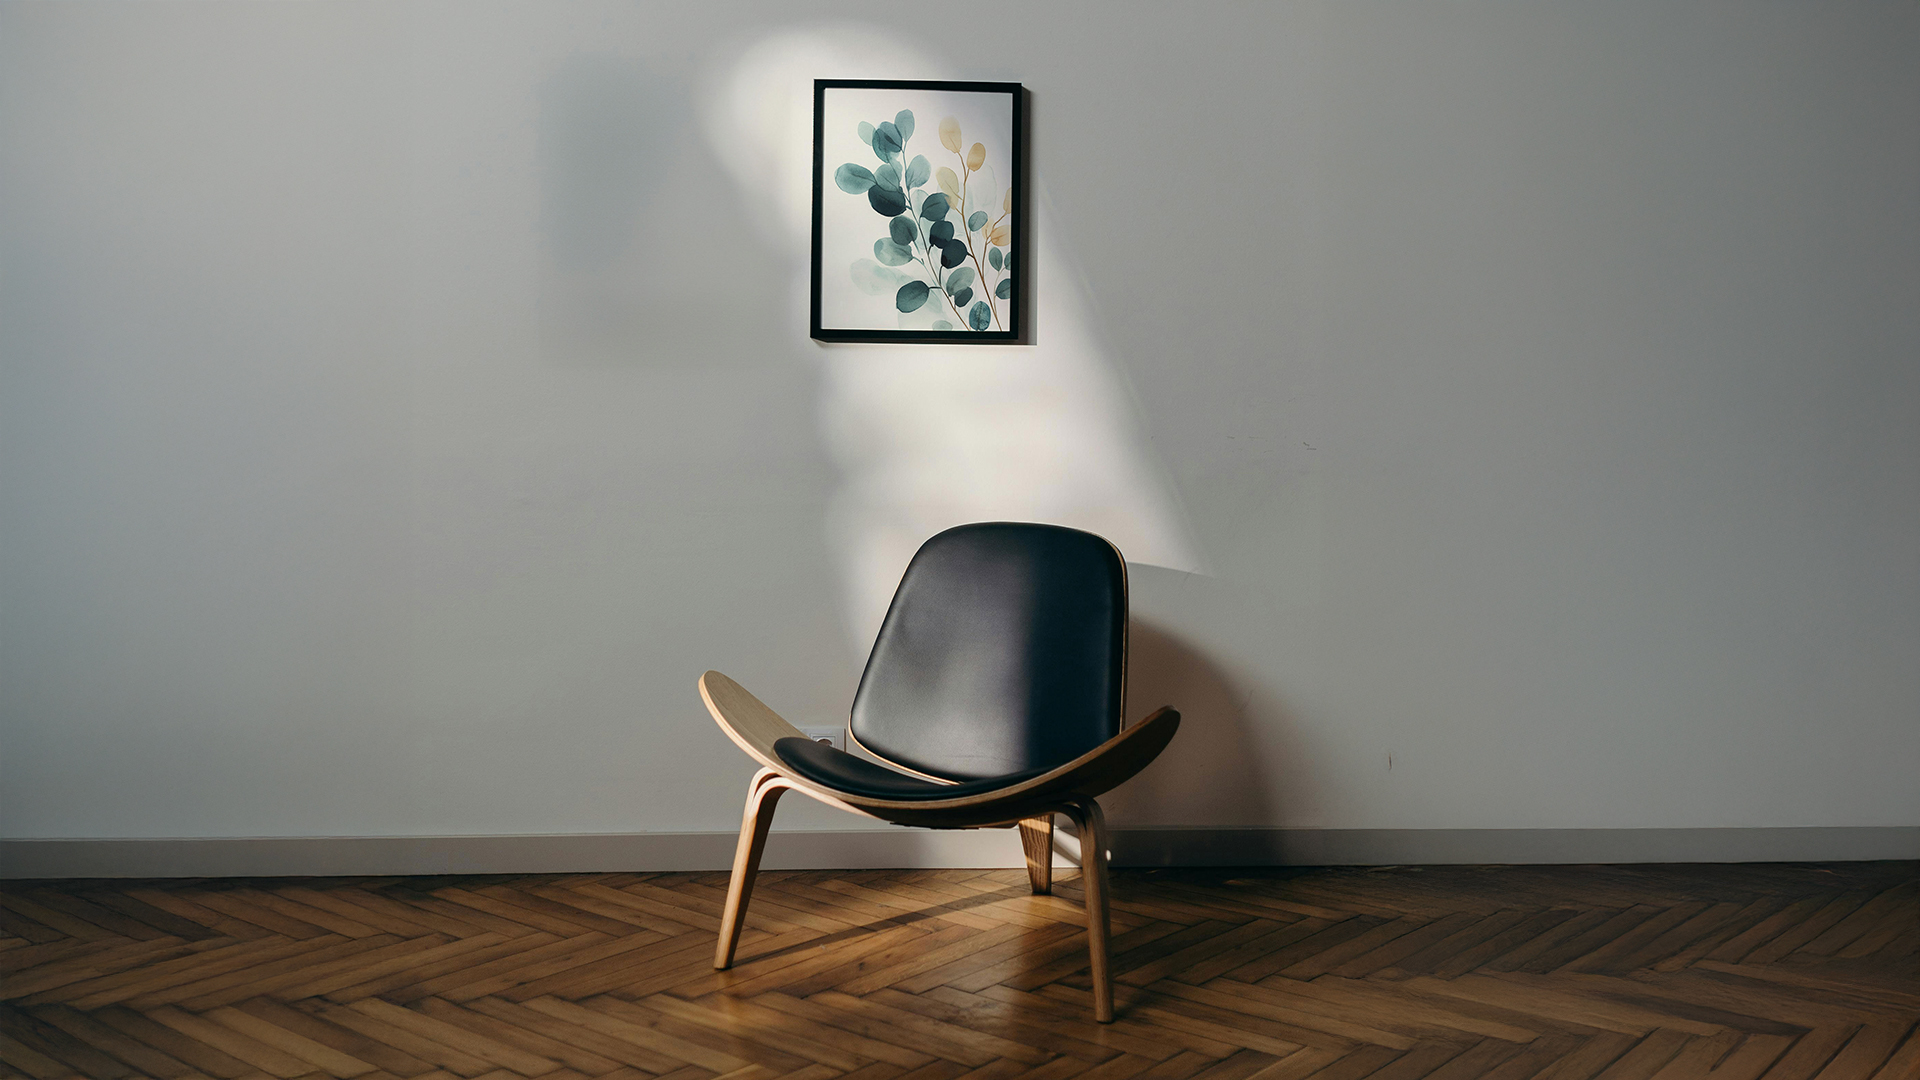
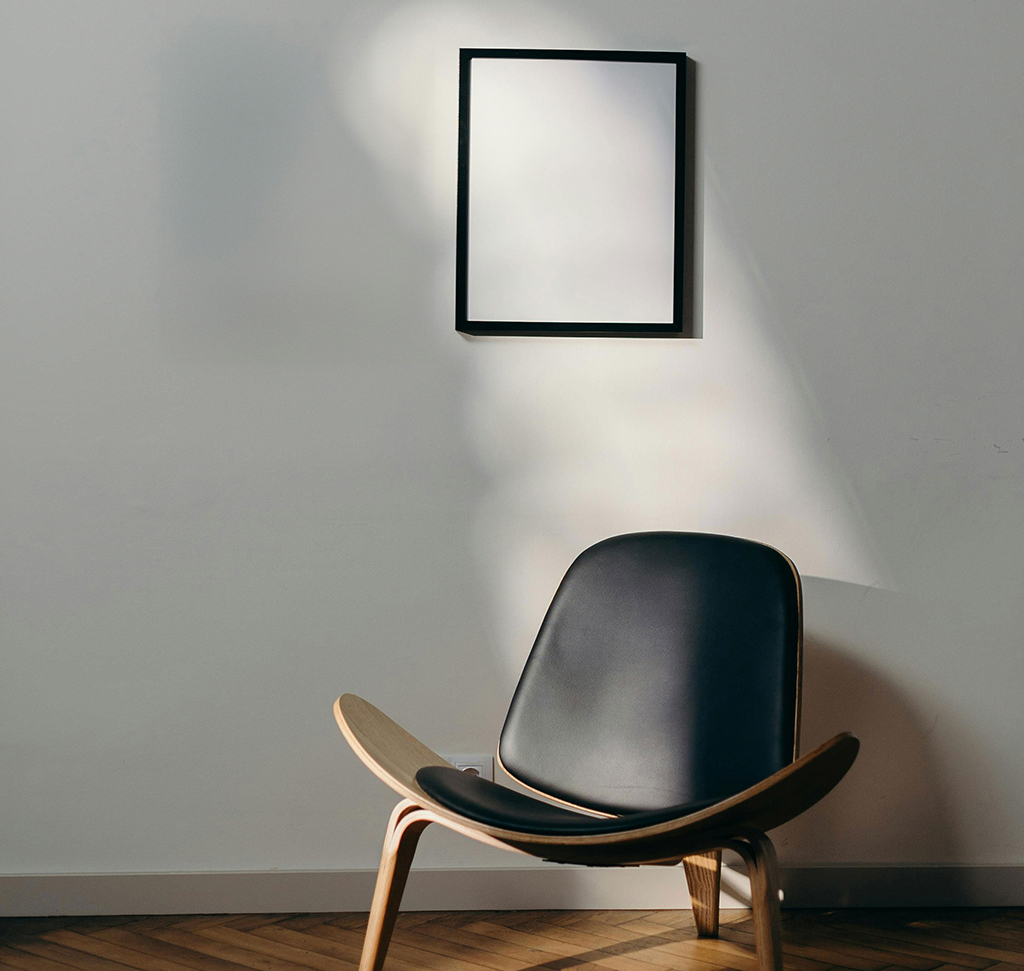
The framed-artwork example shows the real payoff. Drag the artwork onto a photograph of a wall with an empty picture frame.
Match the Perspective
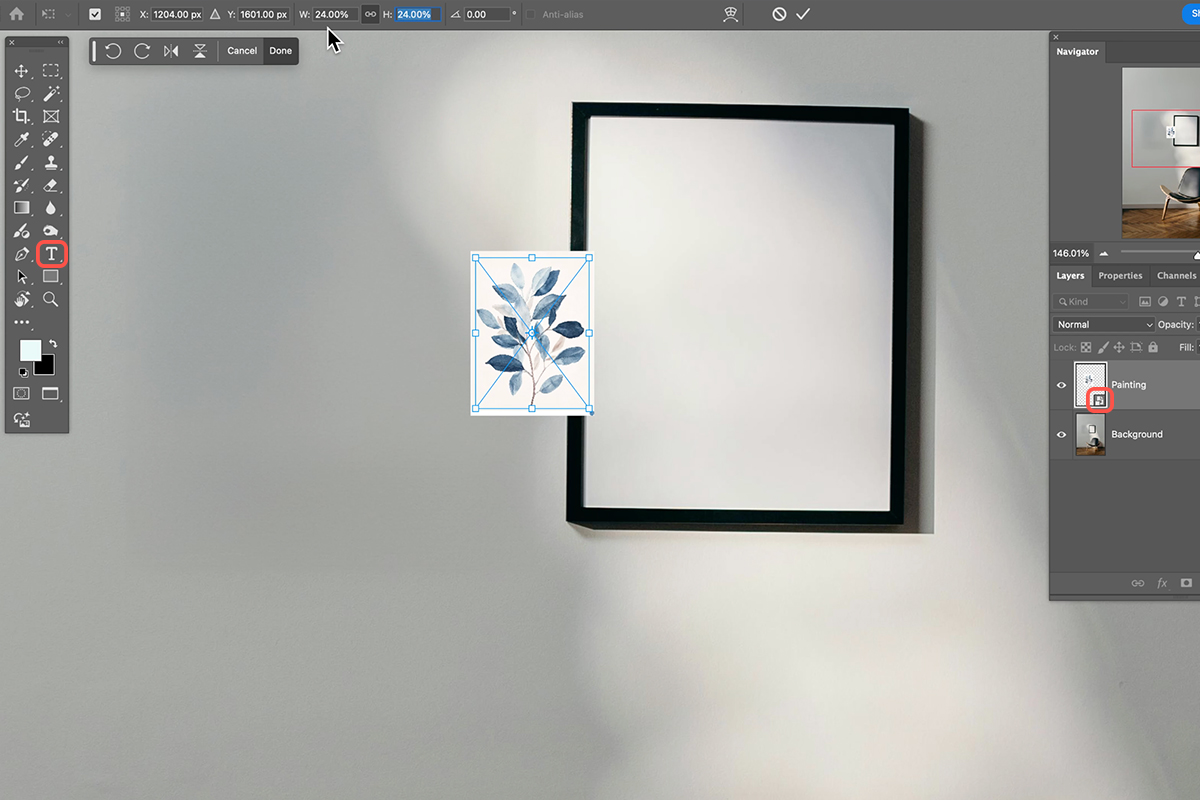
Drop the layer opacity so you can see the frame underneath while you work. Press Ctrl/Cmd+T, scale the artwork to roughly the right size, then hold Ctrl or Cmd and drag the individual corner handles.
Holding that modifier lets each corner move independently, which is how you match the perspective of the frame — a frame photographed at an angle is not a rectangle on screen, and an artwork that stays rectangular will never look like it is hanging there. Pull each corner to its matching corner of the frame, then return the opacity to 100 percent.
Mask It to the Frame Opening
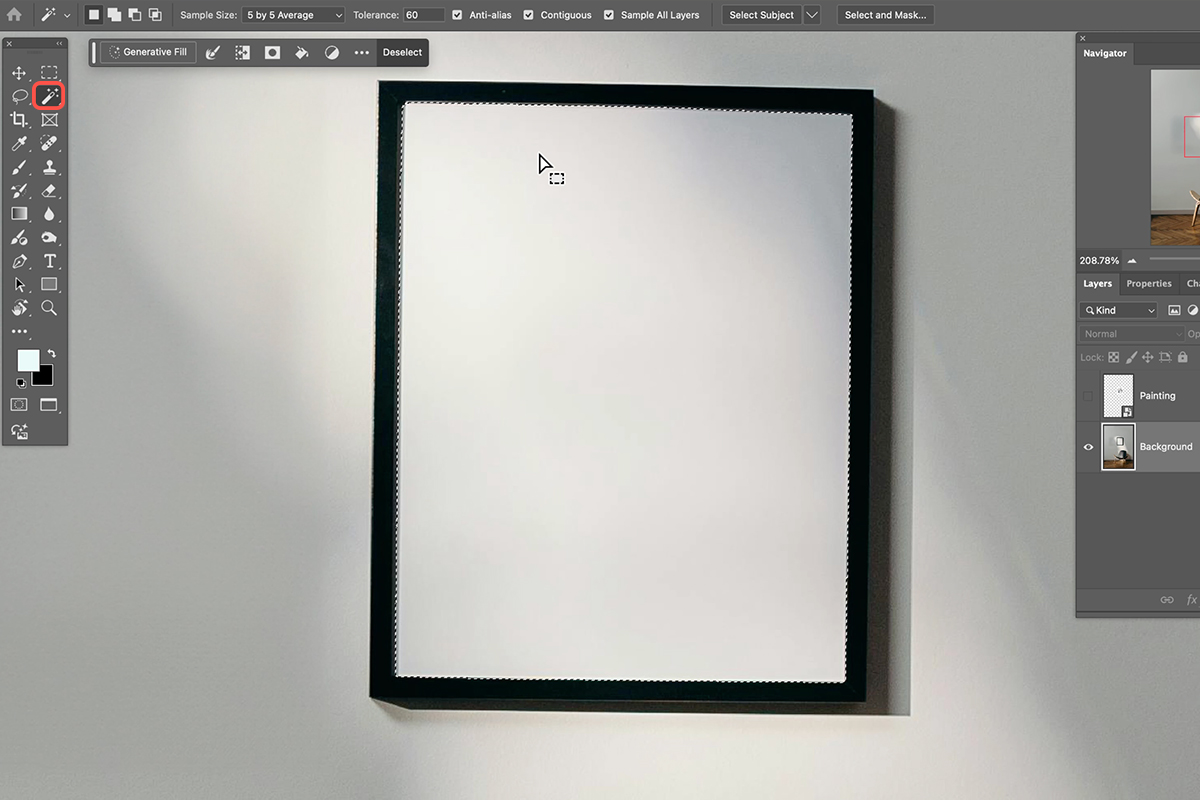
Hide the artwork layer temporarily and select the background. Take the Magic Wand, set Tolerance to around 60, and click inside the frame opening — hold Shift and click a few more times to be sure the whole interior is selected.
Now make the artwork layer visible and active, and click the layer mask icon at the bottom of the Layers panel. The selection becomes a mask, and the artwork is confined precisely to the frame opening.
Make It Sit in the Real Light
At this point the artwork is in the frame but does not look like it belongs there. It is too bright and too flat, because it is not receiving any of the shadow and highlight information that falls across the rest of the scene.
The fix borrows that lighting from the original photograph.
-
Reload the selection from the mask you already made
Hold Ctrl or Cmd and click the layer mask thumbnail. The frame-opening selection comes straight back — no need to redo the Magic Wand work.
-
Select the background layer
The original photograph, with its real lighting.
-
Press Ctrl+J or Cmd+J
This copies just the selected region onto a new layer — the piece of the original photo that was inside the frame, complete with its shadows and highlights.
-
Move that layer above the artwork
It sits directly on top of the Smart Object.
-
Set its blend mode to Multiply
Multiply keeps the dark values and drops the light ones, so the original shadow gradient lands over the artwork while the bright areas disappear.
Toggle that layer on and off. The difference is significant — the artwork stops looking pasted on and starts looking like an object in the room, catching the same falloff of light as everything around it.
Swap the Contents Without Redoing Anything
Here is the payoff. You have a perspective transform, a layer mask, and a Multiply shadow layer all built around this artwork. Changing the artwork would normally mean rebuilding all three.
Instead, double-click the Smart Object thumbnail.
It opens in its own document tab — a .psb file, Photoshop’s format for a document nested inside another document. This is the Smart Object’s actual contents, sitting flat and untransformed.
Drag a different image in. Add layers. Add text. Do whatever you like. Then press Ctrl+S or Cmd+S to save, and switch back to the main document.
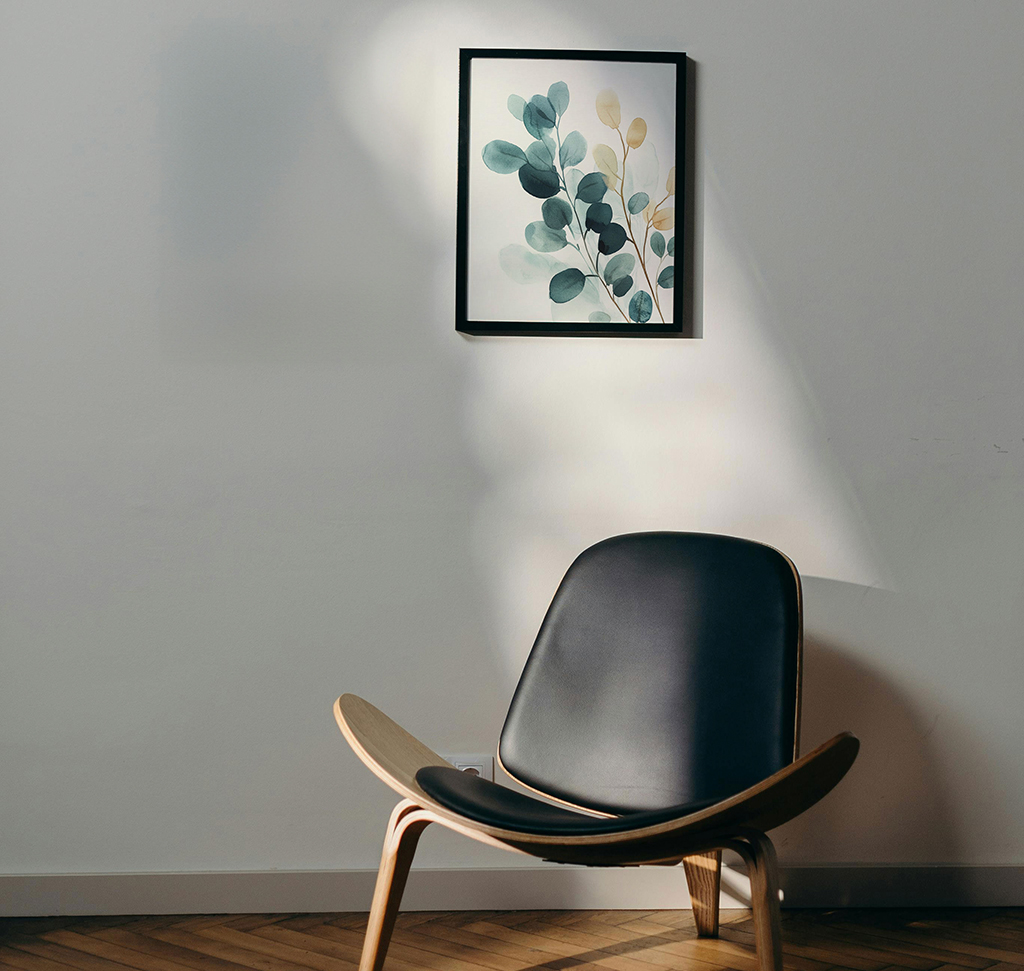
The composite has updated. New artwork, same perspective, same mask, same shadow. You did not touch any of it.
Everything Inside Inherits the Transform
Anything you add inside the .psb picks up the outer transform automatically. Type a word across the artwork with the Type Tool and it appears in the composite already skewed to match the frame’s perspective — you are working flat and square inside, and Photoshop applies the perspective on the way out.
The same holds for blend modes, adjustment layers, and anything else you build in there. The Smart Object is a full Photoshop document, not a container for a single image.
Where This Is Worth Using
Any mockup where the artwork will change — framed prints, packaging, phone screens, signage, book covers. Build the composite once and swap contents for every variation.
Any layer you expect to scale more than once, since transforms stay reversible.
Any repeated element in a design, because Smart Objects can be linked — edit the contents once and every instance updates together.
The one cost is file size. A Smart Object stores the full original data regardless of how small it appears, so a composite with several of them gets large. That is usually a fair trade for never having to rebuild a mask.
Quick Reference: Keys, Menus and Settings
- ConvertRight-click the layer > Convert to Smart Object, or Layer > Smart Objects > Convert to Smart Object
- The quality testCmd/Ctrl + T, shrink to 2%, Enter, then Cmd/Ctrl + T and type 100%: a Smart Object comes back sharp
- Fit it to the frameLower Opacity to see through, Cmd/Ctrl + T, hold Cmd/Ctrl and drag each corner for perspective
- Mask to the frameMagic Wand (Tolerance about 60) on the background, Shift-click to add, then Add Layer Mask on the painting
- Real light and shadowCmd/Ctrl-click the mask, click the Background, Cmd/Ctrl + J, move it above the painting, Multiply
- Swap the contentsDouble-click the Smart Object thumbnail (a .psb opens), drag in a new image or add text, Cmd/Ctrl + S; the composite updates
No AI, no generative credits.

Free Downloads
Follow Along on the Same Files
Get the frame photo and all the paintings from the video, the PSD with the Smart Object composite, and the PDF guide. Free with a PHLEARN account.
Smart Objects: Common Questions
What is a Smart Object?
A Photoshop document inside your Photoshop document. The layer shows its contents, but the original pixels live inside and never get thrown away, so you can scale, transform and filter it without losing quality.
What happens if I scale a normal layer down and back up?
It turns to mush. The video shrinks a painting to 3% and enlarges it again: blurry. The same test on a Smart Object comes back at full quality, and Transform even remembers the 2% so you can type 100%.
How do I make one?
Right-click the layer and choose Convert to Smart Object, or use Layer > Smart Objects. The thumbnail gets a small icon.
How do I fit the painting into the frame?
Lower the opacity so you can see the frame, press Cmd/Ctrl+T, and hold Cmd/Ctrl while dragging each corner to match the perspective. Then mask it with a Magic Wand selection of the frame’s interior.
Why does it look pasted on?
No light or shadow from the room. Load the mask as a selection, duplicate that part of the background with Cmd/Ctrl+J, move it above the painting and set it to Multiply. The room’s shadows now fall on the painting.
How do I change the painting without redoing the work?
Double-click the Smart Object thumbnail. A .psb opens; drag in a different image (or add text), save, and the composite updates with the perspective, mask and shadow intact.
What’s a .psb?
Photoshop Big, the file format for the contents of a Smart Object. It’s just the inner document; close it after saving.
When should I use Smart Objects?
Mockups, graphics and any composite where the artwork might change, and before any filter so it stays editable.
Are the sample files free?
Yes, with a free PHLEARN account. You get the frame photo, the paintings, the PSD and the PDF guide.
Master Photoshop, Lightroom and Photography
Join PHLEARN PRO for $12.99 a month or $99.99 a year. Cancel anytime, with a 100% money-back guarantee.





