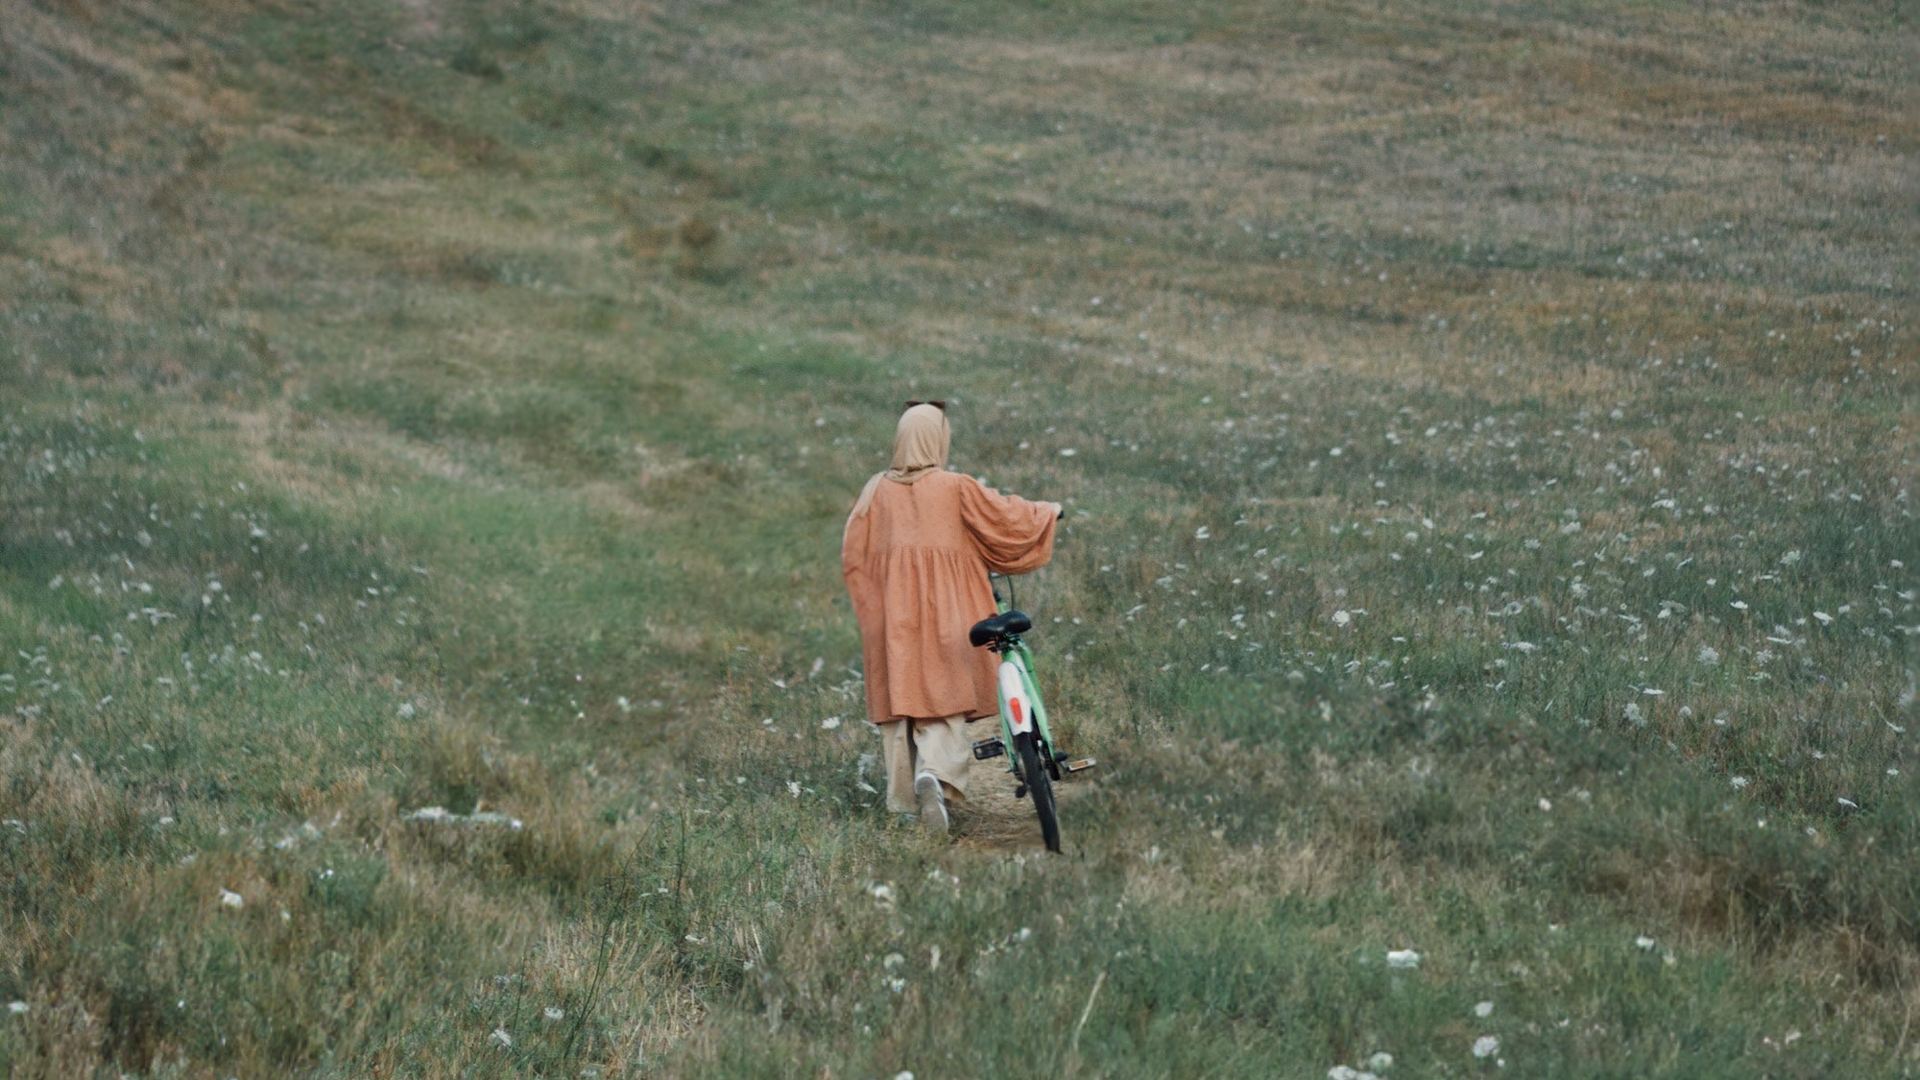

description
Get ready to be amazed by the incredible advancements that make photo editing a breeze for everyone. With its intelligent AI and cloud-based capabilities, generative fill now understands images like never before, allowing you to create jaw-dropping results effortlessly. Dive into a world of creativity and unleash your imagination with this revolutionary tool!
Enjoying This Free Tutorial?
We publish a new free tutorial every week, each one with sample images and PSDs you can download and follow along with. Sign up and they land straight in your inbox, along with early word on sales, events and subscriber-only offers.
Artists Credit
Special thanks to Claudia Schmalz, Wesley Davi, Darkmode Cinema, Hicret, Josh Hild and Duran EKIZ duranekz.
Image sourced from Pexels.
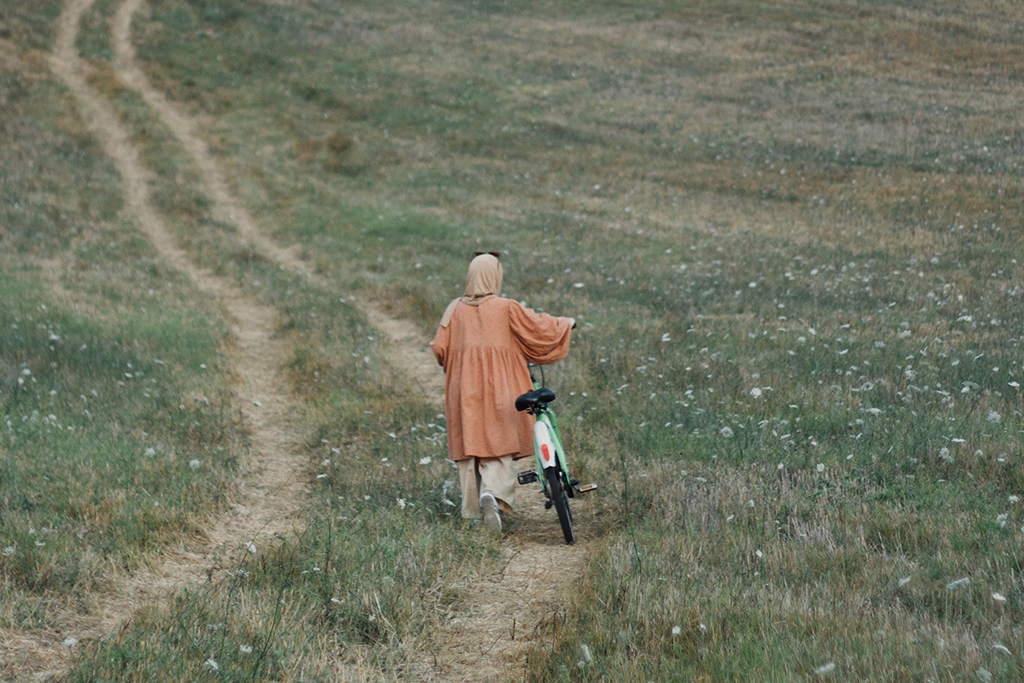
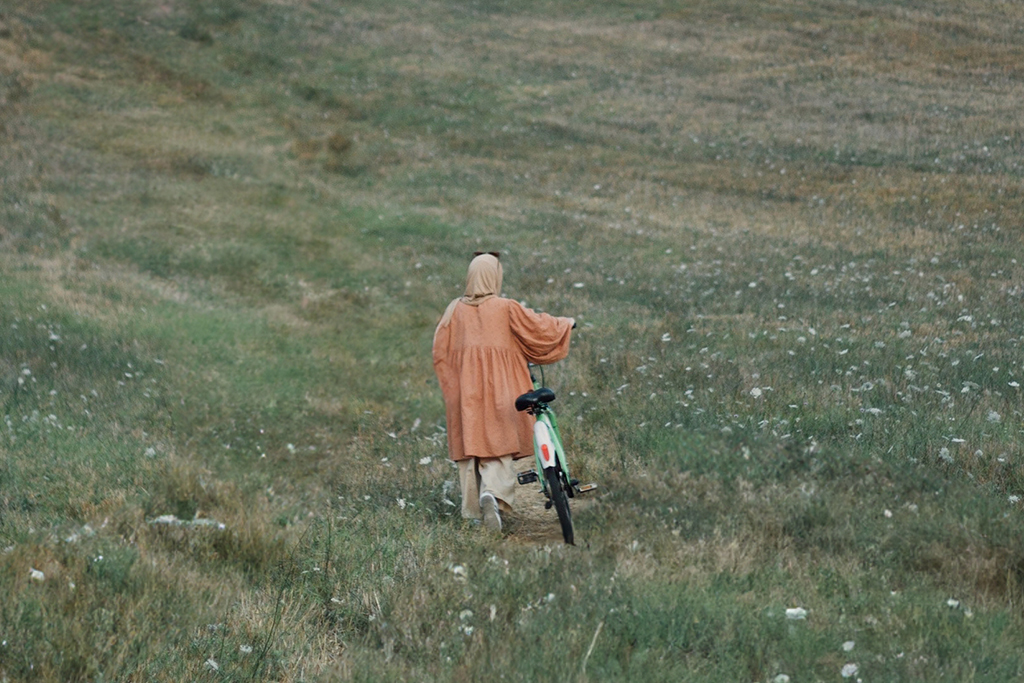
Unique Results
Generative fill is an amazing tool that can smartly predict and effortlessly fill in the missing parts of your photos.
How to Use Generative Fill in Photoshop
Generative Fill is the biggest change to Photoshop in years. Make a selection, optionally describe what you want, and Photoshop generates content that matches the perspective, lighting and depth of field of the photograph around it.
What makes it different from every content-aware tool before it is that it is not copying from elsewhere in your image. It is creating something new that fits — which means it can handle situations where there was simply nothing to borrow from.
A note on versions: this was recorded when Generative Fill first arrived and generations were unlimited during the beta. Adobe has since introduced a generative credits system, and the model has been updated more than once. The workflow below is unchanged.
The Three Things It Does
Remove — leave the prompt empty
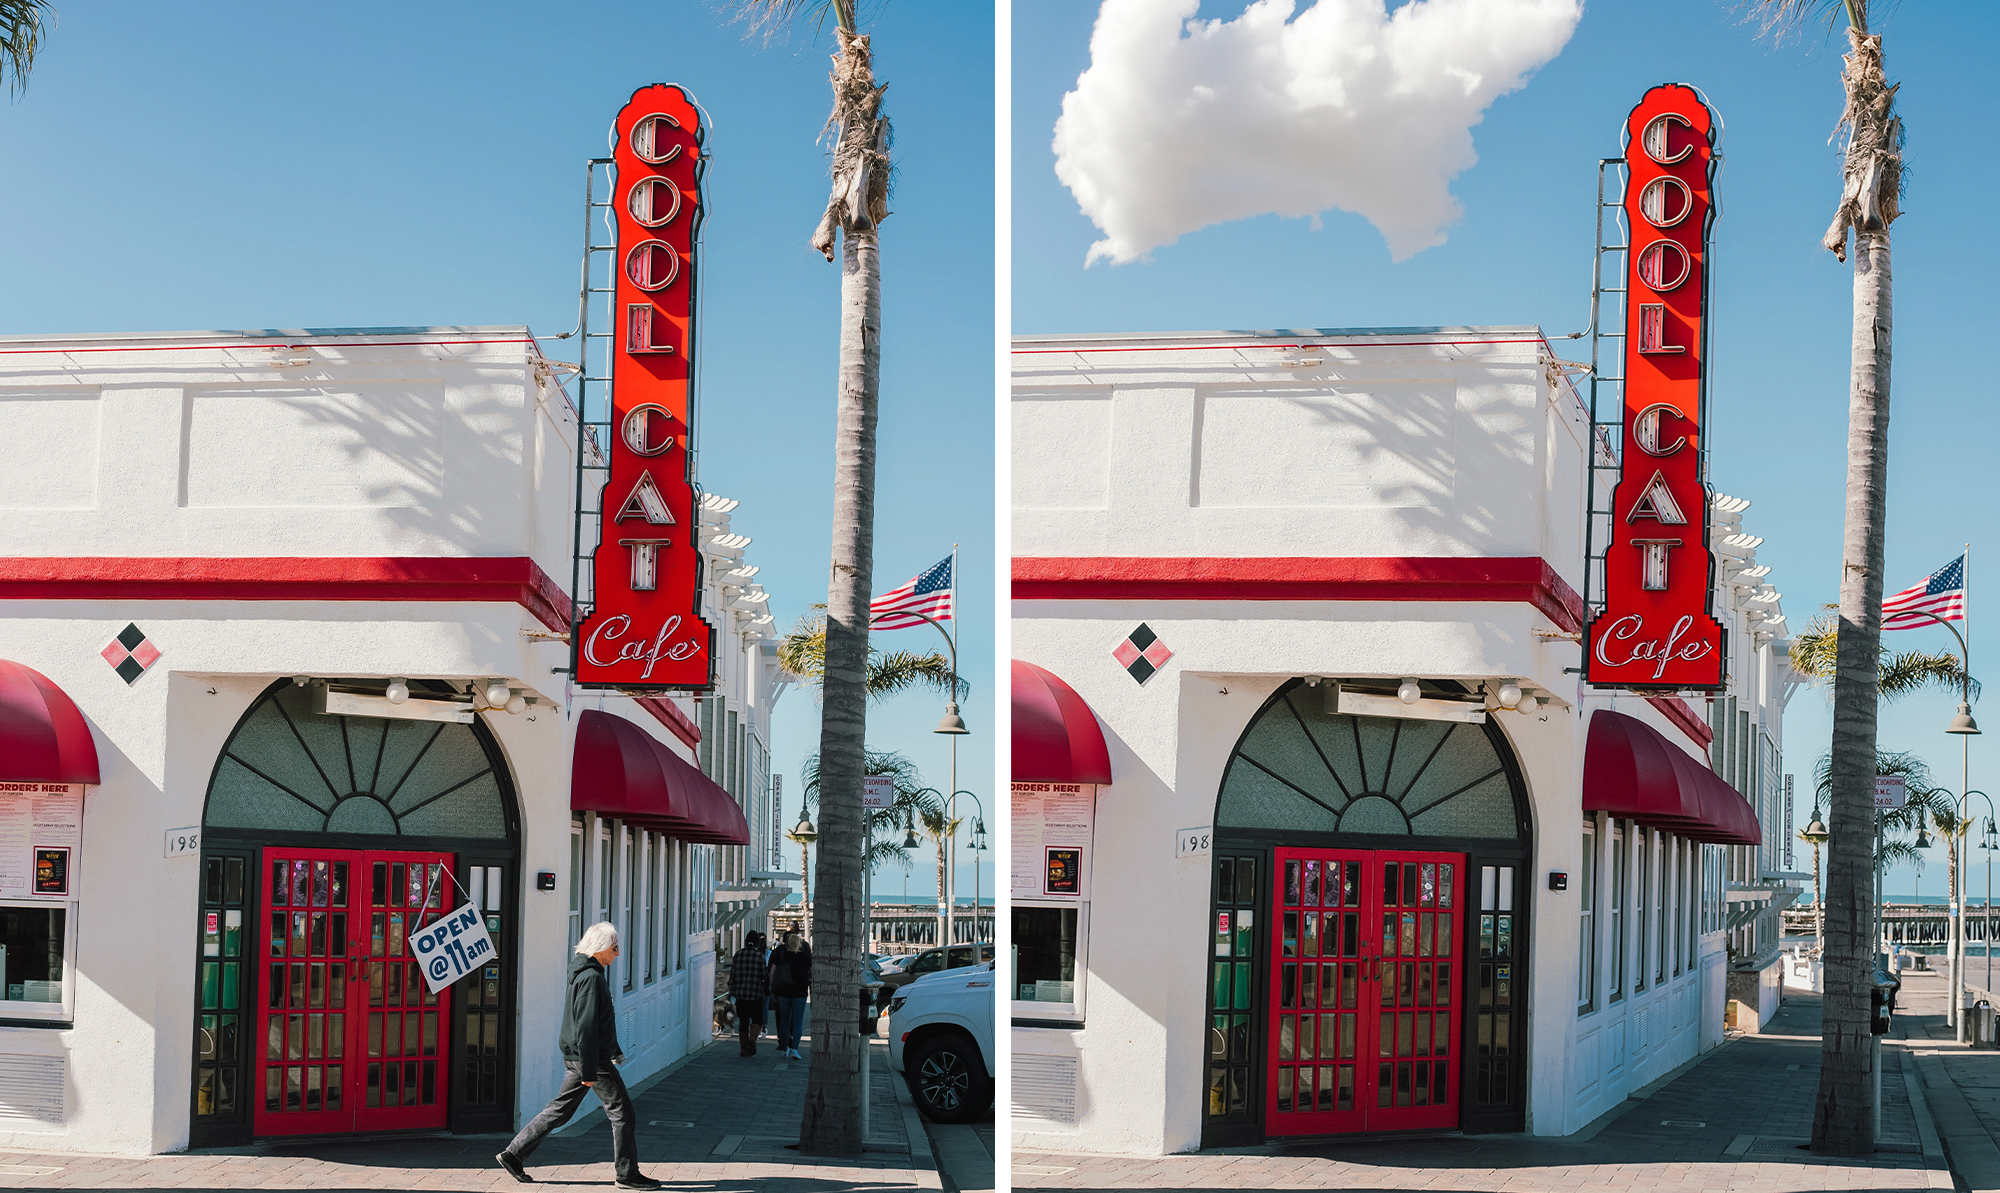
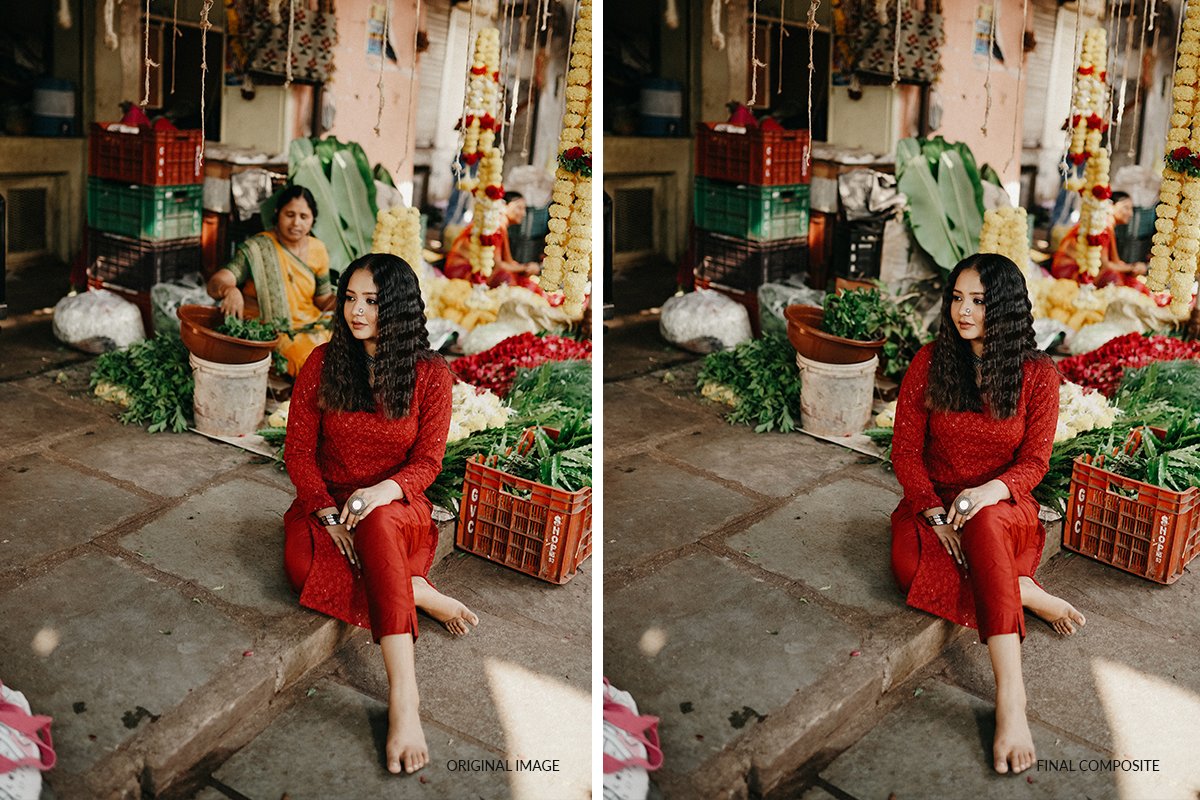
Select something you want gone, leave the text field completely blank, and click Generate. An empty prompt is a removal instruction: Photoshop extends the surrounding scene across the selection rather than inventing anything new.
This is the single most useful thing to know about the tool, and it is the opposite of most people’s instinct. Typing “clean wall” invites the AI to generate a wall; typing nothing tells it to continue the wall that is already there, which is nearly always better.
Replace — describe what should be there
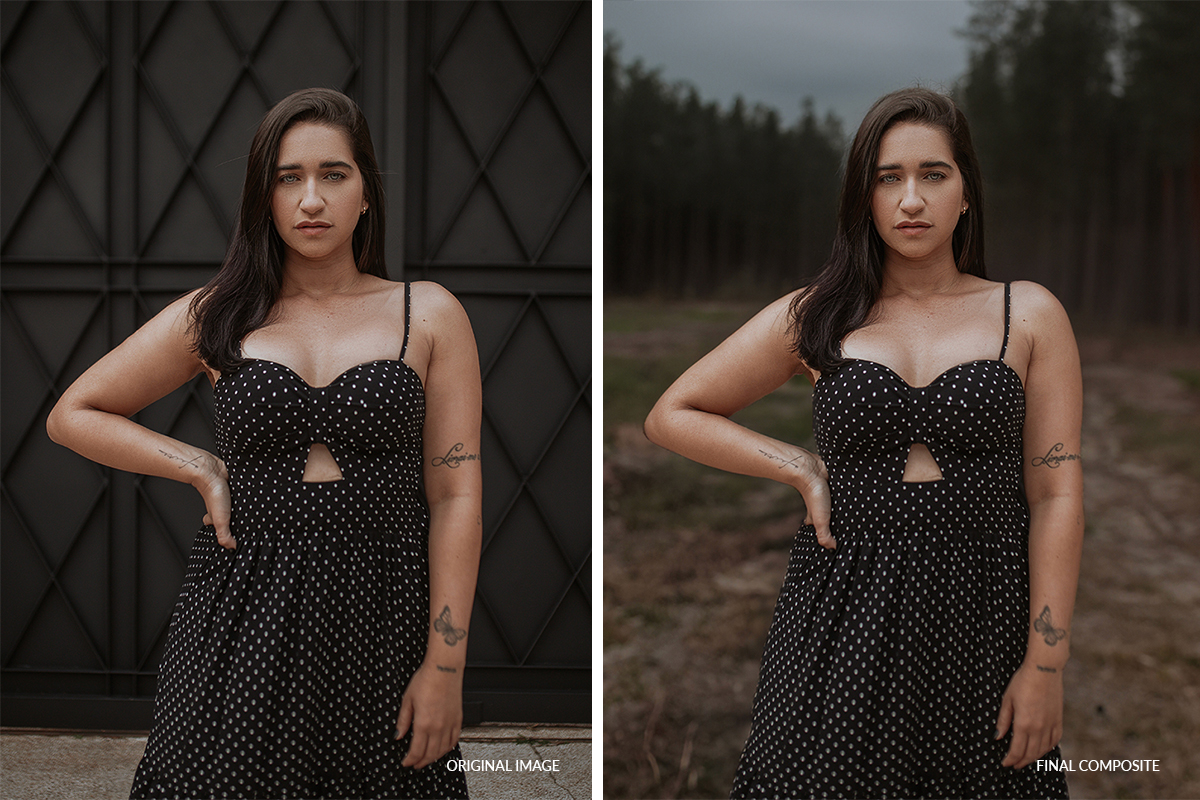
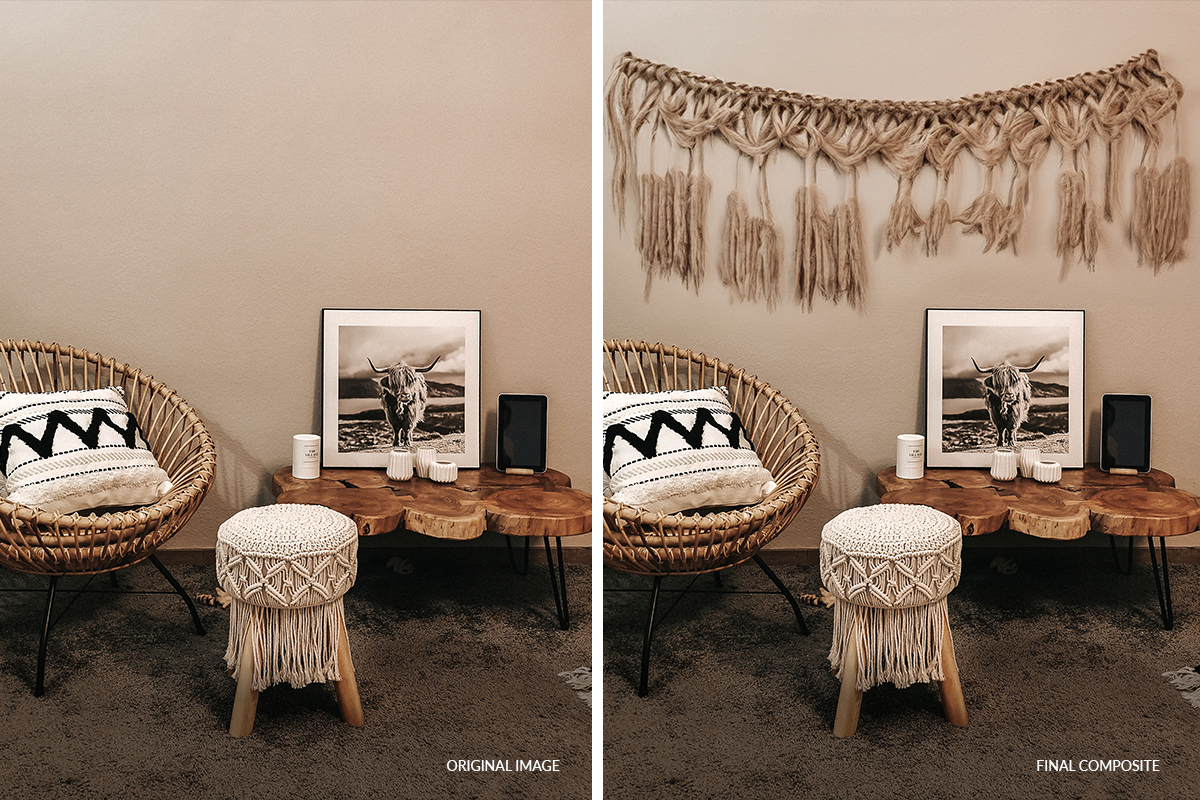
With a prompt, the selected area is filled with something new. Short and concrete works best: “cloudy sky”, “field of flowers”, “forest dusk moody”, “yarn wall art”. Photoshop reads the surrounding image for lighting and perspective, so you rarely need to describe those.
Extend — generate beyond the original frame
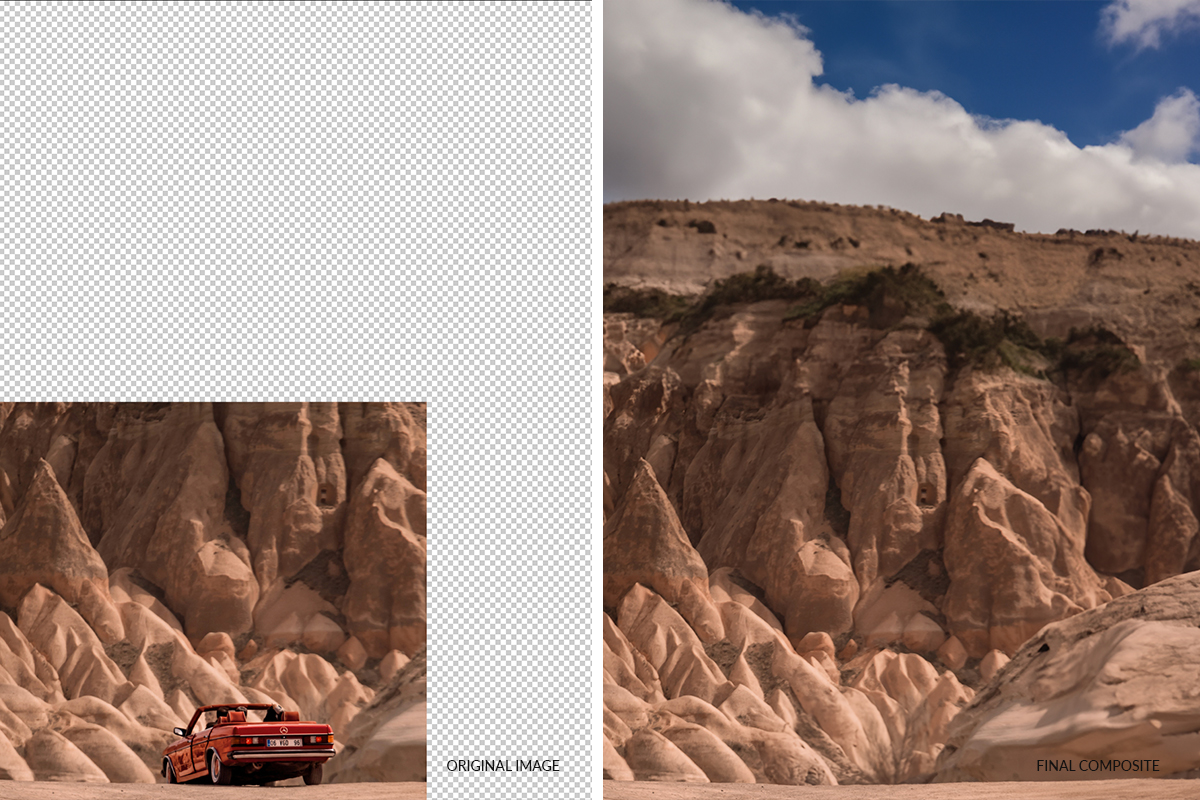
Select empty canvas outside the image and Generative Fill will build scene into it. This is how you widen a composition that was framed too tightly, or change aspect ratio without cropping into the subject.
The Selection Is the Craft
Almost every disappointing result traces back to the selection rather than the prompt.
Select the subject, then invert
To replace a background, do not try to trace around it. Run Select, then Subject to get the person or object, then Select, then Inverse. You now have the background, defined by a far better boundary than you would have drawn by hand.
Expand that selection by a few pixels before generating. A boundary sitting exactly on the subject’s outline leaves a thin fringe of the old background behind, and it shows as a halo.
Overlap when you extend
When expanding an image, include a strip of the existing photograph inside your selection rather than selecting only the empty area. That overlap gives the AI something to match against and is the difference between a seamless extension and a visible join.
Work in sections
Generated content comes back at a capped resolution. A small selection spends all of that detail on a small area and comes back sharp; an enormous selection stretches the same detail thin and comes back soft. Several modest generations beat one large one, every time.
Generating and Regenerating
Three variations come back with each generation, and clicking Generate again produces three more. The differences between batches are often substantial, so it is worth going more than one round before settling.
Every generation lands on its own layer with a mask, so nothing is destructive and nothing is lost by trying again. That also means you can fix one bad area with a second small generation instead of rerolling the whole thing — the habit that saves the most time in practice.
Why the Results Blend So Well
Photoshop sends the surrounding image along with your selection, not just the selection itself. That context is why generated content picks up the direction of the light, the perspective of the scene, the depth of field, and the colour temperature without being told.
It also explains the failure cases. When there is little surrounding context — a selection at the very edge of a frame, or one covering most of the image — results get noticeably less reliable, because there is less for the model to reason from.
On the Copyright Question
It is a fair thing to ask about, and Adobe’s stated position is that its generative model was trained on Adobe Stock content it holds licences for, along with public domain and openly licensed material, rather than scraped from the open web. That is why Adobe has been willing to offer indemnification for commercial use of generated output in some plans.
Worth knowing rather than assuming either way, particularly for commercial work. Adobe’s own current terms are the place to check specifics, since both the model and the licensing have changed since launch.
What It Still Cannot Do
Faces and hands. Both remain unreliable. Keep faces out of your selections entirely — a regenerated face is subtly wrong in a way everybody notices.
Text and fine repeating detail. Signage, chain links, intricate patterns and precise architecture are where generated content most often breaks down under inspection.
A specific real product. It generates something plausible, not something particular. It cannot place an actual item a client sells into a photograph.
Working offline. Processing happens on Adobe’s servers, so an internet connection is required.
How to Think About It
The most useful framing is that Generative Fill is very good at continuing things and merely adequate at inventing them. Removing a distraction, extending a sky, filling a gap where a background should carry on — these are jobs where it consistently outperforms anything that came before.
Asked to create something specific and detailed from nothing, it is a concepting tool rather than a finishing one. Treat the output as a strong base that still benefits from a retoucher’s eye, and it earns its place in almost every edit.
Try These Next
Each of these applies Generative Fill to a specific job in more detail:
Removing tattoos — the empty-prompt technique, and why one at a time gives sharper results.
Removing distractions from portraits — how tight to select when working near a face.
Changing a background — including the hybrid method that keeps the real ground beneath your subject.
Cropping to any aspect ratio — using Generative Expand instead of cutting into your composition.
Creating artistic effects — using a partial selection to control exactly how much of the original survives.







Enjoying This Free Tutorial? Go Further with PRO.
Unlock Full Sample Files, PSDs, and Hundreds of Masterclasses!

Download full project assets, original PSDs, and RAW images for every lesson
Unlimited access to our complete library of PRO Photoshop & Lightroom courses
Instant 4K Ultra HD streaming on all devices, anytime, anywhere
Full access to our entire library of Photoshop Actions, Presets, and LUTs
Flexible monthly and annual membership plans
Cancel anytime with zero hassle or commitments