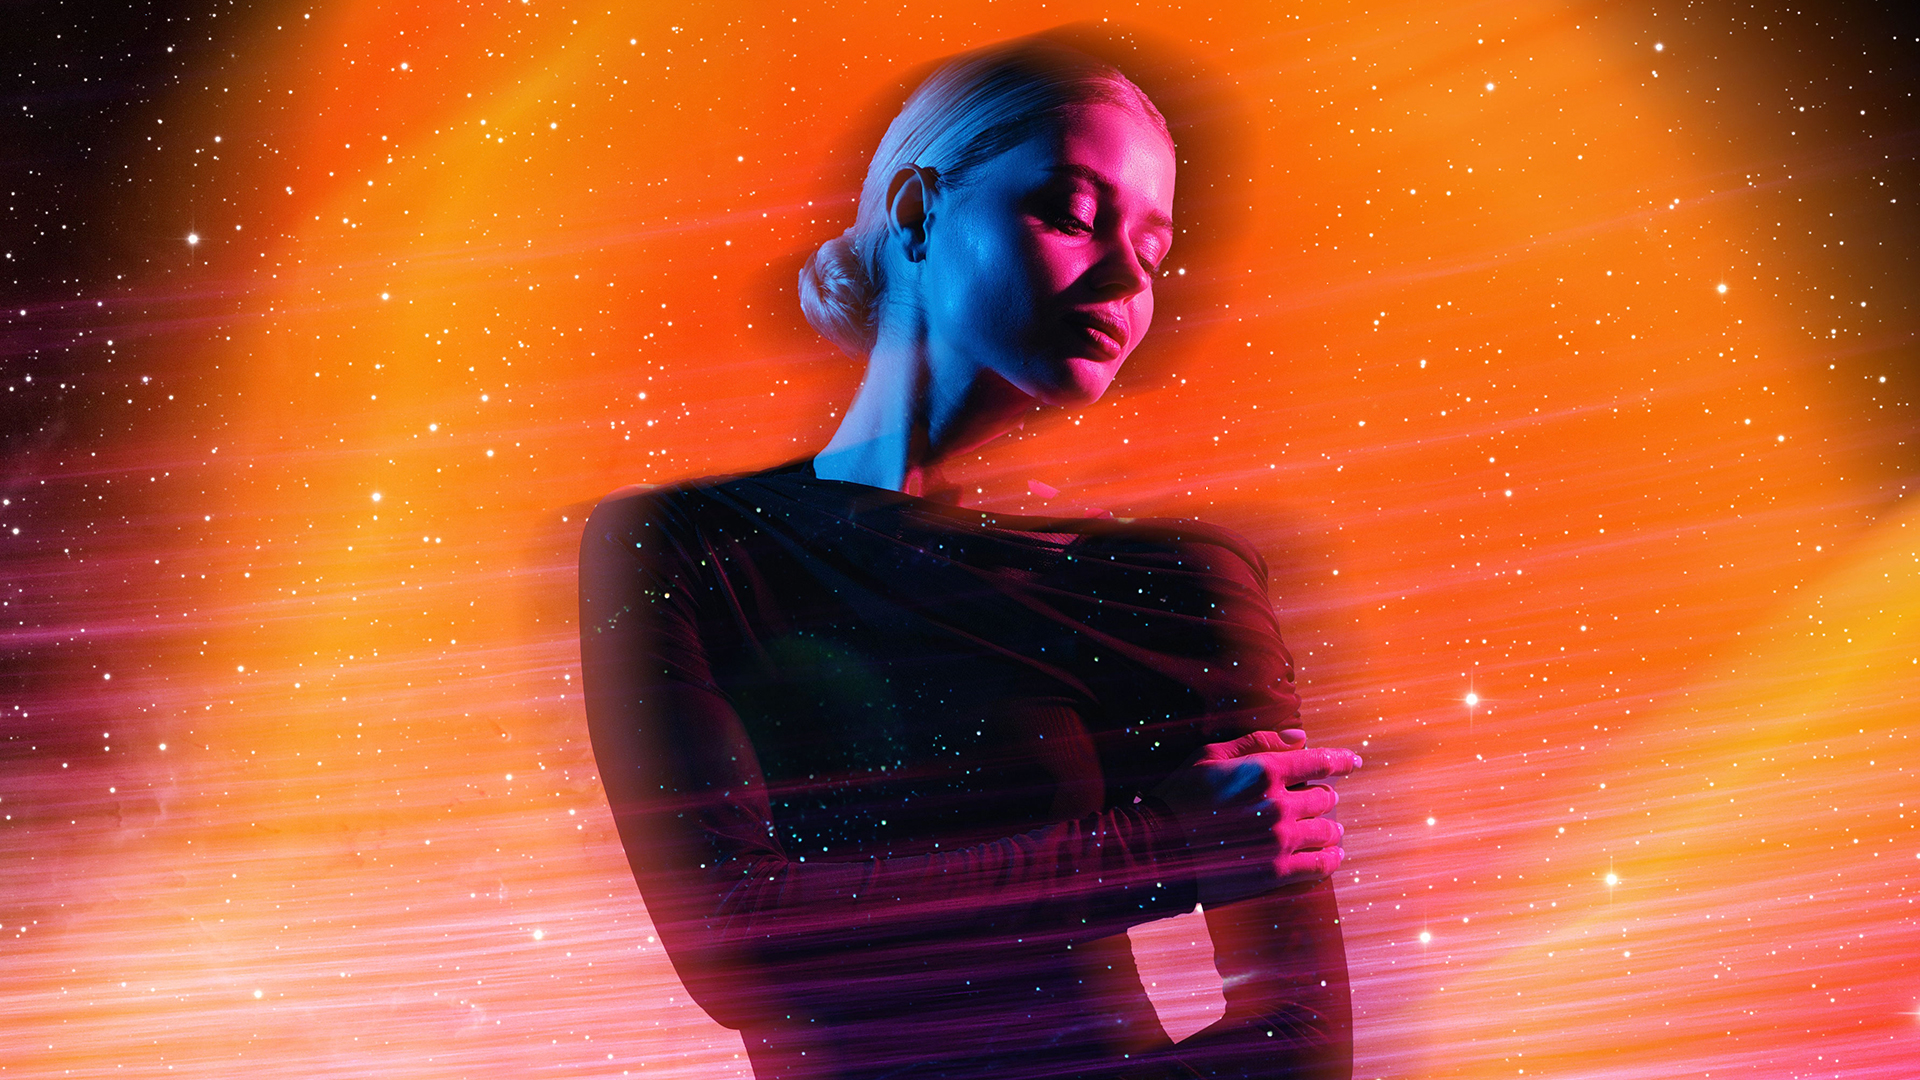

THIS COURSE INCLUDES
- 5 Lessonsin 2 sections
- 1h 39mof 4K video
- Advancedfor experienced editors
- 21 Sample Imagesto follow along
- 5 Layered PSDsto follow along
- Captionsand chapters on every lesson
Part of a Learning Path
Join PHLEARN PRO for instant access to this course and every tutorial on PHLEARN.
- Stream in up to 4K on any device
- Closed captions and chapters on every course
- Download all sample images and PSDs
- New PRO tutorials every month
- Cancel anytime
Description
Master surreal portrait compositing in Photoshop. In this course we’ll show you how to blend, color correct, and transform stock photos into art, layering light, color and texture around a portrait until images that seem to have nothing in common work as one. It is conceptual compositing rather than realism, so there is plenty of room to play, and the composites are built without generative AI. Across 5 lessons you’ll follow along with the included sample images through four complete portraits: Space Time, Cosmic, Cherry Blossoms and Fire.
Discover advanced masking and layering techniques with blend modes, Path Blur and layer masks that tie every element of the portrait together. You’ll see why smart objects and smart filters keep every adjustment editable, when to use an adjustment instead of an adjustment layer, and how to choose stock images for their contrast between light and dark. The same approach works on a portrait taken with your phone against a plain background. As a bonus, you’ll learn how to animate your creations with AI for dynamic videos, turning a finished still into a moving clip with Kling AI.
What You’ll Learn
- Blend and color-correct stock photos into surreal art
- Master masking and layering for a polished composite
- Animate your finished piece with AI for dynamic video
Course Downloads
Dive Into Surreal Compositing
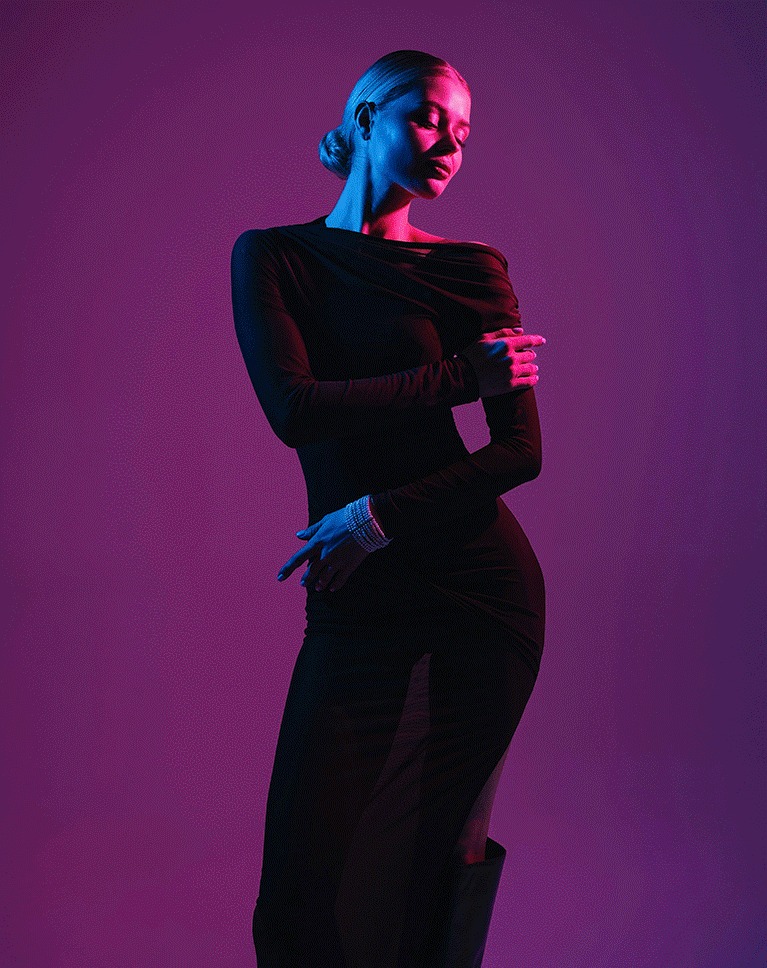
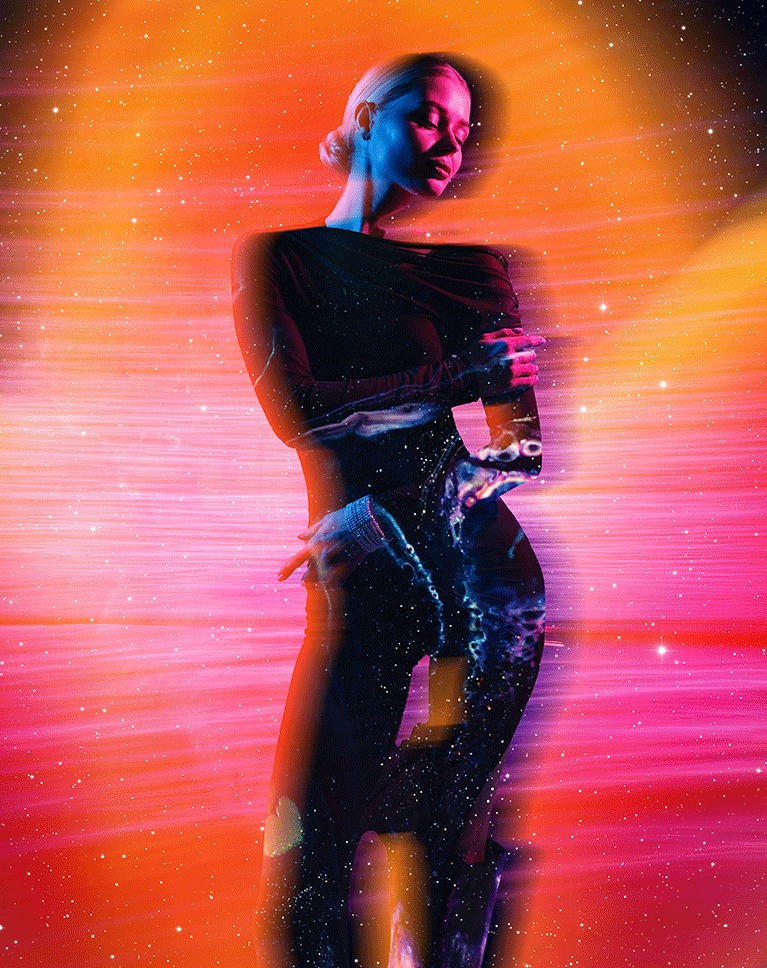
Surreal Portrait Compositing: The Art of the Unreal
Surreal portrait compositing thrives on abstract integration. It’s about blending diverse elements like stars, lights, and florals to create a unique piece of art. It’s a journey of experimentation, where iterative exploration of different tools and techniques will help you gain the confidence to bring your most imaginative ideas to life. In this tutorial we’ll show you exactly how to master these techniques, step-by-step, from initial concept to final, breathtaking result.
Working with Stock Images
Surreal portrait compositing with stock images requires careful selection. We know that identifying harmonious elements can be quite challenging. That’s why we don’t just show you what to do, but how we think. We’ll unveil our entire thought process, guiding you through the selection, blending, and transformation of stock images, ensuring you master the art of surreal compositing from start to finish!
The Power of Smart Objects
Using Smart Objects is an ideal way to approach surreal portrait compositing. Converting a layer into a Smart Object allows you to make changes to that layer – such as scaling, warping, and applying filters – without affecting the original image. We’ll explore how to maximize the benefits of Smart Objects for seamless, non-destructive editing in your surreal compositions.


Organizing Your Assets
Navigate the complexities of surreal portrait compositing with confidence! This tutorial unveils expert strategies for organizing layers, groups, and adjustments, empowering you to streamline your workflow. Discover how to build projects that are not only efficient but also effortlessly adaptable for future creative explorations.
Creating Depth
To craft truly immersive surreal portrait compositing, depth is key. In this tutorial you’ll discover the secrets of layering foreground, midground, and background elements. We’ll show you how to manipulate light, color, and atmosphere to construct believable, photorealistic environments that draw the viewer in.
Matching Light & Color
The biggest challenge of using stock images in surreal portrait compositing is transforming a collection of separate photos into a unified, visually compelling narrative. Learn how to use advanced Photoshop tools like Levels and Color Balance to seamlessly match light and color between any number of images.

Dream It, Blend It
Building a dreamlike scene in Photoshop? That’s impressive. But doing it with only free photos? That’s next level! We’ll teach you our top tips to perfectly mix different images to create a perfect and seamless piece of artwork.
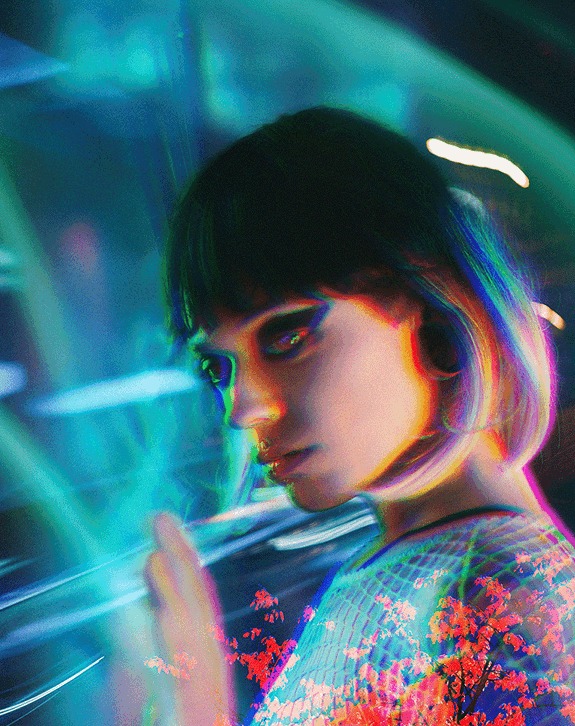
Color Theory Basics
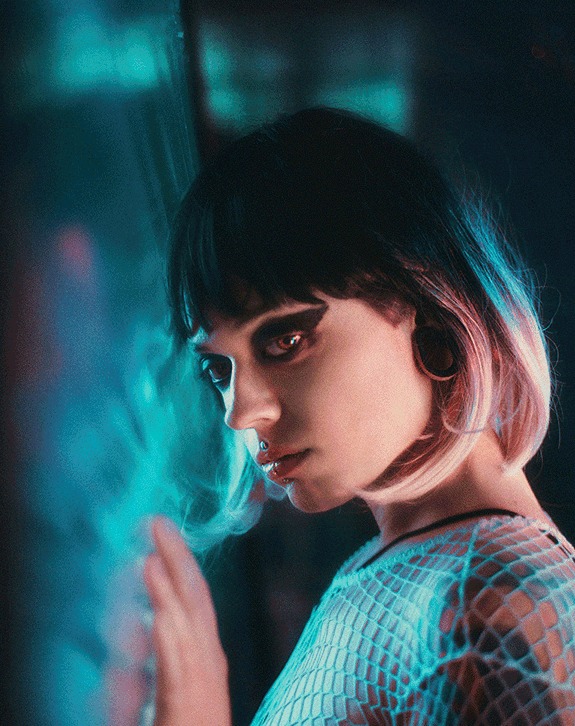
Discover the power of color and how it shapes surreal portrait compositing. We’ll break down how colors work together to create eye-catching results. You’ll move beyond simply adjusting sliders and gain a deep understanding of how to strategically use color to guide the viewer’s focus, drawing their eye to key elements within your composition. We’ll explore techniques for manipulating color to evoke specific feelings, create visual depth, and add a professional polish that will make your images stand out.
Adding Blur Effects
Imagine turning a busy, distracting background into a soft, dreamy backdrop, making your subject truly stand out. In this tutorial, you’ll learn how to use blur effects, not just as a simple tool, but as a way to control focus and create depth in your images.
Layer Styles & Color Twists
Learn how to use Layer Styles and Color Channels to add amazing visual twists to your images. We’ll show you how to subtly change the color parts of your pictures, giving them a unique look. You’ll learn simple ways to make your images stand out with professional-level effects, adding depth and interest without needing complex techniques.
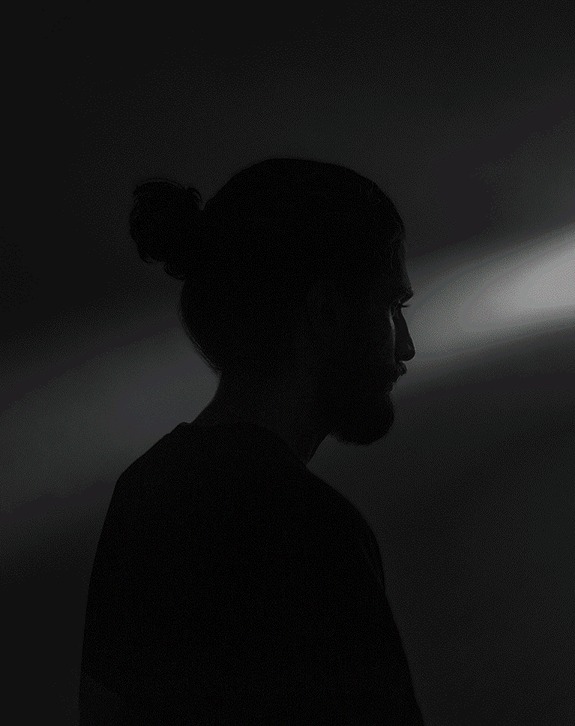
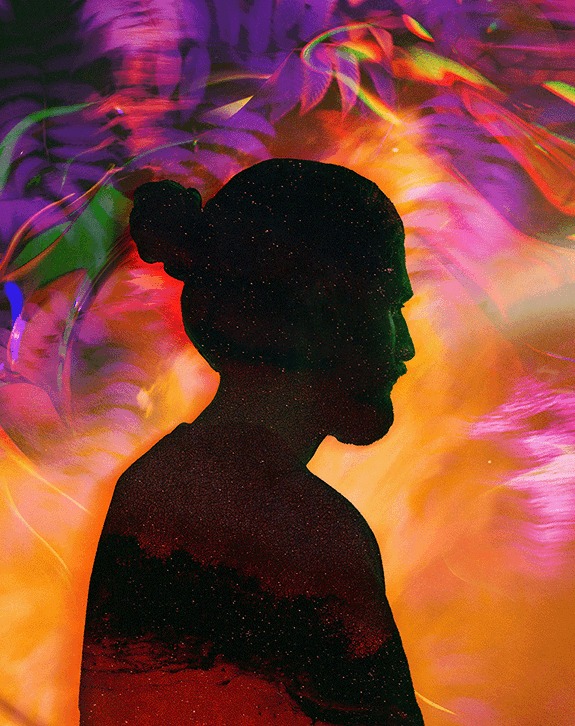
Using Blending Modes
Explore artistic options for surreal portrait compositing and learn how quickly you can accomplish them with a simple Blending Mode change! In this tutorial we’ll show you how to combine images using modes like Screen, Multiply, and Overlay. These modes change how layers interact, letting you easily brighten, darken, or add contrast. You’ll see how to create unique effects and improve your images with just a few clicks.
Creating Moving Images
To finalize this tutorial, we’ll show you how to easily animate your finished images using AI. Watch as we turn still artwork into dynamic videos with just a few clicks. You’ll learn how simple it is to add movement and bring your creative vision to life, adding a modern and engaging layer to your final pieces.
Compositing Learning Path
Join us as we unlock the secrets of advanced compositing with our Magical Compositing Learning Path. From mastering light and color with stock images to exploring mind-bending creations by guest artists, and even discovering some of our most classic composites, this learning path empowers you to bring your wildest visions to life.
Class Instructor
Aaron Nace
PHLEARN Founder & Lead Instructor
Aaron Nace is a photographer, digital artist, and the founder of PHLEARN. He has been teaching Photoshop, Lightroom, and photography since 2011, and has taught at Adobe MAX for more than eight years.
Aaron publishes a free tutorial every week and a new in-depth PRO course every month.
- 2M+YouTube subscribers
- 160M+video views
- 1,000+tutorials published
- 15years teaching Photoshop
Special thanks to Pars Sahin, Pawel Czerwinski, Vitaliy Shevchenko, Wolfgang Hasselmann, Jason Leung, Rustam Burkhanov, Serhii Tyaglovsky, Sheng Hu, Tonmoy Iftekhar, Troy Olson, Anton Khmelnitsky, Dan Meyers, Eugene Golovesov, Jack Dong, Mahyar Yeganeh, Milad Fakurian, Allec Gomes, Jay Soundo, NASA Hubble Space Telescope, Robert Clark, and Susan Wilkinson. Images for this PRO course were sourced from Unsplash.
Reviews
Master Photoshop, Lightroom and Photography
Join PHLEARN PRO for $12.99 a month or $99.99 a year. Cancel anytime, with a 100% money-back guarantee.






Great lessons. Thank you.
Super Creative and FUN! Thanks Aaron.
Thank you so much for this great tutorial. I like working with colors and effects to make a photo interesting, and I also like to add textures when it fits in well. So, the techniques you show here will be very helpful to me. My biggest takeaways from this tutorial are the use of path and motion blurs (I generally stick to gaussian), colorizing added textures with color balance, and selecting individual color channels in an offset copy to create a colored shadow effect. I personally would love to see more tutorials working with textures and lighting effects!
I def need to use this subscription more.
More please! Great creative ideas.
Had lots of fun with this – great course! I found my file size increased super quick, and one of the images had to be re-saved as PSB. I assume it’s maybe because of the number of smart objects and the fact I scaled some of them up really huge to get the effect I wanted? I used a couple of images of my wonderful wife, here’s my effort!