

THIS COURSE INCLUDES
- 8 Lessonsin 2 sections
- 3h 21mof 4K video
- Advancedfor experienced editors
- 8 Sample ImagesRAW files to edit
- 8 Layered PSDsto follow along
- Captionsand chapters on every lesson
Part of a Learning Path
Join PHLEARN PRO for instant access to this course and every tutorial on PHLEARN.
- Stream in up to 4K on any device
- Closed captions and chapters on every course
- Download all sample images and PSDs
- New PRO tutorials every month
- Cancel anytime
Description
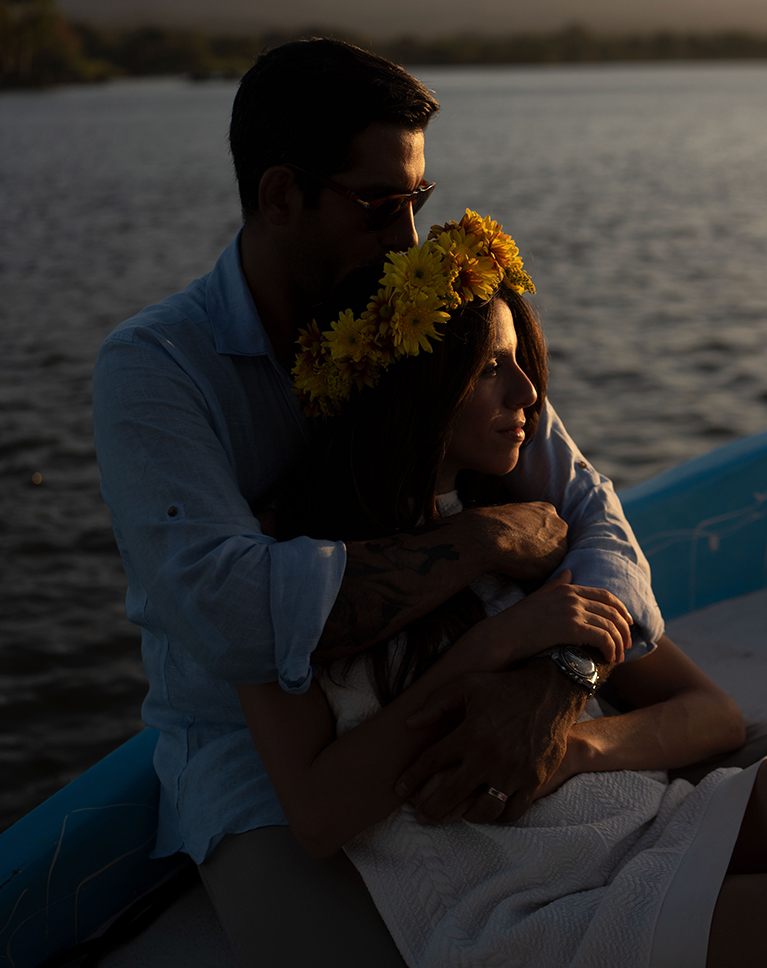
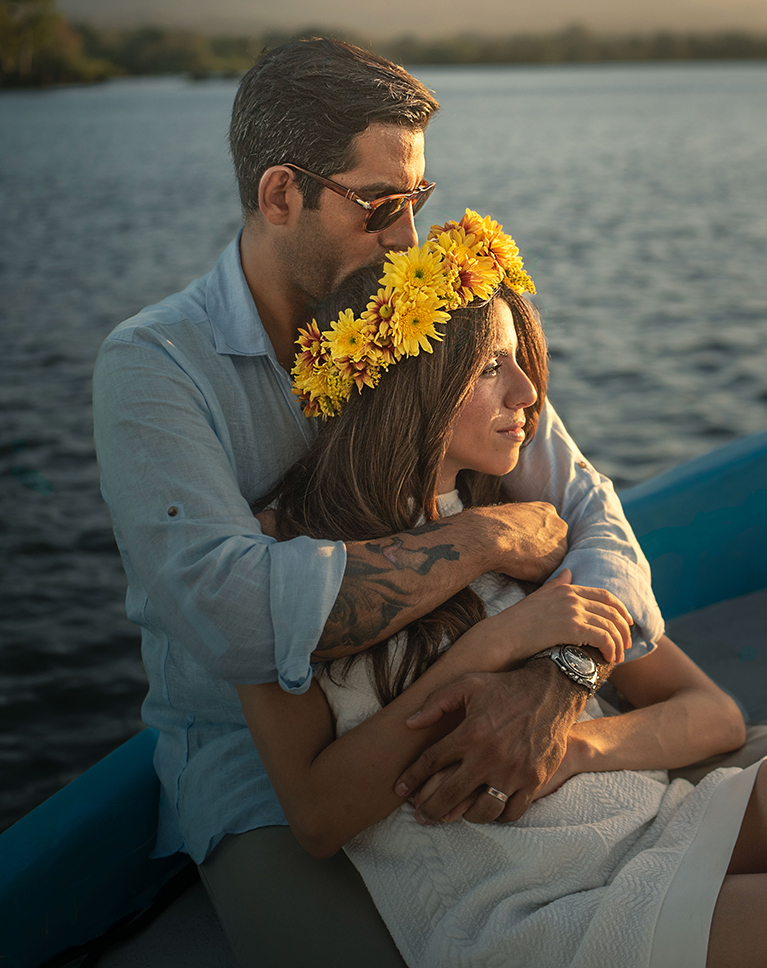
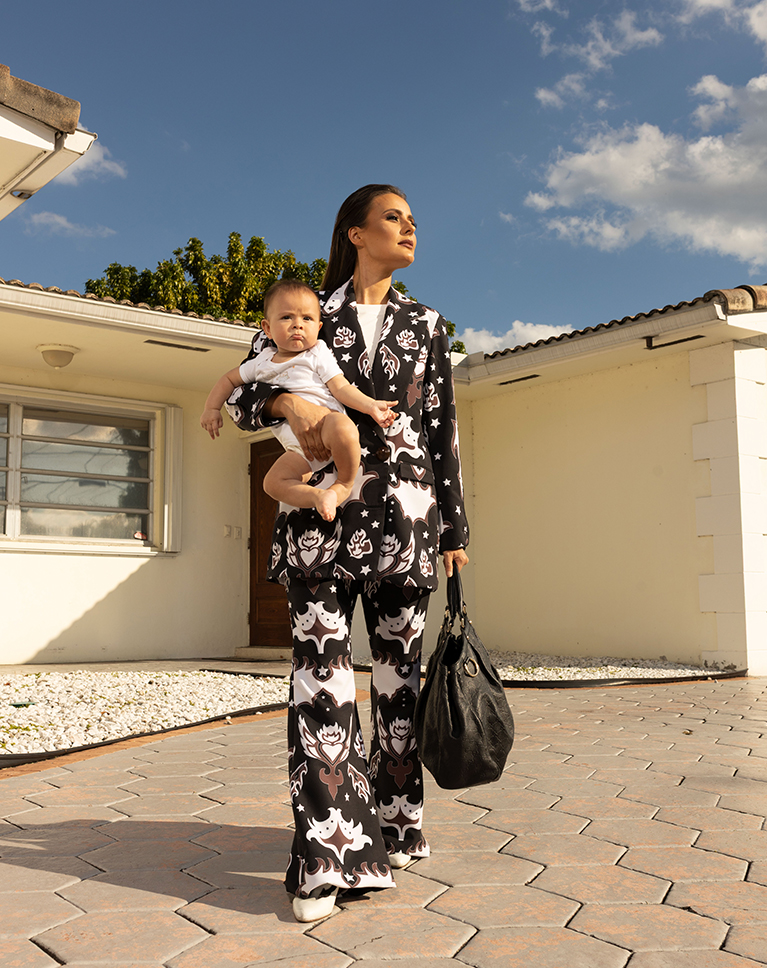
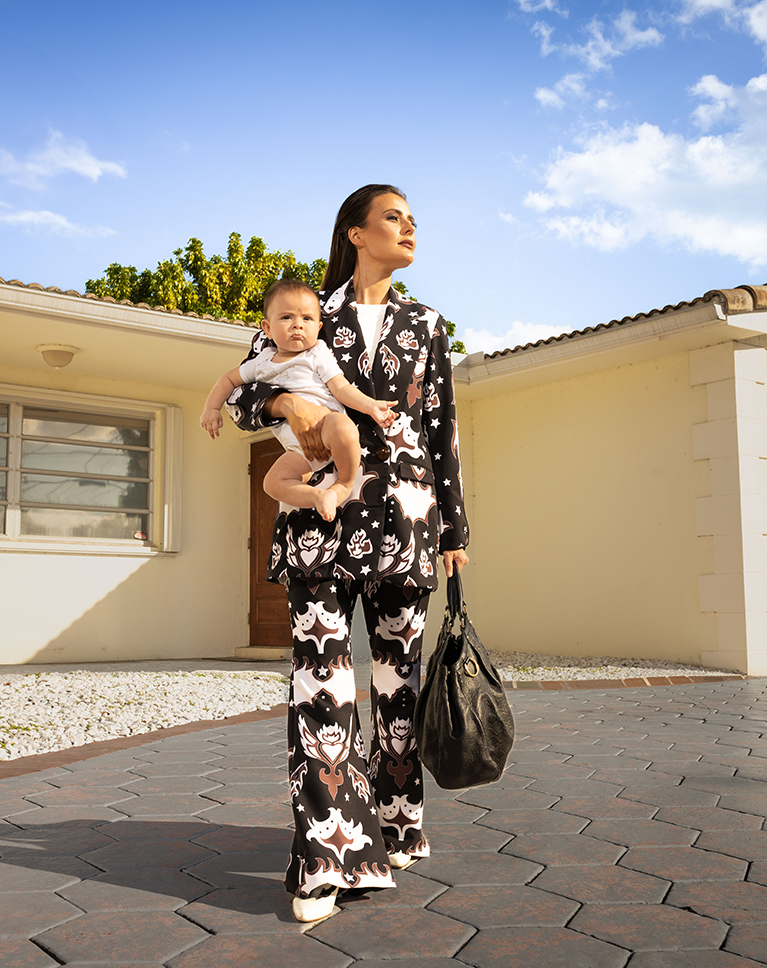
Transform your portraits from good to unforgettable with advanced portrait editing in Photoshop and Camera Raw. This course guides you through editing eight diverse RAW photographs from start to finish, each with its own unique challenges, so you can build the skills to edit any portrait with confidence. The subjects range from an underexposed couple at sunset to a woman holding a baby and a model in a colorful outfit. Every edit has the same goal: draw the viewer’s eye to your subject and help them look their best.
You’ll master AI-powered masking in Camera Raw to select skin, eyes, hair, clothing, sky and water separately, then reshape lighting, control exposure and color, remove distractions and add a natural background blur. In Photoshop, you’ll use a workflow that lets you return to Camera Raw at any time, clean up flyaway hairs and clothing, and apply advanced sharpening techniques that draw attention to the eyes and make your subjects shine. We also show you where Generative Fill helps and where a classic tool does a better job without spending generative credits. All eight RAW files and the PSDs are included so you can follow along step by step.
What You’ll Learn
- Edit eight RAW portraits each with its own challenge
- Reshape light and control exposure with AI-powered masking
- Remove distractions non-destructively with Spot Healing
Table of Contents
-
01 - Basic Edits32:53m
-
02 - Targeted Enhancements26:18m
-
03 - Editing Surroundings26:31m
-
04 - Color Adjustments29:48m
Course Downloads
Edit Beyond Expectations

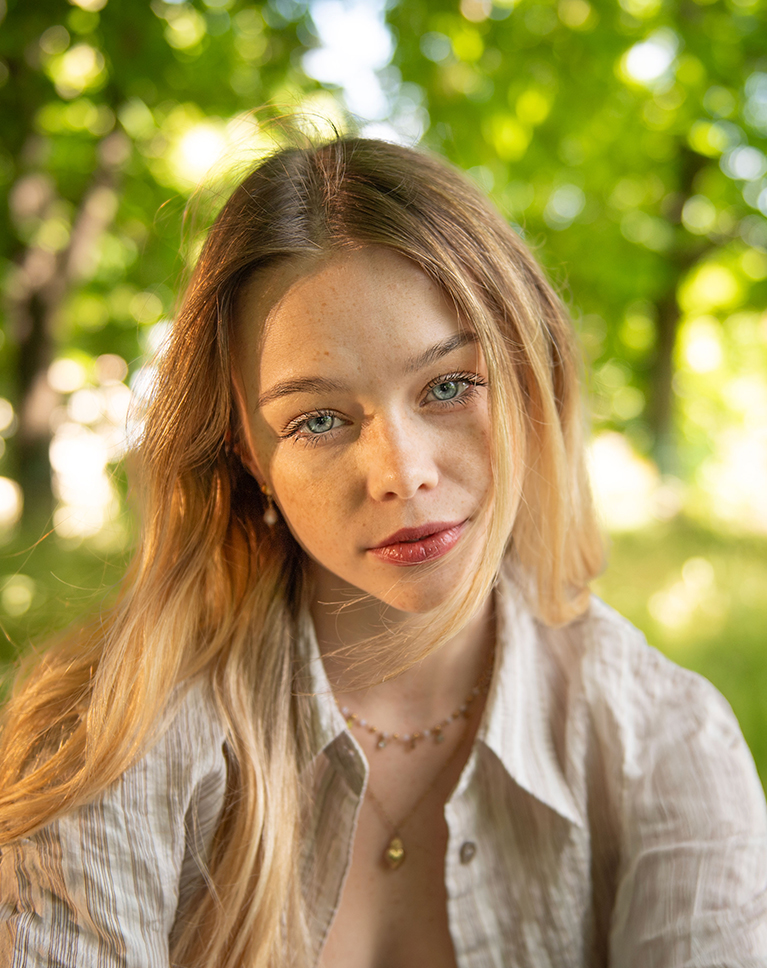
Advanced Portrait Editing in Photoshop
Trying to figure out the best workflow for advanced portrait editing in Photoshop can be a daunting task. This tutorial will guide you through a complete portrait editing journey, transforming RAW photographs from start to finish! You’ll master the seamless transition between Camera Raw and Photoshop, and Aaron’s favorite non-destructive editing techniques that will give you complete control and flexibility over every adjustment.
Photoshop & Camera RAW
Photoshop and Camera RAW have powerful tools designed to help you transform your images with precision and achieve stunning, professional results. From RAW adjustments, to color grading, to advanced masking, we’ll show how to use each tool to enhance your portrait photos in no time! And if you want to take things a step further you should check out our tutorial Advanced Portrait Retouching in Photoshop, which covers fundamental retouching techniques like dodge & burn, frequency separation, and more!
Smart Editing
Non-destructive editing is the cornerstone of advanced portrait editing in Photoshop, and Smart Objects in Photoshop are key to this. We’ll show you how to convert your layers to Smart Objects, so you can apply adjustments, filters, and transformations without permanently altering the original pixels.
Selective Adjustments
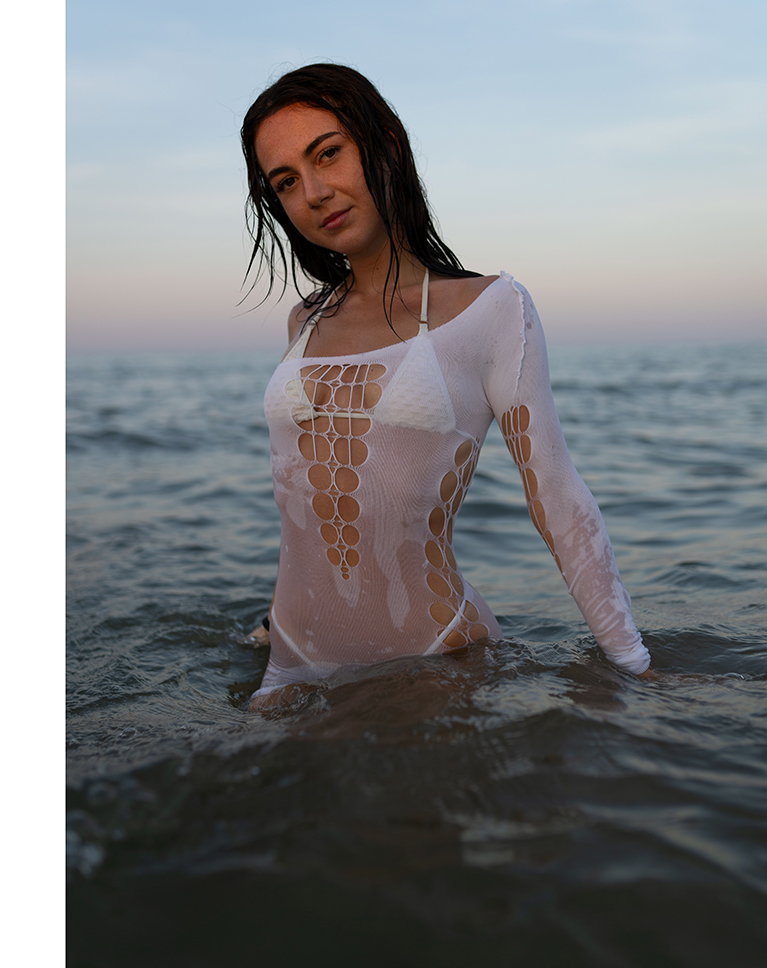
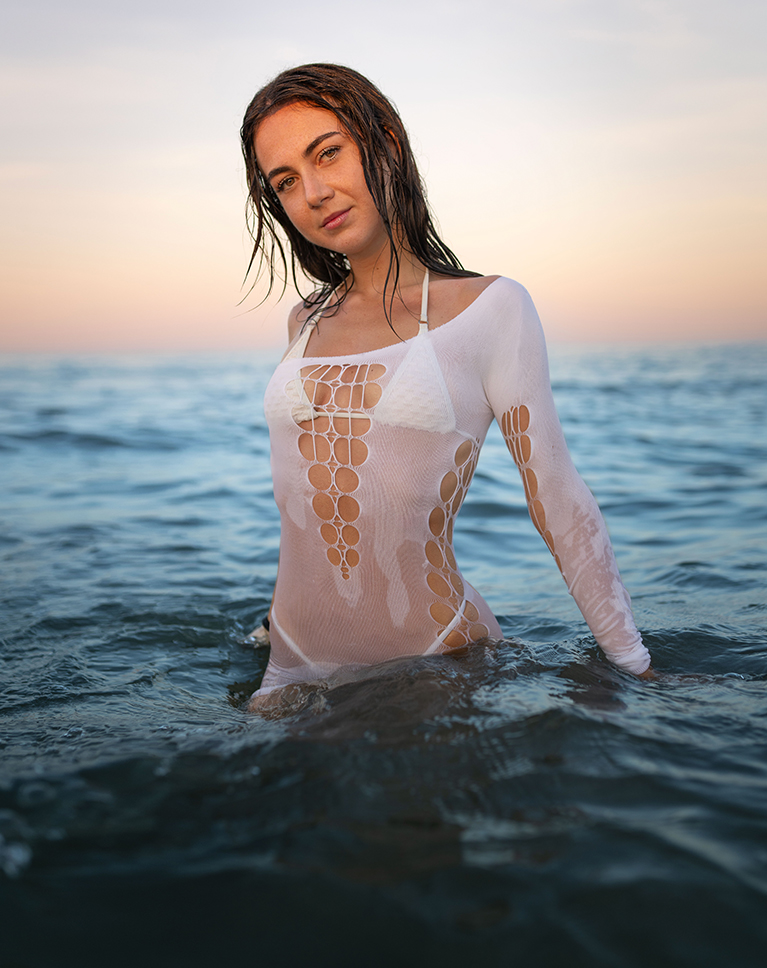
Selective adjustments are crucial to portrait editing in Camera Raw, refining specific areas of your image without affecting others. We’ll teach you how to master tools like masking in Camera Raw and Photoshop, along with adjustment layers, so you can precisely target elements, like brightening a subject’s eyes or warming a background. This focused approach ensures your edits enhance key details, leading to a polished and impactful final photograph.
Correct Exposure
Correcting exposure is where portrait editing in Camera Raw starts: it can transform your photos, revealing hidden details and creating a more harmonious image. We’ll teach you the best methods for adjusting exposure and contrast, moving beyond auto-corrections. You’ll learn how to strategically balance light and shadow, enhance detail in highlights, and add depth with contrast, ensuring your subjects always look their absolute best.
Generative Fill
We champion a hybrid approach, seamlessly integrating both manual tools and cutting-edge AI power to achieve exceptional results. We’ll explore using Generative Fill to remove distracting elements like clothing wrinkles or water spots. You’ll learn how to use Generative Expand and Content-Aware Scale to enlarge your canvas, and get past potential content flagging.

Shift The Focus
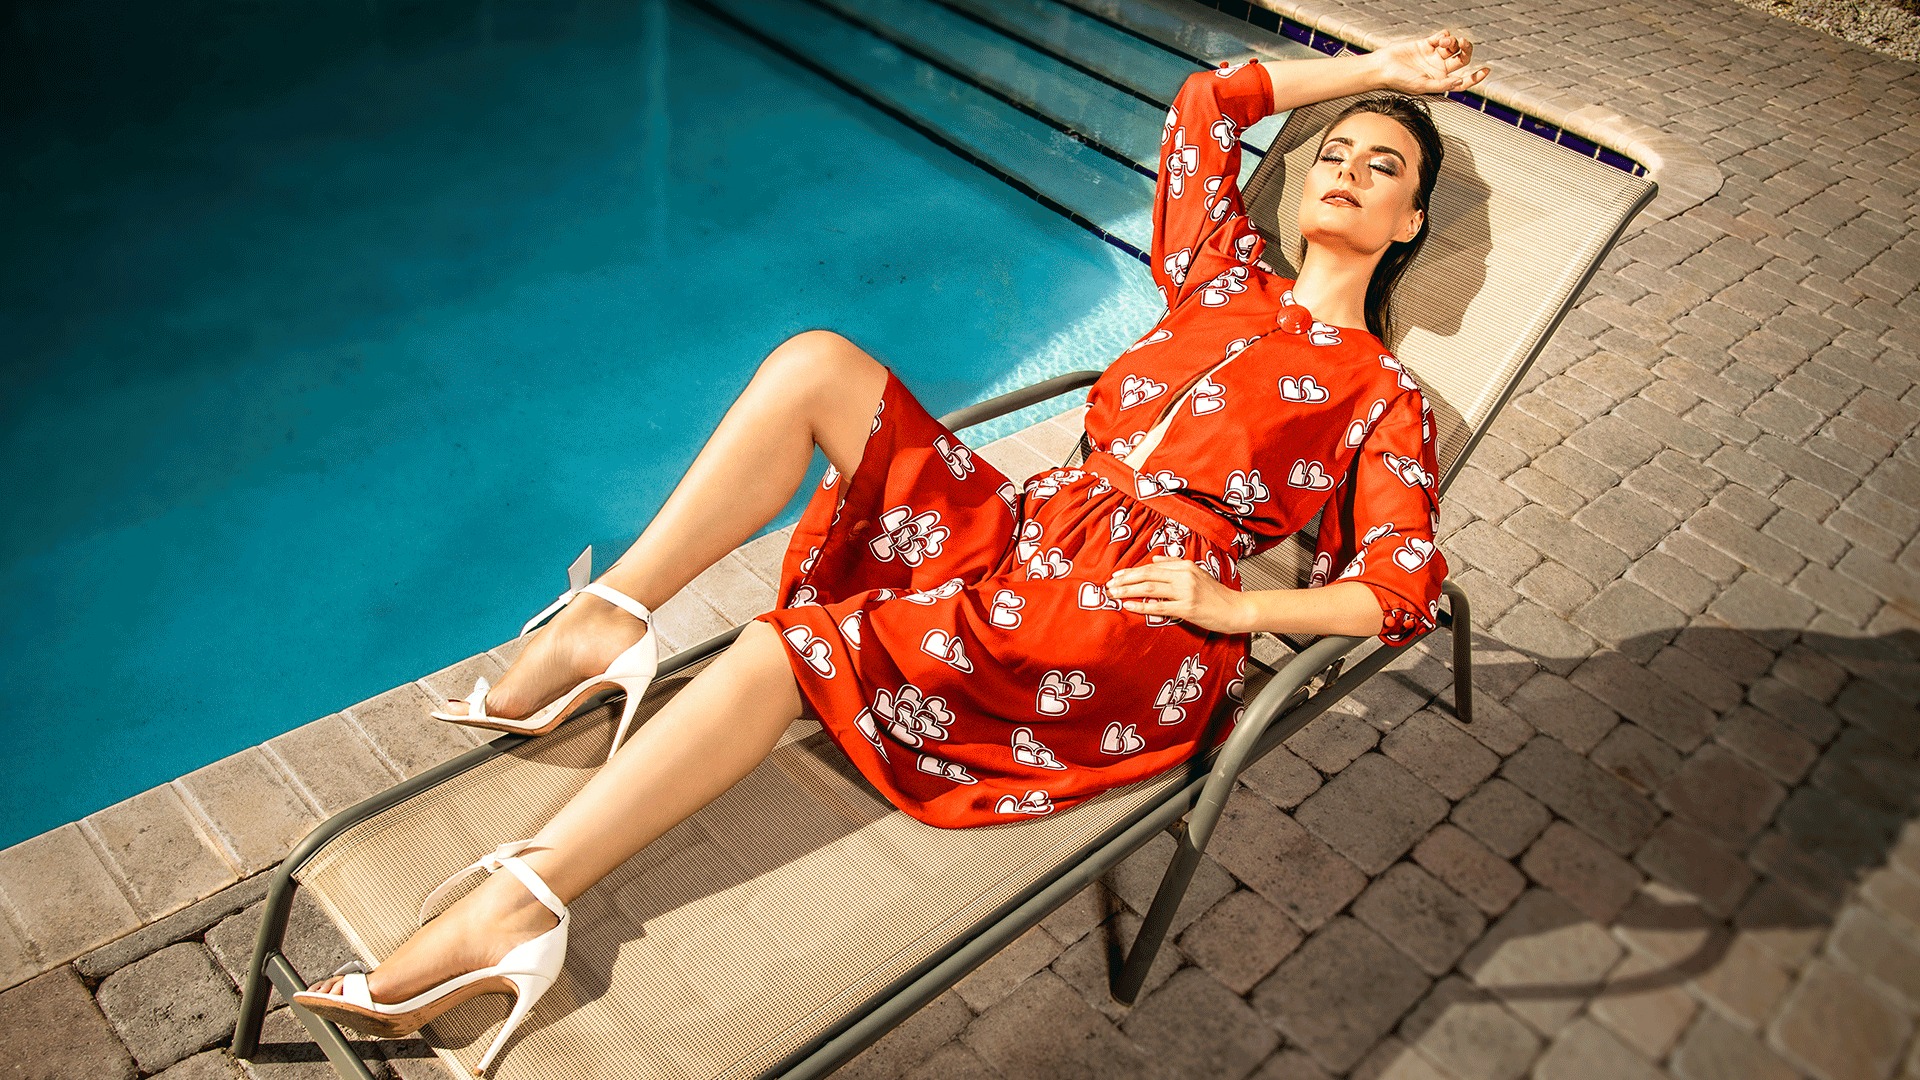
Advanced Masking offers unparalleled control over your edits. We’ll show you how to highlight your subject with incredible accuracy, making them pop from the frame, while simultaneously adjusting less important areas to subtly recede.
Advanced Masking
Explore the power of advanced masking tools, the engine behind advanced portrait editing in Photoshop! This tutorial goes beyond basic selections, teaching you to wield absolute control. You’ll learn to target specific areas for flawless color correction and creative enhancements by adding to your selections for ultimate coverage, and subtracting unwanted details with precision.
Selective Sharpening
Sharpening is the ultimate final touch for advanced portrait editing in Photoshop. In this tutorial, we’ll teach you a precise technique that accentuates specific parts of your image. This method enhances your photographs, making elements visually striking and defined without introducing common issues like halos or grain, truly elevating the overall impact.
Shape The Mood
There’s nothing quite like precisely shaping the mood of your portraits with color grading in Camera Raw, and color grading provides that exact power. This tutorial emphasizes subtle, impactful adjustments, teaching you to leverage hue, saturation, and luminance sliders for precise control and stunning, professional results. Discover how to strategically apply cool tones to shadows and mid-tones while introducing warmth to highlights, creating a captivating sunset aesthetic.
Adaptive Editing Mindset
Beyond just techniques, this tutorial delves into Aaron’s decision-making process. You’ll gain insight into troubleshooting common editing challenges and understanding the why behind each adjustment. Aaron openly demonstrates attempting certain tools, like Lens Blur, and gracefully changing course when results aren’t ideal. This transparency provides invaluable lessons in adapting your workflow for optimal outcomes.
RAW Files Included
We want you to make the best out of this learning experience! That’s why this advanced portrait editing in Photoshop tutorial includes eight RAW portrait images for you to download. By editing right alongside us, you’ll get hands-on practice with the exact same starting images. This helps you truly understand every technique and master the full editing process from start to finish, seeing the amazing changes happen firsthand.
Portraits Learning Path
Explore more on Portrait Editing with our comprehensive 13-hour Portraits Learning Path. Take your skills in action with tutorials on creating soft portraits, stunning visual effects composites, and adding captivating elements to your portraits. Let’s dive in and unlock the true artistry of portrait photography!
Class Instructor
Aaron Nace
PHLEARN Founder & Lead Instructor
Aaron Nace is a photographer, digital artist, and the founder of PHLEARN. He has been teaching Photoshop, Lightroom, and photography since 2011, and has taught at Adobe MAX for more than eight years.
Aaron publishes a free tutorial every week and a new in-depth PRO course every month.
- 2M+YouTube subscribers
- 160M+video views
- 1,000+tutorials published
- 15years teaching Photoshop
Special thanks to Osea Costantini, a portrait photographer specializing in artificial and natural light, and Yorch Sans of SANS-STUDIOS in Miami, for providing the RAW images used in this tutorial.
Reviews
Master Photoshop, Lightroom and Photography
Join PHLEARN PRO for $12.99 a month or $99.99 a year. Cancel anytime, with a 100% money-back guarantee.






Hey Aaron, after watching 03-Exposure Adjustments, and viewing the final product of a romantic couple in the setting sun, I am left with a strong desire to remove his ugly arm tattoos. Of course your recommended technique of returning from ACR to PS and using the Spot healing brush doesn’t work. Nor do any of the other spot tools work very well. So, how do you remove tattoos ?
Hey there! Check out these tutorials for tattoo removal:
https://phlearn.com/tutorial/remove-tattoos-using-ai-in-photoshop/. (with AI)
https://phlearn.com/tutorial/portrait-editing-live-rebroadcast/ (manually)
To “sis-4610”: Good review, and yes I have encountered the same annoying problem with PS-AI, refusal due to “Questionable Image” when I try to edit woman in revealing clothing. And yes, I have employed the same work-around that you described, but with inconsistent results; sometimes it works and often it just distorts the portrait. My suggestion: try Firefly, it incorporates a large number of new AI models not available in PS-ver 2026.
I appreciated this tutorial so much. It reinforced my learning to have 8 images to process through. By the last couple I was taking your techniques and starting them in my follow-along even before you did, both a sign of my growth and confidence in the techniques thanks to all the practice. The theme of your overall teaching: to bring the viewers attention to the most important element in our portrait – the subject, was apparent through-out. It was nice that while we performed a lot of the same techniques in each, you presented small tweaks and options for the special situations in each photo. That helped develop both consistency across work, as well as solutions when my photos contain a tricky element not present in other shots. Overall well done, Aaron. Now, about an action for that High Pass layer… 🙂
Loved this tutorial. So much fun! I just need to make a worksheet so I don’t forget to think of all the steps you took … some edits you used on one portrait but not on others. Not all needed to be doen on every one … e.g. cropping or blurring. Overall, I want to do this on my own snapshots (not a portrait photographer … not even a pro but love taking pics! QUESTION: I have a Sony A6000 and am thinking about upgrading to a more powerful Sony but don’t want to overshoot my abilities and waste money. I’d appreciate any suggestions!
Hey there! If you send us an email to support, our team will try to give you some suggestions.
Aaron, I’ve taken many, many Photoshop courses. A lot of them are only on correcting images (retouching), which is important, but you take it further than that…by a mile. I always wanted to learn how to use Photoshop creatively, but I couldn’t find a course that does it in such an approachable and visual manner. I’m glad I signed up for your PRO level subscription because I’ve finally found what I’ve been looking for for quite a while! All the best to you!
I am a Photoshop Professional and have been using Photoshop since it first came out 19+years ago. Aaron Nace PHLEARN is the principal way I stay on top of the latest features and techniques. Thanks Aaron.
Another great tutorial, simple, easy-to-follow instructions, I’ve already started using Camera Raw much more in my workflow as a result of watching.
Hi, Thanks for this information. Most useful. I have sharpened eyes on a number of photos, however, I found that when I am sharpening a photo which had a high ISO (1000+), it was not as effective. Is the effectiveness of sharpening dependent on a low ISO (under 250)? Again I appreciate the videos and have found them very practical. Cheers
Very easy to watch and understand. I enjoy seeing the different editing styles and workflows allowing me to incorporate changes to my own work. One item I’ve never seen discussed is the Open Copy option in ACR. Lightroom has Virtual Copy, but ACR handles this differently, especially when trying to always open the RAW as a Smart Object in Photoshop. It would be interesting to see some potential workflows and your thoughts on using Open Copy as well as Adobe changing the Options Bar and then changing it back (at least for my system).
Easy to use workflow, clear explained. Always fun to follow your lessons
As always, fantastic tutorial both in terms of content and presentation! I have been with you for many years now so at this stage most of this is review, but I am always learning something new anyway. Regarding the use of generative fill, this is a great tool but is severely limited by two factors. One is the limited amount of free generative credits per month. With my plan, they give me 250 credits per month which is enough for me if I use this feature conservatively. It would not be enough if I spent 5 or more credits per photo edit as being done here with the second example of the tutorial. Of course I could upgrade my plan for unlimited credits but I am only a hobbyist and try to keep the cost of my Adobe subscription to a reasonable level. The other limiting factor is the rather stringent community guidelines. Since I photograph mainly salsa dancers, I get stopped by this often due to not nude but a bit revealing attire. But there is a work around that I find useful, but it requires slightly more work. I create a copy of the layer I wish to apply generative fill or expand to, and then hide the areas which might trigger the community standards flag. This can be done painting with a brush or adding a filled rectangle to the layer. I do my generative fill or expand on this layer, and then remove this layer afterwards. This seems to work well for me.