Download Assets
description
Learn how to place images into a new environments with Adobe Photoshop!. In this tutorial, we’ll show you how to extract and incorporate shadows, highlights, and reflections for a realistic result. This class has everything you need: precise selection techniques, blend modes, opacity adjustments and more!
Artist Credit
- Karolina Grabowska
- Dibakar Roy
Images sourced from Pexels.
Share


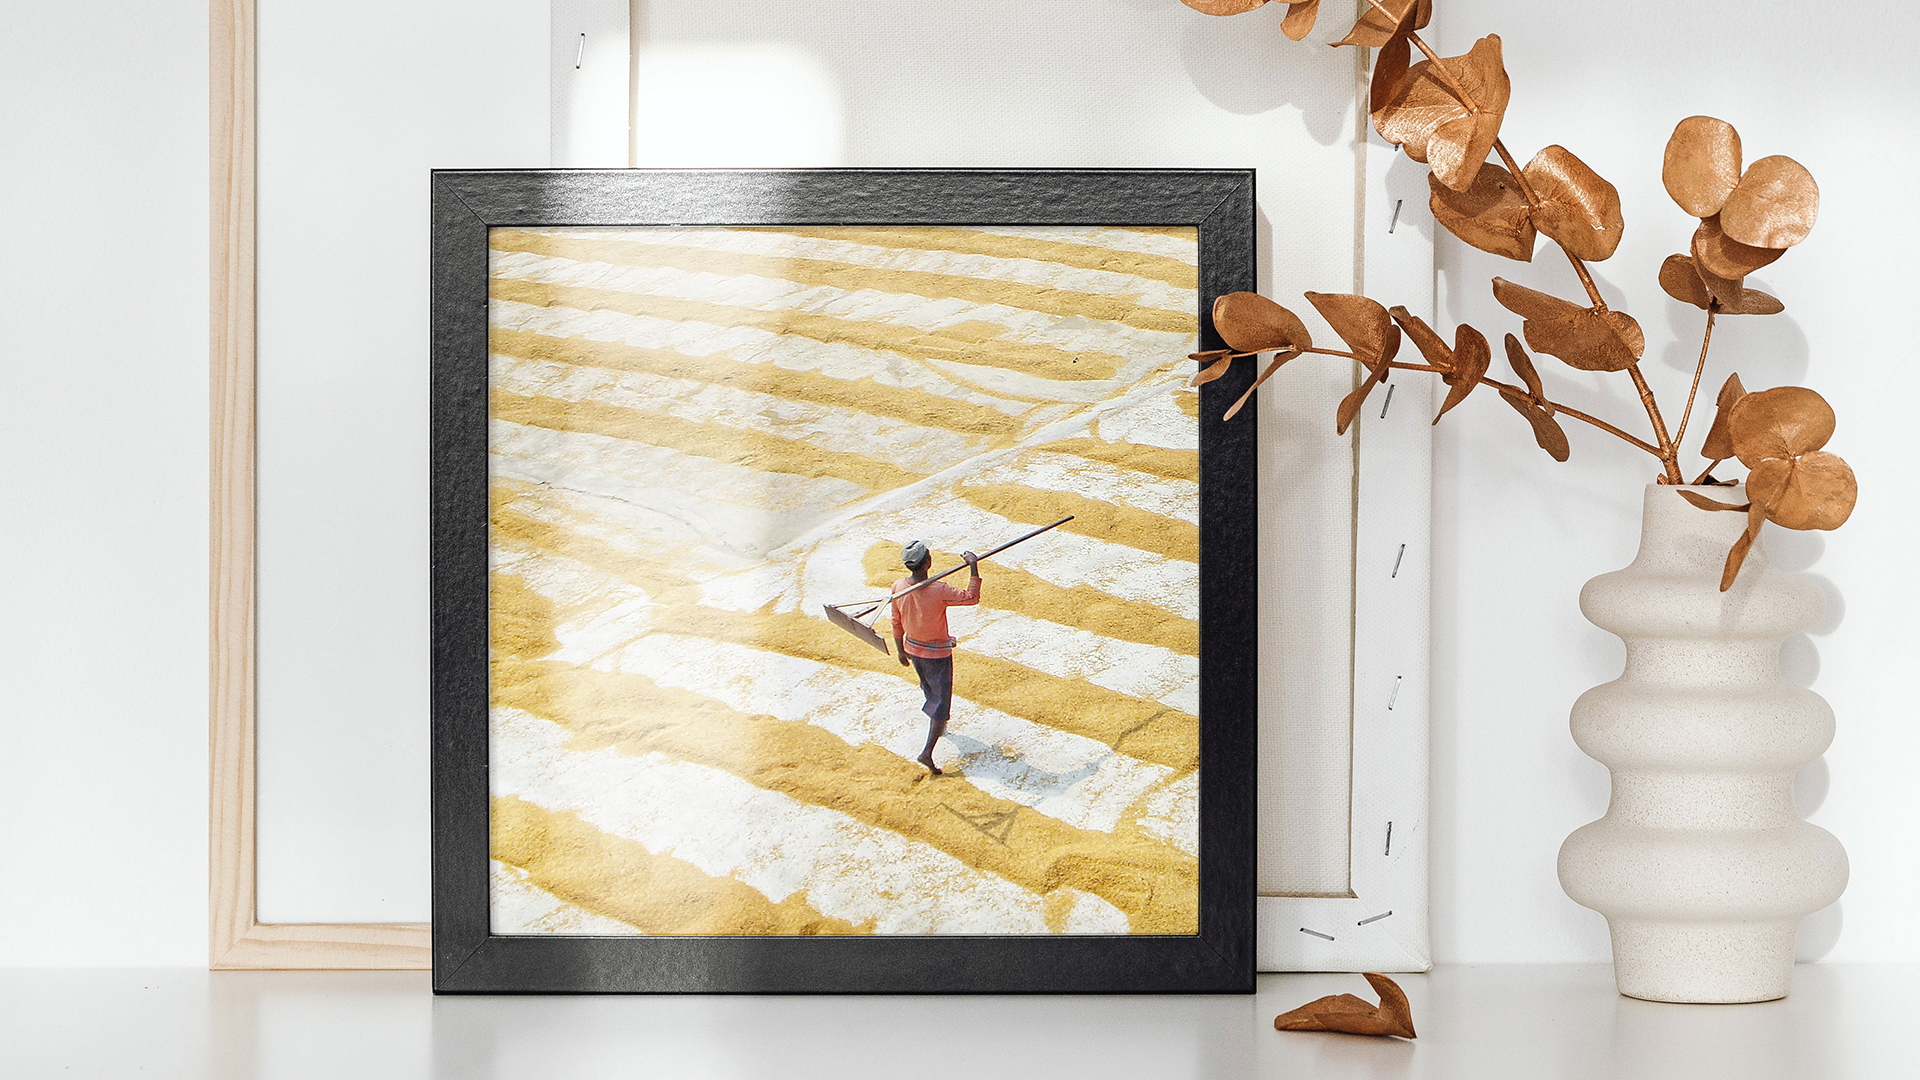
AFTER
BEFORE
Crafting Shadows & Highlights
Realistic Visuals
It’s not uncommon to want to insert an image into a new environment, but to make it look truly authentic, copying shadows and highlights is key. In this tutorial, we’ll guide you through the process to achieve this seamlessly.
Blend Your Image Into the New Environment
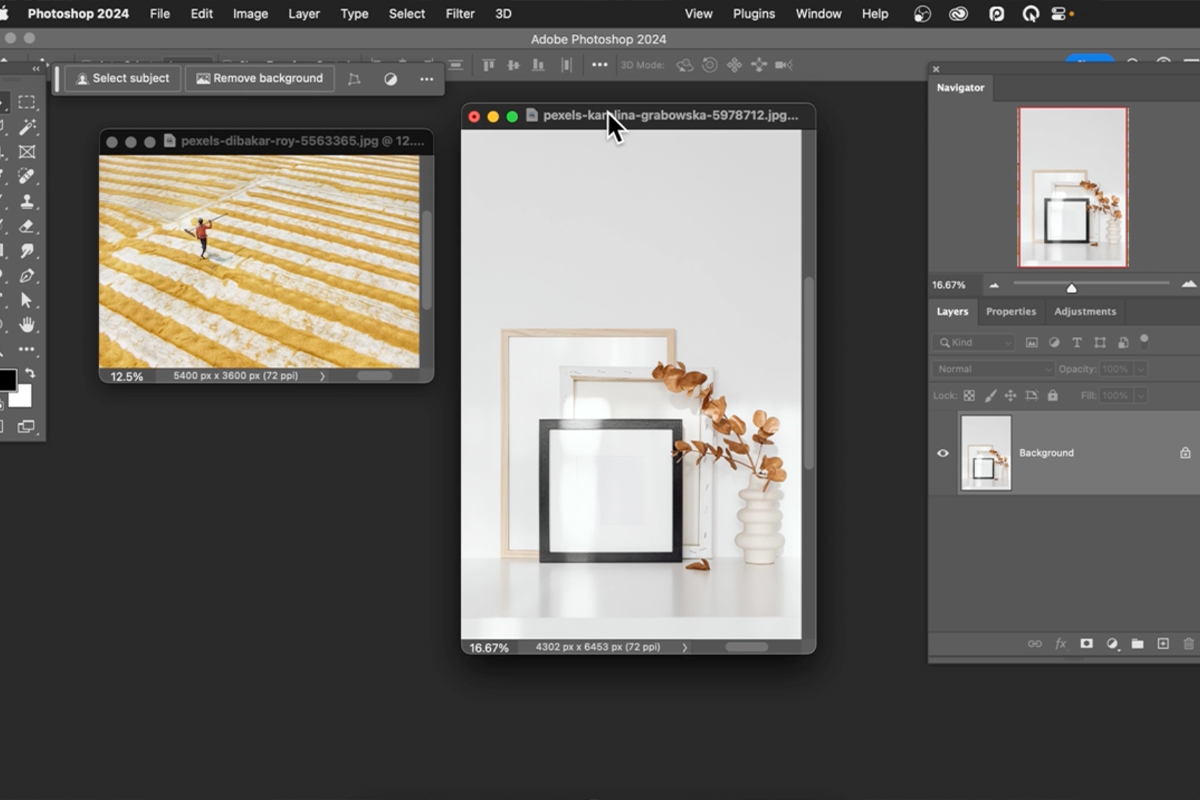
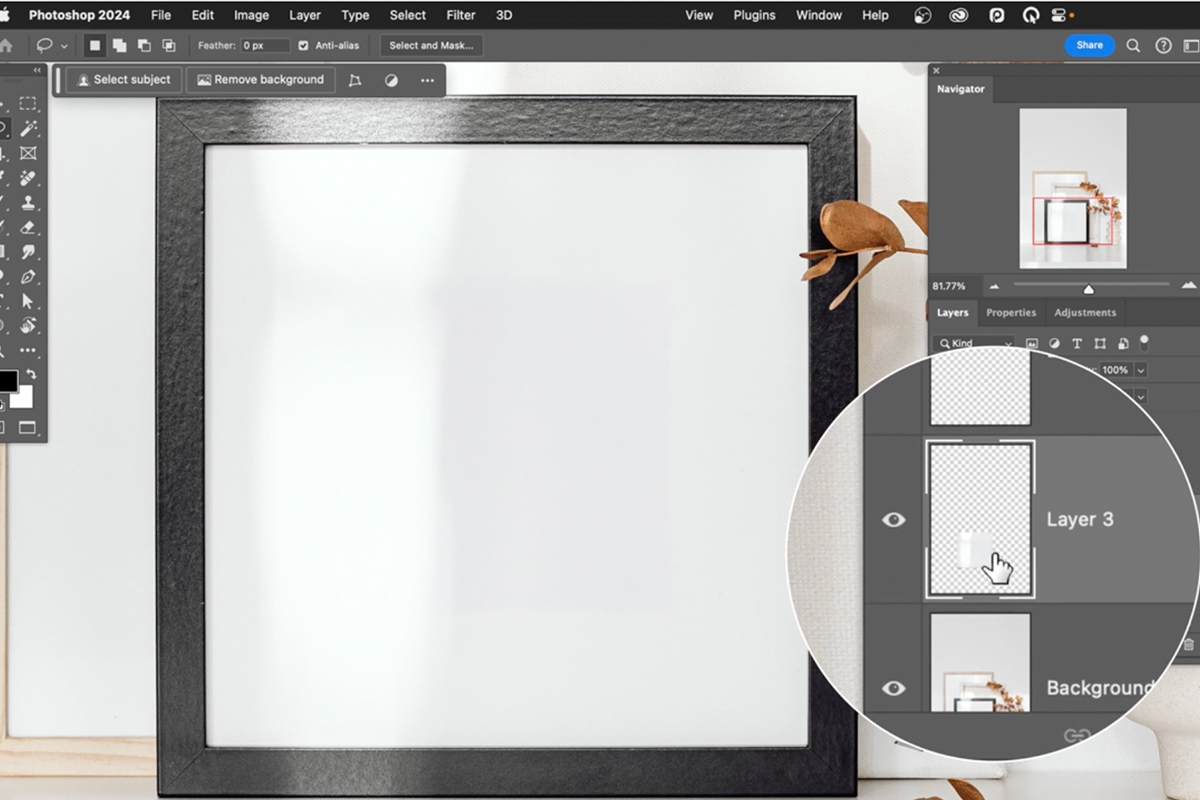
Let’s place the image inside a photo frame! First, we’ll import it into Photoshop and create a new layer. Then, let’s grab the Spot Healing Brush tool and remove any unwanted elements, like the matte area. We want to create a seamless fit, but don’t worry about being perfect yet! We’ll fine tune the details later on.
Placing the Image into the Frame
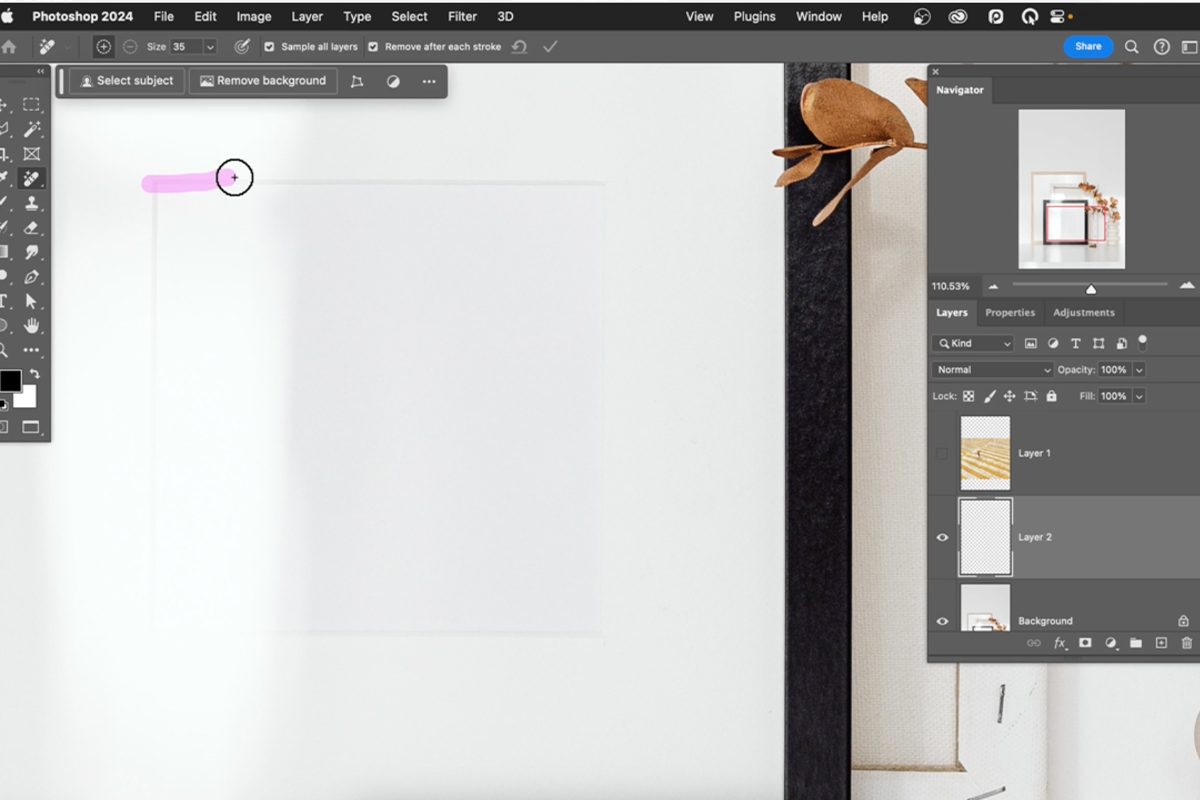
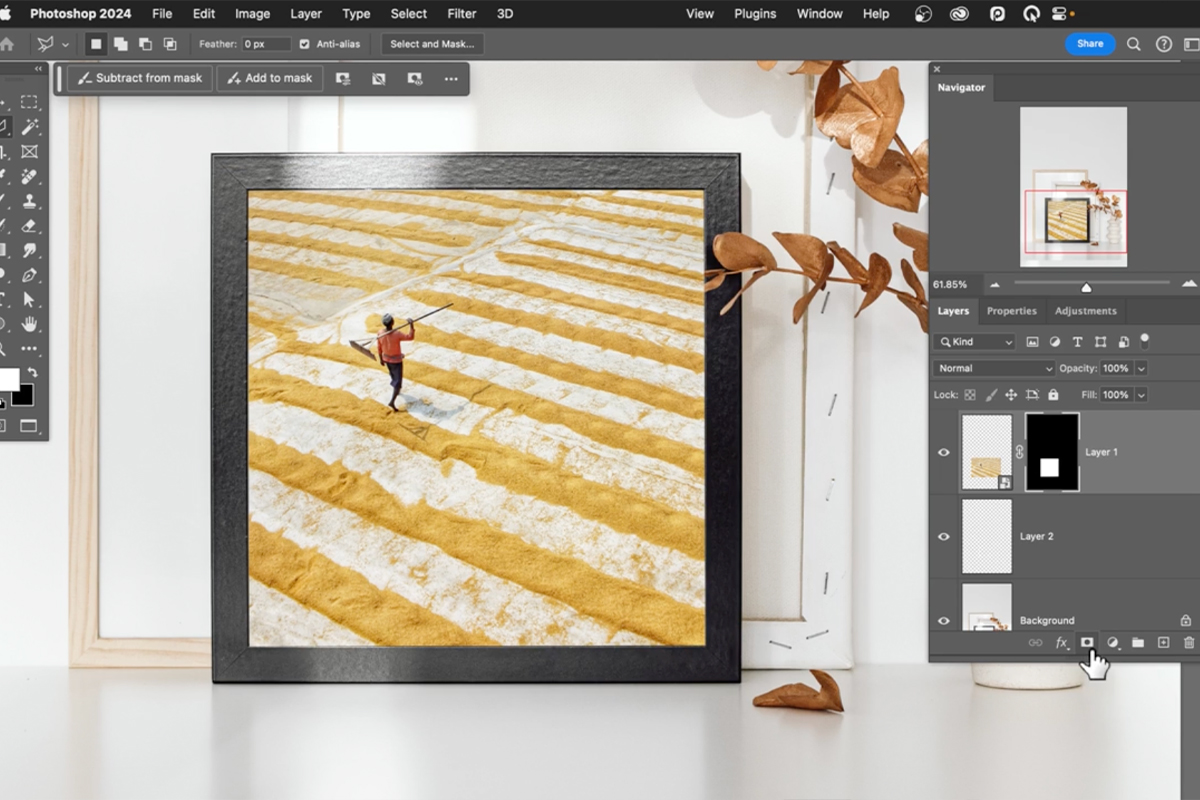
Before blending our image into the composite, we will convert it to a smart object to allow non-destructive editing. Using the Lasso Tool, we’ll select the area of the frame we want to use. Once you have positioned your image to your liking, create a Layer Mask and refine the edges to blend the image into the composite.
Recreating Realistic Highlights and Shadows
At this point, you may notice that your composite lacks the realistic lighting effects. The original image had highlights and shadows that spanned across the entire photo. To bring these essential elements back to your composite, you’ll need to extract the reflections, highlights, and shadows from the original background layer.
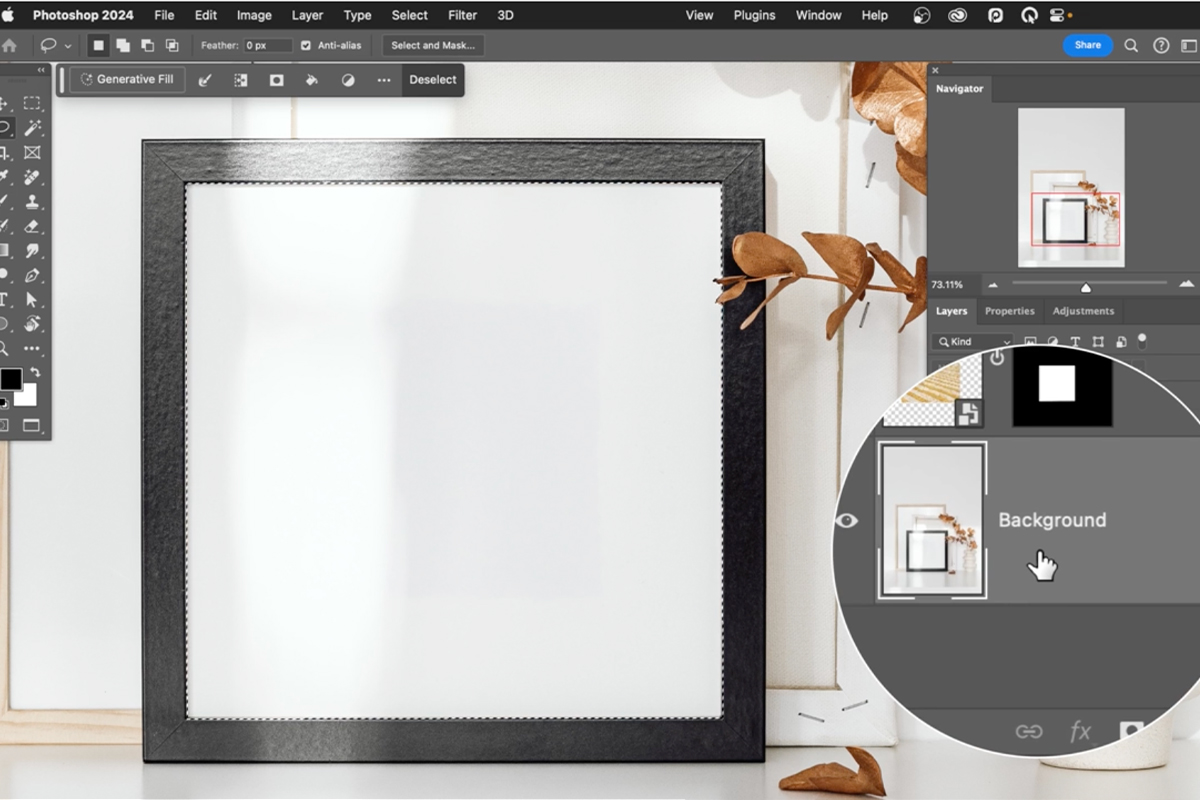
Start by zooming out and temporarily hiding your current image. If you’ve created an extra layer to hide certain elements like a matte effect, merge these layers to simplify your workspace. Select both layers, hold down “Shift,” and then press “Control” or “Command” + “E” to merge them.
Separating Highlights from Shadows
To work effectively with highlights and shadows, it’s essential to separate them. Luckily, the selection for your composite has already been made using the Polygonal Lasso tool, so there’s no need to redo it. Convert the layer mask into a selection by holding “Control” or “Command” and clicking on the layer mask. Now, the background layer is ready to be duplicated to create separate layers for highlights and shadows.
With the background layer selected, press “Control” or “Command” + “J” to duplicate it. Name this layer “Highlight” and repeat the process for the shadows, naming it appropriately.
Blending and Adjusting
Now, you want to blend the highlight layer with the composite. Set the highlight layer’s blend mode to “Screen”. This mode reveals the highlights and conceals the shadows.
However, it might appear too strong initially. To adjust the effect, we’ll utilize “Levels” to darken the darks (making them less visible) and lighten the lights on the highlight layer. To do this, press “Control” or “Command” + “L” to open the Levels dialog. Move the black point to the right, decreasing the visibility of the highlight layer, creating a more natural effect. You can adjust the opacity if needed.
For the shadow layer, set the blend mode to “Multiply,” revealing the shadows while hiding the highlights. Adjust this layer in a similar manner, tweaking the Levels to balance the effect.
By following these steps, you’ll be able to recreate the original lighting conditions, making your composite image appear remarkably realistic!
From refining your layer masks and extracting shadows and highlights to blending and adjusting layers, you now have the tools to make your compositions truly convincing. Remember, the key to creating seamless and authentic composites lies in meticulous attention to detail.


