Download Assets
description
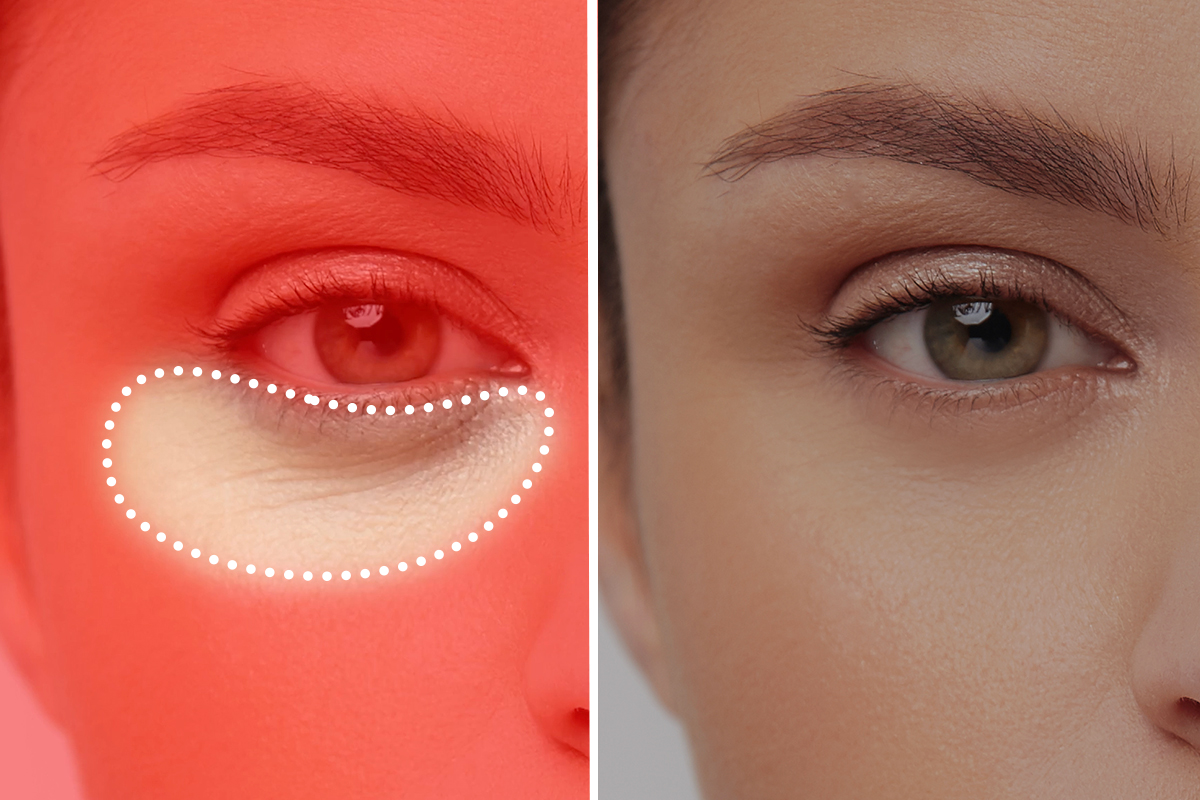
Dark circles and puffy under-eye bags can quickly steal your sparkle and make you look tired, even when you’re feeling refreshed. In this tutorial, we’ll show you how to banish those pesky bags and unveil your radiant eyes to the world using this simple technique in Photoshop.
Note:
Due to copyright restrictions, we’re only able to share previews of the Adobe Stock images. However, you can download the high-resolution images for free from their website.
Share

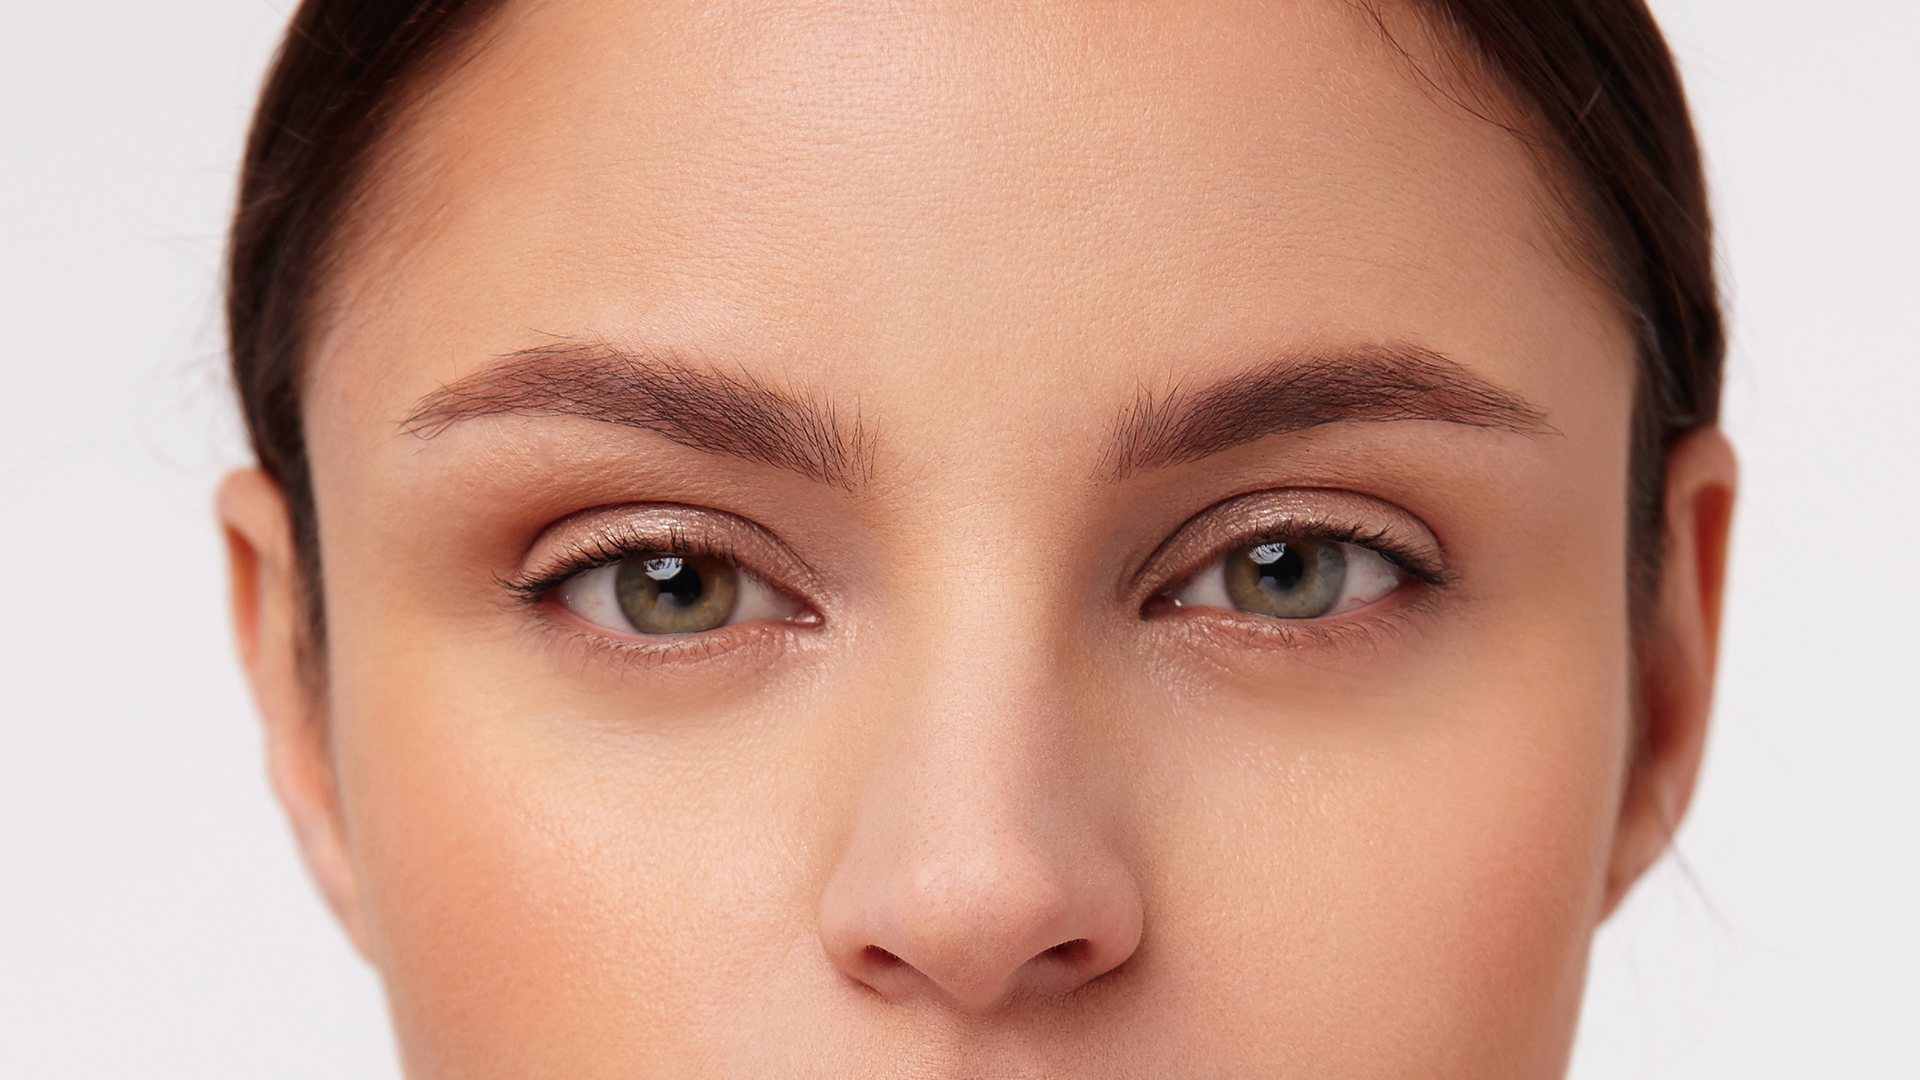
AFTER
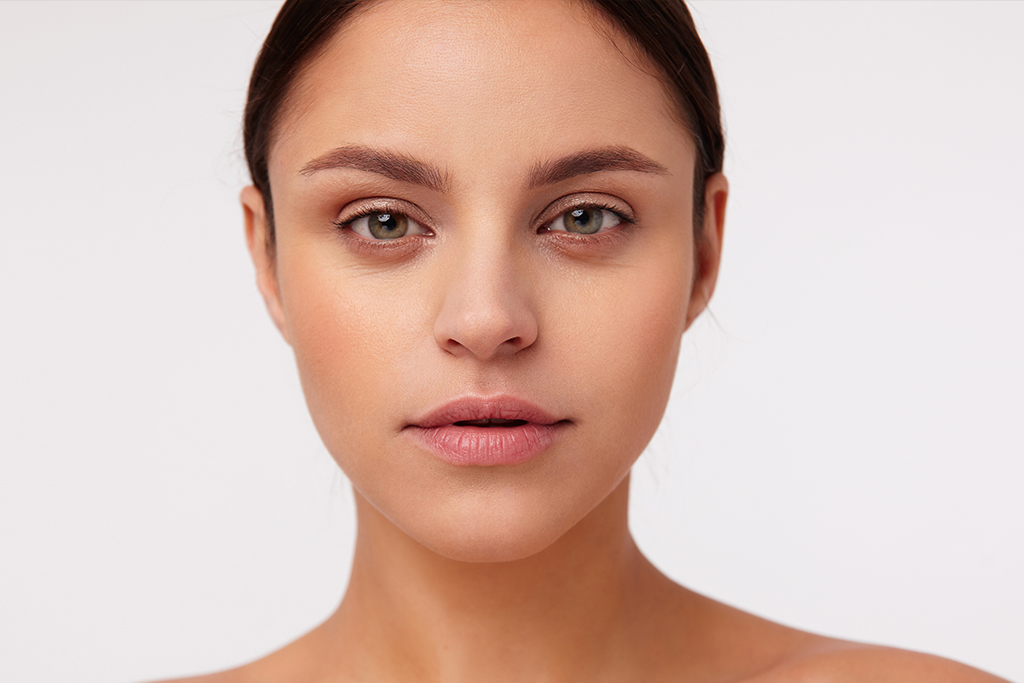
BEFORE
Revitalize Your Gaze
Brush Tool vs AI Generative Fill
Dark circles under our eyes can make us look tired, even when we’re not. In this tutorial, we’ll show you how to use the Brush Tool in Photoshop to easily remove and brighten those dark areas. Some may ask why not use AI Generative Fill? While Generative Fill is powerful, it can sometimes make things look unnatural, especially around the eyes. To keep the person’s features looking as natural as possible, the Brush Tool is the best option! It gives us more control over the editing process and helps us achieve a more realistic look.
Create a Selection
Before we proceed, let’s carefully select the regions under the eyes that require touch-ups.
1. Press L on your keyboard to activate the Lasso tool.
2. Make a lasso selection around the under-eye area you want to lighten.
3. Hold Shift and make a selection around the other eye.
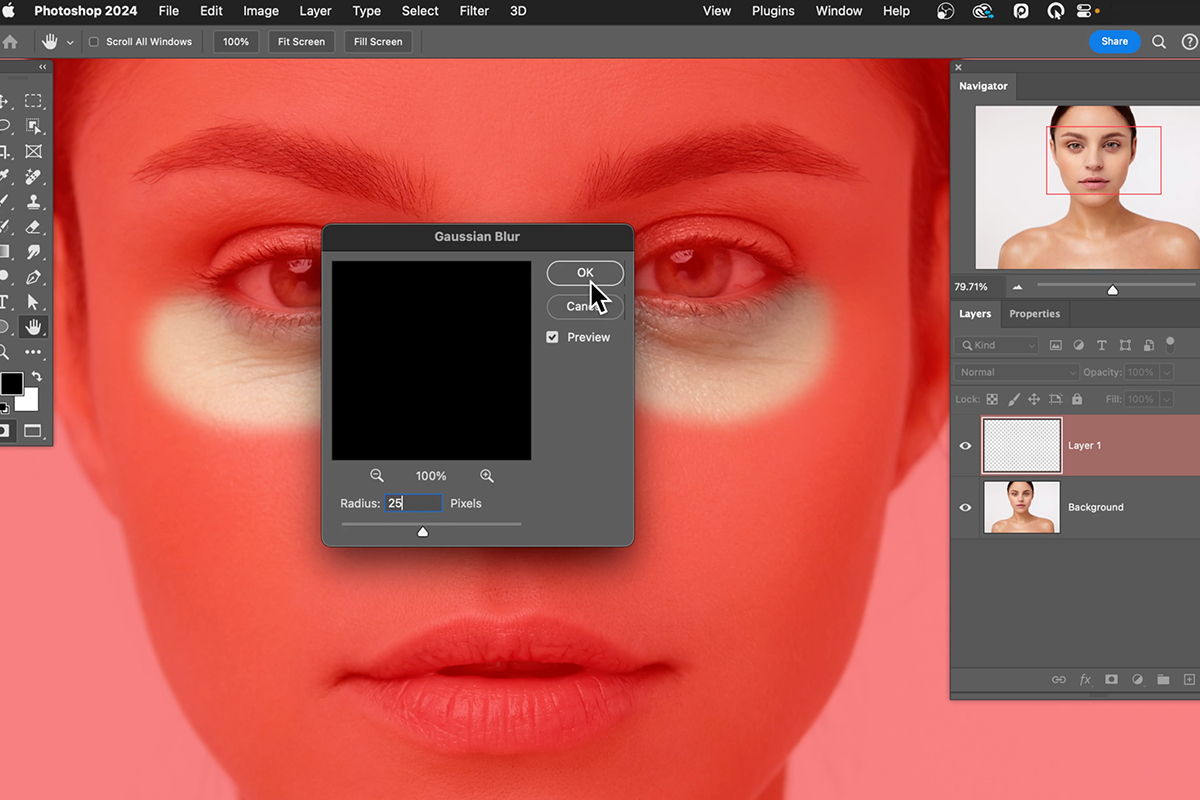
4. Press Q on your keyboard to enter Quick Mask mode.
5. Go to Filter > Blur > Gaussian Blur.
6. Set the Radius to 25 pixels and click OK. Consider adjusting the Radius value according to the image’s type and the desired degree of softening.
7. Press Q again to exit Quick Mask mode.
The Brush Tool in Action
1. Create a new layer by clicking the Create a new layer icon at the bottom of the Layers panel.
2. Make sure you are not on the Background layer.
3. Set the blending mode of the new layer to Lighten.
4. Select the Brush tool.
5. Set the Hardness of the brush to 0%.
6. Sample a light color from the surrounding skin.
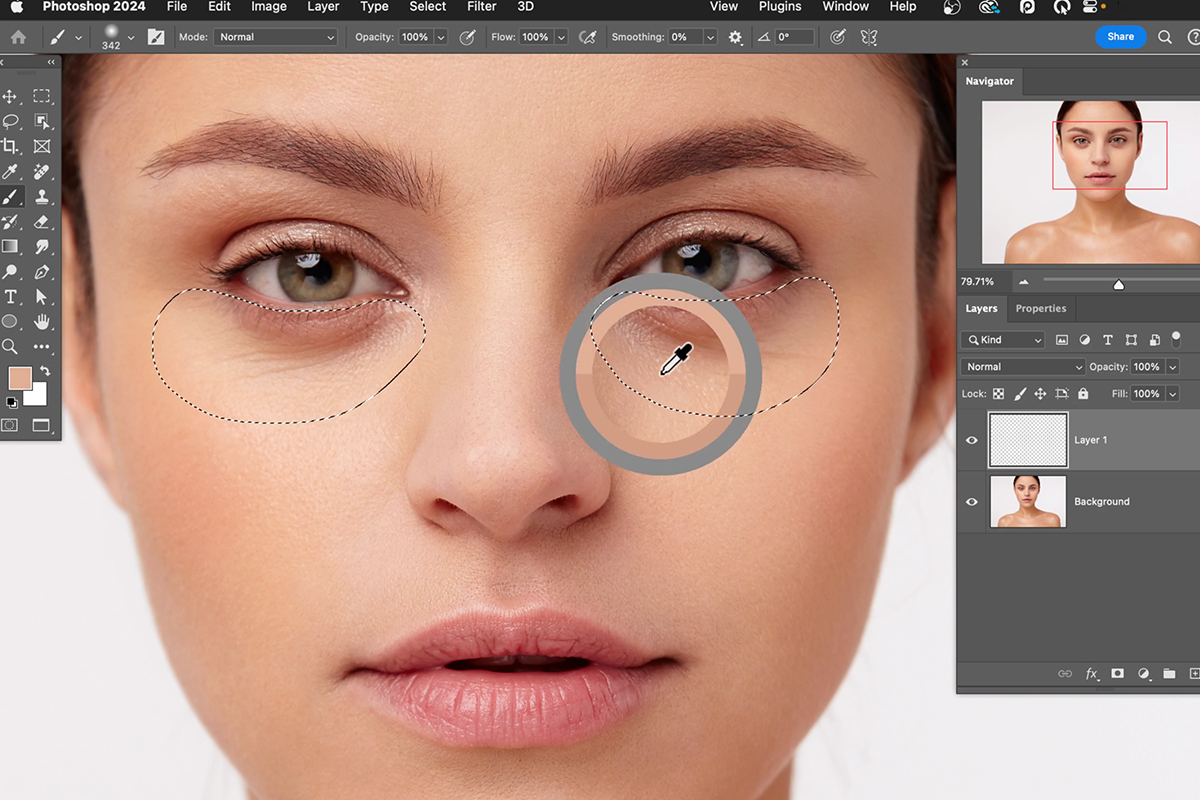
7. Set the Flow of the brush to 10%.
8. Click and paint over the under-eye area to lighten it.
9. Adjust the opacity of the new layer as needed.
10. Save your work.
Final Tips
We’ve almost reached the finish line of our dark circle removal journey! Now, let’s add some final touches to refine the results. You can utilize the Dodge Tool to strategically brighten specific areas that require extra lightening. For any lingering wrinkles or imperfections, employ the Clone Stamp Tool to seamlessly remove them without compromising the natural look of the under-eye area.
You can use AI Generative Fill to touchup small areas if needed. Remember, the key to success lies in moderation! Avoid over-editing, as the goal is to achieve a subtle yet noticeable improvement, not an entirely artificial transformation.


