
Download Assets
description
Learn to combine graphics and photos to create beautiful visual effects. In this tutorial, you will learn to transform graphics in perspective to fit photos and use displacement maps to make graphics interact with images.
Artist Credit
Special Thanks to the following artist for uploading their images and making them available for free for everyone to use.
Share

AFTER
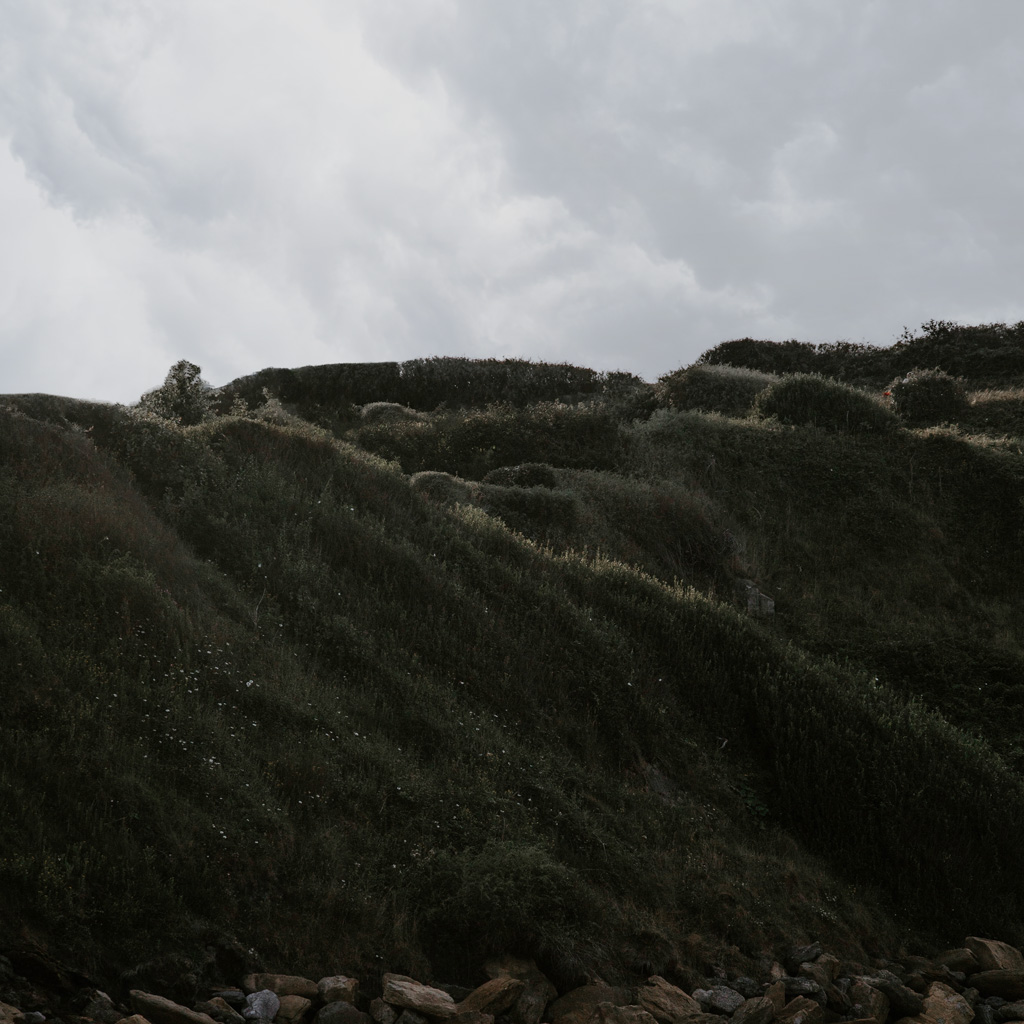
BEFORE
Remove Anything in Photoshop
In this tutorial, we demonstrated how to delete an object in Photoshop with just one click using the Object Selection tool and the Delete and Fill feature. First, we duplicated the background layer to preserve the original image. We then selected the Object Selection tool, which has been significantly improved in Photoshop 2022. The tool offers various options, including object finder and object display. By hovering over the object we wanted to delete, we were able to make a selection with ease.
To delete the object, we used the Delete and Fill feature by pressing Alt/Option + Delete (for Mac users) or Shift + Delete (for others). The feature uses content-aware technology to fill in the deleted area, but sometimes manual adjustments are needed to achieve professional-level results. In this case, we used the Clone Stamp tool and the Spot Healing Brush tool to clean up any inconsistencies.
To enhance the image further, we replaced the sky using Photoshop’s Sky Replacement feature. We selected a new sky image, adjusted its position and size, and then output the result to new layers. To make the new sky blend seamlessly with the image, we reduced the contrast of the sky by creating a Levels adjustment layer and adjusting the dark and bright points.
This method allows you to quickly delete objects and make necessary adjustments to create a professional-looking final result in Photoshop. Keep in mind that as Adobe continues to improve its AI and machine learning capabilities, these tools will become even more efficient and accurate.
Step-by-Step Instructions
1. Open the image in Photoshop.
2. Duplicate the background layer by pressing Ctrl or Cmd + J. This allows you to revert to the original image if needed.
3. Select the Object Selection Tool from the toolbar (or press W for the Magic Wand).
4. Turn on Object Finder in the options at the top of the screen.
5. Click the icon to display selectable objects in the image.
6. Use the rectangle or lasso tool to select the object(s) you want to remove.
7. To delete the selected object(s), press Alt or Option + Delete (for Mac) or Shift + Delete (for Windows).
8. If the fill dialog appears, choose Content Aware Fill and click OK.
9. Press Ctrl or Cmd + D to deselect the area.
10. For a more professional result, create a new layer and use the Clone Stamp Tool (press S) to clean up any remaining artifacts from the removed object.
11. Use the Spot Healing Brush Tool (press J) to remove any remaining imperfections.
12. Merge the layers by selecting them and pressing Ctrl or Cmd + E.
13. To replace the sky, go to Edit > Sky Replacement.
14. Choose a new sky image from the My Skies folder or add a custom sky using the plus icon.
15. Adjust the position, scale, and blending options of the new sky to fit the image.
16. Output the sky replacement to new layers.
17. Create a Levels Adjustment Layer above the new sky layer (Layer > New Adjustment Layer > Levels).
18. Clip the adjustment layer to the sky layer by clicking the clipping icon in the Levels properties dialog.
19. Lower the contrast of the new sky by adjusting the dark and light points in the Levels Adjustment Layer.
20. Fine-tune the adjustments to make the new sky blend seamlessly with the rest of the image.


