
Download Assets
Download Assets
This tutorial includes 18 PNG files, 1 After Effects project file and 1 PDF guide. Downloads are free with a PHLEARN account.
- Free sample files with every tutorial on PHLEARN
- New tutorials published every week
- Unlimited downloads with your free PHLEARN account
Free PDF Guide · 4 Pages
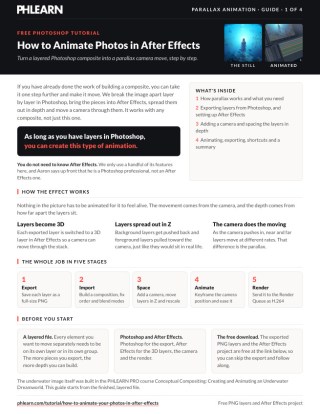
This Tutorial as a Step-by-Step PDF
Walks through the whole parallax move: Export As PNG at full document size, New Composition From Footage, reversing the order with cut and paste, 3D layers, Layer > New > Camera at 80mm, pushing layers back in Z and rescaling with S, Easy Ease In on the end keyframes, and an H.264 render. Keep it next to your keyboard.
description
Animate photos in After Effects and a still becomes a camera move: cut the scene into layers in Photoshop, turn them 3D, space them out in Z, then fly a camera past them.
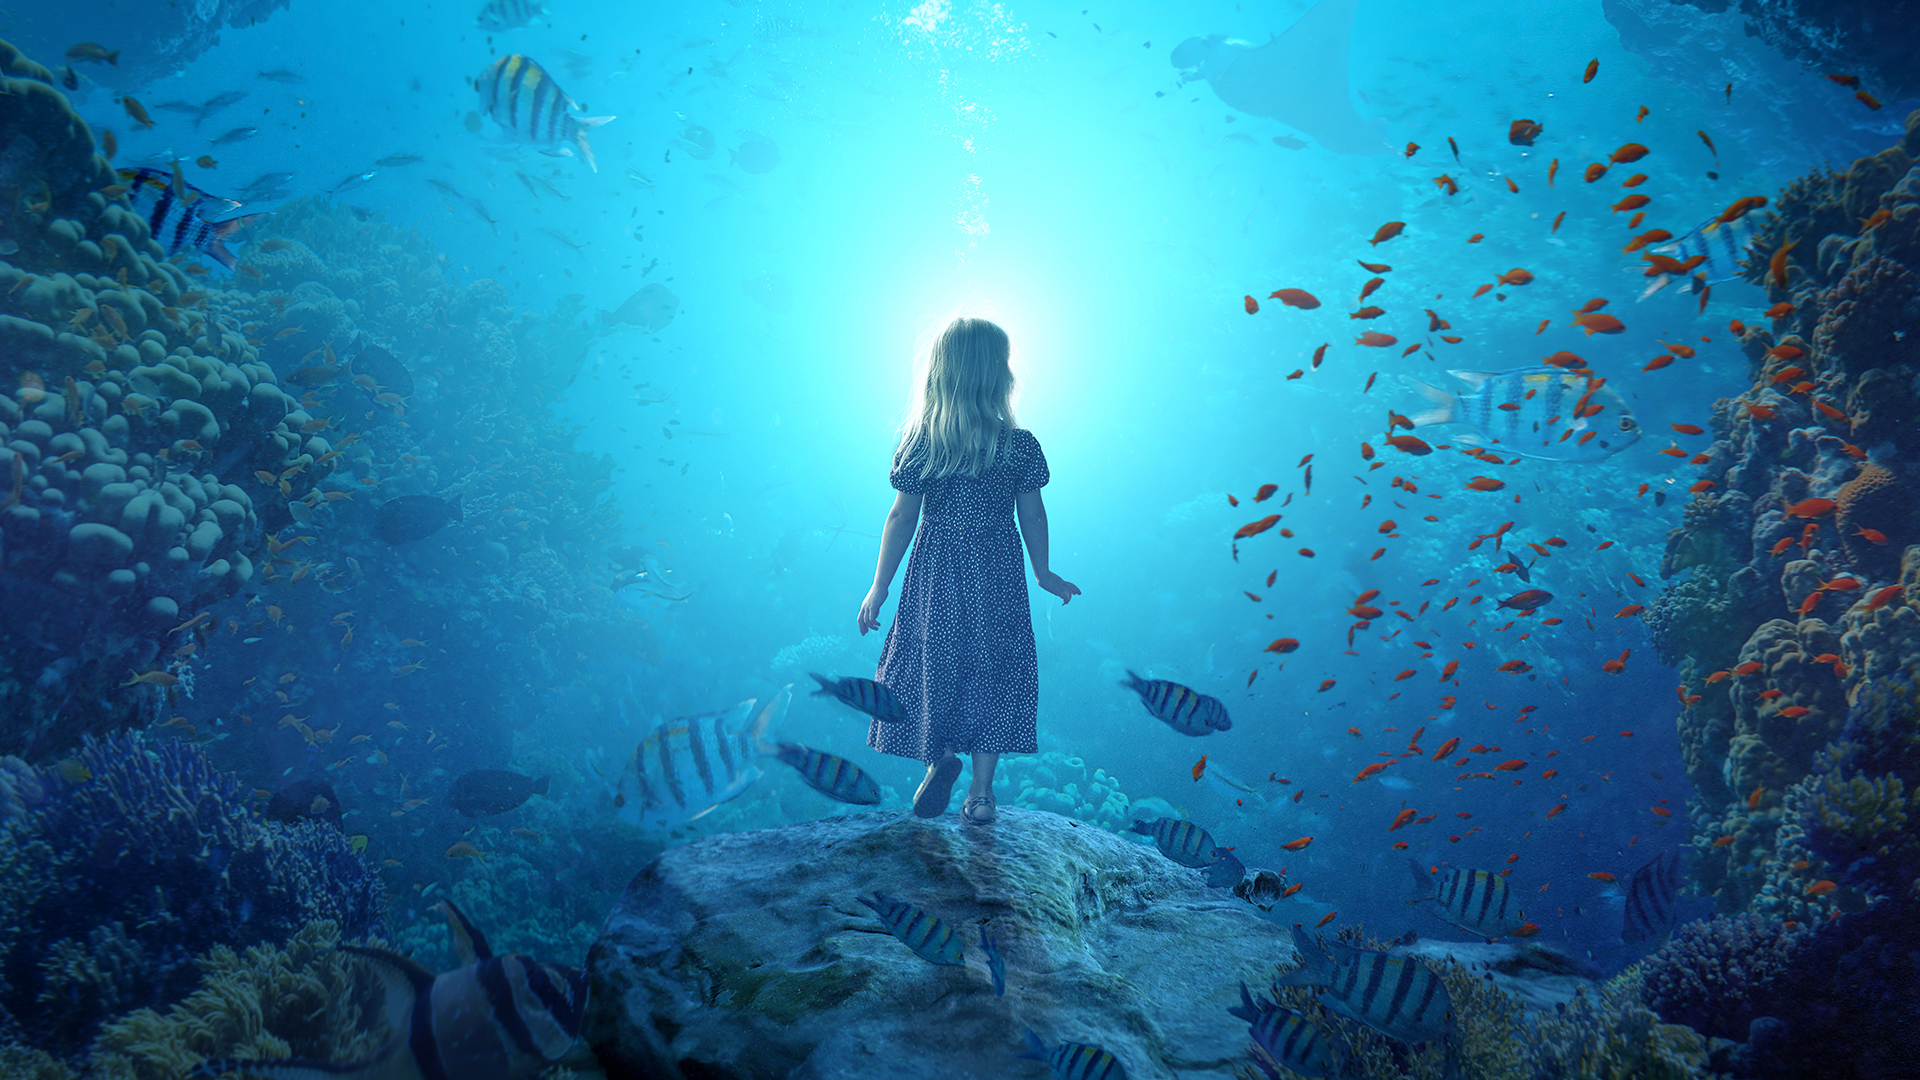
Ready to take your Photoshop creations to a whole new level with some After Effects magic? In this tutorial, we’ll show you step by step how to export layers from your Photoshop masterpiece, bring them into After Effects, and create a dynamic animation.
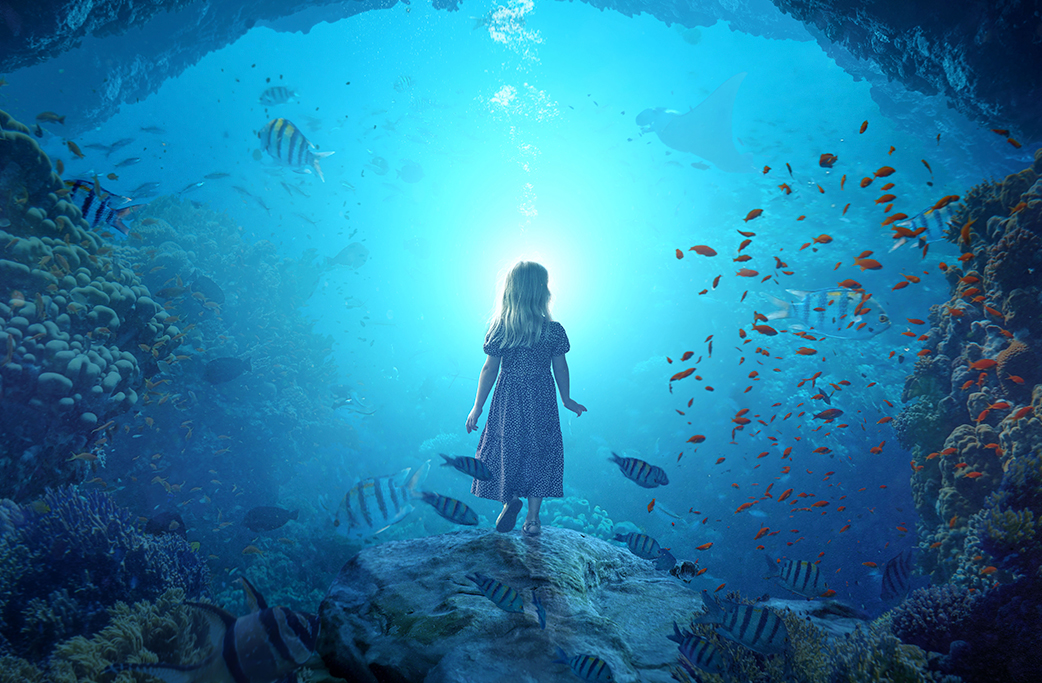
Note: This is a basic course in After Effects using an image created in another course. If you want to see how the original fantasy landscape was created, check out Conceptual Compositing: Creating and Animating an Underwater Dreamworld.
Enjoying This Free Tutorial?
We publish a new free tutorial every week, each one with sample images and PSDs you can download and follow along with. Sign up and they land straight in your inbox, along with early word on sales, events and subscriber-only offers.
How to Animate Photos in After Effects
A still composite can be made to move without animating anything in it. Separate the image into its layers, space them apart in 3D, and fly a camera through them — near objects sweep past quickly, distant ones drift slowly, and the flat picture reads as a three-dimensional scene.
This is the parallax effect, sometimes called 2.5D, and it is one of the most effective things you can do with a layered Photoshop file. The work is mostly preparation; the animation itself is a couple of keyframes.
Preparing the File in Photoshop
After Effects needs each element as its own image with transparency around it. That means exporting your layers individually.
-
Resize the composite to something manageable
Around 2700 x 2700 pixels is plenty. Full-resolution files make After Effects sluggish for no visible benefit at video output sizes.
-
Hide every layer except one
Work through them one at a time.
-
Go to File, then Export, then Export As
Choose PNG and make sure transparency is enabled.
-
Export at the full document size every time
This is the critical part — see below.
-
Name files in order
01_background, 02_midground and so on. You will be reassembling them and the order matters.
-
Note any blend modes as you go
Blend modes do not survive the PNG export. Set any Screen, Soft Light or Lighten layer back to Normal before exporting it, and add the mode to the end of its file name so you know what to reapply in After Effects.
Why full canvas size matters
If you export each layer cropped to its own content, every PNG has different dimensions and lands in After Effects centerd in the frame — so a bird that was in the top corner arrives in the middle, and you have to reposition everything by eye.
Exporting each layer at the full document size means every file carries its position within the transparent area. Import them and they land exactly where they belong, perfectly stacked. This one detail saves a great deal of tedious repositioning.
Importing into After Effects
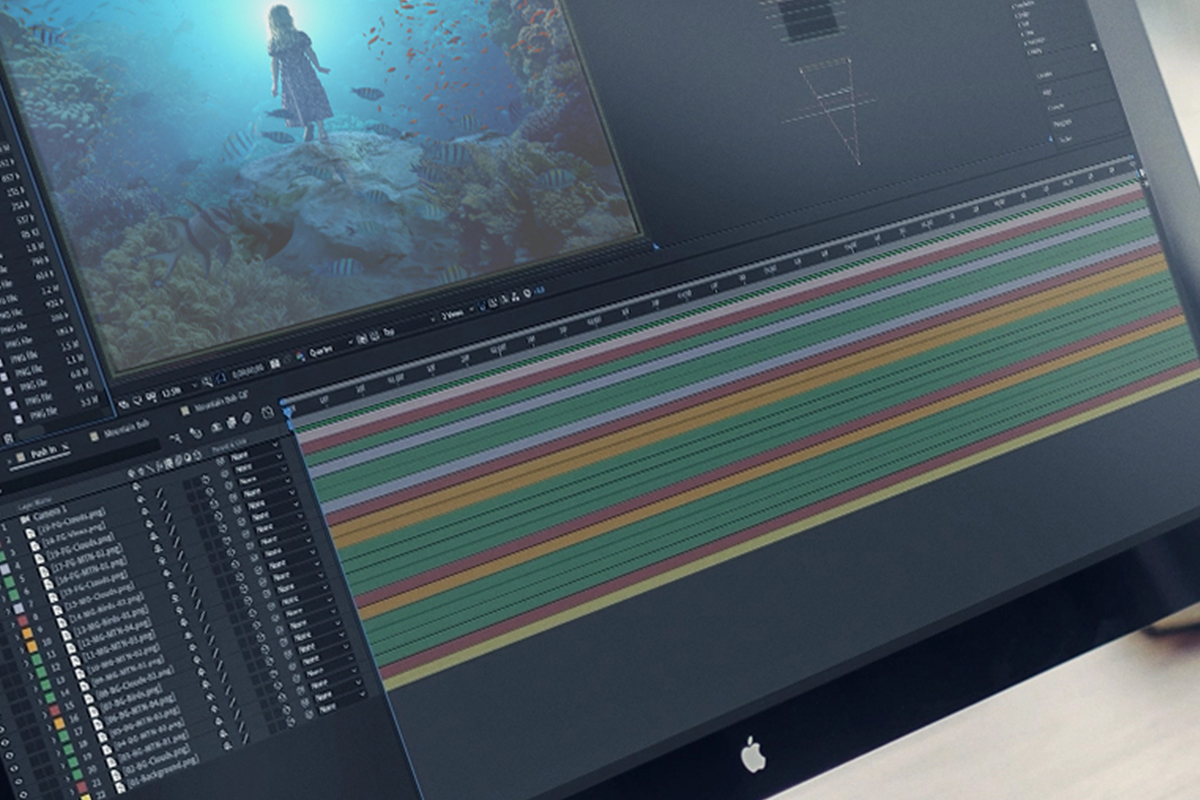
Import all the PNGs and create a new composition from the footage, which brings them in as a stack of layers.
Reverse the stacking order
Layers usually import in the opposite order to the one you want — your background at the top, your foreground at the bottom. Select them and cut and paste to reverse the stack so the front-most element sits at the top of the timeline, as it did in Photoshop.
Check this against your original before going further. Sorting it out now is trivial; noticing after you have positioned everything in 3D is not.
Then reapply any blend modes you noted. If the blend mode column is not visible, toggle it at the bottom of the timeline panel.
Turning the Layers 3D
Each layer has a small 3D checkbox in the timeline. Tick it for every layer.
Nothing appears to change, and that is expected — the layers are now in three-dimensional space but all still sitting at the same depth. Until you separate them and add a camera, a 3D layer looks exactly like a 2D one.
Positioning in Z Space
Now push the layers apart in depth. Select a layer and adjust its Z position — negative values bring it toward the camera, positive values push it away.
Scale to compensate
Moving a layer back makes it smaller, because that is what perspective does. To keep the composition looking like the original, scale each layer up as you move it away. Press S to open the scale property.
Hold Ctrl or Cmd while dragging a scale value for finer control — the default increments are too coarse for this.
The aim is a stack that looks essentially identical to your flat composite when viewed head-on, but is genuinely spread through space.
Use the top-down view
Switch the viewer to a top or custom view and you can see your layers arranged in depth like cards standing in a row. This makes the whole thing far easier to reason about than nudging Z values while staring at the front view.
Separate them more than feels necessary
The strength of the parallax comes entirely from how far apart the layers sit. Timid spacing produces a barely perceptible effect. Push them further than seems sensible, preview the camera move, and pull back if it is too much — that is a much better path than starting subtle.
Animating the Camera
Add a new camera — Layer, then New, then Camera. In the camera settings, type in a Focal Length of 80mm: not too zoomed in and not too wide.
Then animate its position rather than moving the layers. Set a keyframe for the camera’s position at the start, move to the end of your timeline, and set another with the camera pushed forward, or drifted sideways, or both.
Press the spacebar to preview. The layers should now shift relative to each other with real depth.
Always ease the keyframes
Linear keyframes give a mechanical move that stops abruptly. Select the end keyframes and go to Animation > Keyframe Assistant > Easy Ease In, so the move slows down as it arrives.
This single step is the difference between an animation that looks like a computer moved something and one that looks like a camera move. It takes one menu command and it matters more than almost anything else here.
Slower than you think
Parallax reads best as a slow drift. A move that takes six or eight seconds to cross the scene is usually more effective than a fast push, because the viewer has time to register the depth.
The Gap Problem
As soon as the camera moves off-center, you will see behind your foreground layers — and there is nothing there, because those areas were hidden in the original photograph. Elements appear to have holes punched behind them.
The fix is back in Photoshop. Extend the layers behind your foreground elements so there is content to reveal — either by cloning, or with Generative Fill, which handles this particularly well since it only needs to extend an existing background.
How much to extend depends on how far the camera travels. Preview the move, note where the gaps appear, then go back and fill only those areas rather than guessing.
It is worth expecting this rather than being surprised by it. Nearly every parallax animation needs one return trip to Photoshop.
Exporting
Set any layers you changed back to Normal blend mode if they were only for preview, then add the composition to the Render Queue.
H.264 is the right format for anything going to the web or social media — good quality at a sensible file size and supported everywhere. Choose your output location and render.
While you are working, drop the preview resolution to half or third. Full-resolution previews on a large composite are slow, and you do not need them until the final check.
Getting Good Results
The two things that most affect the outcome are both decided before you animate: how cleanly the layers were separated in Photoshop, and how far apart you spaced them in Z. A well-prepared file with generous depth separation will look good with the simplest possible camera move.
Once that works, animating individual layers as well — a slow drift on a cloud, a slight rotation on a foreground element — adds another degree of life. But get the parallax right first; it does most of the work on its own.
Quick Reference: Keys, Menus and Settings
- Export each layerPhotoshop: File > Export > Export As, PNG with Transparency, full document size, numbered from the back
- Build the compNew Composition From Footage; Cmd/Ctrl + X, then Cmd/Ctrl + V to reverse the order
- Make them 3DWith all layers selected, click the 3D Layer box; Columns > Modes to reapply blend modes
- Add the cameraLayer > New > Camera, Focal Length 80mm; right-click the viewer > Switch View Layout > 2 Views
- Space the layersMove each layer in Z, then S for Scale; hold Cmd/Ctrl while dragging for finer steps
- AnimateStopwatch on Camera Position at the start and end; Animation > Keyframe Assistant > Easy Ease In; Spacebar to preview
- RenderFile > Export > Add to Render Queue, H.264, Output To, Render
Free Downloads
Follow Along on the Same Layers
Get the 18 PNG layers of the underwater scene, the finished After Effects project and the 4-page PDF guide that walks through every step. Free with a PHLEARN account.
Animating Photos in After Effects: Common Questions
How does a still photo look animated in After Effects?
The layers are spread out in depth and a camera moves through them. Near and far layers move at different rates, and that difference is the parallax effect. Nothing in the picture itself has to be animated.
What kind of Photoshop file do I need?
Any layered composite. Every element you want to move separately needs to be on its own layer. The more pieces you export, the more depth you can build.
Why not use Quick Export as PNG?
Quick Export saves only the bounding box around the element. Use File > Export > Export As, PNG with Transparency, so every file is the full document size and each piece lands in the right place in After Effects.
What happens to my blend modes?
They don’t carry over. Set Screen, Soft Light or Lighten layers back to Normal before exporting and put the mode in the file name. In After Effects, open Columns > Modes from the menu beside the composition name and set each one again.
Why are my layers upside down in After Effects?
New Composition From Footage puts 01, the background, on top. Select all the layers, press Cmd/Ctrl + X to cut, then Cmd/Ctrl + V. They paste in the opposite order.
I added a camera but nothing moves differently. Why?
All the layers are still at the same Z position. Make them 3D layers, then push background layers back and pull foreground layers forward. The more distance between them, the stronger the parallax.
Why does a layer shrink when I push it back?
That is perspective. Press S to show Scale and drag the value up until it fills the frame again. Hold Cmd/Ctrl while dragging to slow it down.
What camera settings are used?
Layer > New > Camera with the Focal Length typed in as 80mm, not too zoomed in and not too wide. Keyframe its Position at the start and the end, then select the end keyframes and choose Animation > Keyframe Assistant > Easy Ease In.
How do I fix gaps or missing edges when the camera moves?
Bring the layer forward and scale it down, or go back to Photoshop and extend it, by cloning or with Generative Fill, so there is more to reveal. Preview the move first and fill only where gaps appear.
Are the sample files free?
Yes, with a free PHLEARN account. You get 18 PNG files, 1 After Effects project file and 1 PDF guide: the underwater scene already exported layer by layer, the finished project and every step on four pages.
New Free Tutorials View All »









Enjoying This Free Tutorial? Go Further with PRO.
200+ PRO courses. 1,000+ practice files. One membership.

Unlimited access to every PRO course
New PRO courses every month
Layered PSDs and RAW files to follow along
100+ Lightroom Presets, LUTs, Actions and Brushes
Stream in up to 4K, with captions and chapters
Watch on any device: desktop, tablet or phone
4.93 average from 3,900+ reviews · 2M+ students