Download Assets
description
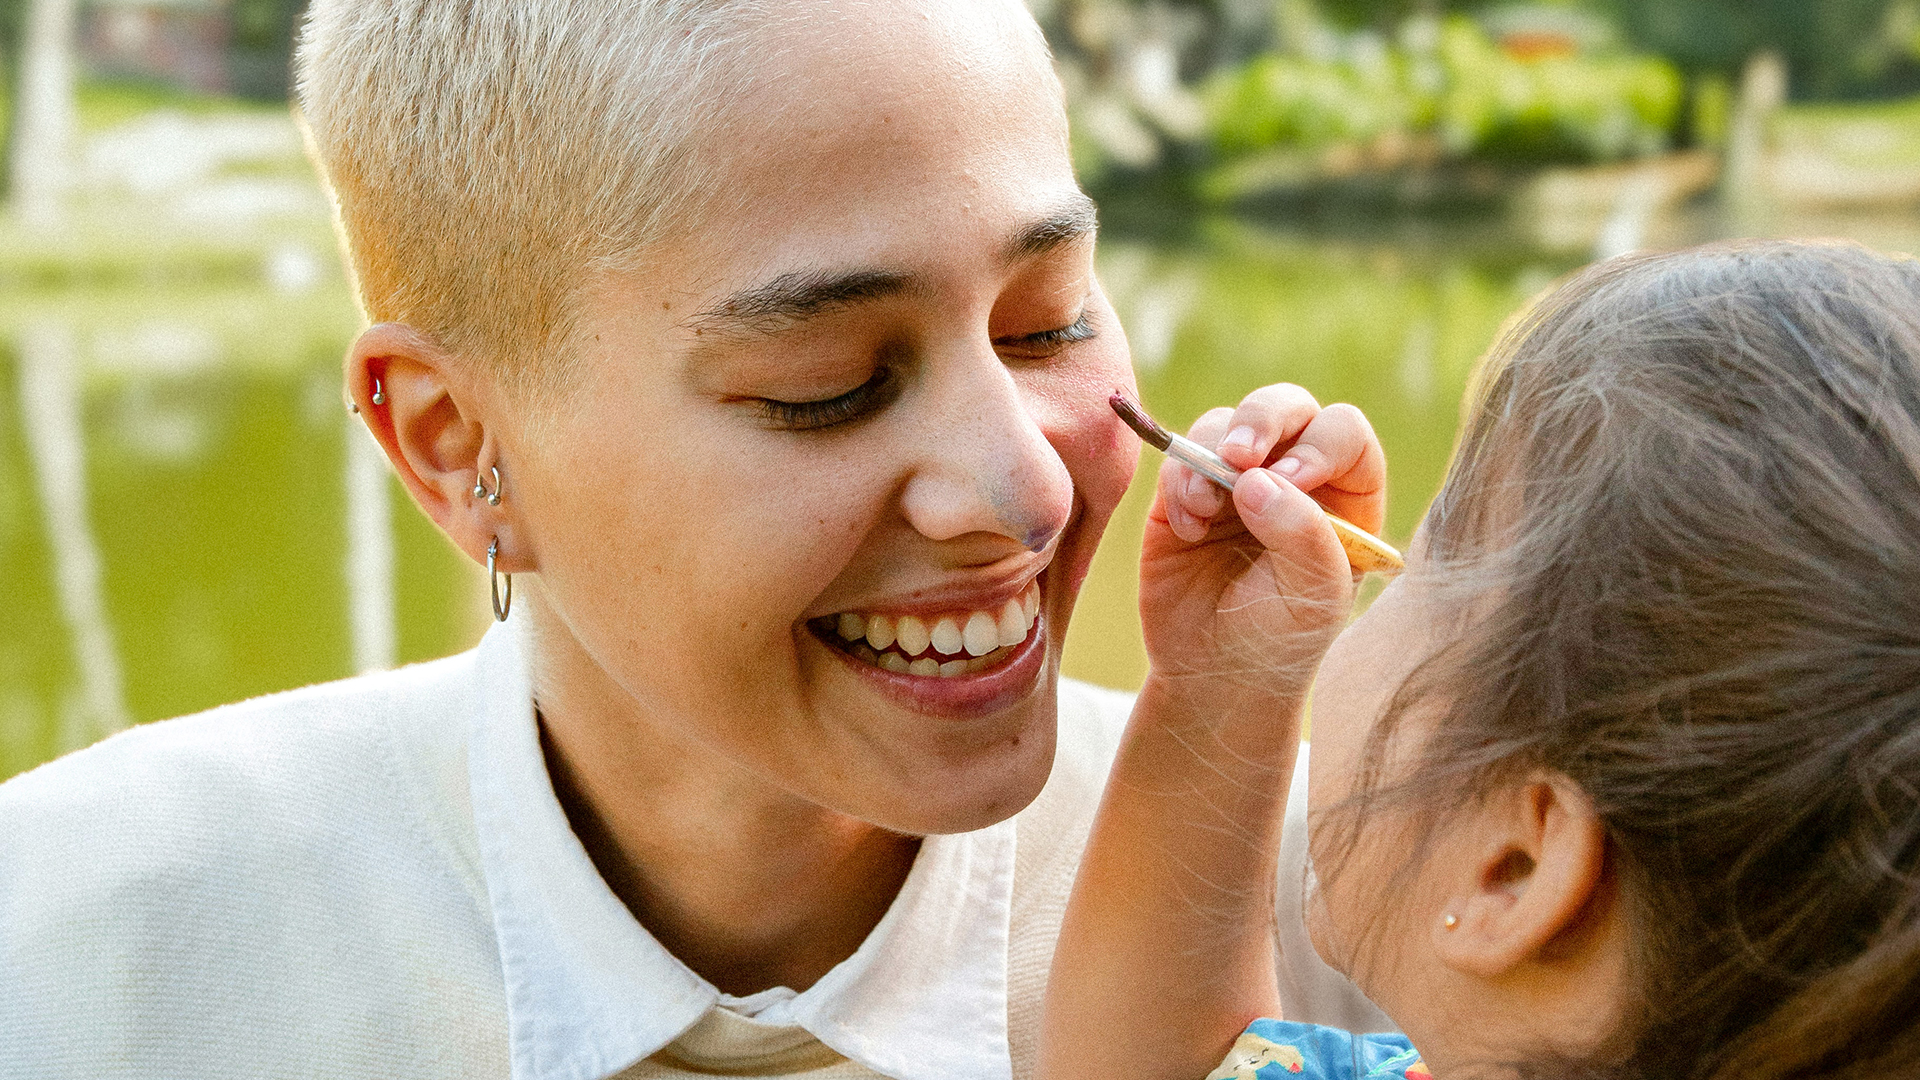
Learn how to use Depth Masking in Camera Raw to quickly isolate subjects from the background. Learn a non-destructive workflow using Smart Objects, target your color and exposure adjustments, and apply realistic lens blur to enhance focus.
Go PRO:
Dive deeper on non-destructive editing with our in-depth PRO tutorial The Ultimate Guide to Non-Destructive Editing in Photoshop . We’ll cover everything from mastering masks and smart objects to building an unbreakable raw pipeline, all while preserving your original image intact..
Image Source
- Fellipe Ditadi
Images sourced from Unsplash.
Share


AFTER
BEFORE
Target Your Edits
Editing your subject separately from your background is the fastest way to make your photos look professional. When you change an entire image at once, you lose control over where the viewer looks. By isolating the foreground from the background, you can easily guide the eyes straight to your subject. Photoshop’s Depth Masking tool in Camera Raw handles the heavy lifting by analyzing the physical space in your photo, making it simple to separate and enhance different layers of your shot.
Getting Started
1. The first step is protecting your original image. In Photoshop, select your background layer and convert it for Smart Filters to create a Smart Object.
2. Next, open Camera Raw by navigating to Filter > Camera Raw Filter, or use the keyboard shortcut Cmd/Ctrl + Shift + A. Using Smart Objects keeps your workflow non-destructive, letting you change your edits at any point.
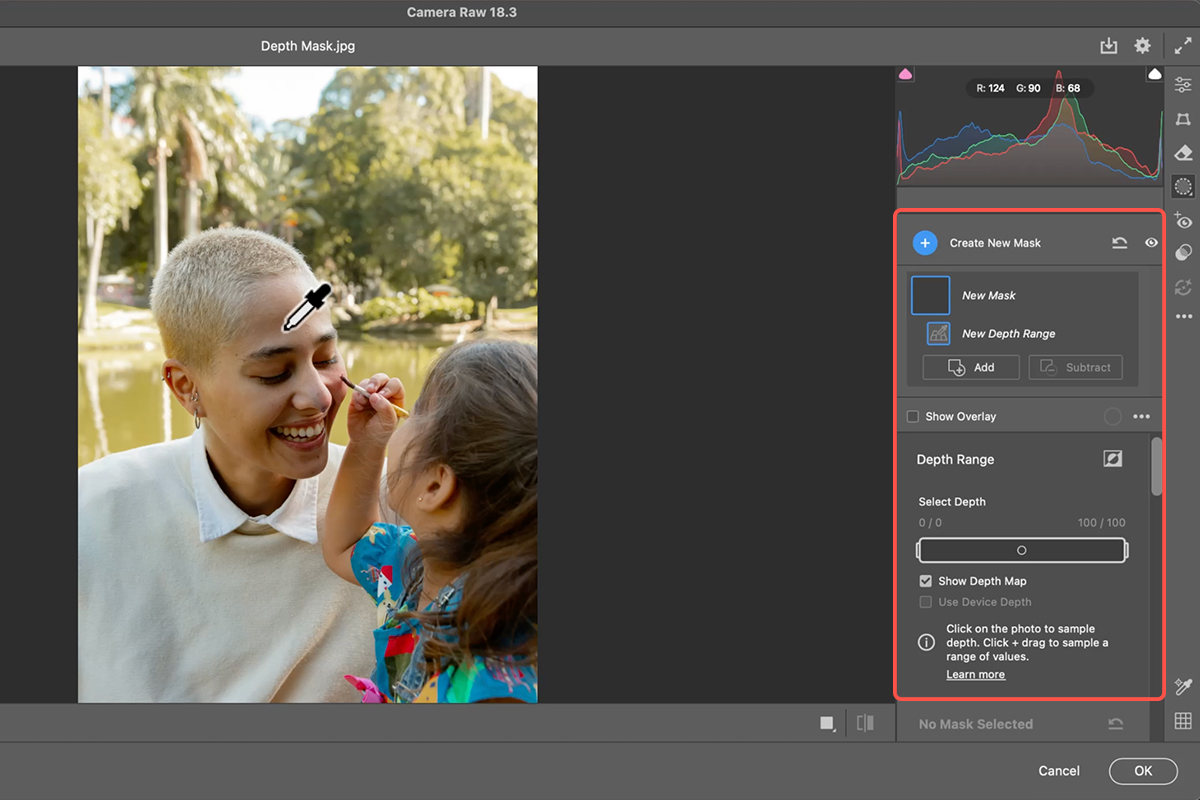
3. Inside Camera Raw, open the Masking panel on the right side and choose Depth Range under the Range options. Check “Show Depth Map,” and your cursor will turn into an eyedropper tool.
4. Simply click on your subject in the foreground to select them, or click on the background to target the environment instead. You can adjust the depth slider to expand or refine your selection.
Enhance Your Subject
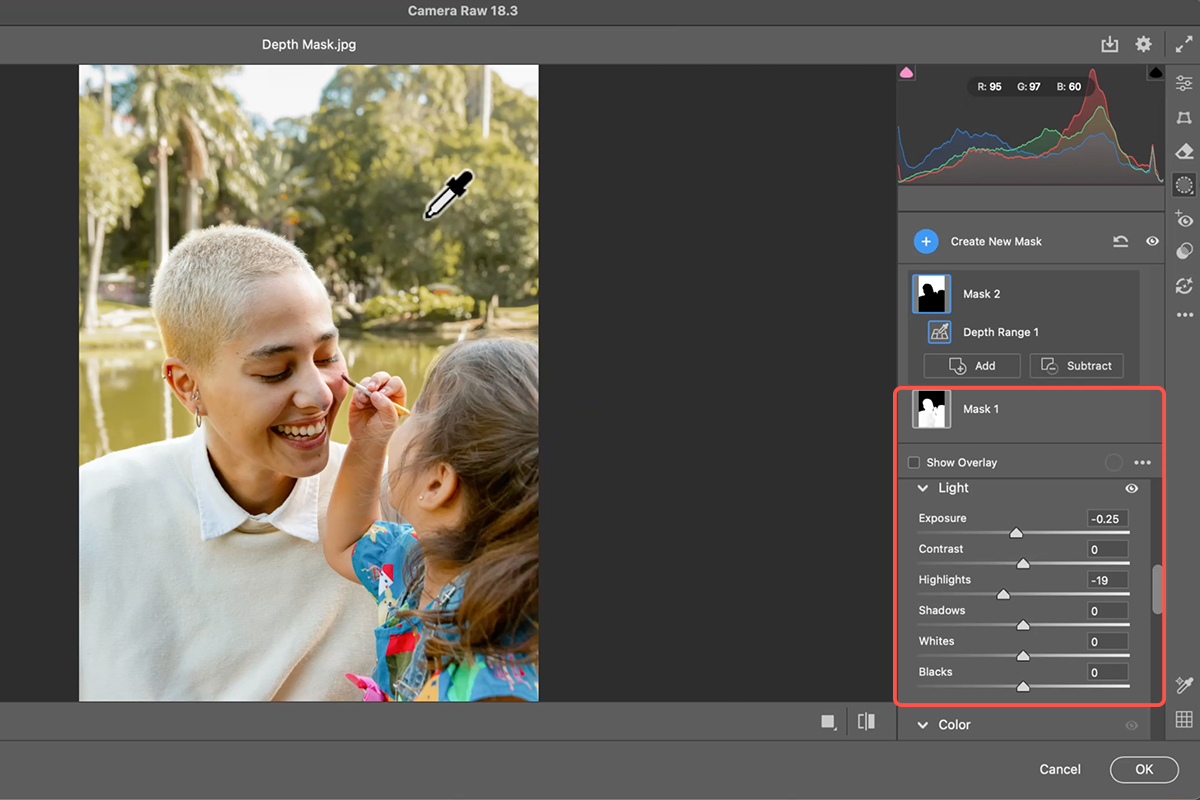
5. Turn off the depth map overlay so you can see your true colors.
6. Use the Exposure and Shadows sliders to subtly brighten your subject and bring out hidden details.
7. To make them stand out, add a little texture and clarity for a sharp, crisp look.
8. You can then create a second depth mask for the background to lower its exposure or tweak specific tones with the Point Color tool.
Finalize the Focus
9. To finish the edit, add a Radial Gradient over your subject’s face for a touch of light, and slide the vignette tool to the left under the Optics panel to gently darken the edges.
10. Next, open Lens Blur, click apply, and use the target tool on your subject to keep them sharp while softening the background.
11. Add a hint of grain from the Effects panel to make the blur look natural, then hit OK to head back to Photoshop.


