Download Sample Image & PSD
description
Use Photoshop to remove distracting power lines from your travel and urban landscape photos!
Learn how to use object removal tools like Content-Aware Fill, the Spot Healing Brush, the Clone Stamp, and the Brush Tool to clean up your photos and help your subjects stand out.
Learn more about object removal in our new PHLEARN PRO series!
- Simple Object Removal in Photoshop
- Intermediate Object Removal in Photoshop
- Advanced Object Removal in Photoshop: Coming soon!
Share
REMOVE DISTRACTIONS
BEFORE
Clean Up Any Image!
Removing Distractions in Photoshop
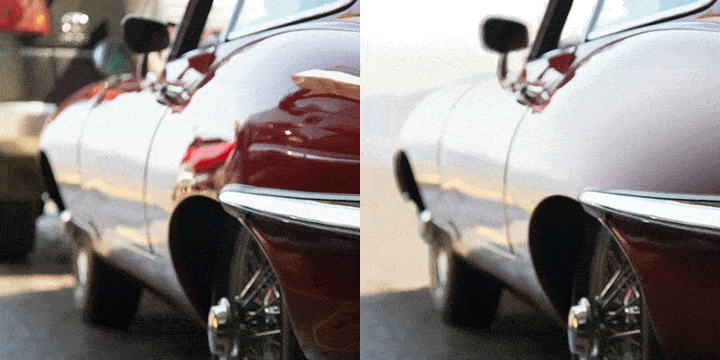
Removing objects and distractions from a photo is an easy way to help your subjects stand out and to help the image feel more focused. This is especially true when capturing images in cities where there can be a lot of small things in frame that can draw attention away from the things that matter most.
Take this image for example. It’s a beautiful photo of a couple with a big sky and city in the background, but you might find that the power lines pull the eye away from the subjects.
Now, keep in mind that this is a highly subjective process. For example, you also might feel that the power lines create an interesting geometry and composition, lending a little more visual interest to the scene. We’re going to use the power lines as a way to show you the process for removing distractions in Photoshop, but it’s ultimately up to you to determine what is distracting and what makes a photo more interesting.
Quick Removal with Content-Aware Fill
We tend to follow a certain order-of-operations with object removal in Photoshop, beginning the process with tools that are fast and automated, and then transitioning to more manual tools to take care of more complicated areas.
And when it comes to fast and automated, there’s no better tool than Content-Aware Fill!
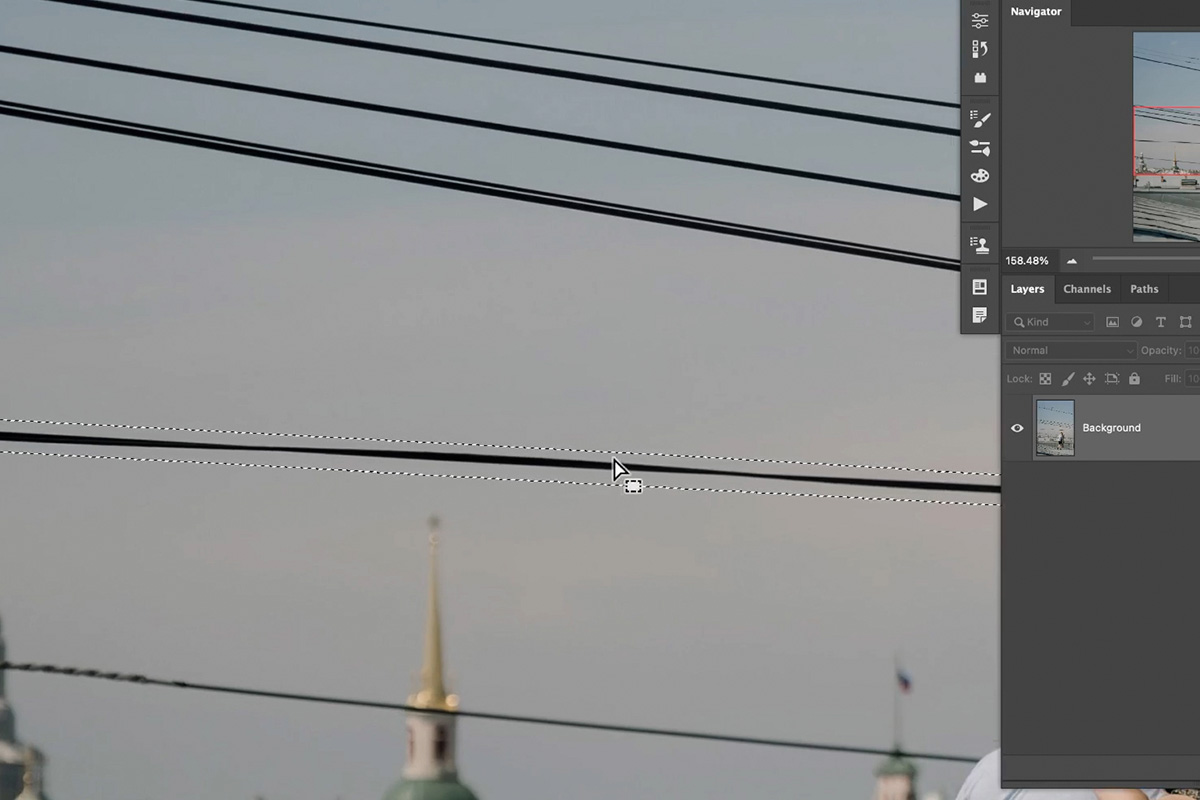
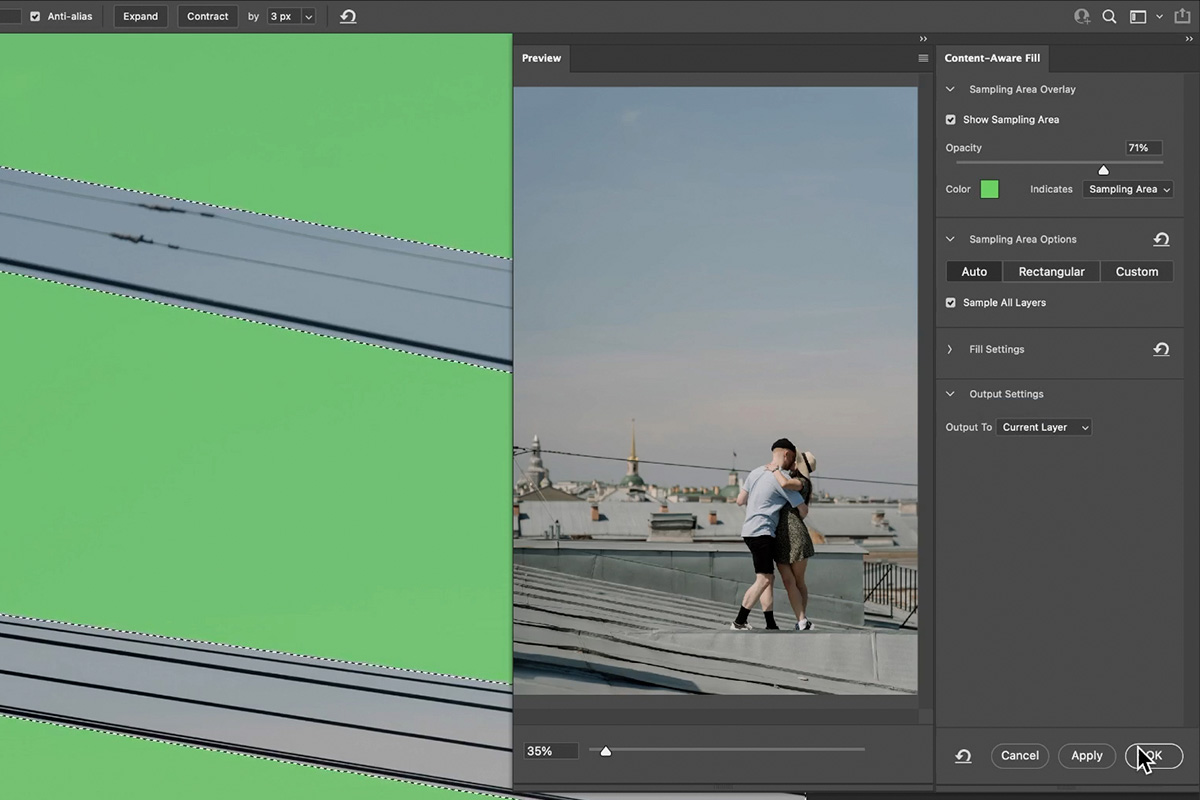
In order to use Content-Aware Fill, you’ll need to first create a selection around the thing you want to remove from the photograph.
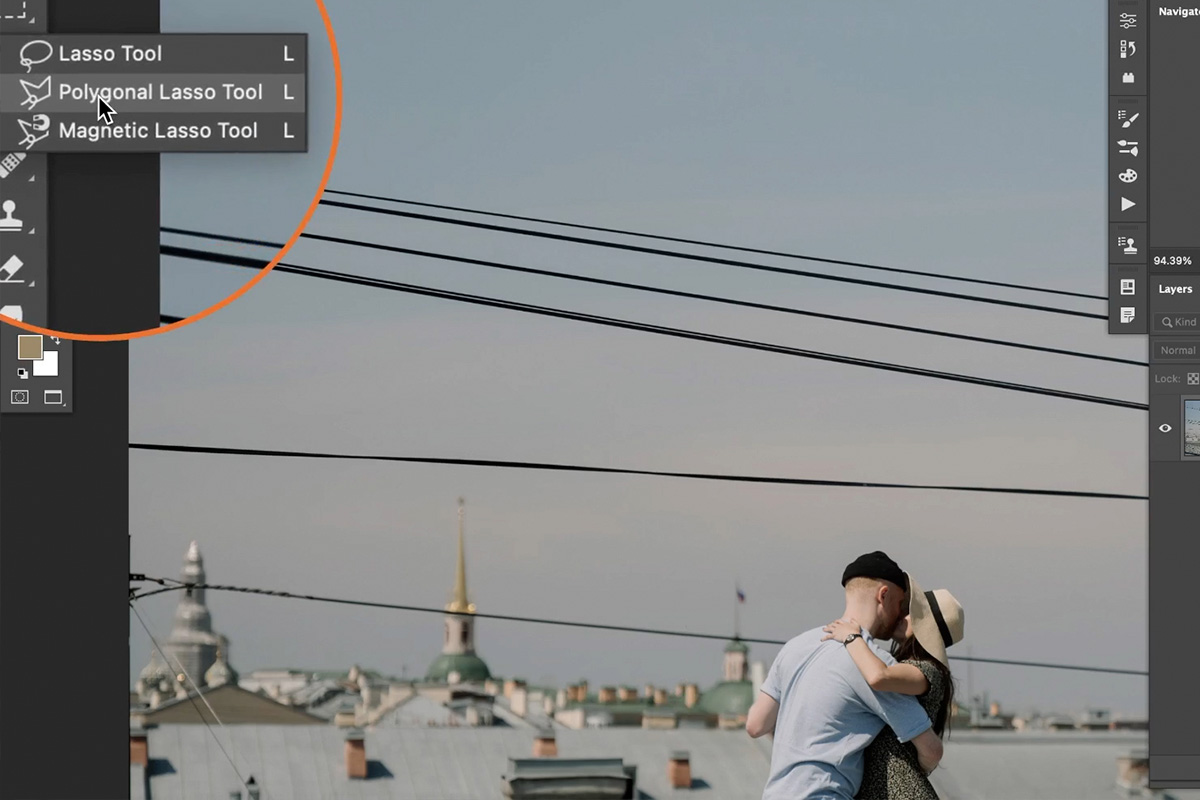
Choose a selection tool like the Polygonal Lasso Tool and use it to roughly trace around the object you want to hide.
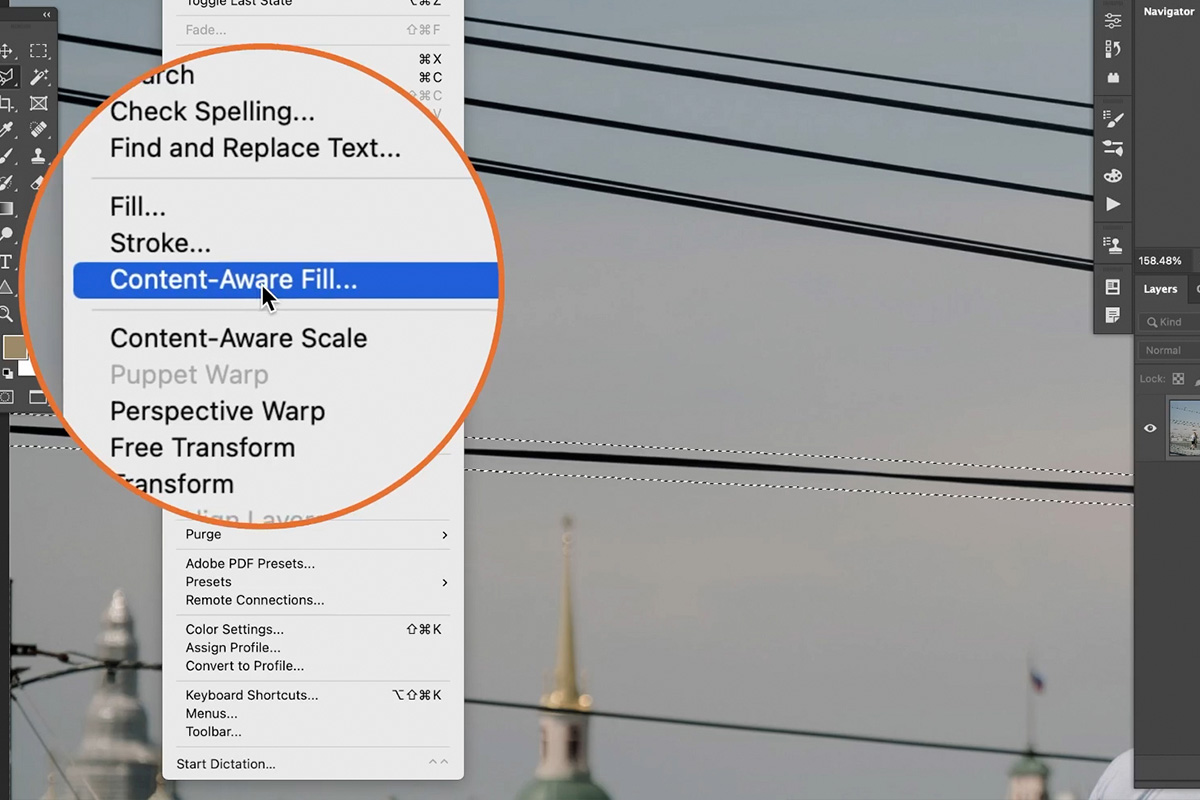
Then, open the Edit menu at the top of the screen and select Content-Aware Fill.
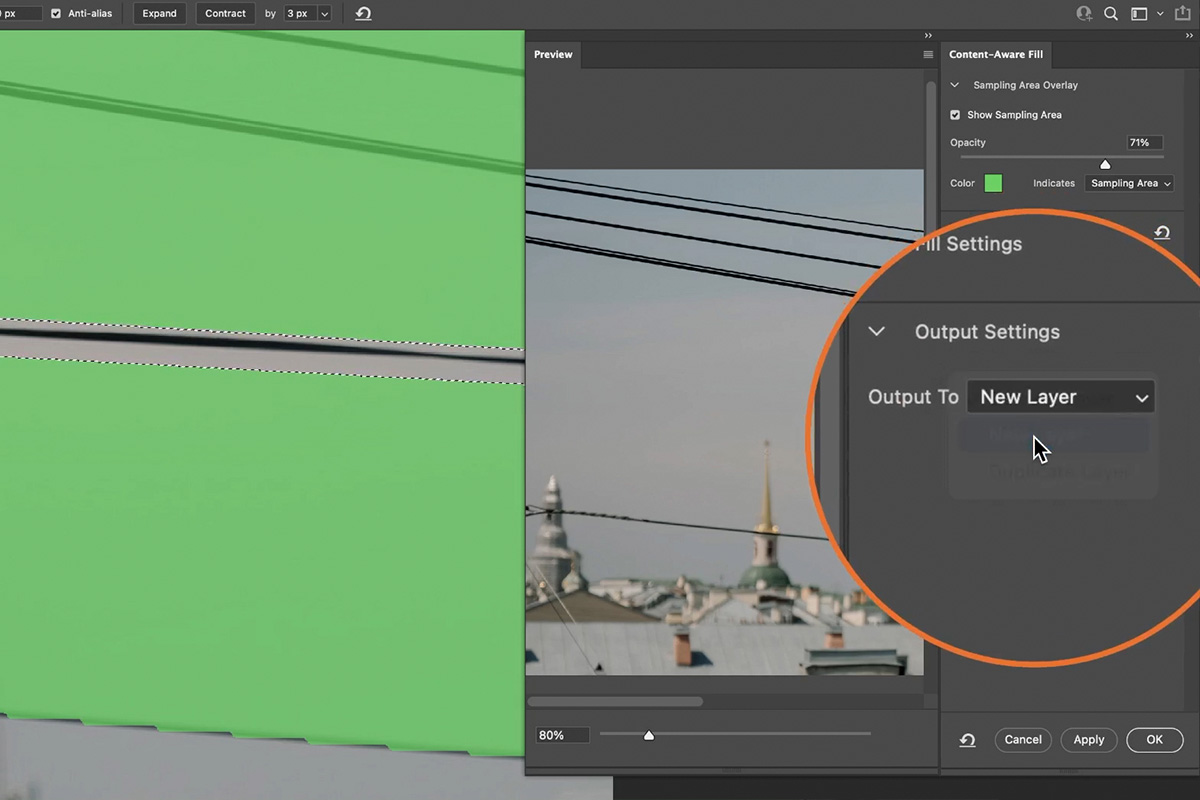
The Content-Aware Fill dialog will open, providing a number of options for you to refine the effect so that it looks as seamless as possible. Just be sure to change the Output Settings so that the effect is applied to a New Layer. This will ensure that you’re working non-destructively and that you can return to the original, unedited photograph at any time.
Go through the process of selecting an area of distractions and using Content-Aware Fill to cover them up. In an image with a relatively simple background, this should handle the bulk of the work, leaving only a few areas that you’ll need to revisit to fix with other tools.
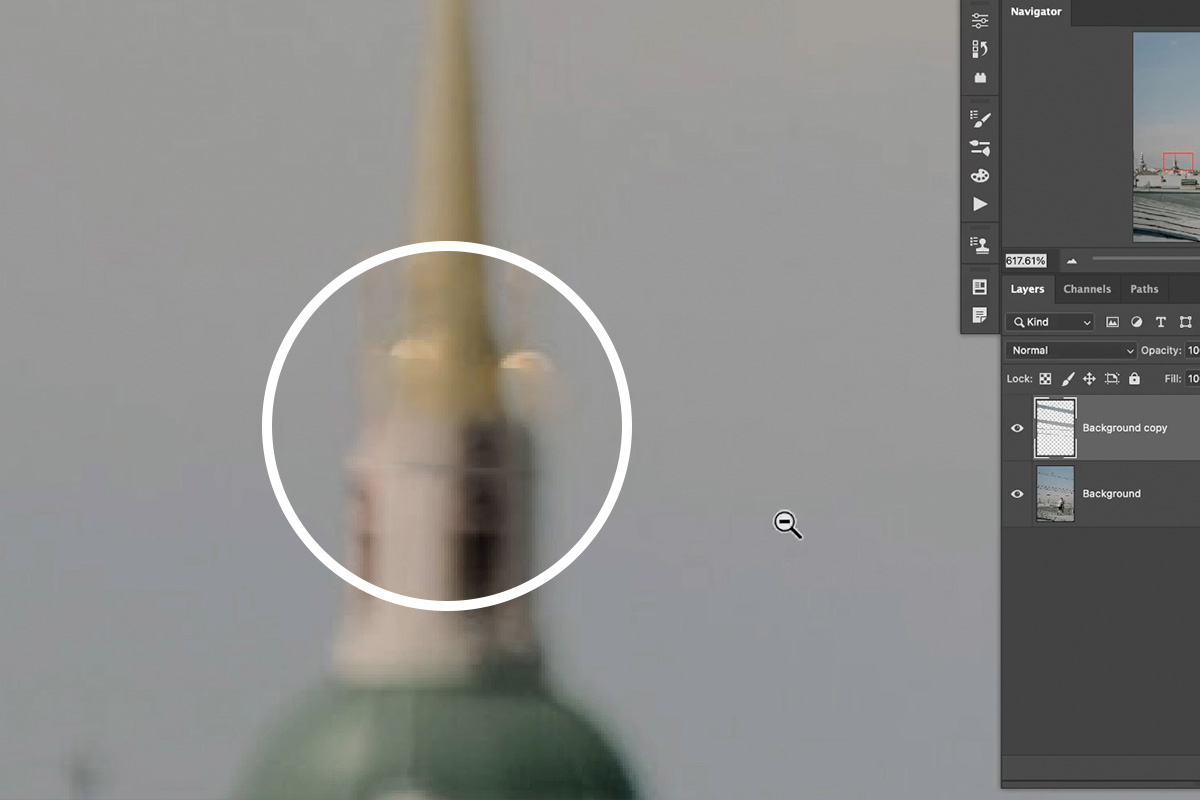
For example, notice how Content-Aware Fill handled covering the power lines as they passed in front of some building in the background. While still subtle, there are noticeable lines that act as telltale signs that the photo has been Photoshopped.
Let’s try some other tools to clean this up!
The Spot Healing Brush
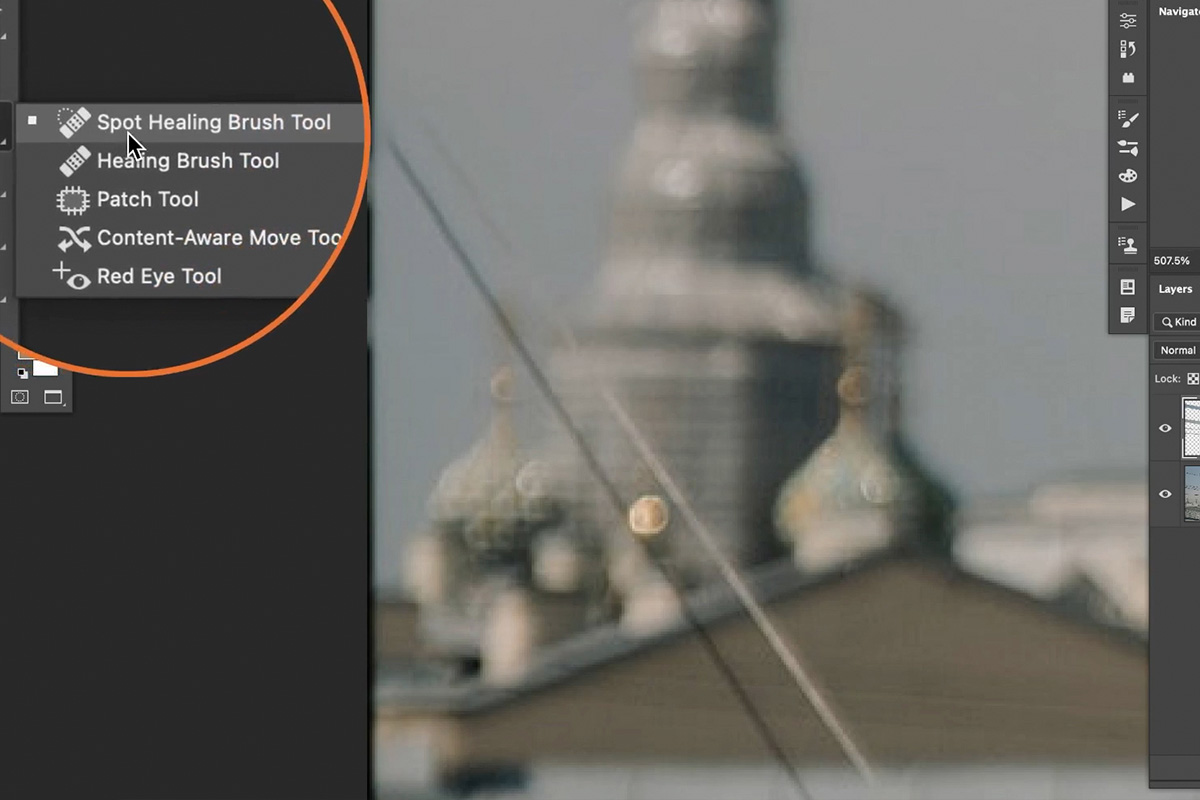
Our favorite removal tool, the Spot Healing Brush, is another fast and simple way to remove distractions. It also provides a little bit more control than Content-Aware Fill as we can adjust our brush size and paint over an area multiple times until it blends more seamlessly.
Select the Spot Healing Brush.
Either create a new layer or use the layer we created with the Content-Aware Fill tool. Just be careful not to use it directly on the background layer.
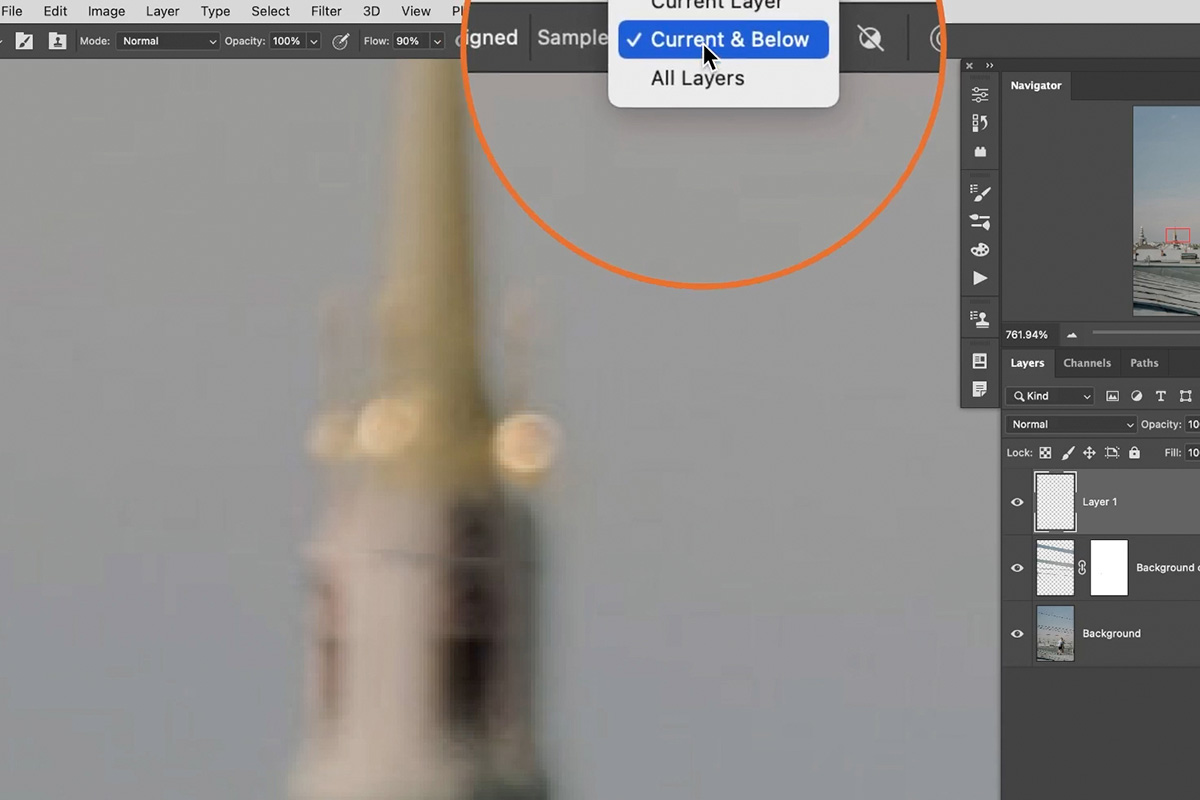
In order to be able to use the Spot Healing Brush correctly, make sure the Sample setting is set to either All Layer or Current & Below. This tells Photoshop to pull information from other layers in the layers panel to help blend the effect.
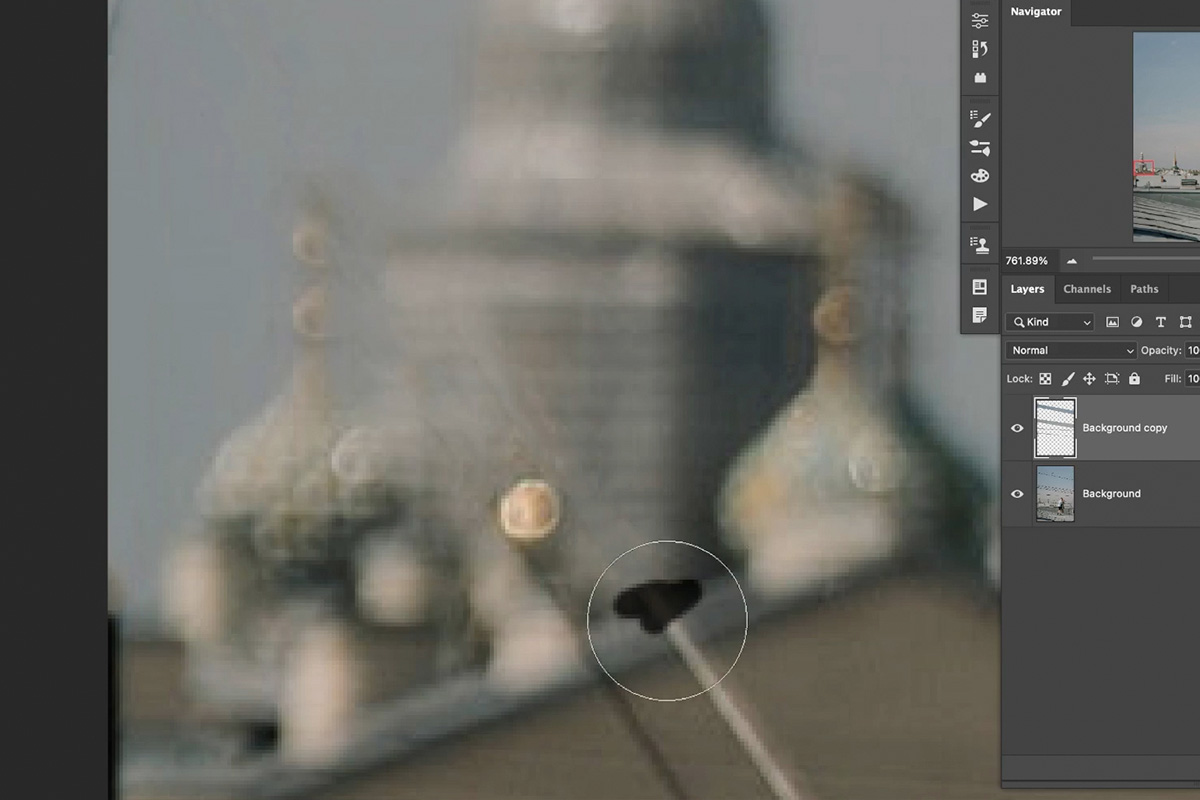
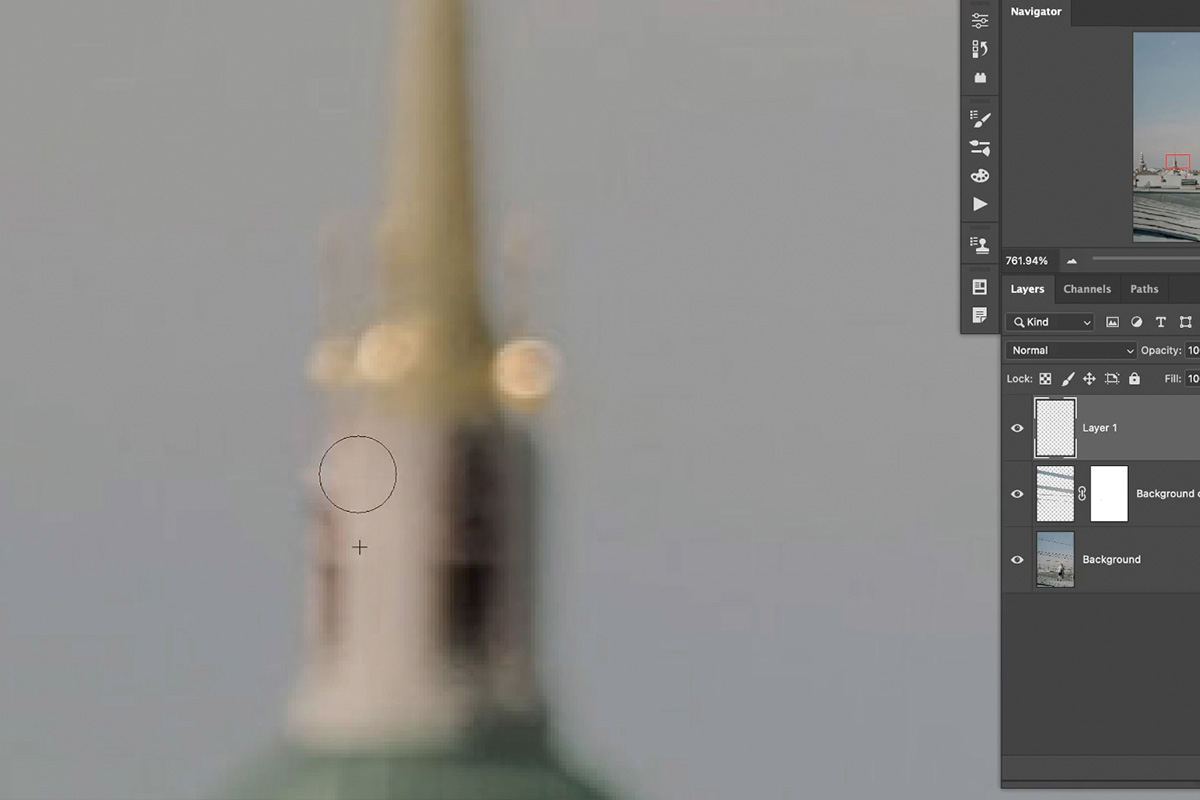
Use the Spot Healing Brush to paint over any inconsistencies in the background elements. Notice how it helps us remove any unwanted lines or edges created by the Content-Aware Fill tool.
Fixing Lines & Edges
When removing objects, it’s common to need to work around edges of subjects, building, or other objects in the frame.
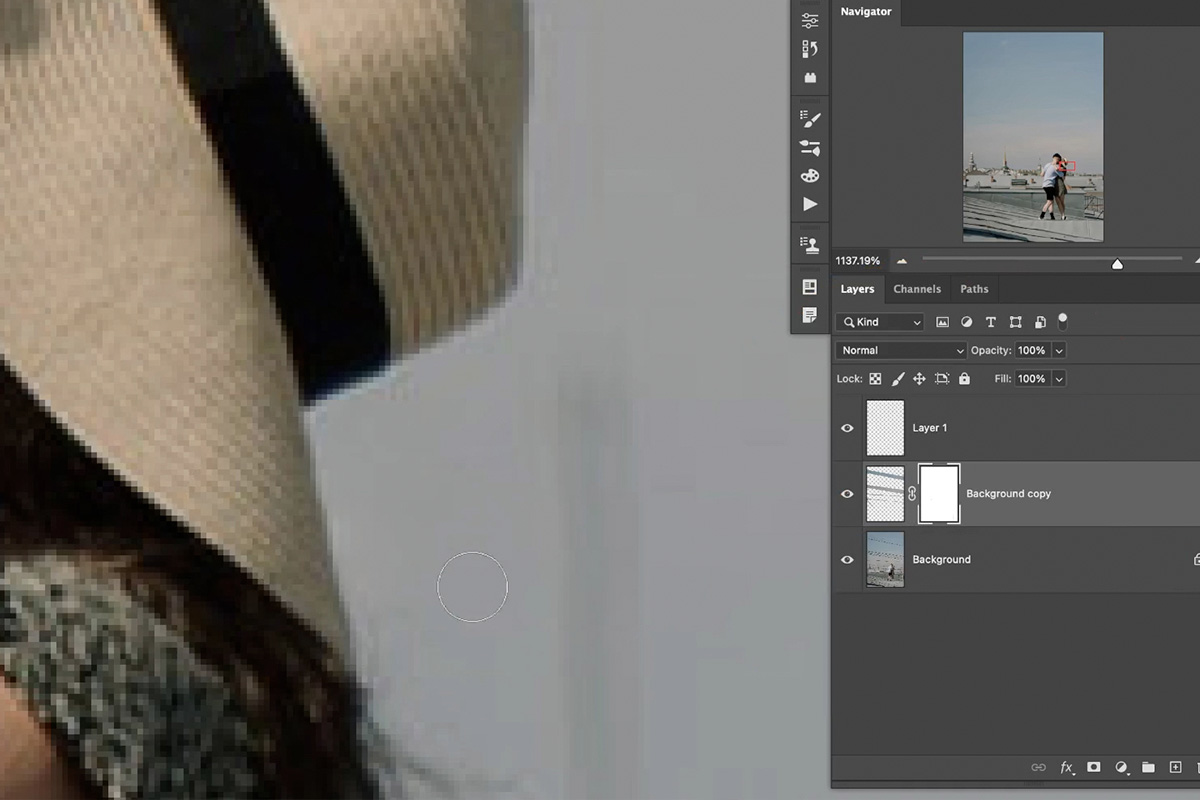
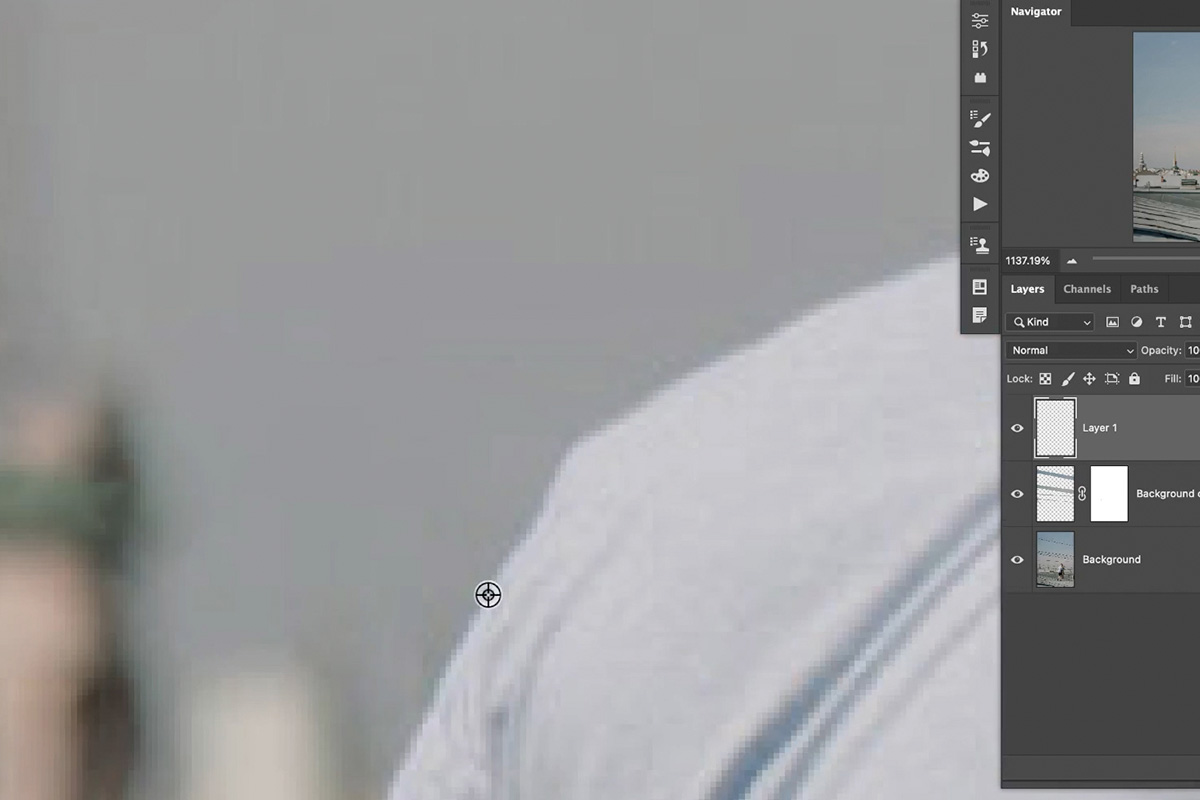
For example, an area on our subject’s hat was warped by the Content-Aware Fill tool, creating an inconsistent edge.
For situations like this, you can simply use the Brush Tool set to black to paint over the edge on the Layer Mask of the Content-Aware Fill Layer.
This will hide the Content-Aware Fill effect from that area, restoring the original edge. Just be sure to use a soft, round brush set to a low Flow.
Fixing Edges with the Clone Stamp Tool
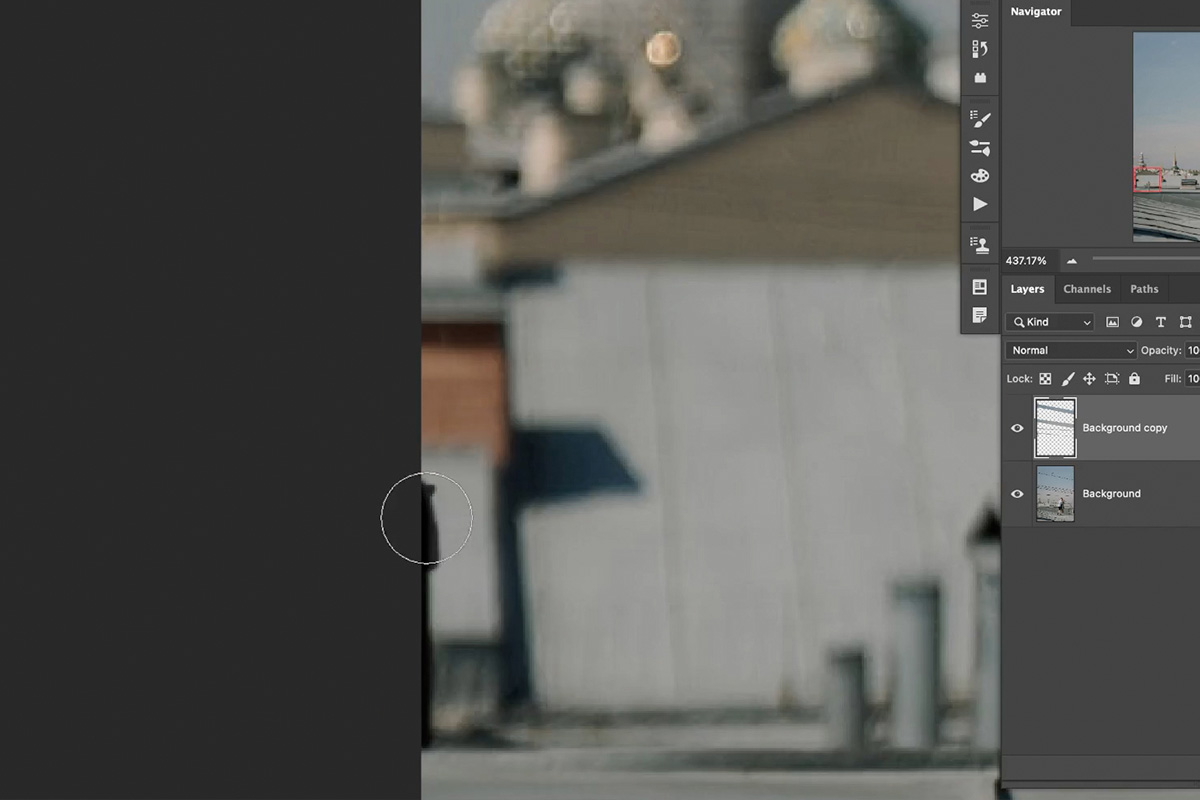
Another way to restore smooth edges to an image is by using the Clone Stamp Tool. The Clone Stamp Tool allows you Sample an area of the photo, creating an exact copy of that area that you can paint with.
So by Sampling a similar edge, you can paint a more consistent edge back into the image. Again, be sure to do this on a new layer, not on the background layer!
Object removal is a common Photoshop task, and can often provide a fun and challenging way to improve your photographs! If you want to learn more, be sure to check out our PRO series courses, Simple Object Removal, Intermediate Object Removal, and Advanced Object Removal (coming soon!)


