
THIS COURSE INCLUDES
- 10 Lessonsin 2 sections
- 3h 39mof 4K video
- Advancedfor experienced editors
- 27 Sample Imagesto follow along
- 10 Layered PSDsto follow along
- Captionsand chapters on every lesson
Part of a Learning Path
Join PHLEARN PRO for instant access to this course and every tutorial on PHLEARN.
- Stream in up to 4K on any device
- Closed captions and chapters on every course
- Download all sample images and PSDs
- New PRO tutorials every month
- Cancel anytime
Description
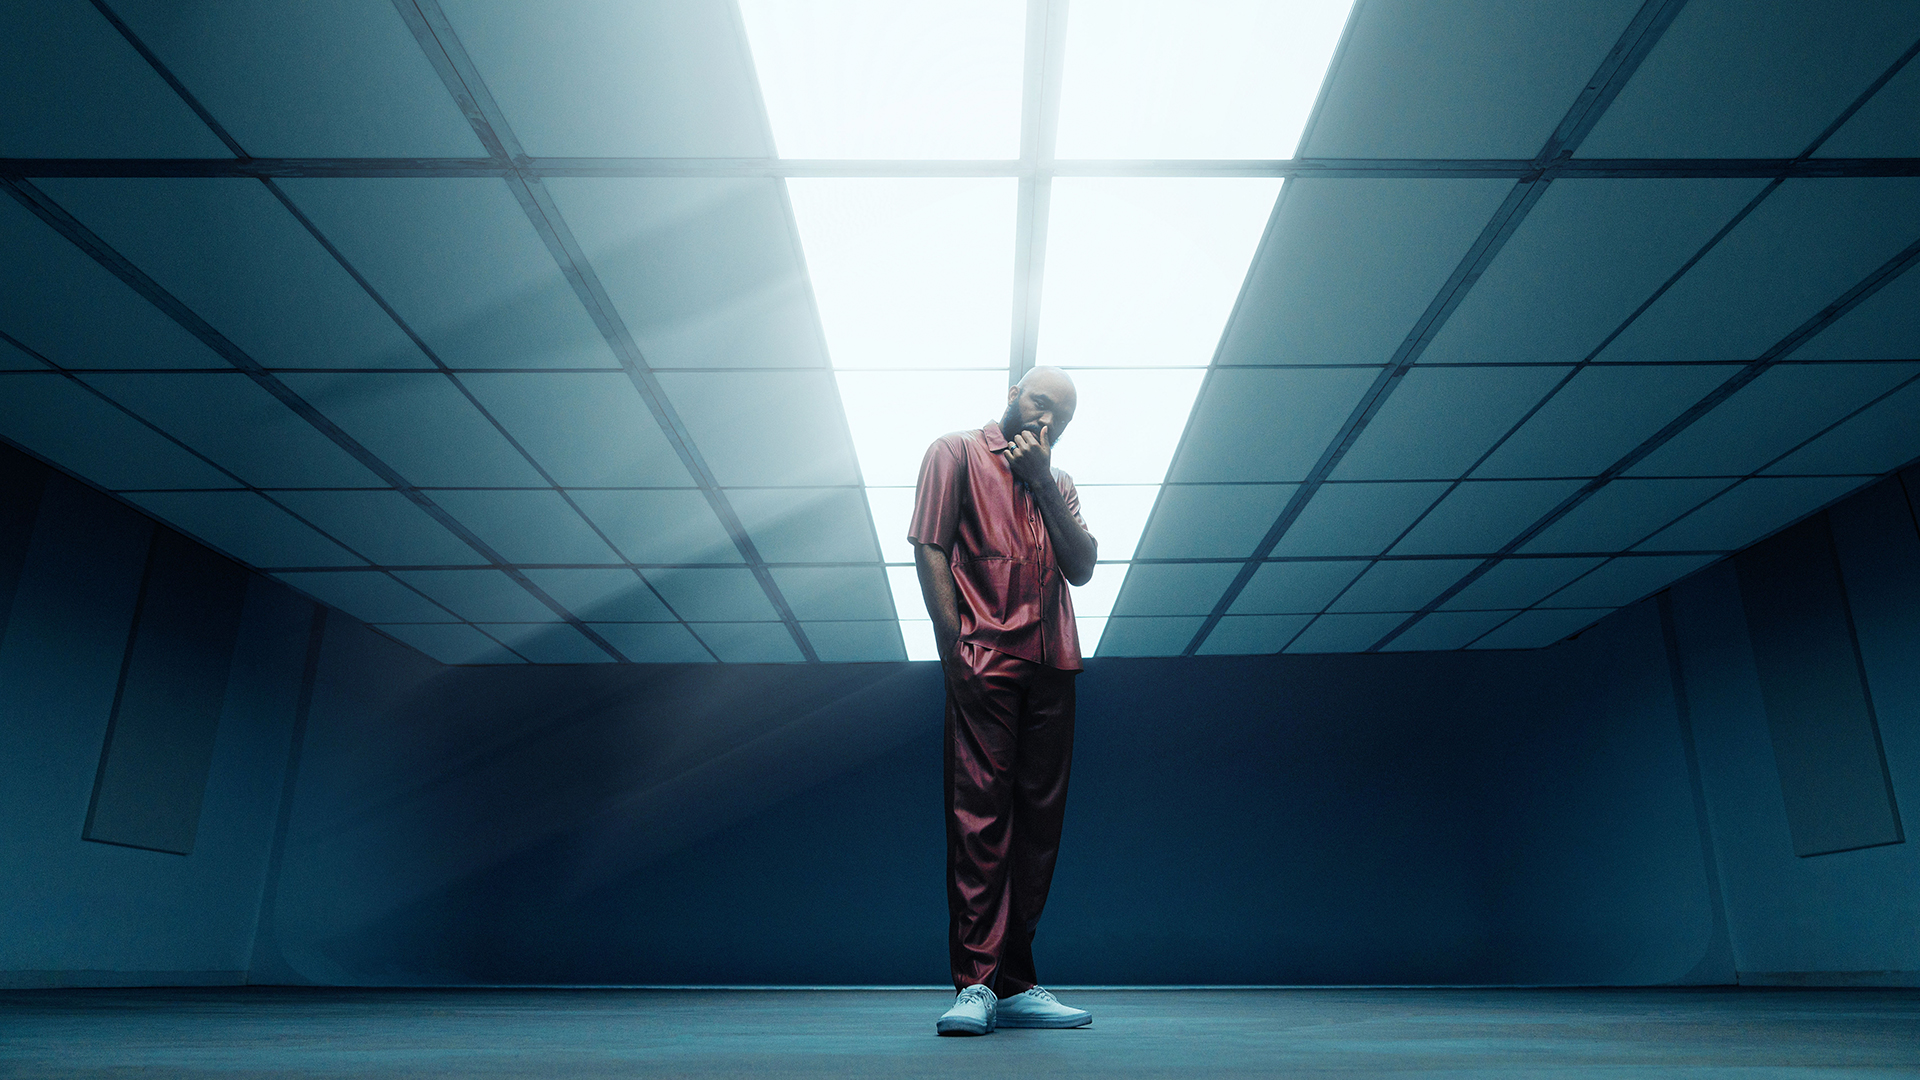
Master advanced lighting effects in Photoshop. This course explores our top ten dynamic techniques, from cinematic glows and sparkling skin to dramatic sun flares and retro film aesthetics. Some are subtle enough for everyday portraits, others are made for fashion and conceptual work, and every one stays fully editable, so you can dial it back or change its color at any time.
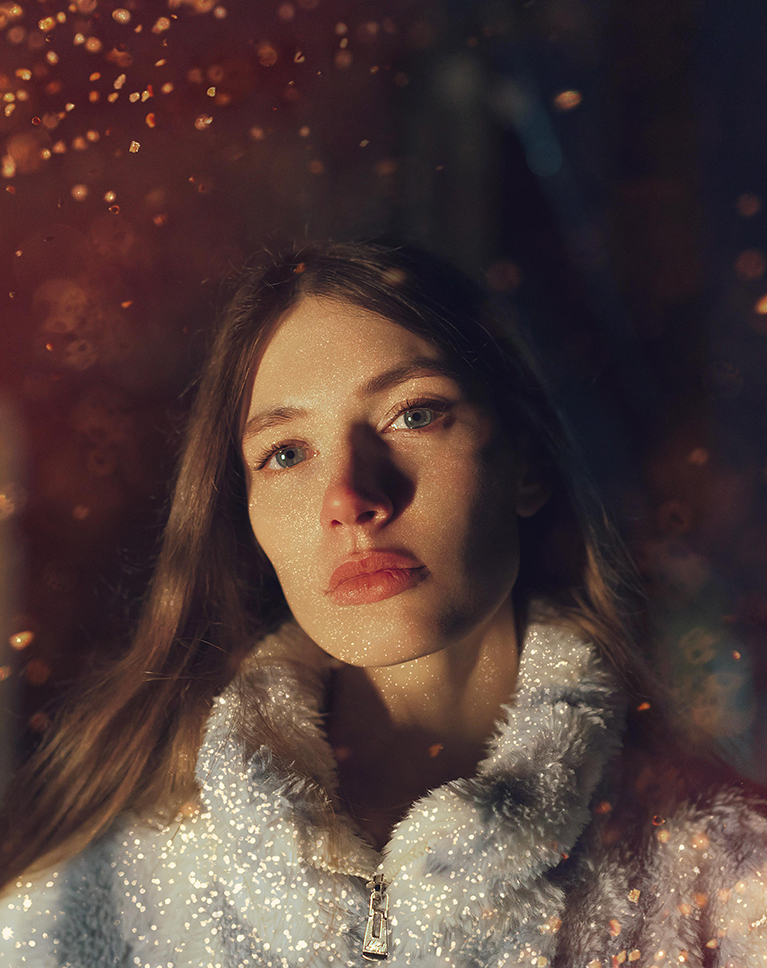
Discover how to intensify highlights, sculpt light trails, and infuse vibrant color into any photo. You’ll learn how to create a glow from the light already in your photo, add streaks with Path Blur that imitate moving the camera during a long exposure, and render a lens flare you can still move after the fact. We show you how to turn photographs of sparkles, light leaks, sun rays and bokeh into overlays with blend modes and Blend If, give a portrait a Polaroid-style film look with blur, grain and texture, and finish each image with color from gradient maps, color balance and the Channel Mixer. Every sample image and layered PSD is included, so you can follow along from start to finish and see how we built every effect.
What You’ll Learn
- Add sun flares, glows, and light trails to any photo
- Create cinematic glows with Color Range and Channels
- Build sparkle and light effects with Blend If
Table of Contents
-
01 - Cinematic Lighting30:23m
-
02 - Sparkles Effect29:40m
-
03 - Light Trails20:01m
-
04 - Sun Flares20:33m
-
05 - Soft Lighting17:23m
Course Downloads
Transform with Light
Advanced Lighting Effects in Photoshop
Lighting effects in Photoshop are key to making your photos stand out, creating mood and drawing the eye. Learning how to control light in Photoshop is a game-changer for any editor. In this tutorial we’ll teach you our top 10 techniques for creating amazing lighting effects, helping you make your pictures truly shine.
Combining Images
Learn to combine different images to create a variety of lighting effects in Photoshop. We’ll show you how to seamlessly integrate these elements, from adding subtle glows to skin to creating dynamic, full-frame luminosity. The focus is on making these added lights appear naturally part of your original photograph.
Using Blending Modes
Blending modes are essential when creating lighting effects in Photoshop. These powerful settings seamlessly integrate layers, transforming how different effects interact with your images. We’ll show you exactly how to wield blend modes like Lighten and Screen with precision, so you can achieve realistic results every time.
Analyzing Light
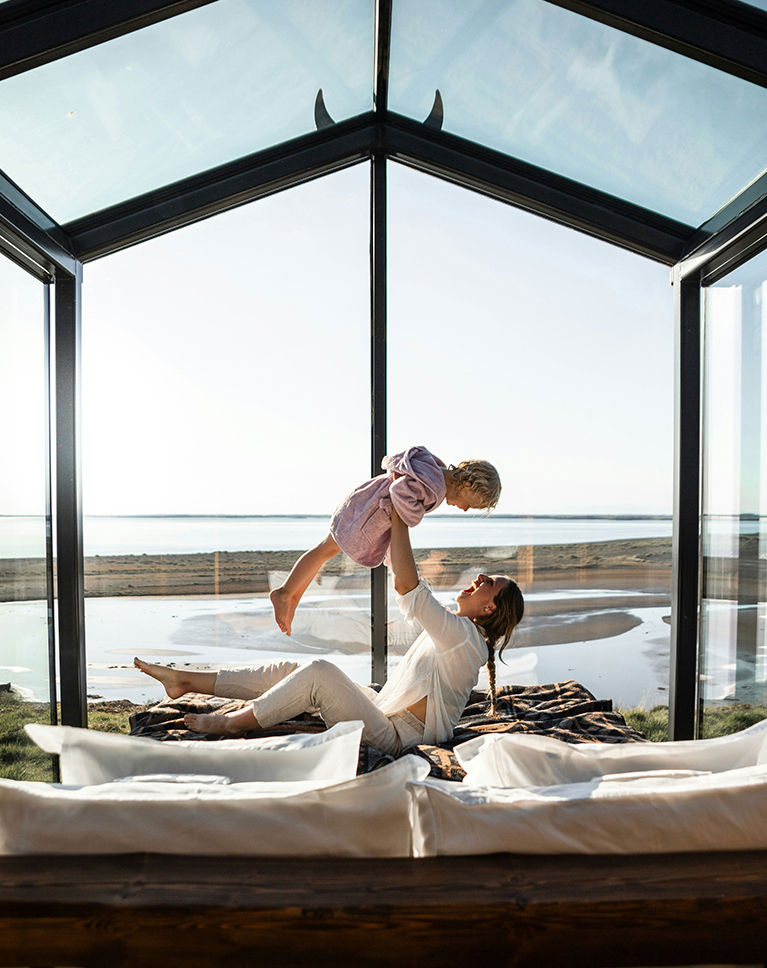
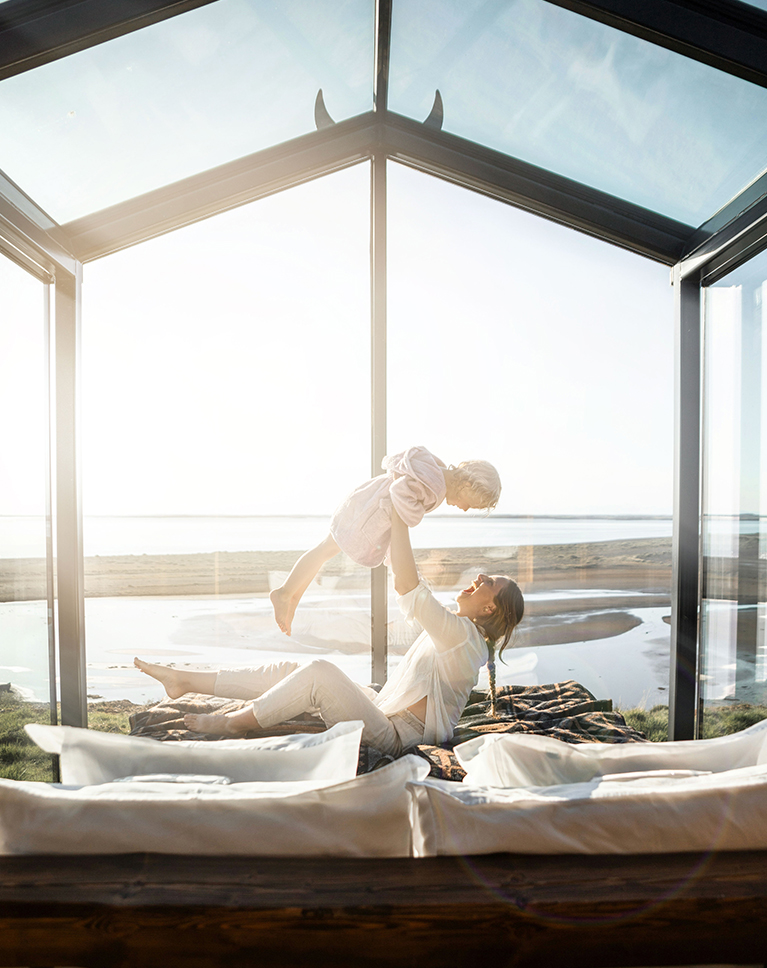
Understanding your image’s existing light is fundamental to creating believable effects. It’s not just about adding a glow; it’s about seamlessly integrating it so it feels natural. In this tutorial, you’ll learn to analyze the direction and quality of light already present in your photos. We’ll make sure your lens flares, light rays, and sun glows will look completely natural and enhance your images beautifully, without any artificial feel.
Dynamic Path Blurs
Discover how to create dynamic light streaks and rays, some of the most advanced lighting effects in Photoshop, using the Path Blur filter. This powerful tool in Photoshop’s Blur Gallery gives you precise control over the direction and speed of light, making still photos feel full of energy. We’ll teach you the ins and outs of this tool, so you can add stunning, directional light that brings your photos to life.
Channels & Layer Masks
Uncover hidden light in your images by extracting light with channels, selecting the brightest areas to form a new, workable layer. Then, fine-tune where that light appears using layer masks for selective application. You’ll learn to precisely paint in or out the effect, ensuring your light enhancements are seamlessly integrated and perfectly placed within your photos.

Lens Flares, Sun Rays & More
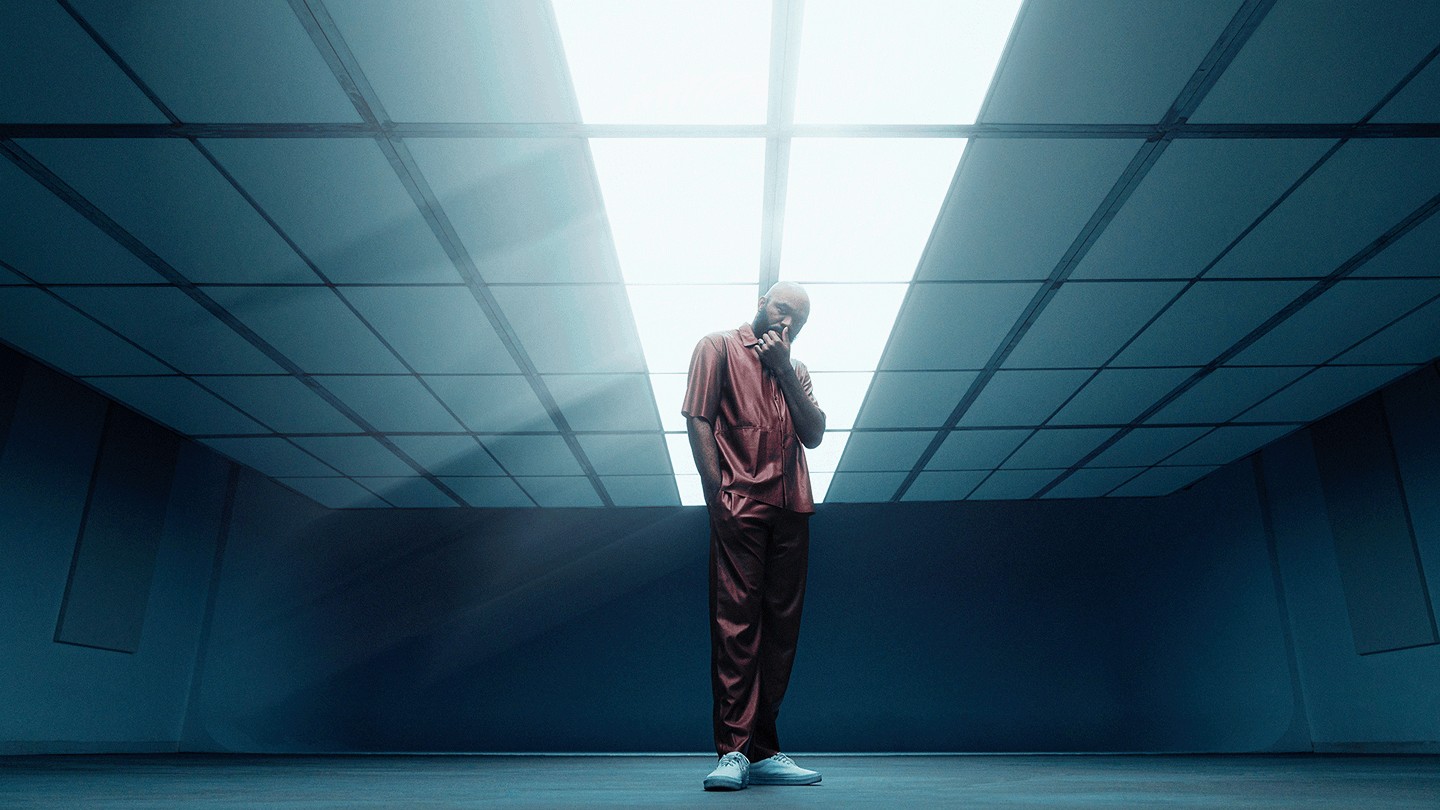
Discover how to sculpt light to create captivating focal points, adding radiant glows, creating vibrant light trails, and generating realistic sun flares for breathtaking results.
Cinematic Effects
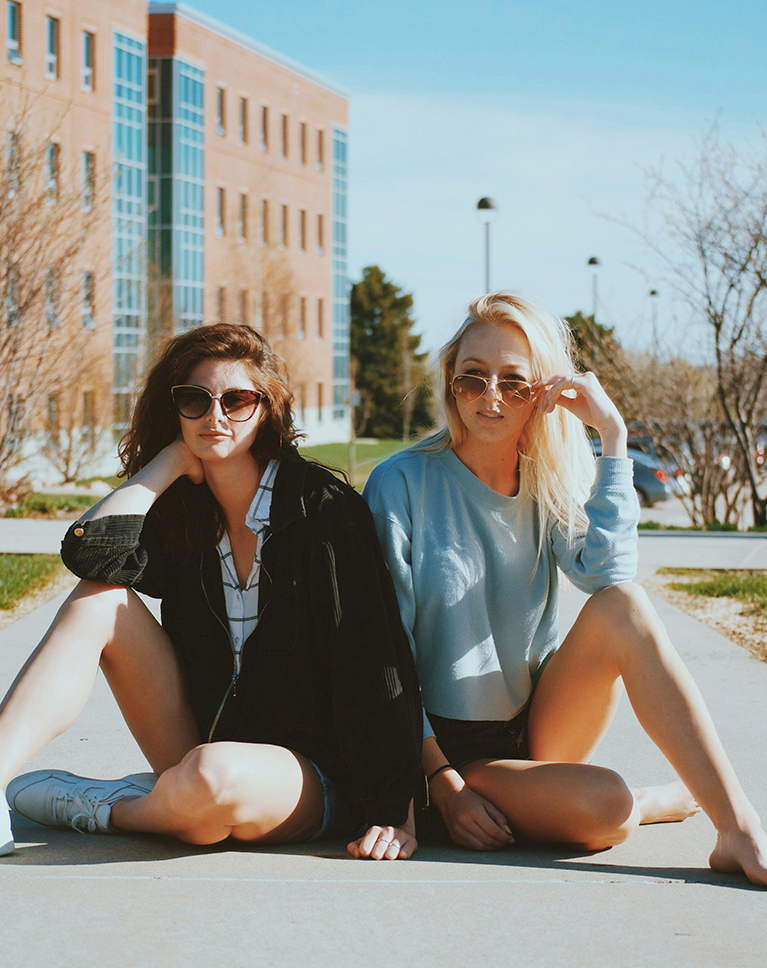
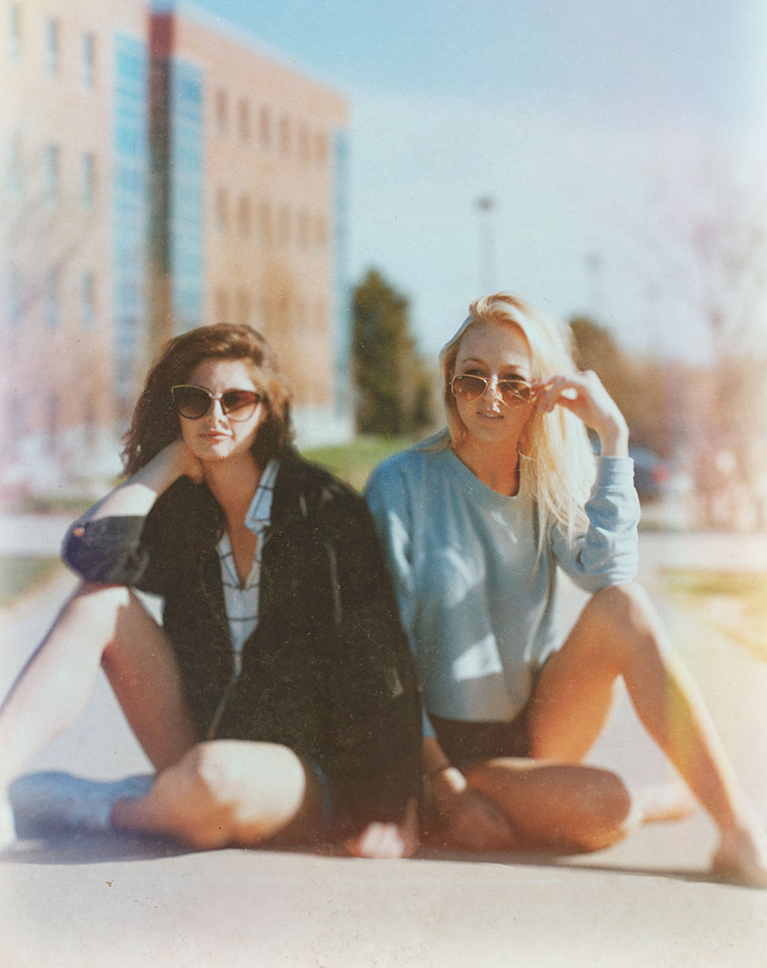
Learn how to add textures, noise, and light leaks, the lighting effects in Photoshop that create beautiful cinematic effects, that feel just like a Polaroid! You’ll discover how to perfectly blend in subtle grain, vintage light, and rich overlays. This will give your photos a unique, timeless, and film-inspired feel that truly makes them special.
The Power of ACR
Explore the power of the Camera Raw Filter’s Lens Blur to sculpt depth and pair lighting effects in Photoshop with realistic focus in your photos. This tool helps you create realistic background blur or even selectively blur areas, making your subjects pop in no time. You’ll master its intuitive controls, including painting in blur for artistic effects, to perfectly guide the viewer’s eye.
Make it Cohesive
Beyond specific effects, mastering generic adjustments is key to perfecting your light work. You’ll learn to sculpt your image’s overall look using Curves for precise contrast and brightness adjustments, ensuring your light effects pop. Plus, dive into diverse color adjustment options like Channel Mixer, Color Balance, and Gradient Map, allowing you to seamlessly integrate your luminous enhancements with perfect color harmony.
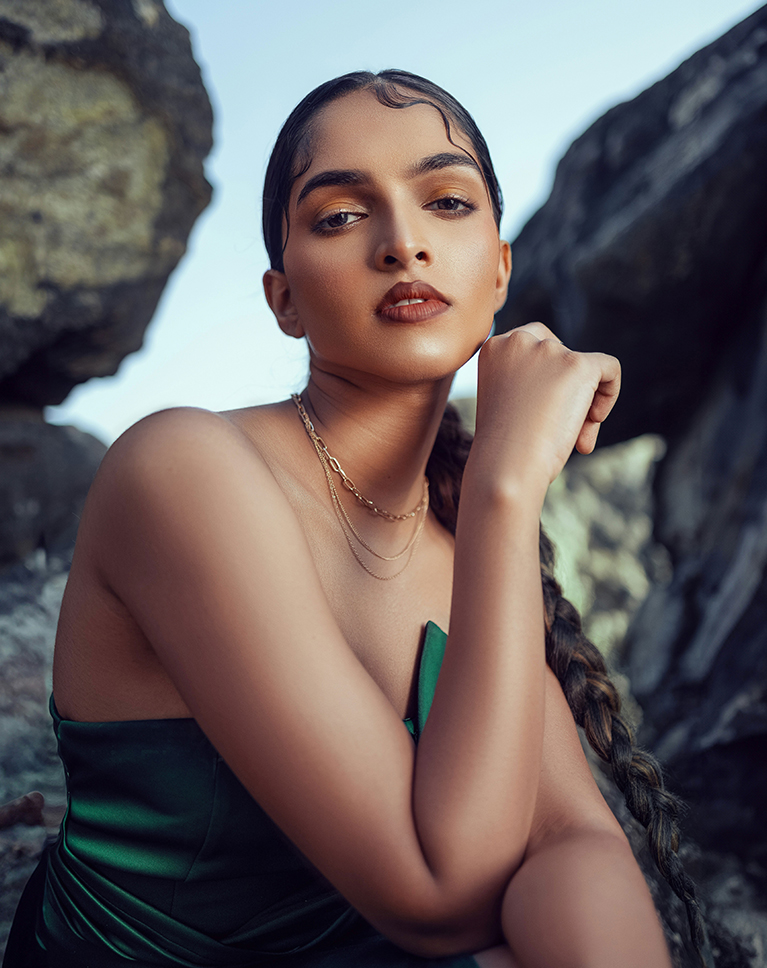
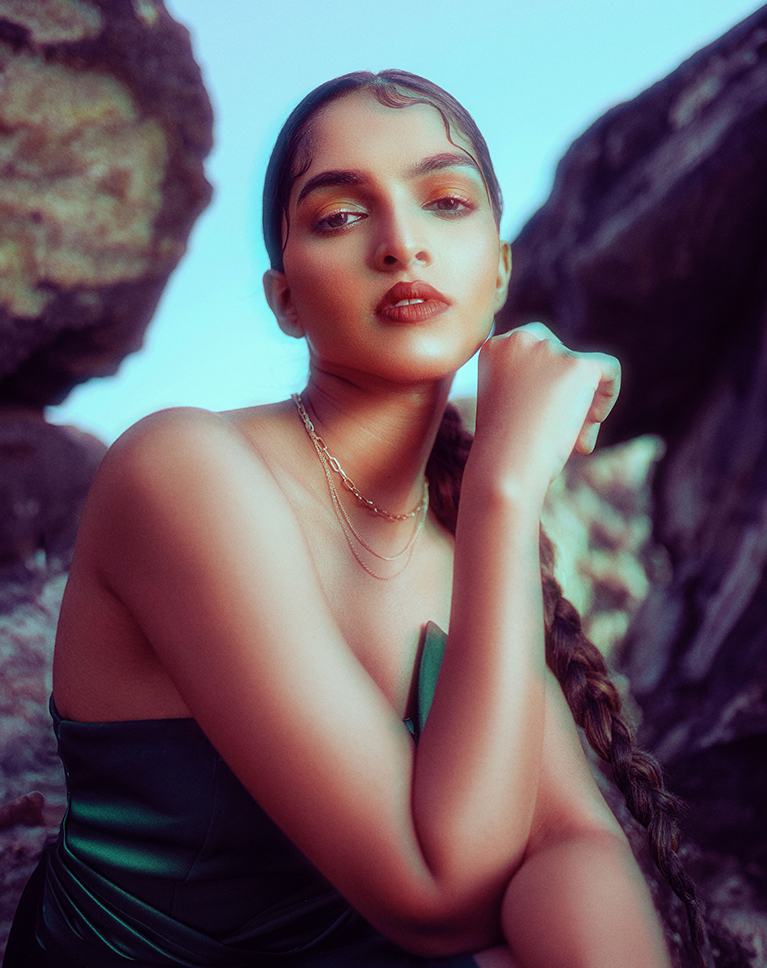
Adding Skin Glow
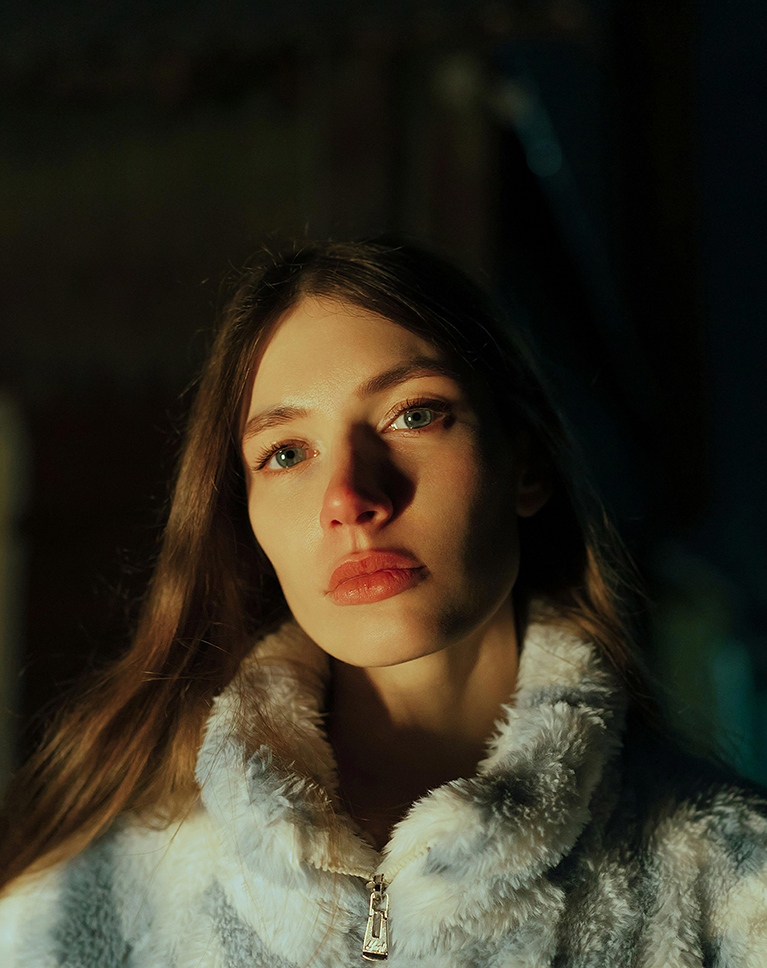
Skin glow is one of the subtlest lighting effects in Photoshop: make skin glow from within by paying special attention to certain colors and understanding how light passes through skin. In this tutorial, you’ll master isolating highlights using channels and levels, then apply Gaussian blur for luminous effects. Discover how Blend If and other blend modes infuse warm, vibrant colors into highlights and shadows, creating natural and radiant skin tones.
Non-Destructive Editing
If you know PHLEARN, you know that we champion non-destructive editing, and this tutorial is no exception! In this tutorial we’ll show you how to create smart objects, apply flexible edits, and easily revert changes, ensuring your original image remains untouched and your workflow stays efficient.
Special Effects Learning Path
Master the art of stunning special effects with our Special Effects Learning Path. Learn the secrets behind creating mesmerizing text effects, mastering double exposure techniques, crafting dispersion wonders, and adding that magical glow to your images. Get ready to impress with your newfound skills and bring your imagination to life!
Class Instructor
Aaron Nace
PHLEARN Founder & Lead Instructor
Aaron Nace is a photographer, digital artist, and the founder of PHLEARN. He has been teaching Photoshop, Lightroom, and photography since 2011, and has taught at Adobe MAX for more than eight years.
Aaron publishes a free tutorial every week and a new in-depth PRO course every month.
- 2M+YouTube subscribers
- 160M+video views
- 1,000+tutorials published
- 15years teaching Photoshop
Special thanks to Allan Lainez, Hannah Popowski, Albert Salim, Kier in Sight Archives, Kym MacKinnon, Luke Besley, Jay Soundo, Simon Humler, Annie Spratt, Guilherme Stecanella, Yichen Wang, Mariola Grobelska, Joel Mott, Evie S, Medapati veerendra, Mockaroon, Neom, Valentin Bolder, Vivek, and Karsten Winegeart for the stock images used in this course, sourced from Unsplash.
Reviews
Master Photoshop, Lightroom and Photography
Join PHLEARN PRO for $12.99 a month or $99.99 a year. Cancel anytime, with a 100% money-back guarantee.






I learned a lot of useful things, thanks a lot.
Great tutorial to ad different forms of light for my landscape photography.
Super impressive and creative techniques. Ok Aaron, you want to hear from us subscribers what we like and do not like. Here’s my thoughts on “Skin Glow”: The “Double Darken Channel Pull” is a brilliant and super creative break-through. I’ve tried it on several of my Portrait images and . . . WOW! So too is the attached “Color” Group alternative with its individual layer Blend-If-Underlying treatment. I put a Subject Selection on the “Color” Group mask and painted-out the clothing so the Group only hit her skin. I worked great I strongly recommend you include this in your “Skin Glow” method. I hated the “Optional” fx uncheck color box “Halo” effect. It created an ugly effect.
Just finished Cinematic lighting and learned so much I can’t wait to try. Thank you!
I am watching this, or more correctly, I am enjoying this tutorial for the second time, because the techniques being shown here are so useful and so interesting, and there is so much content, that I definitely need to go through this a number of times. I have already begun to use many of the ideas and techniques in my own work with great success. After being a subscriber for so many years, I am amazed that you are still producing new tutorials that I find totally useful. Especially these latest ones that are focusing on one particular aspect of making a creative edit, such as lighting or color effects. One topic, which might be useful for people like myself who take indoor action shots (dancing) only using the ambient lighting (no flash) is creatively compensating for low light by adding interesting, perhaps directional lighting to the photo, or compensating for ambient light that is strong in one particular color, e.g. very red or very blue, to make the photo look artistically interesting without needing to go to black and white, or compensating for a boring too bright ambient light by darkening the image and adding more interesting lighting effects. I am doing a lot of this, and it is very interesting to explore the possibilities.
This was such a fun tutorial, and I learnt loads of new techniques.
absolutely love this! I always learn something new
Fun training. You do such a great job of explaining things and always offer interesting classes.
I have watched the whole thing. Very interesting to see almost same effect done with the newest tools. The way you are showing us those techniques, personally what I like the most, is how I can use them in so many other ways. One tutorial that I would like to see one day, is how to edit infrared pictures. I have searched on youtube and on your channel, and I have found only one very old. I am sure there are better ways today for black and white, but also for color infrared editing. Thank you Aaron and team for this great tutorial. Those are the reason why I renew my subscription every year 😉
Absolutely brilliant tutorial .. as always. I always learn so much. More like this please 🙂
Very creative effects, well explained, but for me a little too fast for me to follow along and I am pausing and replaying. This breaks up the continuity. A personal issue which shouldn’t detract from the excellent quality of your work. This oldie just needs a little more time to understand.
I really, really liked this tutorial. Learned some great techniques and new possibilities to enhance pictures. As always great presentation. More of this please. Great Job!