Download Assets
description
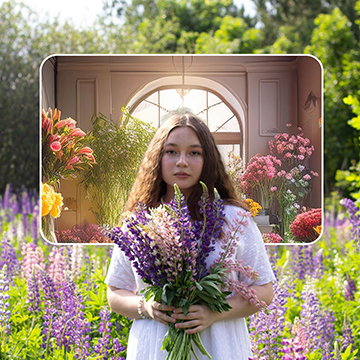
Transform ordinary photos into stunning summer scenes with this easy Photoshop tutorial. Learn how to create realistic lens flares, enhance colors with Camera Raw, and add subtle atmospheric effects using gradient maps.
Go PRO:
Explore more Light Effects with our exclusive How to Create Light Effects in Photoshop.
Artist Credit
- Dat Tae Studio
Images sourced from Pexels.
Share
AFTER
BEFORE
Sun-Kissed Glow
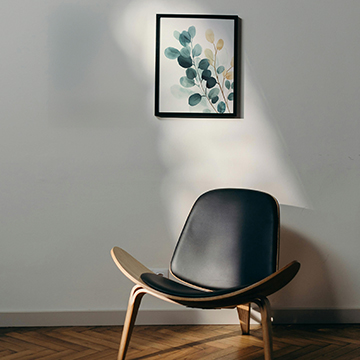
Adding a lens flare effect can dramatically enhance your photos by creating a sense of depth and dimension. This guide will show you how to effortlessly add a sun-kissed glow to your images, making them appear more dynamic and visually interesting. Download the two sample images and follow the steps below to get started.
Create the Effect
1. Start Photoshop and open your base image.
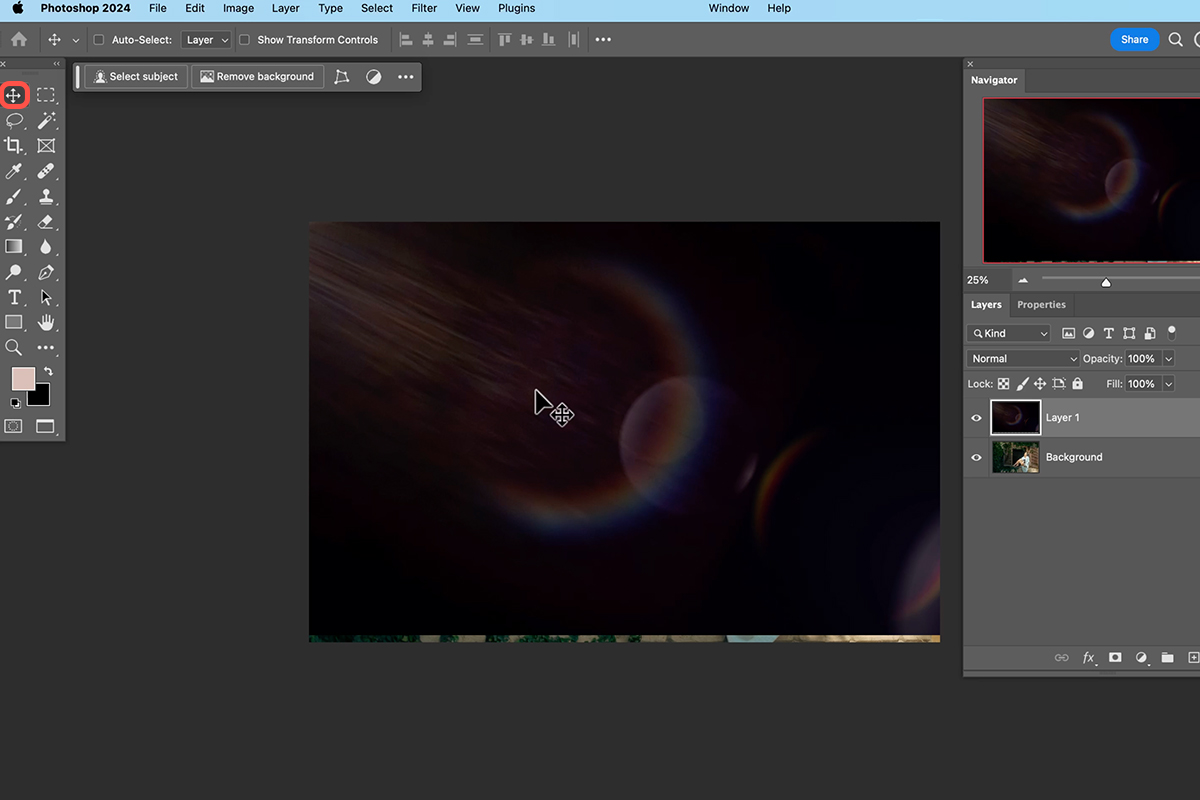
2. Drag and drop your chosen lens flare overlay onto your image.
3. Use the Move Tool (Keyboard Shortcut “V”) to position the lens flare. Set the layer blend mode to “Screen” for a natural blend.
4. Use Ctrl/Cmd+T to transform the lens flare. Flip it horizontally if needed. Adjust size and position for desired effect.
Warm Up the Colors
5. Select the lens flare layer and change the blend mode to Screen. Then, right-click the layer again and convert to Smart Object.
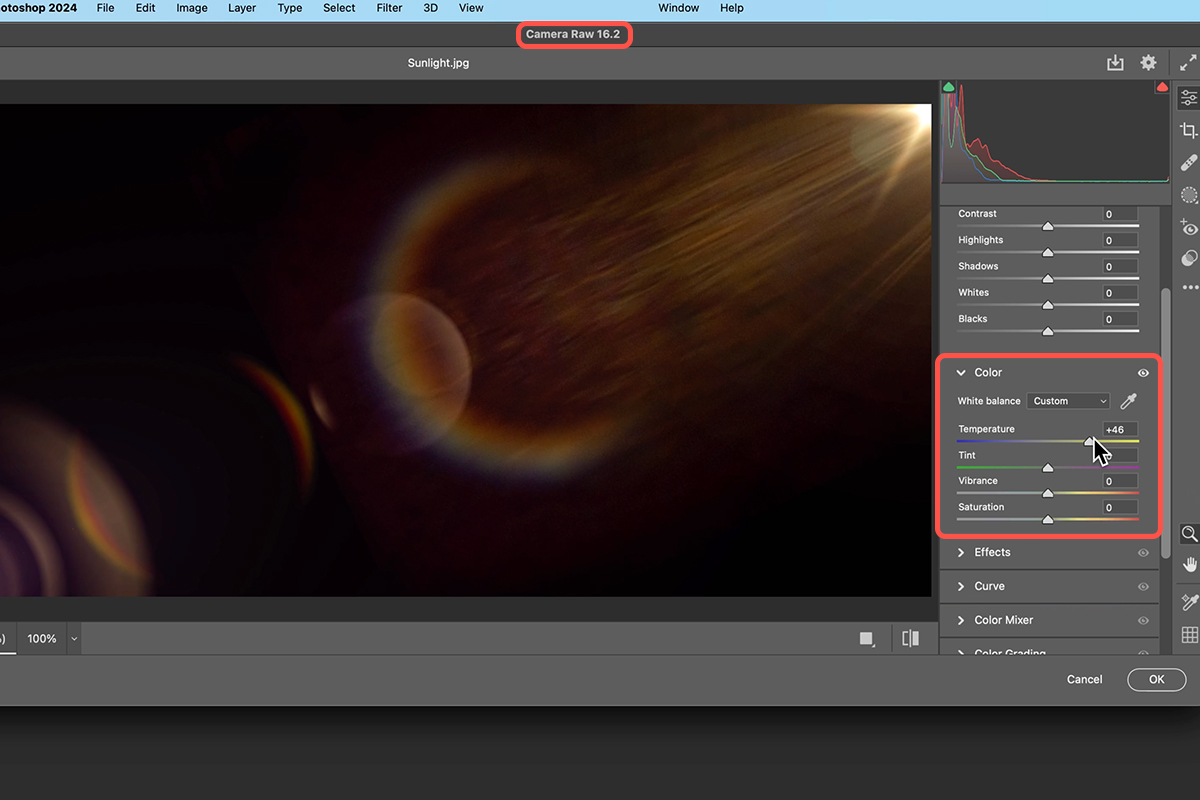
6. Go to Filter > Camera Raw Filter.
7. Increase the color temperature to create a warmer tone. Add a touch of magenta for a sun-kissed look. If needed, remember you can double-click the Camera Raw filter layer to make further adjustments.
Create a Subtle Haze
8. Right-click the background layer and choose “Convert to Smart Object.”
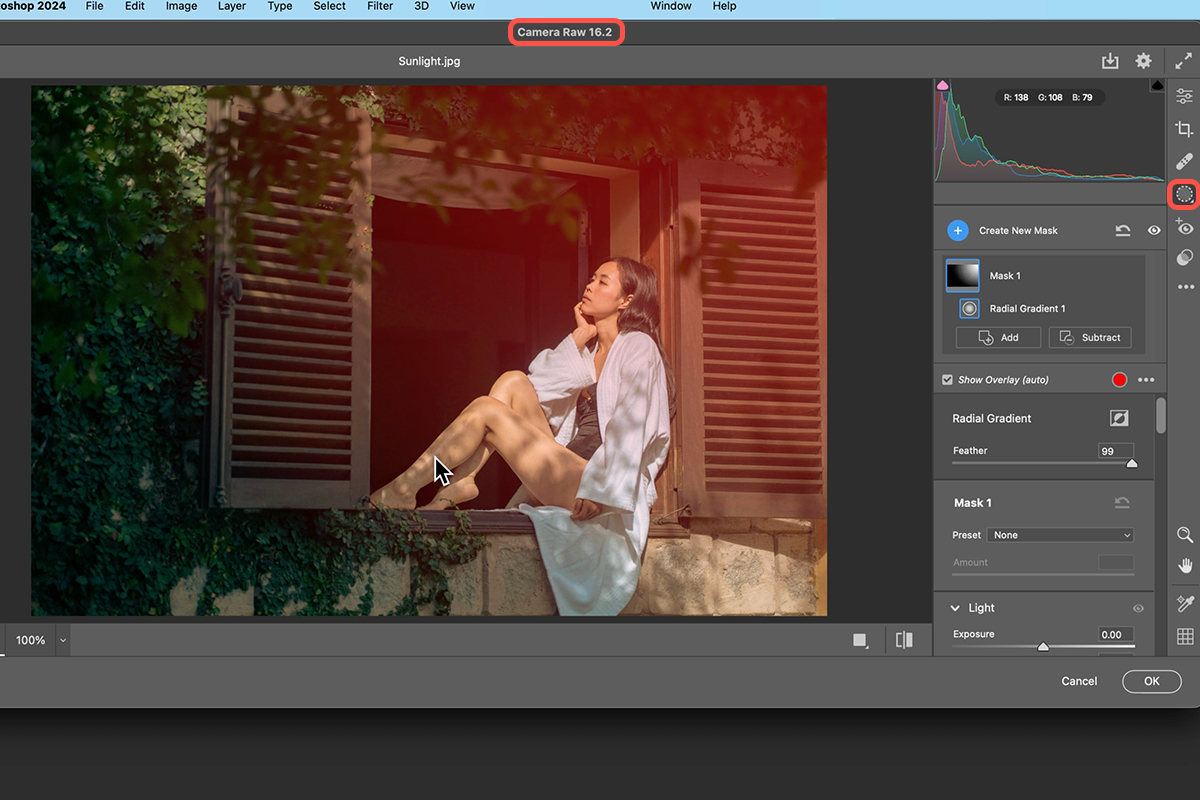
9. Go to Filter > Camera Raw Filter.
10. Use the Radial Gradient tool to create a mask on the top right corner of the image.
11. Decrease contrast, increase shadows, and raise black levels. Warm up the color temperature and add a touch of magenta.
12. Create additional radial gradients for more subtle haze effects. Adjust settings as desired.
Add a Color Gradient
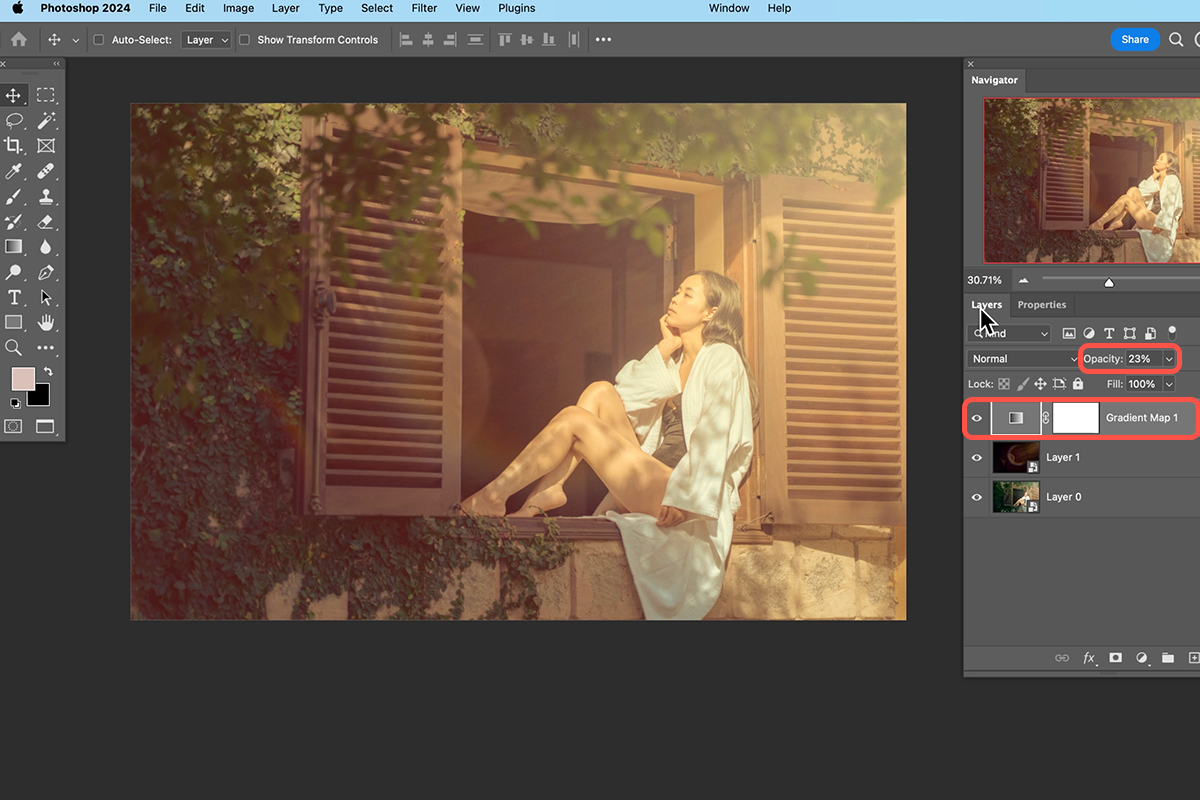
13. Go to Layer > New Adjustment Layer > Gradient Map.
14. Select an orange or peach gradient and reverse it if needed.
15. Lower the opacity of the gradient map layer to taste (around 20%).
16. Double-click the gradient map layer to adjust colors and distribution.
Final Touches
To refine the overall effect, subtly reduce the opacity of the lens flare layer for a more natural look. Additionally, revisit the Camera Raw filter settings for both layers to make final adjustments, ensuring a harmonious blend of the lens flare with your original image.


