
THIS COURSE INCLUDES
- 5 Lessonsfollow-along
- 1h 25mof HD video
- Beginnerno experience needed
- 9 Sample Images+ Photoshop brush
- 5 Layered PSDsto follow along
- Captionsand chapters on every lesson
Part of a Learning Path
Join PHLEARN PRO for instant access to this course and every tutorial on PHLEARN.
- Stream in up to 4K on any device
- Closed captions and chapters on every course
- Download all sample images and PSDs
- New PRO tutorials every month
- Cancel anytime
Description
Learn how to create light effects in Photoshop that look stunning and realistic, like sun rays, lens flares, bloom, glows, and more!
What You’ll Learn
- Create sun rays, lens flares, and glows that look real
- Paint light rays from scratch with the Brush tool
- Use Levels and Blend If for realistic lighting
Table of Contents
Course Downloads
Lens Flares, Sun Rays & More
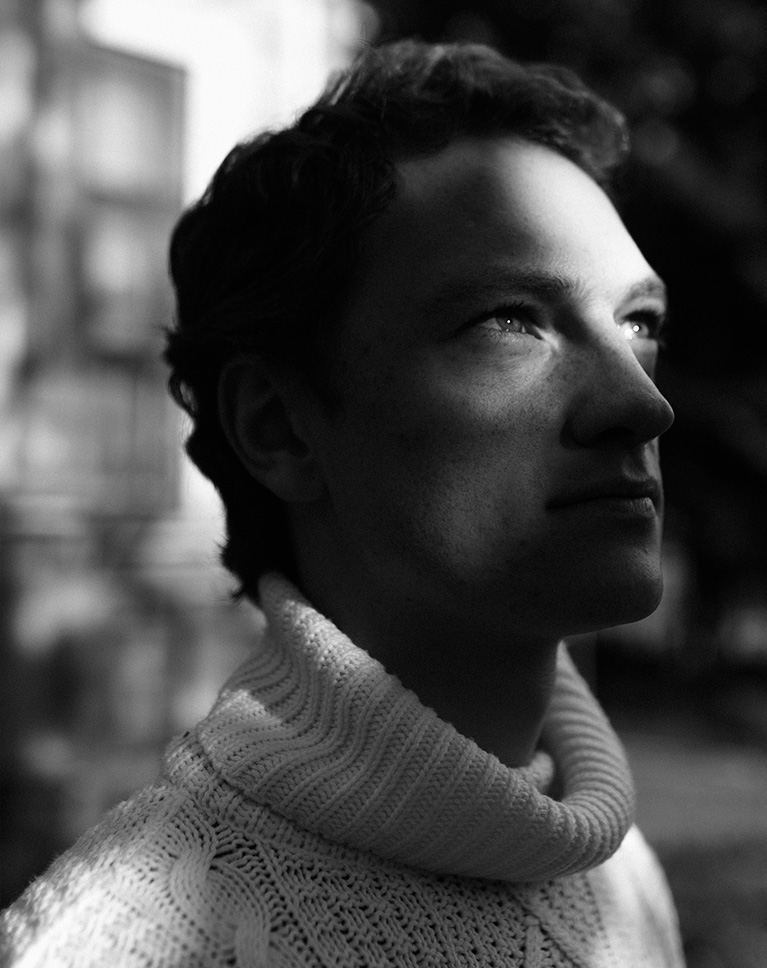
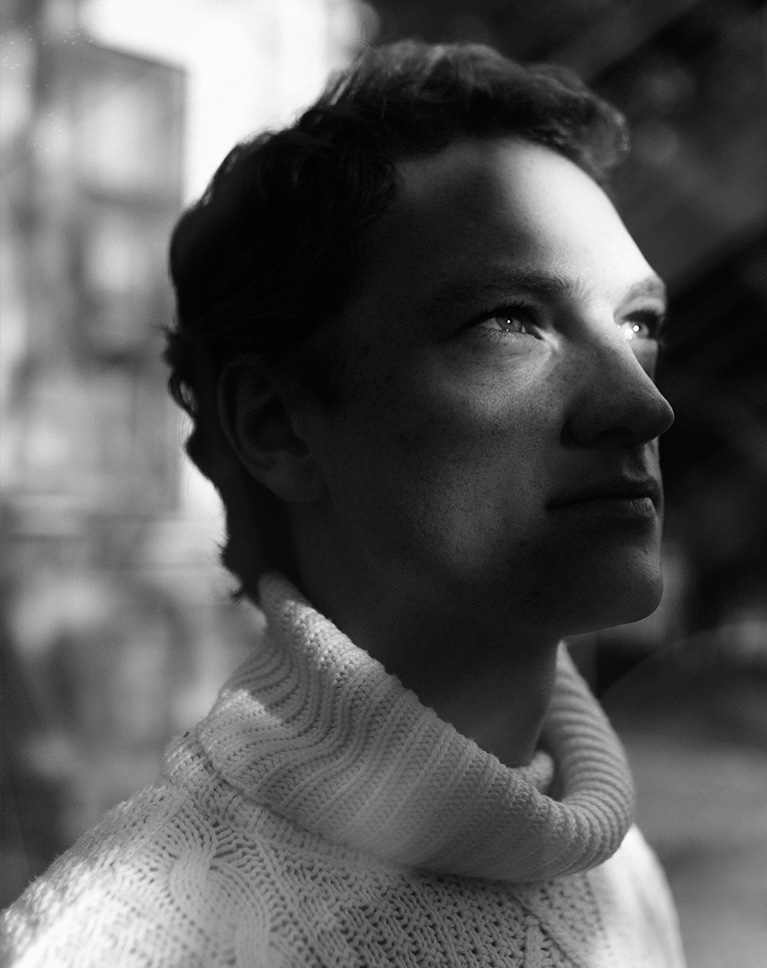
Create Light Effects in Photoshop From Scratch
Learn how to use Adjustment Layers, Layer Masks, custom brushes, and even some simple compositing skills to create light effects in Photoshop that add drama to your photos! Follow along through several examples where we create realistic light rays, lens flares, glows, and bloom effects from scratch.
Realistic Light with Levels
Levels Adjustment Layers are the key to realistic light effects in Photoshop. By making small adjustments to the natural lighting in an image, and then using Layer Masks to make those adjustments appear as soft beams of light, you’ll have more dramatic lighting that looks like it was all captured in-camera.
Dust & Particle Effects
Use the included custom Photoshop Brush to add dust and particles to any light effects in Photoshop you create. Adding detail and atmosphere to any added effects will help them blend seamlessly into the rest of the environment.
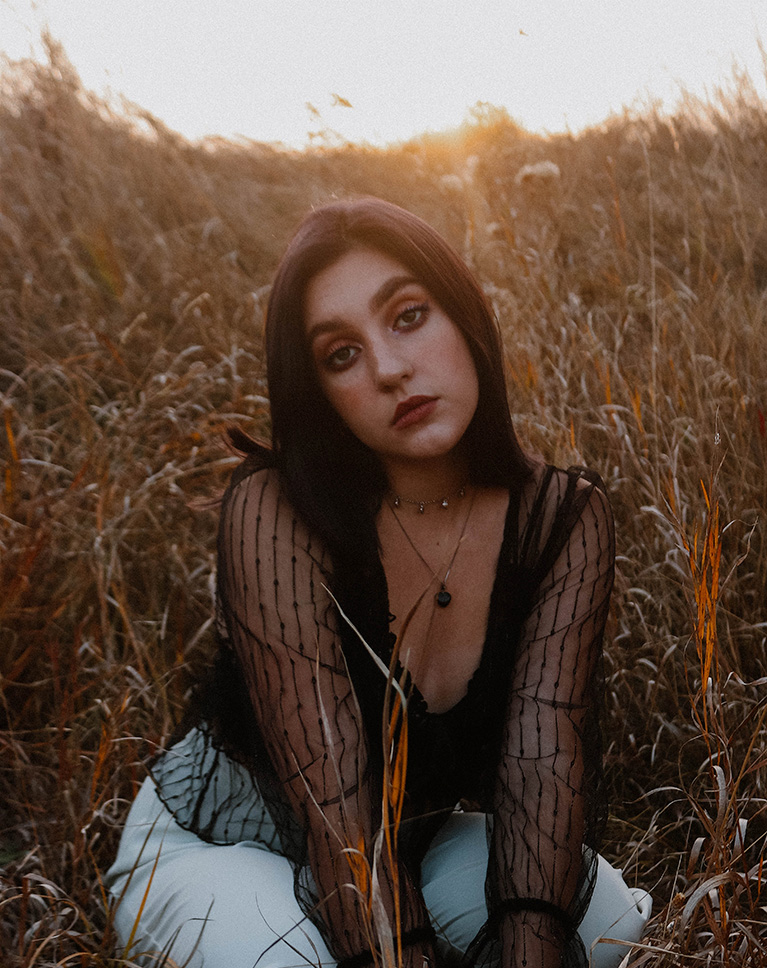
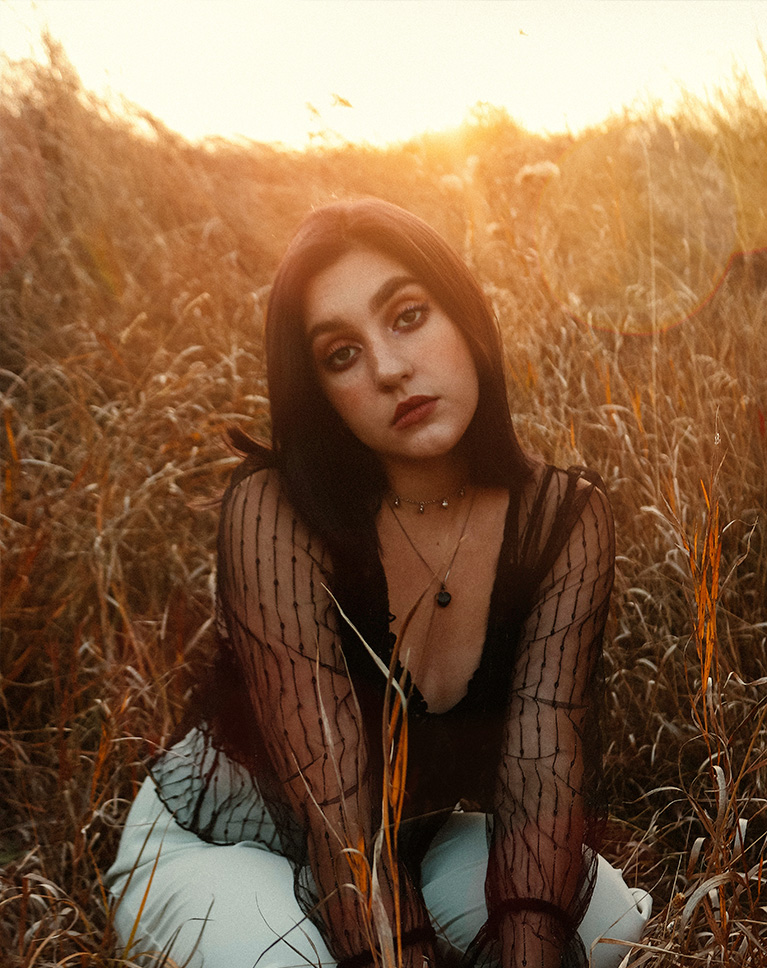
Lens Flares
One of the most popular light effects in Photoshop, lens flares are a subtle way to add more visual interest to your photos. Learn how to create lens flare effects by extracting lighting from other images.
Simple Compositing Techniques
One of the best ways to create realistic light effects in Photoshop is to borrow them from other images. We include 4 images of bokeh that you can use alongside some simple compositing tricks to add flares, bursts, and rays to your own photos.
Analyze Lighting
We show you how to analyze lighting to find the perfect images for light effects in Photoshop. By finding images that are backlit, and by determining the direction of the light, you can create powerful, realistic effects of your own.
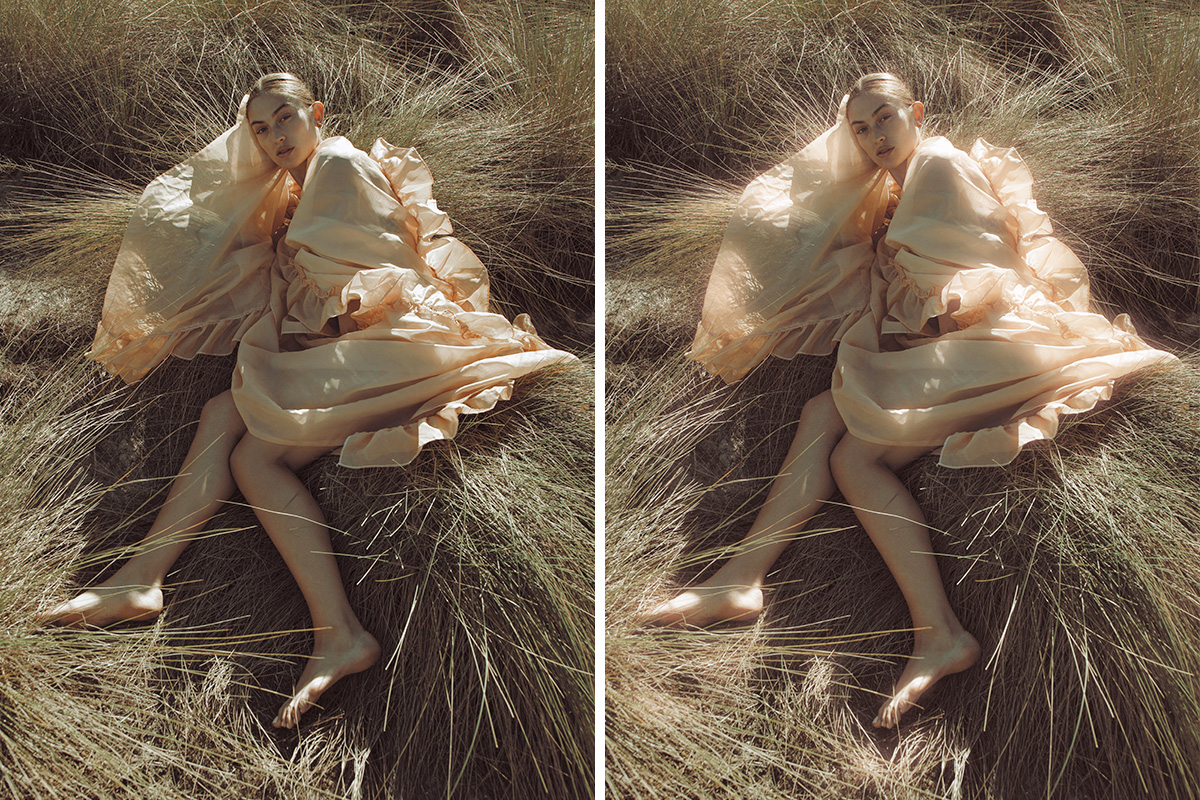
Light Up Your Photos
Lighting effects can help transform a great image into something extraordinary. Get creative with lighting with these easy and powerful Photoshop skills.
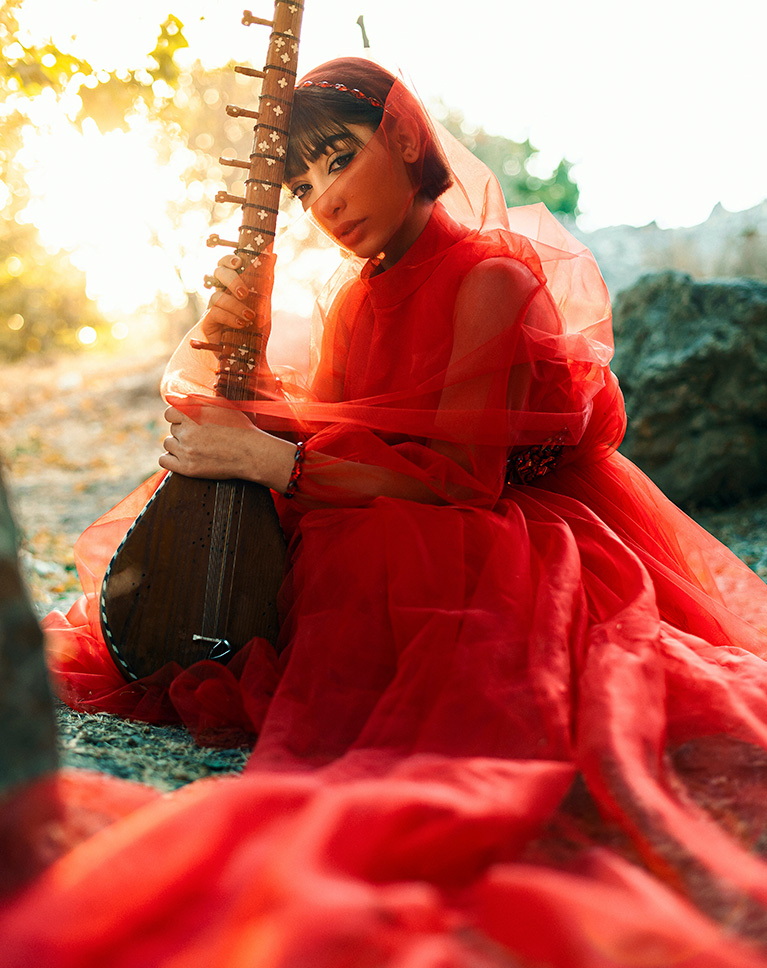
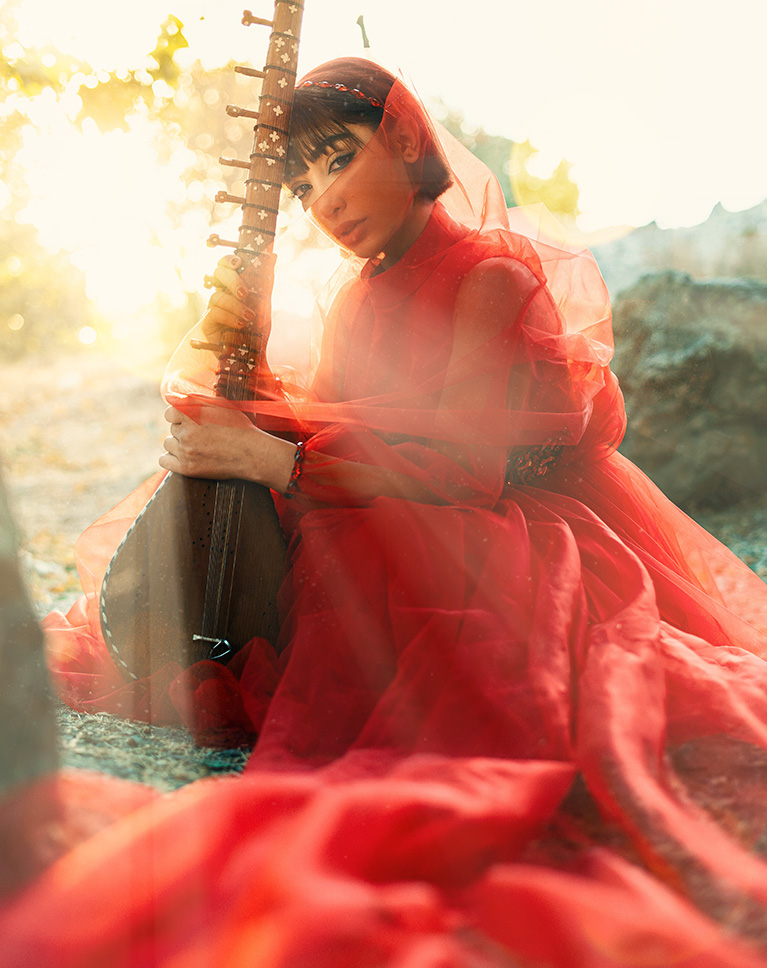
Special Effects in Photoshop
Special effects can help to take your photos to new and exciting places. For more inspiration, check out How to Create a Glow Effect, Film & Vintage Coloring in Photoshop, and Light Effects & Color Toning with Gradients!
Filters & Blurs
Learn how to use a variety of Photoshop Filters and Blurs to create photorealistic lighting in just a matter of clicks. From Gaussian Blurs and Box Blues to Noise & Grain, these versatile techniques can help you solve any creative problems that try to get in your way.
Layer Masks
This course focuses heavily on editing and modifying Layer Masks to create realistic effects. New to Layer Masks? Be sure to watch How to Use Layer Masks in Photoshop and our complete Beginner’s Guide to Photoshop.
DUST & PARTICLE EFFECTS
PAINT WITH LIGHT
Picture Perfect Sunsets
Enhance sunsets and existing sun rays in a photo, adding additional atmosphere, depth, color. Want to learn more about lighting and coloring your photos? Then check out Advanced Lighting & Coloring in Photoshop.
Custom Photoshop Brush
Add dust and particle effects to light rays to add more depth and atmosphere to your effects. Once you download it, this brush is yours to keep forever!
Paint with Light
Learn how to use the Brush Tool to literally paint lighting effects into any image. This technique provides all of the control and variation you’ll need to create ultra-realistic effects.
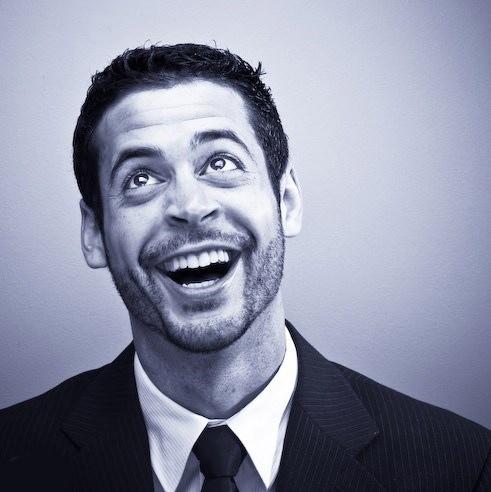
Class Instructor
Aaron Nace
PHLEARN Founder & Lead Instructor
Aaron Nace is a photographer, digital artist, and the founder of PHLEARN. Since 2011 he has taught millions of people to edit with confidence in Photoshop and Lightroom, on YouTube and in PHLEARN PRO, and he has been a featured speaker at Adobe MAX for more than eight years.
Every PRO course comes with the sample images and PSDs to follow along step by step, and Aaron adds new courses and free tutorials all year.
- 2M+YouTube subscribers
- 160M+video views
- 1,000+tutorials published
- 15years teaching Photoshop
Reviews
Master Photoshop, Lightroom and Photography
Join PHLEARN PRO for $12.99 a month or $99.99 a year. Cancel anytime, with a 100% money-back guarantee.






cut back on the coffee, sound like a chipmonk on speed lol
Ha, fair enough — I get excited about light effects, what can I say. Appreciate the 5 stars despite the caffeine levels!
another series of wonderful easy to understand tutorials. Aaron is easy to understand and presents the tutorials at a pace that is easy to follow. PAHLEARN tutorials are probably the best ones on the internet. keep up the great work
As usual, Aaron Nace has put together a very useful set of exercise ‘follow along’ tutorials, this time focused on Lightening Effects. The way I get the most out of a Phlearn exercise is to go through it once, then go through it a second time; and then, a third time to really pin down the techniques and concepts. Aaron, you have taken my work to the next level on several occasions by: 1) increasing my Photoshop skills, 2) strengthening my image development techniques and 3) helping me think outside the box with respect to post processing. This has made a significant difference (+++) in my work. For me, it’s been enriching on several levels for which I am delighted. Great stuff. Take care. Peace! John Guild, Texas
Another super cool tutorial
Love it! I always learn so much and it is so easy to follow along. Love your way of teaching photoshop.
As always, very interesting, Simple and effective.
Excellent tutorial… The musical instrument in chapter two of “Lighting Effects” is called a sitar…
Im doing your tutorials everyday, and evertime i learn something. Thanks for your content it’s so nice to be able to learn from such a great instructor !
Great tutorial as always, simple and impressive. Thanks Aaron
Great Tutorial, learned a lot regarding changing colors with Levels adjustments. Aaron just knows how to teach. Really enjoyed this one. Will go back and review this one a few times, the tutorial is simple, however grasping the levels color adjustments firmly will require a few more looks.
Great Tutorial as ever Aaron.
Brilliant .. as always!