
Download Assets
This tutorial includes 2 sample images and 1 PDF guide. Downloads are free with a PHLEARN account.
- Download the sample images and PSDs from every free tutorial on PHLEARN
- New free tutorials published every week
- One free account — sign up once, then download anything
Free PDF Guide · 3 Pages
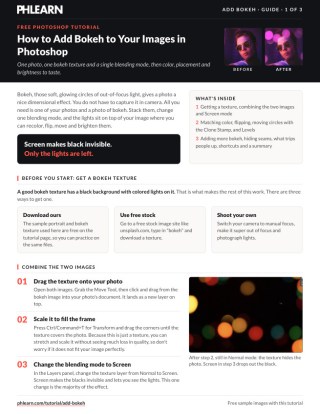
This Tutorial as a Step-by-Step PDF
The guide covers the whole effect: drag the texture in with the Move Tool, scale it with Ctrl/Command+T, set the layer to Screen, colorize it with Hue/Saturation, flip it, move circles with the Clone Stamp set to Current Layer, then Levels, a duplicate and a mask over any seam. Keep it next to your keyboard.
description
Adding bokeh — those soft, glowing circles of out-of-focus light — takes only two ingredients: your image, and a photo of bokeh itself. Combine the two with a single blending mode and the whole effect becomes endlessly adjustable in color, position and intensity, without ever touching the original photo destructively. Covers finding a texture, dropping its black background out with Screen mode, matching color, and fine-tuning with Levels.
Enjoying This Free Tutorial?
We publish a new free tutorial every week, each one with sample images and PSDs you can download and follow along with. Sign up and they land straight in your inbox, along with early word on sales, events and subscriber-only offers.
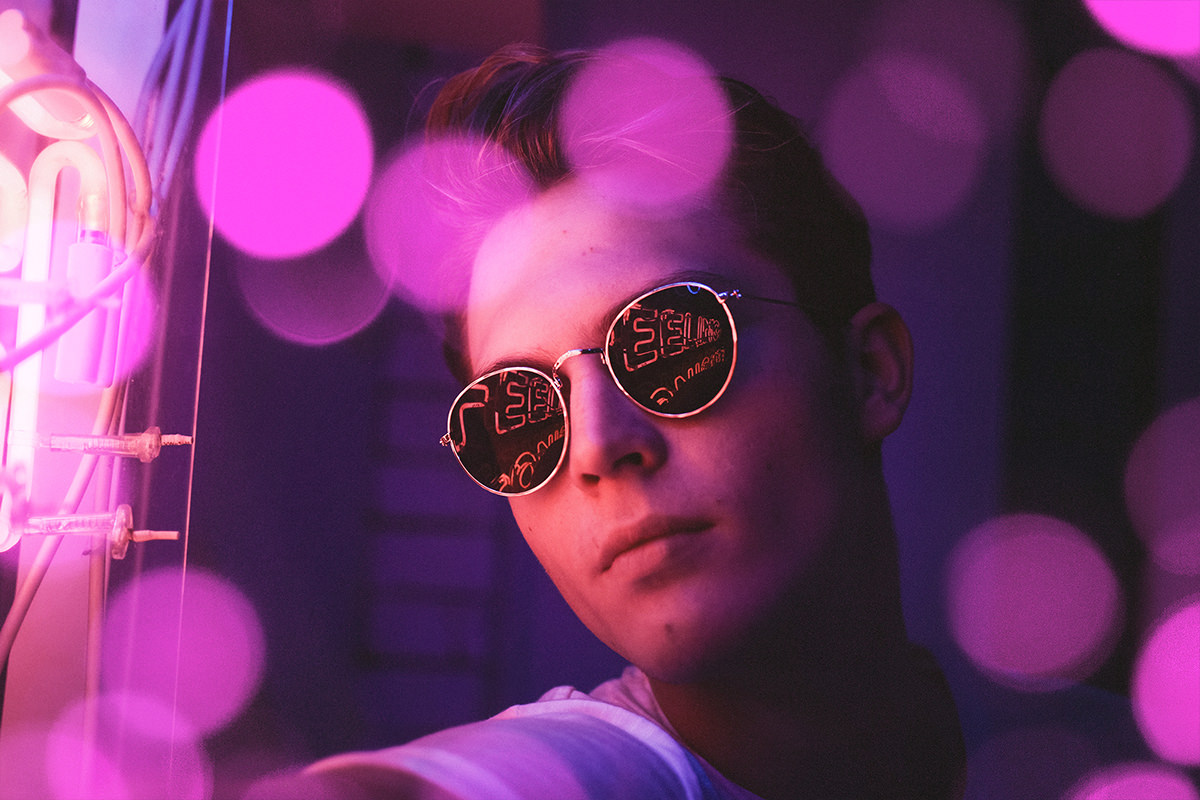
How to Add Bokeh to Your Images in Photoshop
Adding bokeh — those soft, glowing circles of out-of-focus light — to a photo takes only two ingredients: your image, and a photo of bokeh itself. Once the two are combined with a single blending mode, the whole effect becomes endlessly adjustable in color, position, and intensity, all without ever touching the original photo destructively.
Getting Started: Finding a Bokeh Texture
A good bokeh texture is simple to spot and even simpler to find or make yourself.
-
Find or Photograph a Bokeh Texture
Search a free stock photo site like Unsplash for “bokeh,” or photograph your own by switching your camera to manual focus, throwing it well out of focus, and photographing a light source. A good texture has a black background with bright, colored circles of light on top of it.
-
Bring the Bokeh Texture Into Your Image
Use the Move Tool to click and drag the bokeh texture directly into your main image’s document.
Sizing the Texture to Fit Your Frame
A bokeh texture rarely arrives at exactly the right size, but because it’s just a texture rather than a detailed subject, it tolerates a lot of stretching without any visible quality loss.
-
Scale the Texture to Cover Your Frame
Press Ctrl + T on PC (Cmd + T on Mac) and drag the corner handles until the texture fills the areas of the frame where you want bokeh to appear. Don’t worry about stretching it out of its original proportions — a texture like this holds up fine.
Removing the Black Background with Screen Mode
The black background behind the bokeh circles needs to disappear so only the glowing light shows through onto the photo underneath.
-
Change the Blending Mode to Screen
Change the bokeh layer’s blending mode from Normal to Screen. Screen mode hides black completely while keeping lighter areas visible, so only the bokeh circles remain visible over your photo.
Matching the Bokeh’s Color to Your Image
A stock bokeh texture usually comes in a mix of colors that won’t automatically match the color palette or lighting of your specific photo.
-
Colorize the Bokeh Layer
Press Ctrl + U on PC (Cmd + U on Mac) to open Hue/Saturation, check Colorize, and raise the saturation. Adjust the hue slider until the bokeh’s color complements your image’s existing light or color cast, rather than clashing with it.
Repositioning and Flipping the Texture for Better Placement
Because it’s just a texture, the bokeh layer can be freely flipped, moved, and duplicated to land exactly where it looks best.
-
Flip the Texture to Try Different Compositions
Press Ctrl + T on PC (Cmd + T on Mac), right-click, and try Flip Horizontal and Flip Vertical in different combinations to see which placement works best against your subject — there’s no cost to experimenting, since it’s just a texture. If the lights land over your subject’s eyes, flip it again.
-
Move Individual Bokeh Circles with the Clone Stamp Tool
Select the Clone Stamp Tool, set its Sample option to Current Layer, hold Alt on PC (Option on Mac) to sample an area with bokeh, then paint it in wherever you want more light. Sample an empty, dark area the same way to remove a circle of bokeh you don’t want.
Why Current Layer Sampling Matters Here
Setting the Clone Stamp’s Sample option to Current Layer, rather than the default of sampling all visible layers, means you’re duplicating bokeh circles from the texture layer itself rather than accidentally cloning your subject’s face or background into the mix.
Fine-Tuning Brightness with Levels
Even after Screen mode removes most of the black background, a faint trace can sometimes remain, and the overall bokeh brightness may still need adjusting.
-
Deepen the Black Point to Hide Remaining Background
Press Ctrl + L on PC (Cmd + L on Mac) and drag the black point slider to darken the background further if any of it is still faintly visible.
-
Adjust the White Point to Control Bokeh Brightness
Drag the white point slider to make the bokeh circles themselves lighter or darker until they blend naturally with your image’s existing light levels.
Both Sliders Work Together
Adjusting the black point and white point aren’t separate fixes for separate problems — moving both together, checking the result after each small change, gets a more natural blend than pushing either slider to an extreme on its own.
Adding More Bokeh and Cleaning Up Overlap Lines
A single pass of bokeh often isn’t enough, and duplicating the layer for a second pass can occasionally introduce a visible seam that needs masking away.
-
Duplicate the Layer for More Bokeh
Press Ctrl + J on PC (Cmd + J on Mac) to duplicate the bokeh layer, then move the copy to add a second layer of light in a different area.
-
Mask Away Any Visible Seam
If a hard edge or line shows where a texture layer was scaled or repositioned, add a layer mask and paint black over that line to hide it.
Building Up Several Layers Without Overdoing It
It’s tempting to keep duplicating bokeh layers once the effect starts looking good, but too many overlapping layers of light can quickly overwhelm a photo. Check the overall image at full view after each added layer rather than judging each one zoomed in on its own.
Common Mistakes to Avoid With This Technique
The most common mistake is leaving the bokeh texture in its original mixed colors instead of colorizing it to match the photo’s existing light — uncolorized bokeh tends to look pasted-on rather than like a natural part of the scene. The second is forgetting to set the Clone Stamp’s Sample option to Current Layer when repositioning bokeh circles, which risks cloning content from the wrong layer entirely. If part of the effect looks too intense over a subject’s face or forehead, scale or reposition that section with Free Transform. Aaron presses Ctrl + T (Cmd + T on Mac) and scales the texture up until the lights are no longer all over the face.
Why This Technique Works
This effect works because a bokeh texture is really just light information on a black background, and Screen mode is built specifically to hide black while preserving everything lighter — there’s no manual selection or masking required to separate the two. Colorizing the layer afterward is what keeps the effect from looking like an obviously separate stock photo dropped on top; matching its hue to the existing scene ties it into the image’s overall color story instead of fighting against it. Because the whole thing stays on its own layer, every later adjustment — repositioning with the Clone Stamp, brightening with Levels, adding a second duplicated pass — happens without ever risking damage to the original photo, which is the same underlying logic behind How to Master Blending Modes in Photoshop more broadly.
Final Thoughts
Bokeh is one of the fastest ways to add a sense of atmosphere and dimension to an otherwise flat photo, and once the Screen-plus-colorize combination feels familiar, building up several layers of it becomes almost playful rather than technical. The same underlying approach — a texture, a blending mode, and a color match — extends naturally to other light-based effects, including more involved compositing work like a dispersion effect once this feels comfortable.
Quick Reference: Keys, Menus and Settings
- Combine the imagesMove Tool, drag the texture onto the photo; Cmd/Ctrl + T and drag the corners to fill the frame
- Drop the blackLayers panel blending mode: Normal > Screen
- Match the colorCmd/Ctrl + U, check Colorize, Saturation up, Hue to match the photo
- Flip itCmd/Ctrl + T, right-click > Flip Horizontal or Flip Vertical
- Move a circleS for the Clone Stamp, Sample: Current Layer, Alt/Option-click to sample, then paint
- Blend with LevelsCmd/Ctrl + L, black point right to hide the background, white point left to brighten
- Add moreCmd/Ctrl + J, move the copy, mask any line with black
Free Downloads
Follow Along on the Same Photos
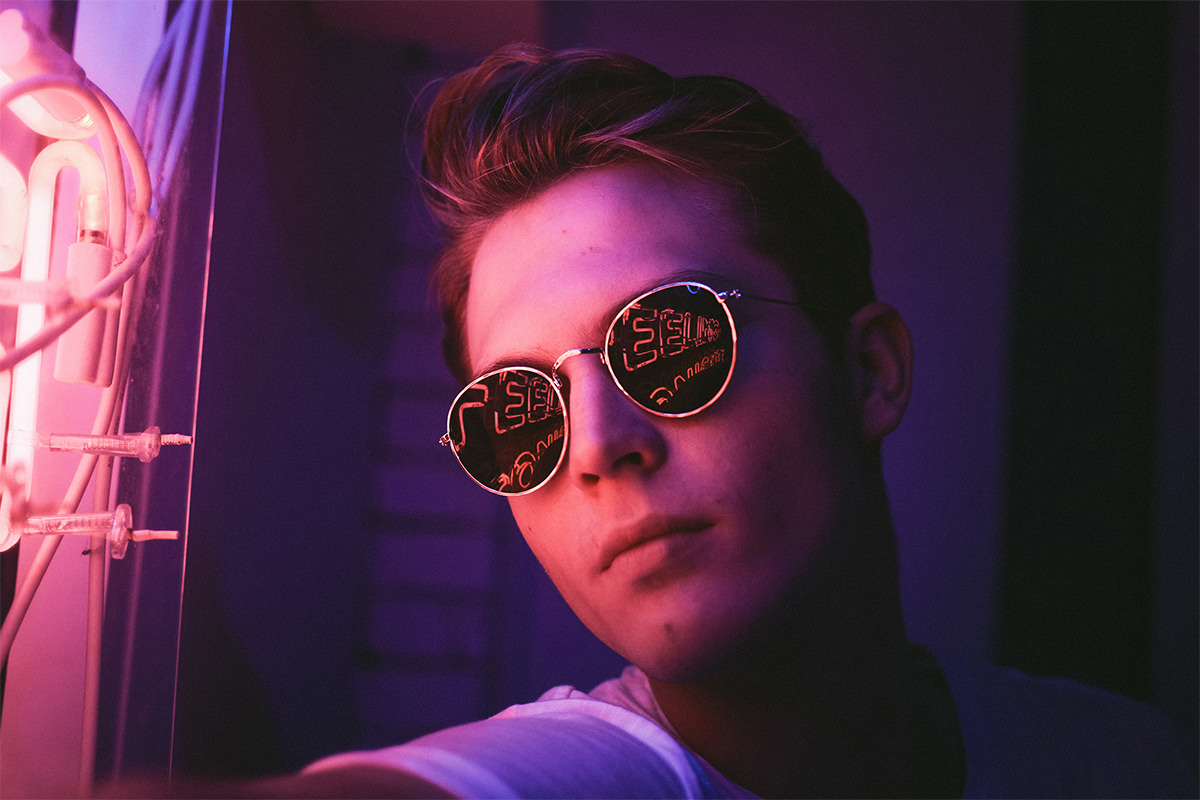
Get the portrait with the magenta neon light and the bokeh texture used in the video, plus the 3-page PDF guide. Free with a PHLEARN account.
Adding Bokeh in Photoshop: Common Questions
What do I need to add bokeh to a photo?
One of your photos and a photo of bokeh: a texture with a black background and colored lights on it. Find one on a free stock site like Unsplash, or shoot your own by switching to manual focus, making it super out of focus and photographing lights.
How do I get rid of the black background on a bokeh texture?
In the Layers panel, change the texture layer’s blending mode from Normal to Screen. Screen makes the blacks invisible and leaves only the lights.
Will stretching the bokeh texture lower its quality?
Not in a way you will notice. It’s just a texture, so press Cmd/Ctrl + T and drag the corners until it covers the frame, even if it doesn’t fit the image exactly.
How do I change the color of the bokeh?
With the texture layer selected, press Cmd/Ctrl + U for Hue/Saturation and check Colorize. Bring Saturation up a good bit, then drag the Hue slider until the bokeh picks up the colors already in your photo.
What if the bokeh lights cover my subject’s eyes?
Flip the texture. Press Cmd/Ctrl + T, right-click and choose Flip Horizontal or Flip Vertical, and try a few combinations until the lights sit where you like them.
How do I move or remove a single bokeh circle?
Use the Clone Stamp Tool (S) with Sample set to Current Layer in the options bar. Alt/Option-click a circle to sample it and paint it in somewhere new, or sample a spot with no bokeh and paint over the circle you don’t want.
Why can I still see the texture’s background after Screen mode?
A little of it can show through. Press Cmd/Ctrl + L for Levels and drag the black point slider to the right to hide it. Drag the white point slider to the left to make the lights brighter.
The bokeh looks too bright on my subject’s face. What do I do?
Press Cmd/Ctrl + T and scale the texture until the lights are no longer all over the face, then press Enter.
How do I add more bokeh without a visible line?
Press Cmd/Ctrl + J to duplicate the bokeh layer and move the copy somewhere new. If you see a line at its edge, add a layer mask and paint black over the line.
Are the sample files free?
Yes, with a free PHLEARN account. You get 2 sample images and 1 PDF guide: the portrait and the bokeh texture used in the video, plus the 3-page guide.
Master Photoshop, Lightroom and Photography
Join PHLEARN PRO for $12.99 a month or $99.99 a year. Cancel anytime, with a 100% money-back guarantee.





