
Download Sample Images
description
In part two of our Animating Gradients series, we show you how use After Effects to animate the text and gradients we made in part one. Learn how create a new After Effects Composition, apply a simple rotation effect to add colorful motion to the text, and then export the animation out as both an MP4 and GIF to share with others!
ANIMATING TEXT & GRADIENTS
- Part 1: Creating Text & Gradients in Photoshop
- Part 2: Animating Gradients in After Effects
Share

CREATE SIMPLE ANIMATIONS
Create Animations in After Effects
Getting Started in After Effects
If you haven’t used After Effects before, don’t worry! While this isn’t a full introductory course in the program, everything we’re doing is simple and geared towards beginners. Once you open After Effects, the first thing you’ll want to do is bring in the assets you’ll need to create the animation. Then we’ll get everything organized before creating the effect.
Importing Assets
Getting images and videos into After Effects is easy enough. There is a menu item for importing located under File, Import, and then by selecting the option appropriate for you. But we prefer to bring assets in using either Finder (Mac) or Explorer (PC) since it’s easier to navigate, and you can keep those windows open in the background as you work in case you need to grab additional files.
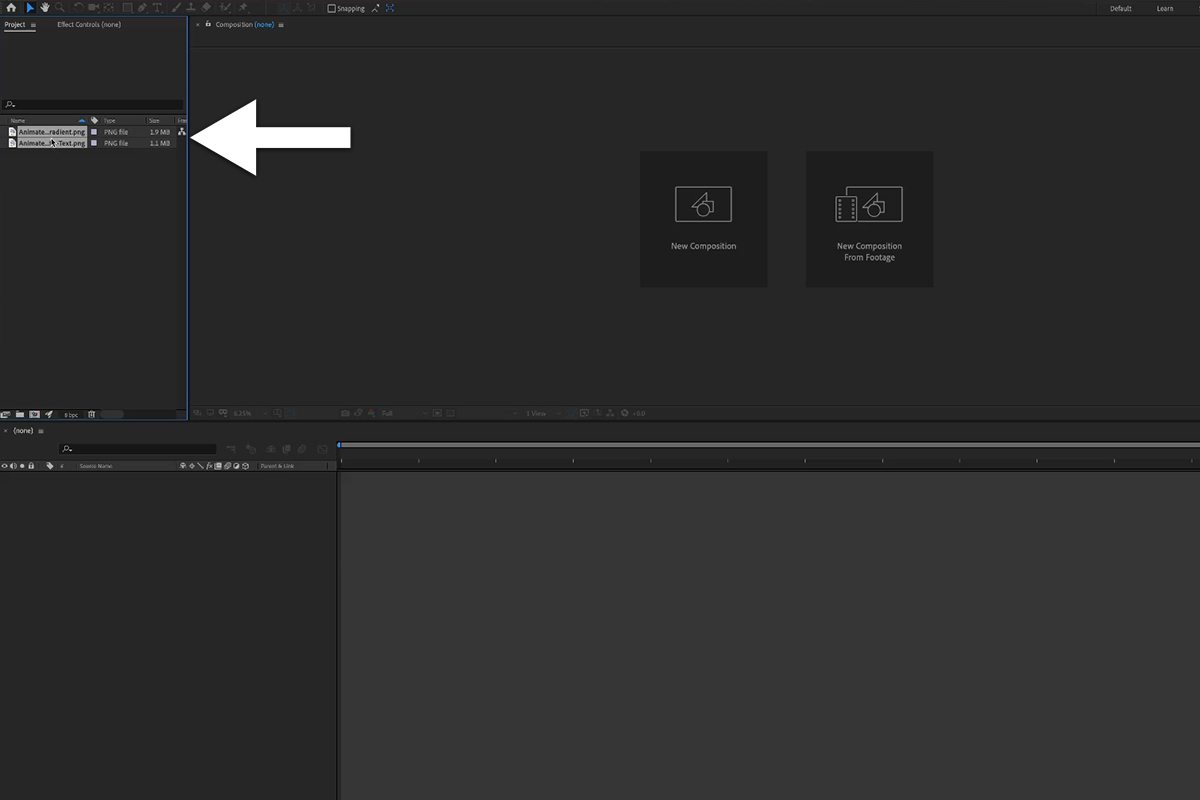
Using Finder or Explorer, navigate to the folder where you exported the text image and gradient image we created in part one (The completed files are also available in the download above.) Select both images and then simply click and drag them into the Project Panel on the left side of the After Effects user interface.
Perfect!
Creating Your First Composition & Getting Organized
Now, we’re not working with a ton of assets but it’s still important to keep things organized. You never know when a small project might balloon into something larger and more complex–especially in instances like this where you’re learning and experimenting!
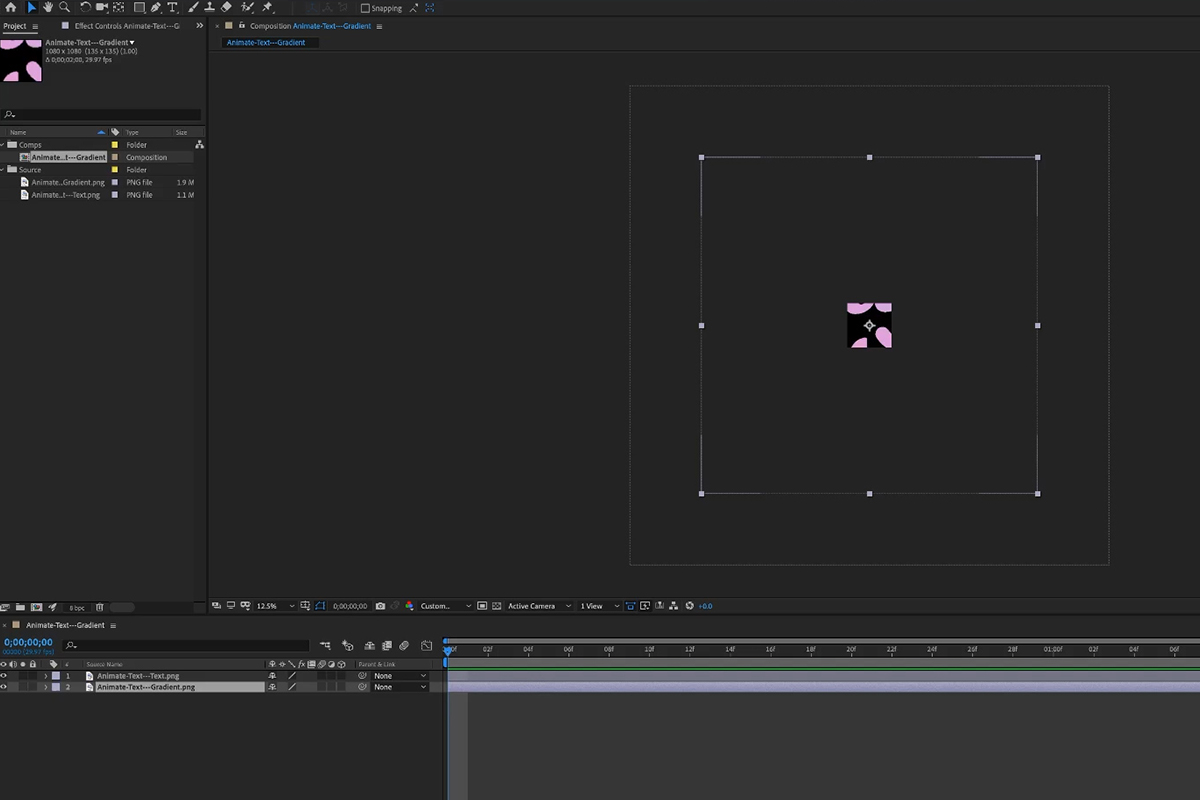
Right-click in the Project Panel to create a new folder. Make a new folder titled ‘Source’ and a new folder titled ‘Comps’. Source is a common way to describe all of the assets used in a project–in our case the images. Comps is After Effects lingo for a single scene or animation.
Next, select the gradient and text images in the Project Panel and click and drag them down to the left side of the Timeline Panel below. Once you do, a new Composition will be created. This is where we’ll be combining our assets and applying effects to make an animation. A dialog box will appear where you can name the Composition and set it up with the appropriate settings, but all of these things can be adjusted later if needed.
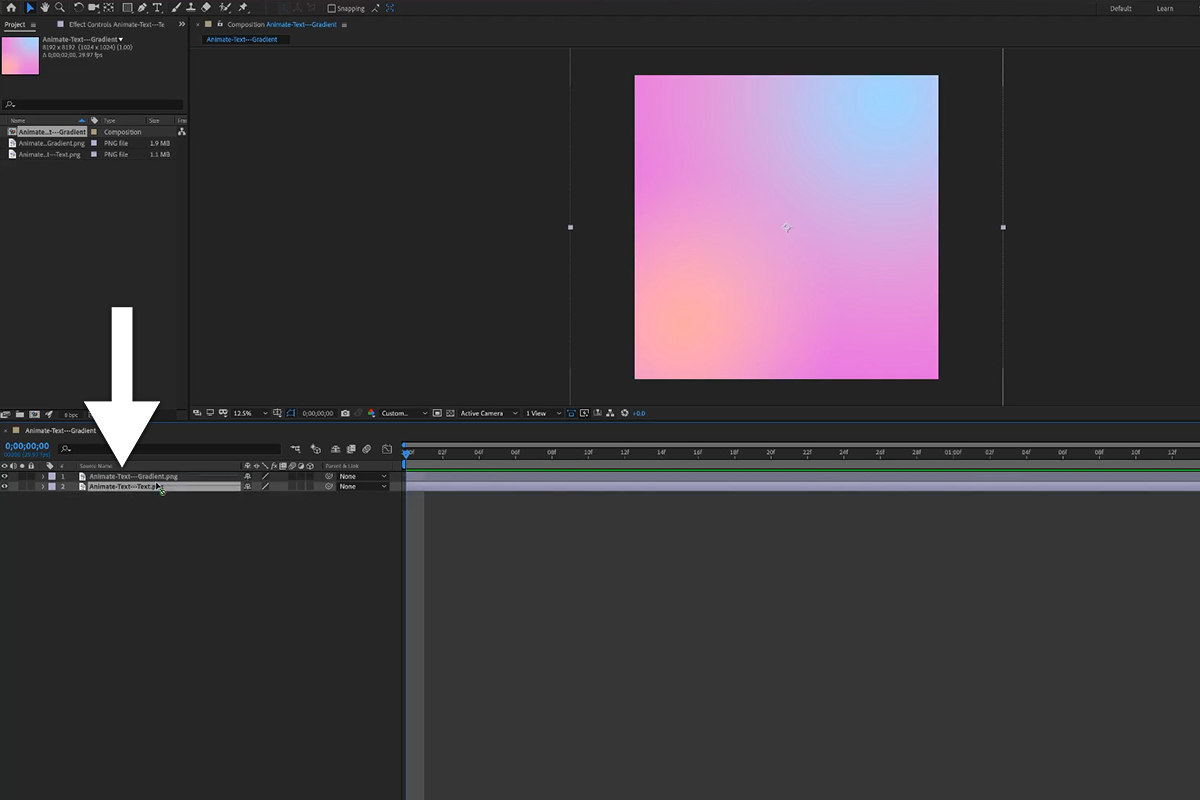
You’ll also notice the Composition has appeared in the Project Panel. Excellent. Let’s finish organizing everything by dragging the Composition into the Comps folder we created and the two images into the Source folder we created. Now we’re ready to start animating!
Animating in After Effects
We said that we were going to keep things simple and we are. Animation and motion can be as deep and complex as you want it to be but, since we’re learning, let’s just use this as an opportunity to get familiar with how After Effects works and get an idea of how creating motion works.
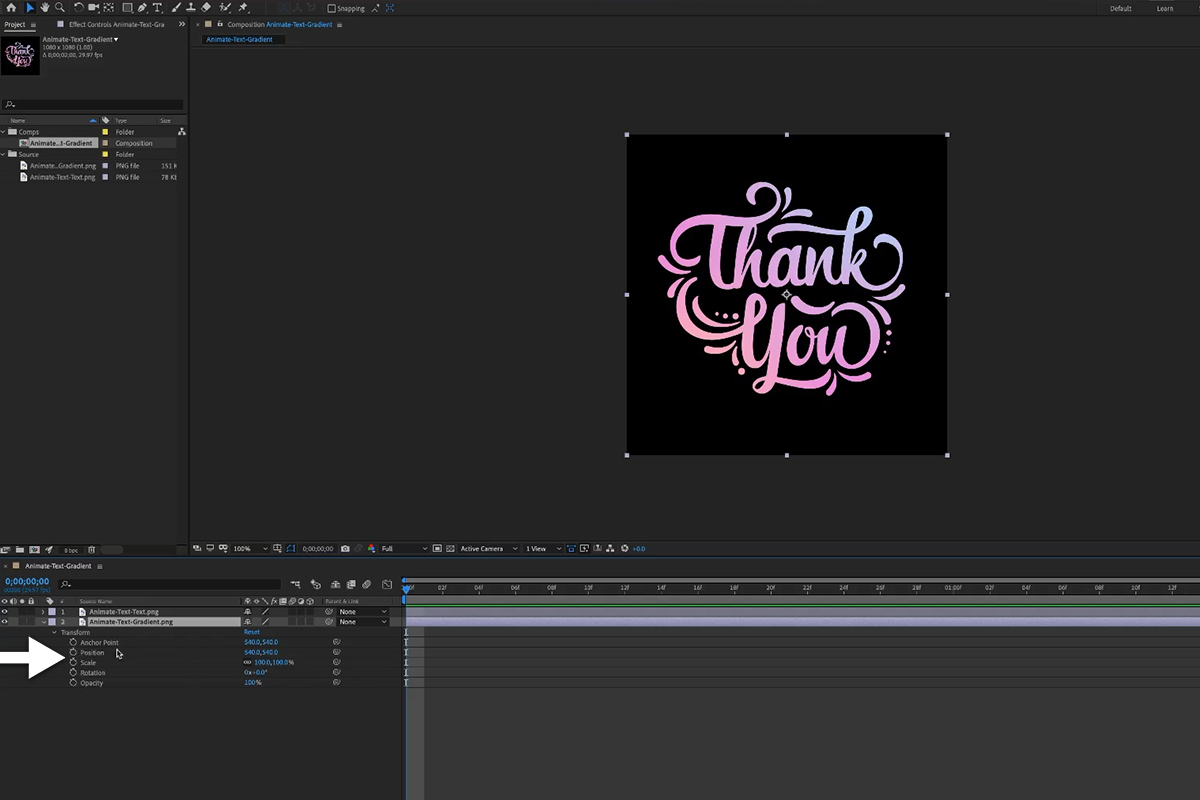
In our example, the only asset we need to apply any motion effects to is the gradient. The gradient can be set to move however we want it to create a nice colorful animation within the text. Before going further, the top-to-bottom order of the assets in the Timeline Panel will matter. Similar to Layers in Photoshop, assets at the top will be stacked on top of any assets below. Make sure that the text image is on top and that the gradient image is just below.
Great! Now let’s talk about keyframes.
Understanding Timelines & Keyframes
Keyframes and timelines are foundational tools for video and animation. A timeline displays how all of your assets appear over time. If you’ve been following along, the two image assets we moved to the Timeline Panel have been added to the video timeline just to the right of where we dropped them. Since they’re images, After Effects set them to display for the entire duration of the animation. If we were to export right now, our ‘video’ would just display our stacked, static images for the entire 2-second duration. If we dragged the endpoints of each asset on the timeline to 1 second and then exported, the video would be 1 second of our images followed by 1 second of a black screen. By adjusting the length of each asset on the timeline, we can control when it appears in the video.
Alright, so how do we add motion? With keyframes!
Click the drop-down arrow just to the left of the filenames in the Timeline Panel and you’ll see a Transform drop-down. Clicking that will reveal a handful of attributes that can be adjusted, like scale, rotation, and position. Like in Photoshop, these allow us to transform text, an image, a video–whatever sort of asset you’re working with. But keyframes allow you to take those transformations even further. Keyframes give you the ability to control when these transformations are made. Not only that, they also allow you to control how long a transformation takes.
Clicking the stopwatch icon to the left of an attribute will add a keyframe into the timeline wherever the marker (the blue vertical line) is positioned. Let’s say you create a Scale keyframe at the start of timeline set the scale attribute to 0%. Then you create another Scale keyframe at the end of the timeline and set the Scale attribute to 100%. The video will begin with that asset at a scale of 0, making that asset invisible. The video ends with the asset at 100% of its normal size. After Effects will automatically fill in the gaps, creating a smooth progression in-between. If you export and play the video, you would see that asset appear and grow until it finally hits full-size at the end. An animation!
Let’s use these basics to create our gradient animation.
Creating our Animation
Back to our example, let’s focus on adding a motion effect to the gradient image. Click the drop-down arrow to the left of the filename in the Timeline Panel. Click the drop-down arrow next to Transform. We’re going to focus on the Rotation option. Click and drag the blue line marker on the video timeline to the very beginning; 0:00f. Next, click the stopwatch icon next to the Rotation attribute of the gradient image. Don’t worry about changing the Rotation though, we can leave it at zero. The magic happens when we create the keyframe at the end!
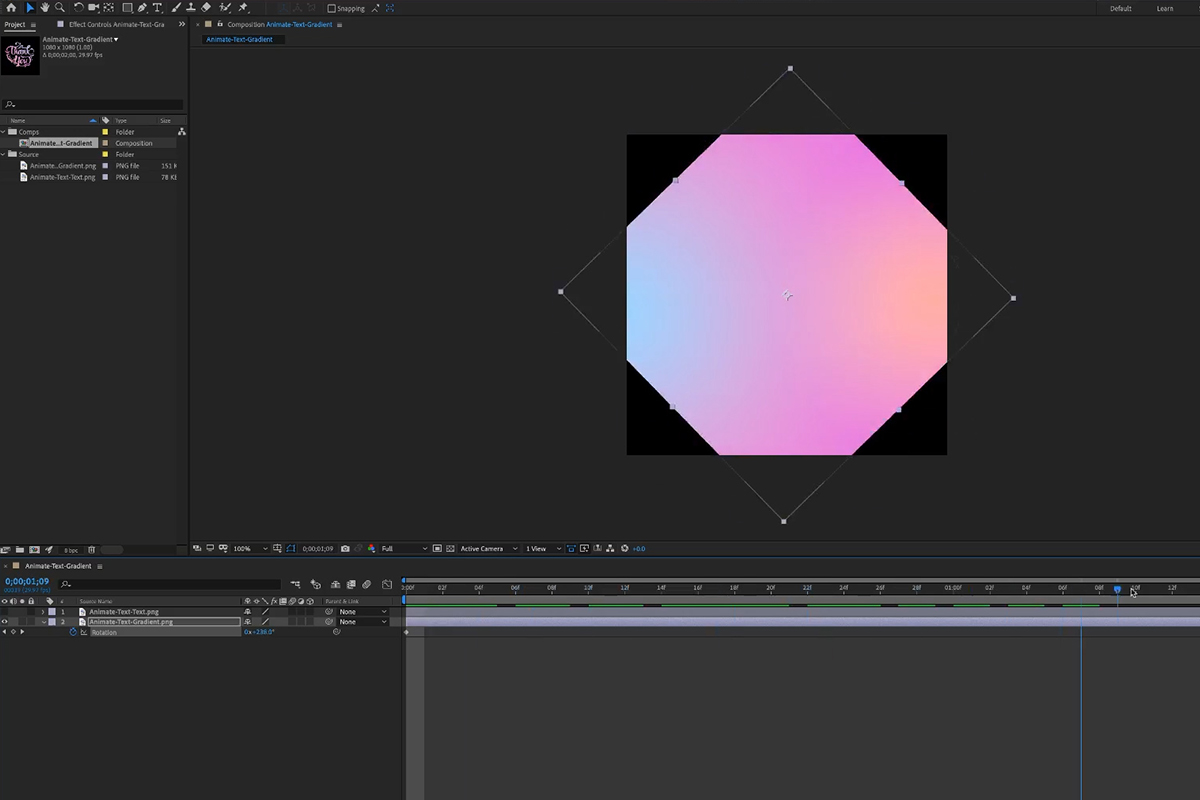
Click and drag the blue line marker to the end of the video timeline. Add another Rotation keyframe, but this time set it to 360. We just told After Effects to rotate the gradient image one full revolution over the duration of the video. Watch the preview and you should see the gradient image start at the default position, and then rotate for the entire duration of the video before finally getting back to its starting position at the very end. Animation complete!
Exporting in After Effects
Let’s share our animation with the world! Make sure the Composition is selected and active, then click the Composition menu at the top of program and select Add to Adobe Media Encoder Render Queue (And make sure to have Adobe Media Encoder installed.) Adobe Media Encoder will appear with our Composition listed in the top right panel. Here we can select the filetype, bitrate, and folder where the final video will be placed.
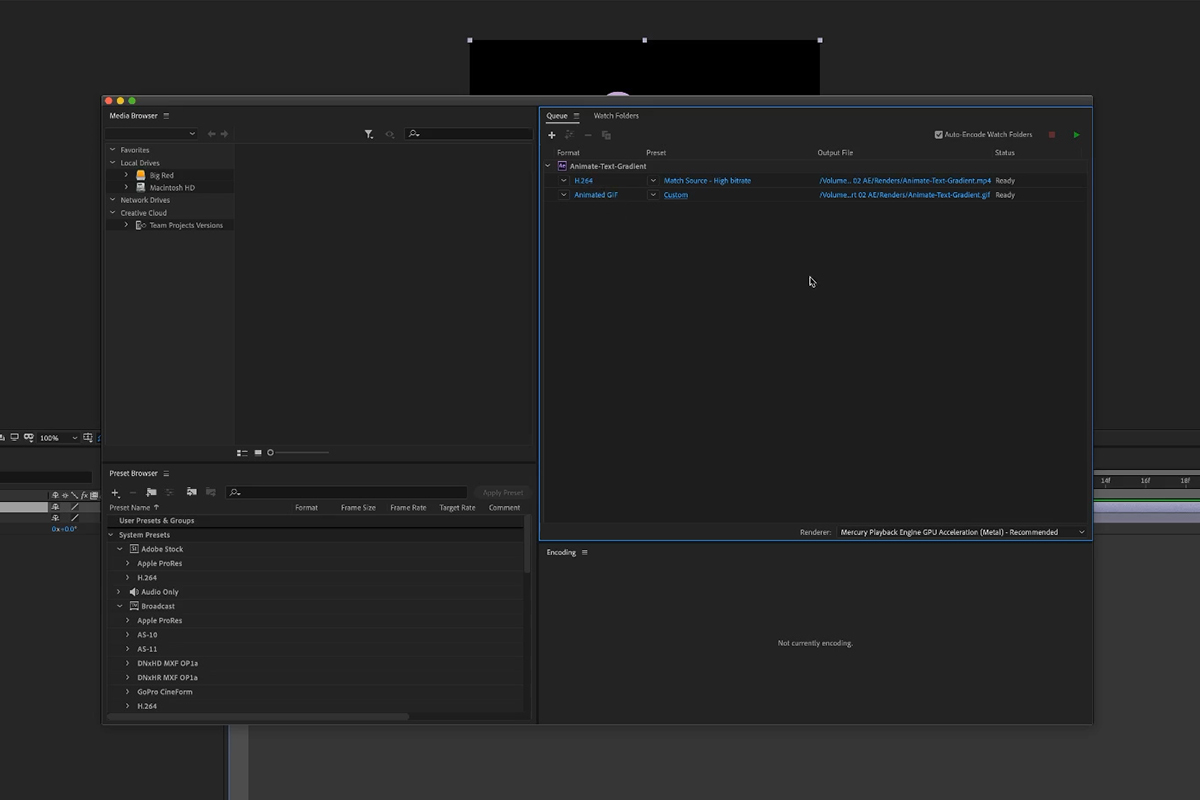
For MP4 videos, which is the most common video filetype, choose the H.264 option. You can also create in Animated GIFs as well! Just select the Animated GIF option from the filetype drop-down menu. Once you’re ready, hit the green play button in the top right corner and Media Encoder will begin the process of rendering your video!
Want even more After Effects? So do we! That’s why we created Advanced Compositing with Stock Images in Photoshop and How to Animate a Composite Image in After Effects! Learn how to take 19 free stock photos, create an out-of-this-world fantasy composite, and then animate that composite image in Adobe After Effects.


