
Download Assets
Download Assets
This tutorial includes 4 sample images, 4 sample PSDs and 1 PDF guide. Downloads are free with a PHLEARN account.
- Download the sample images and PSDs from every free tutorial on PHLEARN
- New free tutorials published every week
- One free account — sign up once, then download anything
Free PDF Guide · 4 Pages
This Tutorial as a Step-by-Step PDF
Walks through four examples with the Lasso Tool and Generative Fill: removing a bun with an empty prompt before long hair, removing a hat and its shadow, adding a mustache then a full mustache, and a fancy haircut and blue hair, with the same prompt on each section. Keep it next to your keyboard.
description
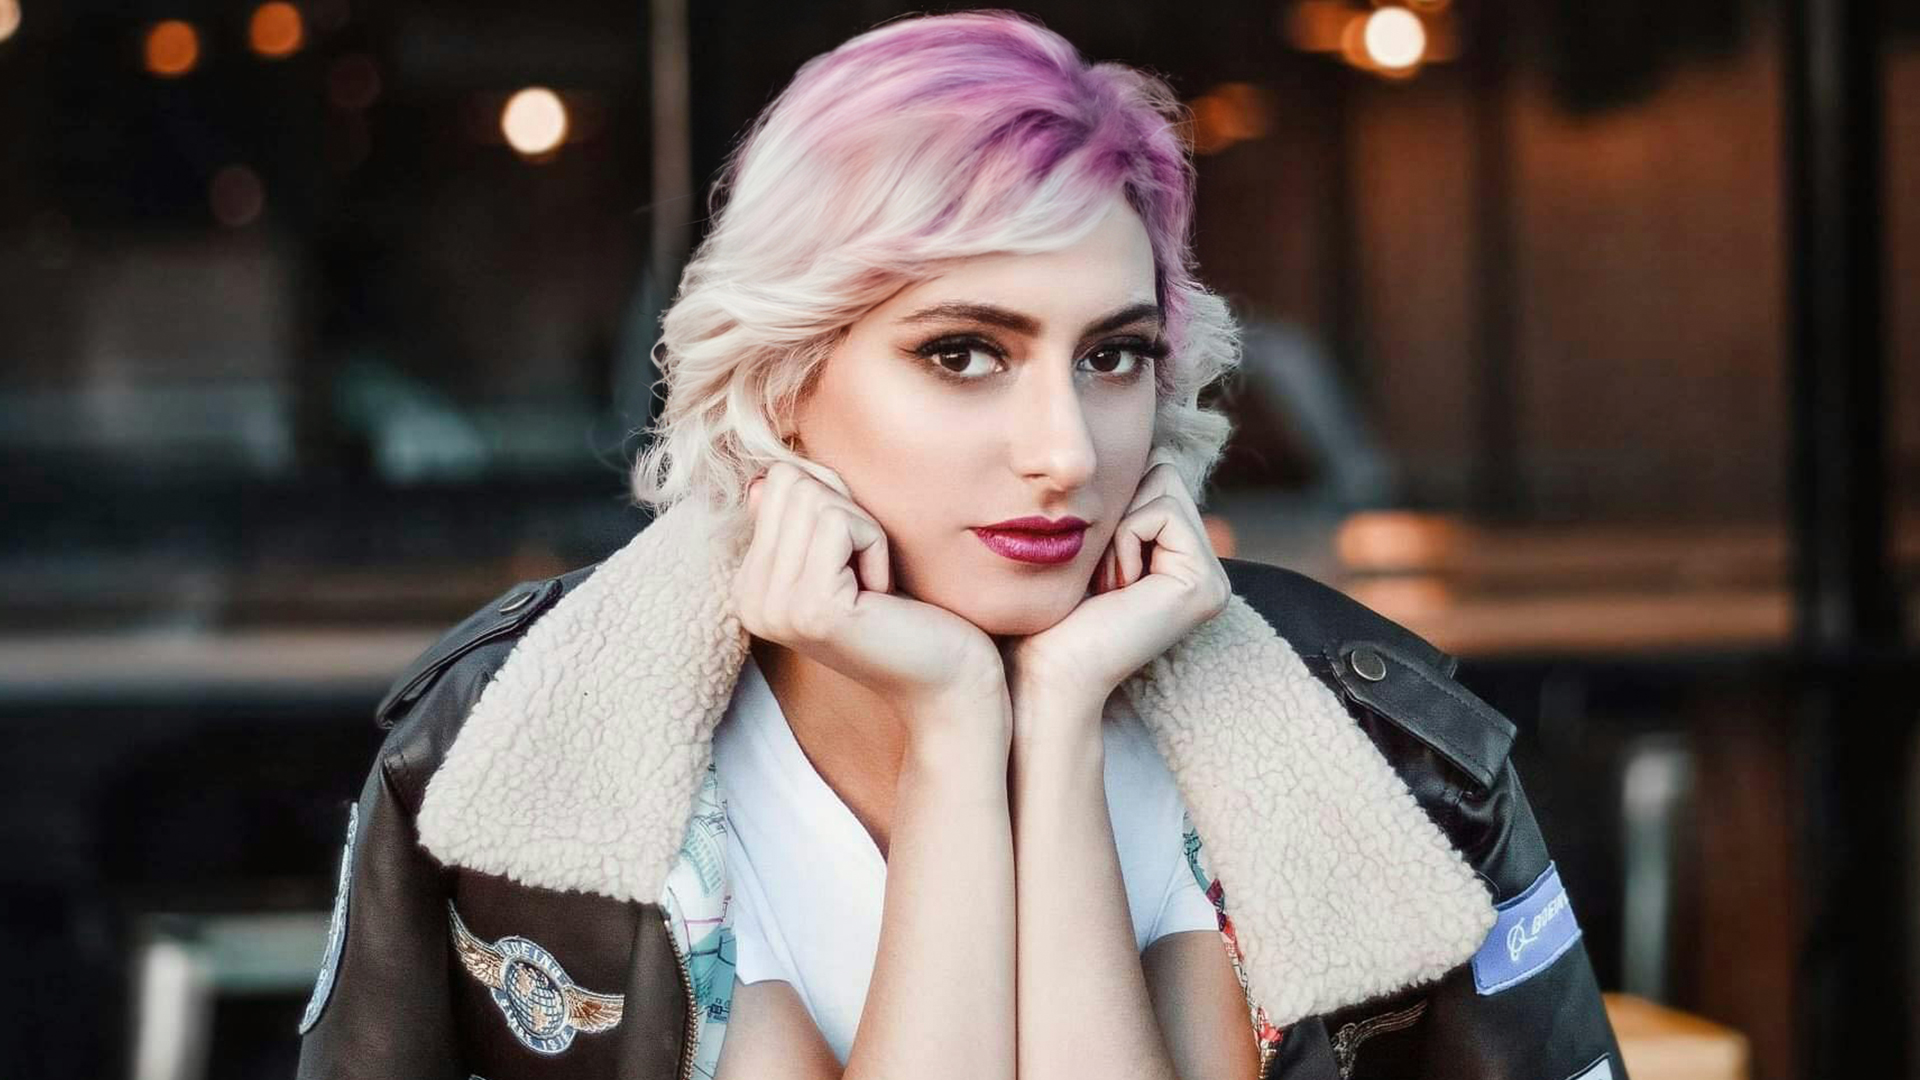
Change hairstyle using AI in Photoshop and the order matters: clear the old shape first, then generate the new cut, because Generative Fill works from what is already there. In this tutorial we’ll show you how to remove hats to reveal hidden styles, add mustaches or even funky dyed hair!
Enjoying This Free Tutorial?
We publish a new free tutorial every week, each one with sample images and PSDs you can download and follow along with. Sign up and they land straight in your inbox, along with early word on sales, events and subscriber-only offers.
Artist Credit
How to Change a Hairstyle Using AI in Photoshop
Trying out a haircut before you commit to it is a genuinely useful thing to be able to do — and one of the more practical uses for Generative Fill. Take a photograph of yourself, select the hair, describe what you want, and see it.
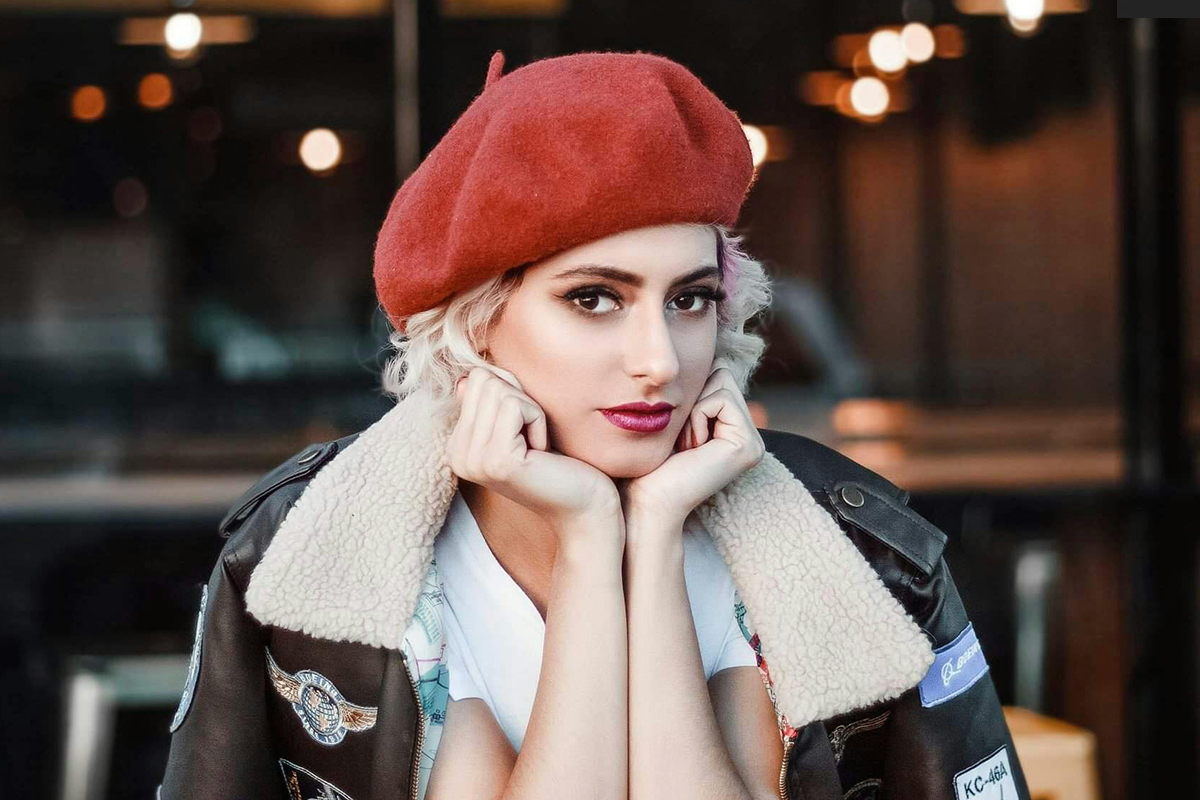
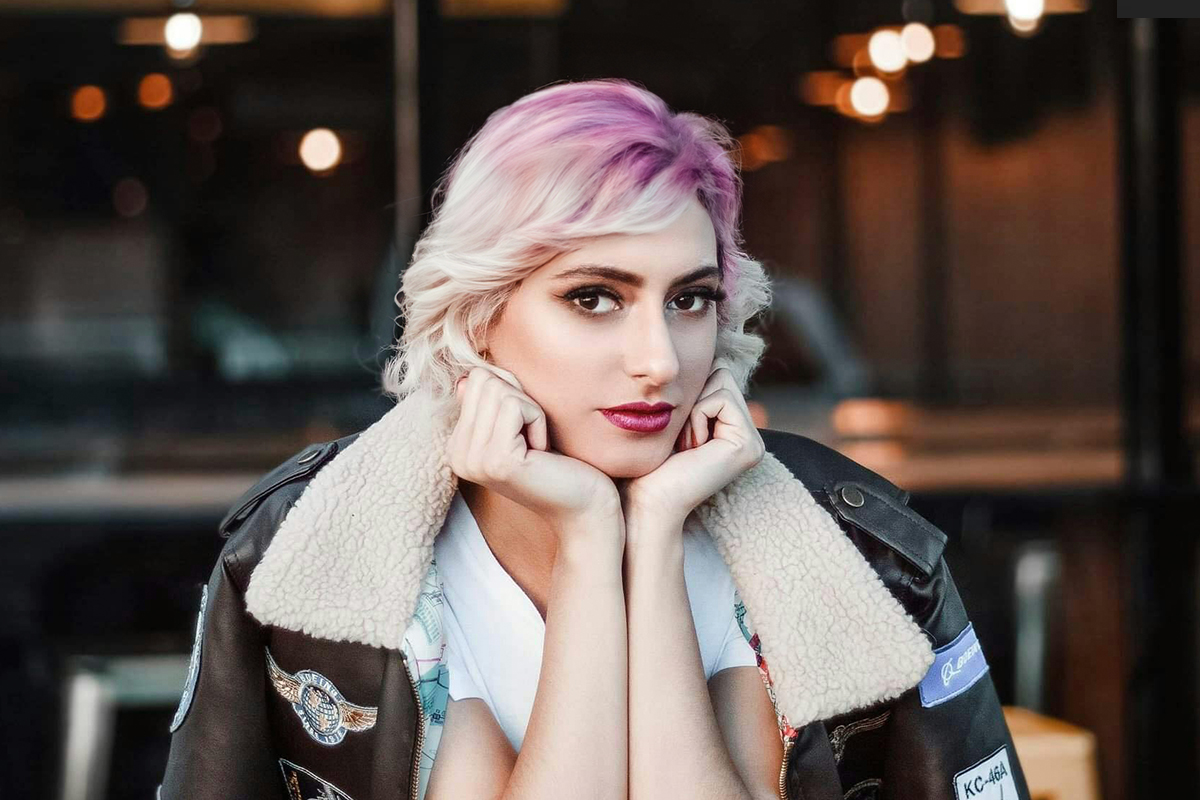
This tutorial works through four cases: turning short hair into long, removing a hat and generating the hair beneath it, adding facial hair, and changing both the cut and the color. Each one teaches something about how to select and how to prompt.
Change Hairstyle Using AI in Photoshop: Clear the Old Shape First
The first example takes hair in a bun and makes it long. The instinct is to select a long-hair shape and generate straight away, but there is a step before that.
The bun sticks out beyond the head. If you leave it there, it stays in the frame and fights whatever you generate. So remove it first:
— building the layered file first.
Change the Cut and the Color
The last case covers restyling.
Select the hair — in parts, holding Shift to add, if the shape is awkward — and prompt something like fancy haircut. Deliberately vague prompts work well here, because you are exploring rather than specifying.
Keep Separate Regions Consistent
If you treat one section and then want a nearby section to match, use the same prompt on the second selection. Photoshop reads the surrounding image each time, so the already-restyled area informs the new one and the two come out consistent. Different wording on adjacent areas is how you end up with a mismatch.
For color, select the hair and prompt the color directly — blue hair. Same mechanic, and it is the fastest way to find out whether a color you are considering actually suits you.
Group your generative layers as you go. With several versions of the same photograph — a restyle, a color change, a mustache — groups keep them separable, and you can toggle between looks rather than committing to one.
What Makes the Difference
Clear protruding shapes before generating the replacement. Draw the silhouette you want rather than tracing what is there. Include shadows when you remove something. Exclude features you want kept. Leave room at the edges of every selection. Regenerate freely, and edit the prompt rather than the selection when the shape was right but the result was not.
And keep in mind what this is for. Previewing a haircut, a color, or a beard on your own photograph is a genuinely useful thing. Altering someone else’s appearance and presenting it as a real photograph of them is a different act entirely — worth being clear with yourself about which one you are doing.
Quick Reference: Keys, Menus and Settings
- Select the hairL for the Lasso Tool; Shift to add, Alt/Option to subtract
- Remove a bun or hatSelect it and its shadow, Generative Fill, Generate with an empty prompt
- Longer hairLasso the long shape joined to the real hair; prompt long hair
- Facial hairSelect above the lip, lips left out; prompt mustache, then full mustache
- New cutPrompt fancy haircut, then the same prompt on the next section
- New colorPrompt blue hair; Generate in the Properties panel for more options
Free Downloads
Follow Along on the Same Photos
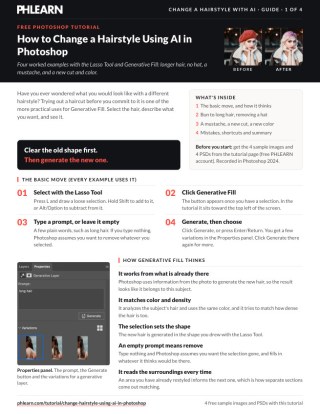
Get the four portraits, the four finished PSDs with each new hairstyle and the 4-page PDF guide with all four examples. Free with a PHLEARN account.
Changing Hairstyles With AI: Common Questions
How do I change a hairstyle in Photoshop with AI?
Press L for the Lasso Tool, draw the shape you want the hair to be, click Generative Fill, type a prompt like long hair and click Generate. Pick a variation in the Properties panel.
Why remove the bun before generating long hair?
It sticks out beyond the head and would fight the new hair. Lasso the bun, click Generative Fill and Generate with no prompt to shrink or remove it, then make the long-hair selection.
Should I trace the hair that’s already there?
No. Draw the silhouette you want, because the new hair is generated in that shape. Hold Shift to add to the selection and Alt/Option to subtract.
What happens if I leave the prompt empty?
Photoshop assumes you want to remove whatever is selected and fills in what it thinks would be there. That is how the hat was removed and the hair underneath appeared.
How do I remove a hat and show the hair under it?
Lasso the whole hat and include the shadow it casts, then Generate with an empty prompt. A little pink hair showed under the beret, and Photoshop extended that pink into the new hair.
Can I add a beard or mustache?
Yes. Select above the lip with some room, keeping the lips out of the selection, and type mustache. Photoshop matches his hair color and density; type full mustache for more hair.
How do I make two sections of hair match?
Use the same prompt on the second selection. Fancy haircut was used on both parts, and Photoshop kept the same color and style because it reads the surrounding image each time.
Can I preview a new hair color?
Yes. Select the hair and name the color, such as blue hair, then click Generate for more options. It is a quick way to see a color on your own photo before you dye.
How do I compare different looks?
Group the generative layers for each look in the Layers panel. Then toggle the groups to switch between the restyle, the color change and the original.
Are the sample files free?
Yes, with a free PHLEARN account. You get 4 sample images, 4 sample PSDs and 1 PDF guide: the four portraits, the finished files and a 4-page step-by-step guide.
Master Photoshop, Lightroom and Photography
Join PHLEARN PRO for $12.99 a month or $99.99 a year. Cancel anytime, with a 100% money-back guarantee.





