
Download Assets
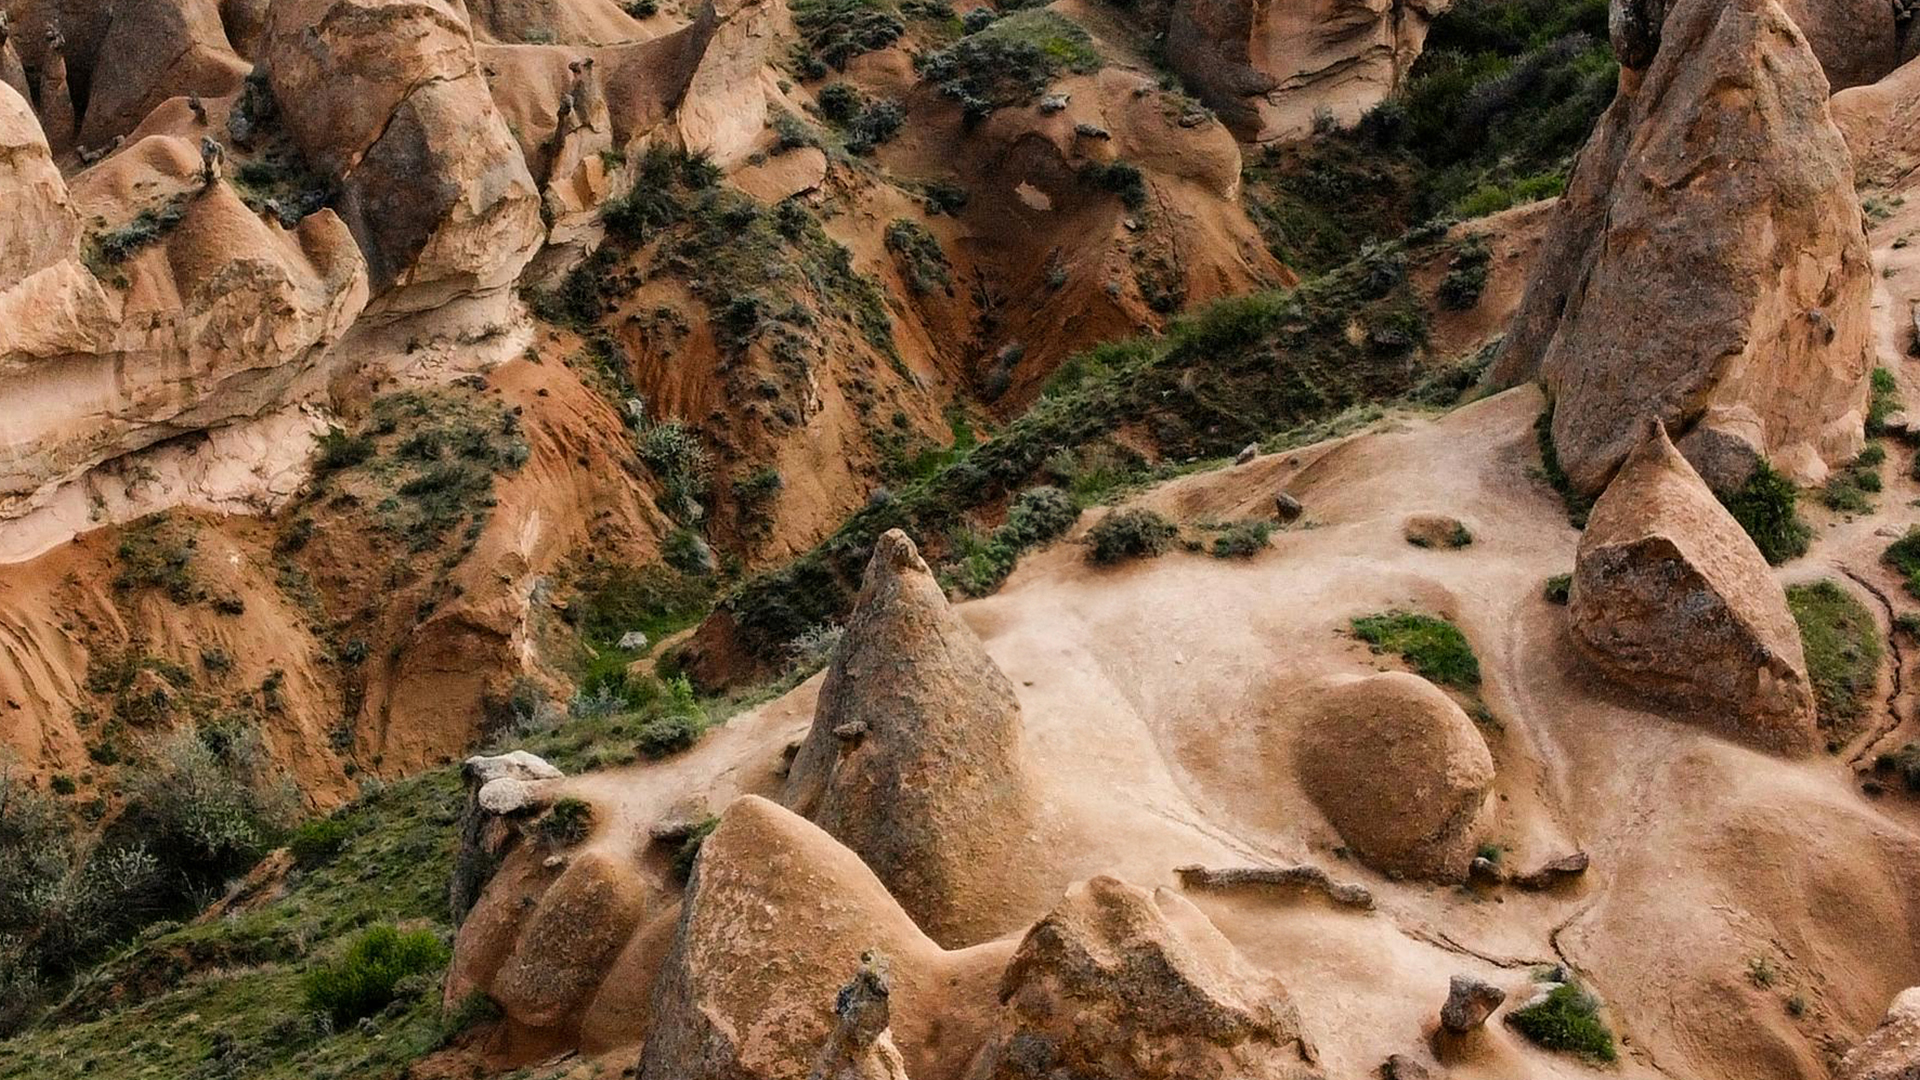
This tutorial includes 2 sample images, 2 sample PSDs and 1 PDF guide. Downloads are free with a PHLEARN account.
- Download the sample images and PSDs from every free tutorial on PHLEARN
- New free tutorials published every week
- One free account — sign up once, then download anything
Free PDF Guide · 3 Pages
This Tutorial as a Step-by-Step PDF
Walks through both selection methods: the Lasso Tool (L) with Shift to collect every group, and Quick Mask (Q) with the Brush (B) at 100% Opacity and Flow, the crucial invert step, then Generative Fill with the prompt left empty, painting shadows and gear, and checking the result. Keep it next to your keyboard.
description
Remove people from landscape photos with two methods and a rule: painting the area beats selecting it precisely, because Generative Fill needs room to work.
Frustrated by unwanted people in your breathtaking landscape photos? This Photoshop tutorial is here to save the day! Learn how to erase photo bombers using our two favorite methods: the Lasso Tool for quick fixes on simple scenes, and the powerful Quick Mask Mode for intricate landscapes with many people.
Enjoying This Free Tutorial?
We publish a new free tutorial every week, each one with sample images and PSDs you can download and follow along with. Sign up and they land straight in your inbox, along with early word on sales, events and subscriber-only offers.
Artist Credit
- emre ozqe
- Tolga Erbay
Images sourced from Pexels.
How to Remove People from Landscape Photos in Photoshop
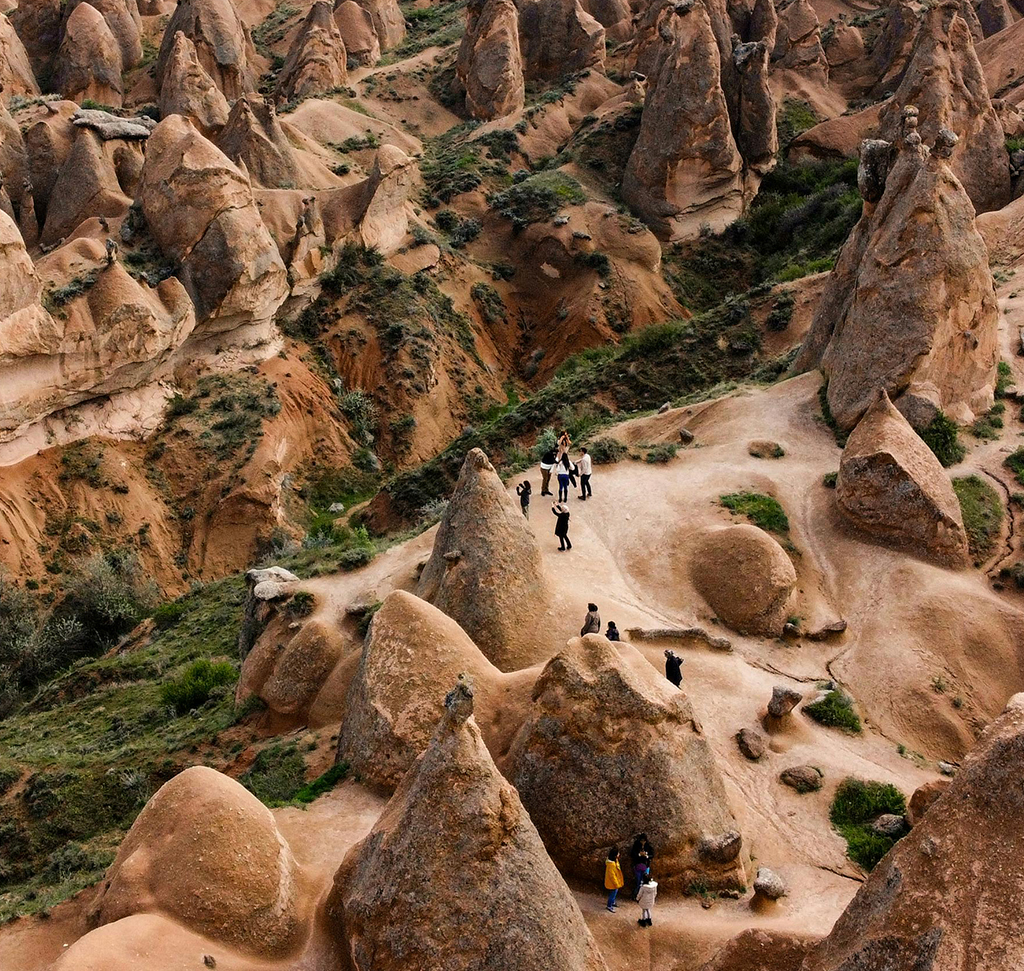
You hiked in before sunrise, you found the composition, the light did what you hoped it would — and there are fourteen other photographers standing in your frame. Popular landscapes are popular for a reason, and the busiest hour is usually the best hour.
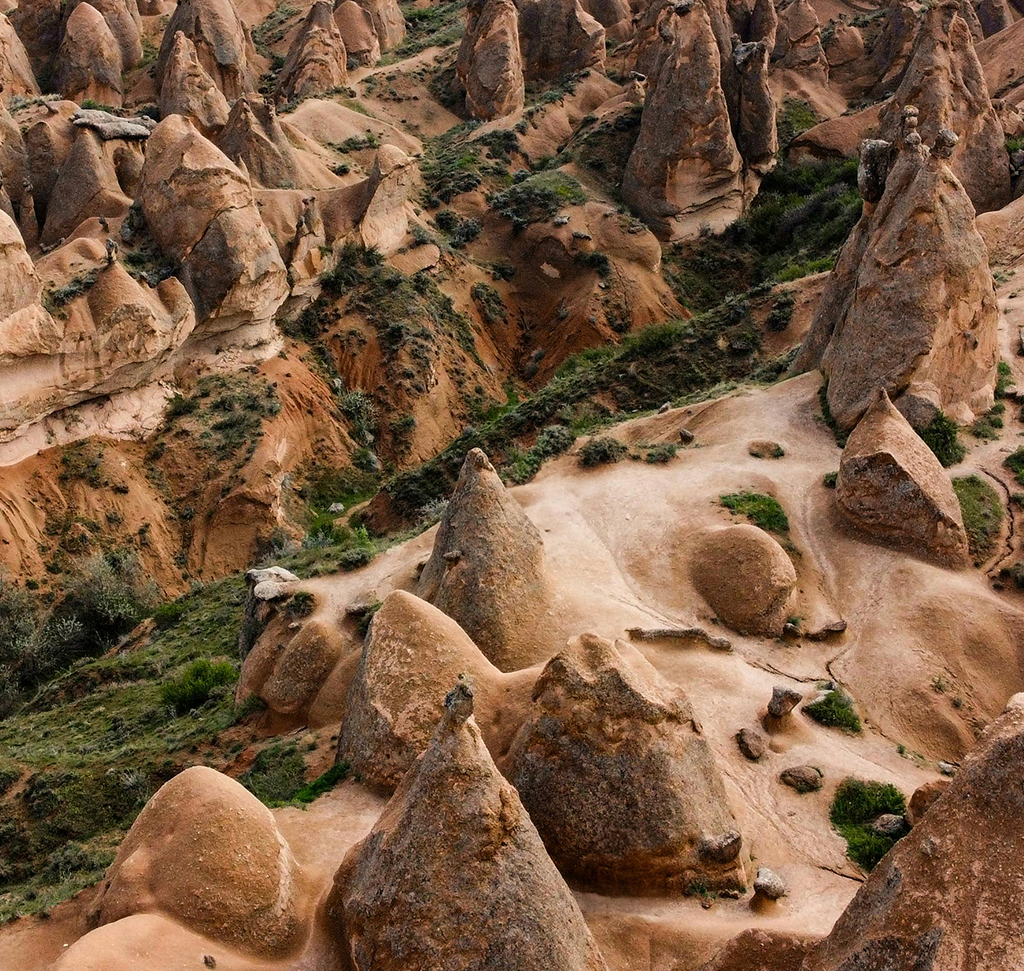
Generative Fill removes them, and it does it well. What follows are two approaches: the Lasso Tool for a handful of people, and a Quick Mask technique for photographs so crowded that selecting individuals would take longer than the hike did.
Method One: The Lasso Tool
When there are only a few groups scattered through the frame, the Lasso is the fastest route.
-
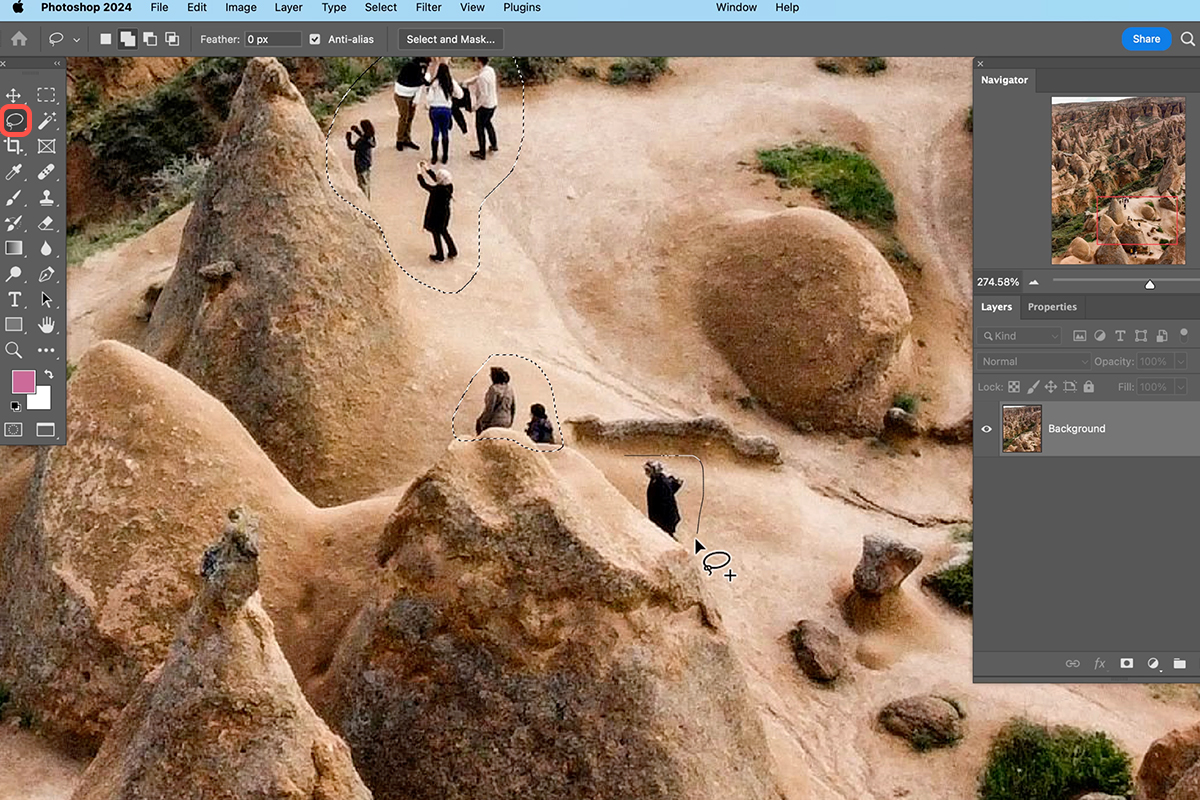
Grab the Lasso Tool
Press L, or pick it from the toolbar.
-
Draw loosely around the first group
Precision is not required. A rough loop that includes some surrounding ground is better than a tight tracing — Generative Fill needs a little context around what it is replacing.
-
Hold Shift and add the rest
Shift adds to the selection, so you can circle every group in the frame before doing anything else. One pass, one operation.
-
Click Generative Fill and leave the prompt blank
Generative Fill is in the Contextual Task Bar. Do not type anything — just click Generate. With an empty prompt, Photoshop fills the selection with whatever the surroundings suggest belongs there, which for a landscape means more rock, more water, more grass.
A few seconds later the people are gone and you have several variations to choose from in the Properties panel. Cycle through and pick the one whose texture matches the surrounding area best.
Why an Empty Prompt Works Better Here
It is tempting to type “rocks” or “empty beach” into the prompt box. Do not. A prompt tells Photoshop to invent something new, and new content is exactly what you do not want — you want the scene continued. Left empty, Generative Fill reads the pixels around the selection and extends them, which is both more accurate and more convincing.
Method Two: Quick Mask for Crowded Scenes
Some frames have people everywhere — along the shoreline, up on the ridge, scattered into the far distance where they are only a few pixels tall. Lassoing each one is genuinely tedious, and the small distant ones are hard to circle accurately at all.
Quick Mask turns the job into painting, which is far quicker.
-
Enter Quick Mask Mode
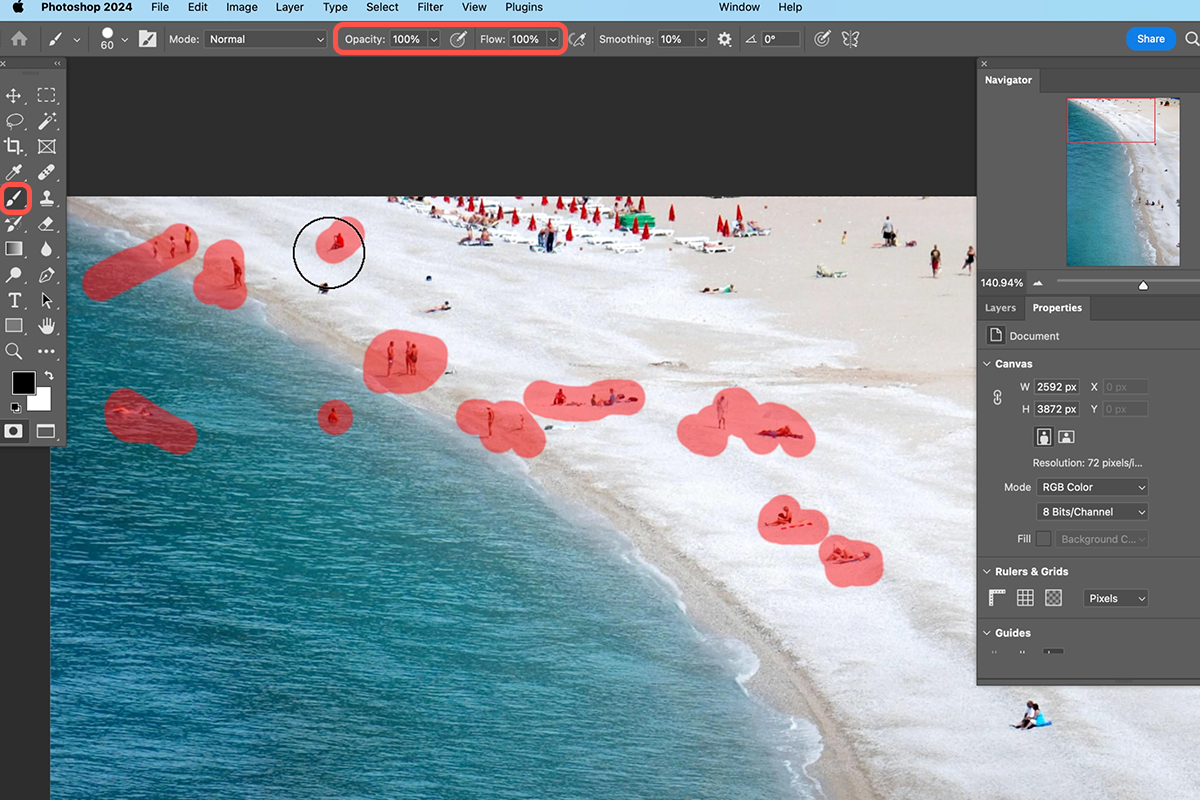
Press Q, or click the icon at the bottom of the toolbar. The screen picks up a red overlay as you paint.
-
Take the Brush Tool at full opacity and flow
Press B. Set both Opacity and Flow to 100 percent — anything less produces a partial selection and an inconsistent fill.
-
Paint over everything you want gone
No selection tools, no tracing. Just brush over each person. Accuracy barely matters here; painting a little wide is fine and often helps.
-
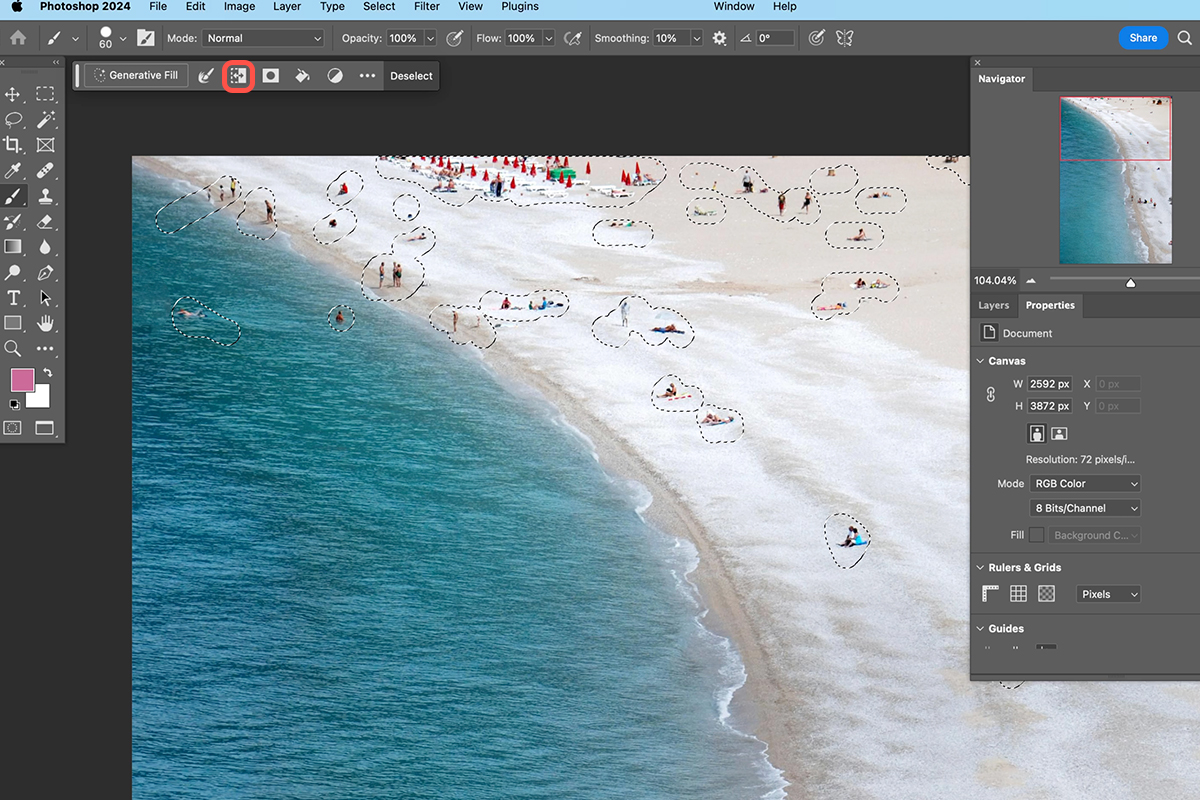
Press Q again to exit
Everything you painted converts into a selection.
-
Invert the selection — do not skip this
Quick Mask returns the inverse of what you painted. See below.
-
Run Generative Fill with an empty prompt
Every painted area is filled in one operation.
The Inversion Step Is the One People Miss
When you leave Quick Mask, Photoshop selects everything you did not paint. You can spot it instantly: if there are marching ants running around the outer edge of the whole image, the selection is inverted from what you want.
Click the invert icon in the options bar. The border selection disappears and the ants tighten around each painted area instead. That is the correct state. Running Generative Fill without inverting will attempt to replace the entire landscape and leave the people untouched — which is a memorable way to learn the step.
Paint the Shadows Too
The most common giveaway in a removal like this is a shadow left behind by a person who is no longer there. Paint over shadows, reflections in wet sand, and anything else the person put into the scene. It costs a second and saves an obvious tell.
The same goes for gear: tripods, bags, hats on the ground, a fishing rod extending out over the water. If it came with the person, it goes with the person.
Why Painting Beats Selecting
Quick Mask is faster for three reasons, and they compound on a busy frame.
There is no closing a path — a lasso selection has to return to where it started, and any slip means redrawing it. There is no accuracy requirement — a brush stroke that runs slightly wide is harmless, where a lasso that clips through a person’s leg leaves an artifact. And it works with a trackpad. Painting a mask does not need a tablet or a steady hand on a mouse; a laptop trackpad is entirely sufficient, which matters if you are editing away from your desk.
Everything gets filled in a single pass at the end, so a frame with forty people takes about as long as a frame with four.
Checking the Result
Zoom to 100 percent and walk the areas you filled. Generative Fill is good but not infallible, and the places it tends to struggle are:
Horizon lines and shorelines, where a straight edge can end up with a slight kink through the filled area. Repeating patterns like fence posts, waves, or rows of trees, where the spacing can go irregular. And anywhere two very different textures meet — the boundary between wet and dry sand, or rock and vegetation.
Any of these is fixable by selecting the problem area on its own and generating again. A second pass on a smaller selection almost always resolves it, and each generation gives you three fresh options.
The Short Version
A few people: Lasso with Shift to collect them all, then Generative Fill with an empty prompt.
A crowd: Q for Quick Mask, paint over everyone and their shadows, Q to exit, invert the selection, then Generative Fill with an empty prompt.
The empty prompt is the constant in both. You are not asking Photoshop to imagine a landscape — you are asking it to finish the one you photographed.
For landscape and travel editing taught in order, our PRO Landscape & Travel Editing Learning Path is where to go next.
Quick Reference: Keys, Menus and Settings
- Select a few peopleL for the Lasso Tool, loose loops, Shift-drag to add each group
- Remove themGenerative Fill in the Contextual Task Bar, prompt left empty, Generate; pick a variation in Properties
- Start on a crowdQ for Quick Mask mode, or the icon at the bottom of the toolbar
- Paint over everyoneB for the Brush, Opacity and Flow at 100%; include shadows and gear
- Make the selectionQ again to exit, then click the invert icon so no selection runs around the image edge
- Clear the crowdGenerative Fill > Generate, prompt left empty

Free Downloads
Follow Along on the Same Photos
Get the two landscape photos, one with a few groups of people and one crowded beach, the two finished PSDs and the 3-page PDF guide. Free with a PHLEARN account.
Removing People in Photoshop: Common Questions
What is the fastest way to remove a crowd from a photo?
Paint over the people in Quick Mask mode instead of selecting them. Press Q, paint over everyone, press Q again, invert the selection and run Generative Fill. Everyone is removed in one go.
How do I remove just a few people?
Press L for the Lasso Tool and draw a loose loop around the first group, then hold Shift and circle the rest. Click Generative Fill in the Contextual Task Bar and click Generate.
What should I type in the Generative Fill prompt?
Nothing. Leave it empty and just click Generate. Photoshop reads the pixels around the selection and continues the scene, rather than inventing something new.
How does Quick Mask mode work?
Press Q or click the Quick Mask icon at the bottom of the toolbar. Everywhere you paint shows a red overlay and becomes a selection once you leave Quick Mask mode.
What brush settings should I use in Quick Mask?
Press B for the Brush Tool and set Opacity and Flow to 100%. Anything less gives you a partial selection and an inconsistent fill.
Why is there a selection around the edge of my whole image?
Leaving Quick Mask selects the opposite of where you painted. Click the invert selection icon so only the painted areas are selected. Skip it and Generative Fill tries to replace the landscape and leave the people.
Do I need to paint accurately or use a tablet?
No. A stroke that runs a little wide is fine, and Aaron paints the whole beach with his laptop trackpad. No special tools needed.
Why can I still tell someone was there?
Usually a shadow was left behind. Paint over each person’s shadow and anything they brought with them, like the fishing rod in the video.
A filled area looks wrong. How do I fix it?
Cycle through the variations in the Properties panel first. If none work, select just the problem spot and generate again; a second pass on a smaller selection almost always resolves it.
Are the sample files free?
Yes, with a free PHLEARN account. You get 2 sample images, 2 sample PSDs and 1 PDF guide: both landscapes, the finished documents and a 3-page walkthrough of both methods.
Master Photoshop, Lightroom and Photography
Join PHLEARN PRO for $12.99 a month or $99.99 a year. Cancel anytime, with a 100% money-back guarantee.





