Download Sample Image
description
In this first episode of our four-part series, learn about all of the best tools in Photoshop for removing objects and distractions from your photos! See Content-Aware Fill, the Healing Brush, the Spot Healing Brush, and the Clone Stamp Tool in action as we remove a logo from a piece of clothing.
Click here to download the complete PSD file (129MB).
Free Object Removal Series
- A Tour of the Best Object Removal Tools in Photoshop (This Episode!)
- Clean Up Simple Backgrounds in Photoshop (Coming Soon)
- Remove Objects Around Lines & Edges in Photoshop (Coming Soon)
- Remove Objects From Complex Textures in Photoshop (Coming Soon)
If you’re ready to take these skills to the next level, be sure to check out our PHLEARN PRO series on object removal in Photoshop.
Share


THE BEST TOOLS FOR OBJECT REMOVAL
ORIGINAL
Learn the Best Tools for Removing Objects
How to Clean Up Your Photos in Photoshop
Like many other tasks in Photoshop, removing objects and distractions from your photos will usually require a number of different tools to make it happen.
Let’s take a look at some of the most useful tools in Photoshop for removing unwanted things from a photo.
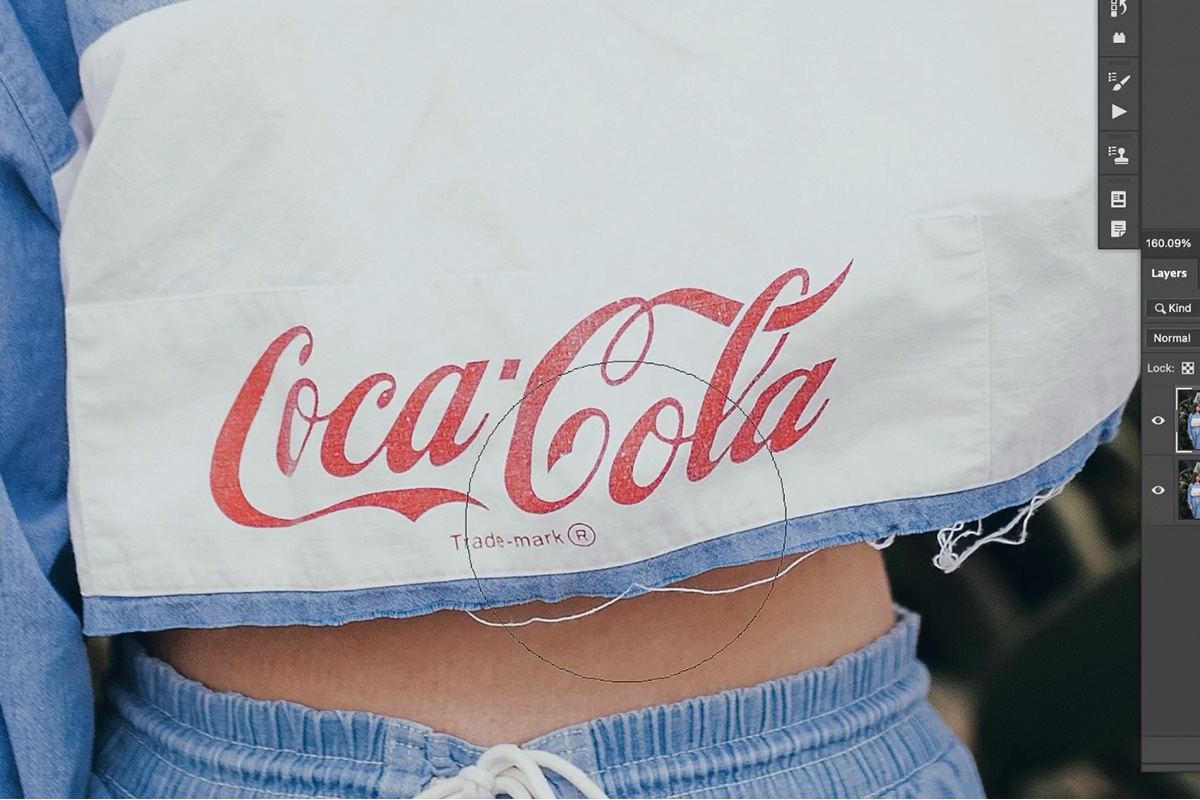
Let’s try and remove this logo from the subject’s shirt. Since it’s on a relatively simple background (a plain white fabric with a bit of texture), we can use automated tools to take care of most of the work.
Content-Aware Fill
Start by Duplicating the background image by hitting CTRL or CMD + J. This will allow us to use Content-Aware Fill to remove the logo on the duplicate image, leaving the original image unchanged.
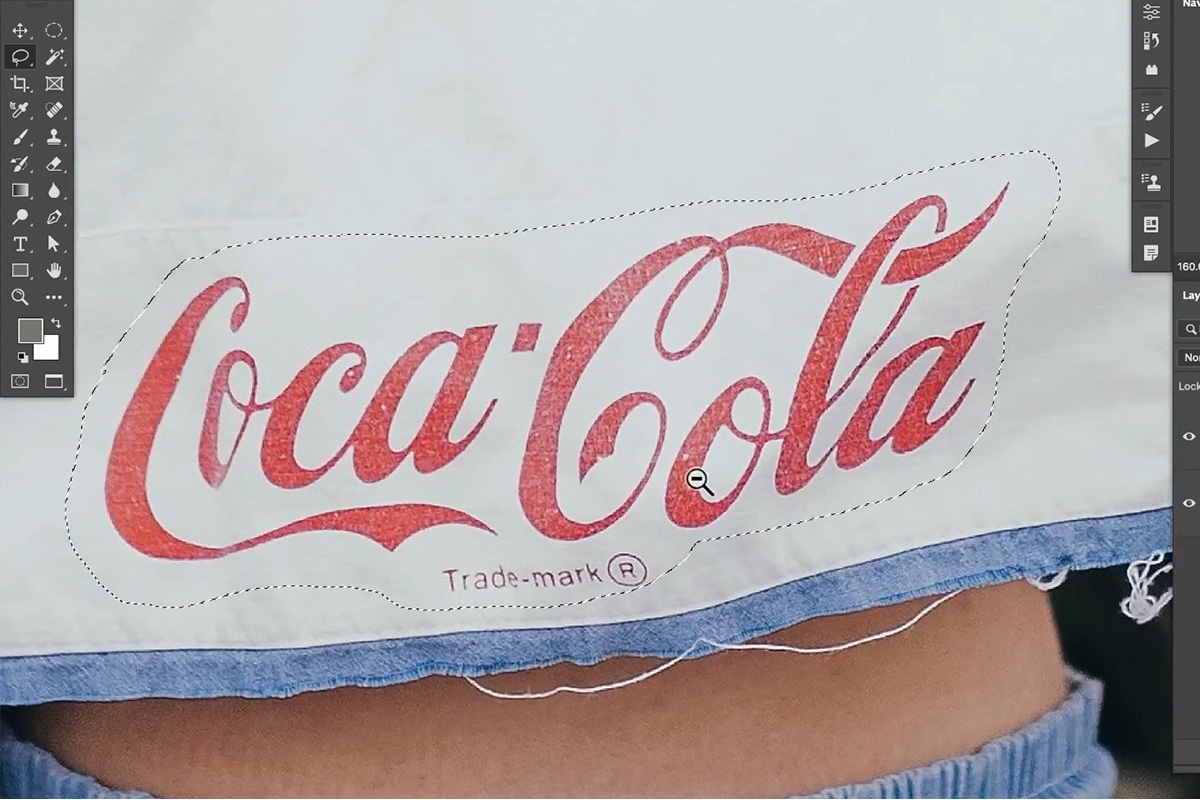
Then, use the Lasso Tool to make a rough selection around the thing you want to remove–in this case, the logo.
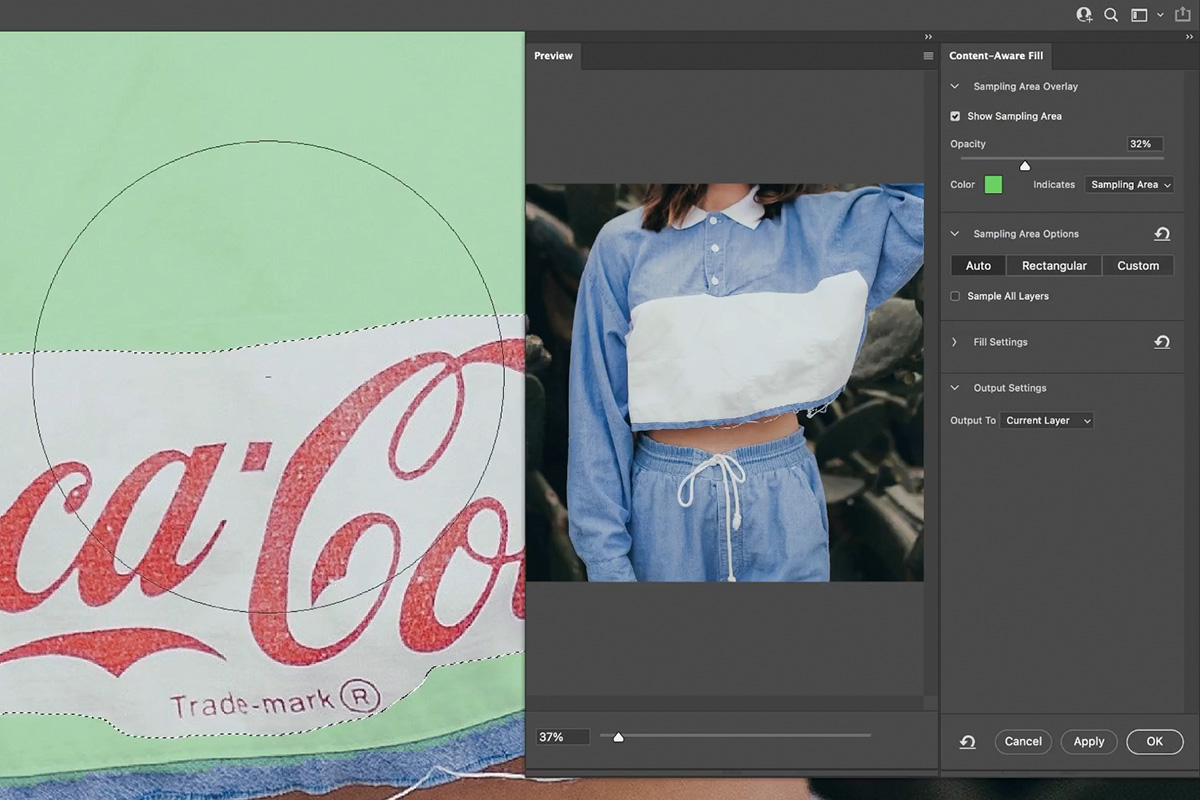
Open the Edit menu and select the Content-Aware Fill option. The Content-Aware Fill dialog will open. Content-Aware Fill will use Adobe’s AI technology to analyze the areas highlighted in green, and use information from those areas to fill in the selected object.
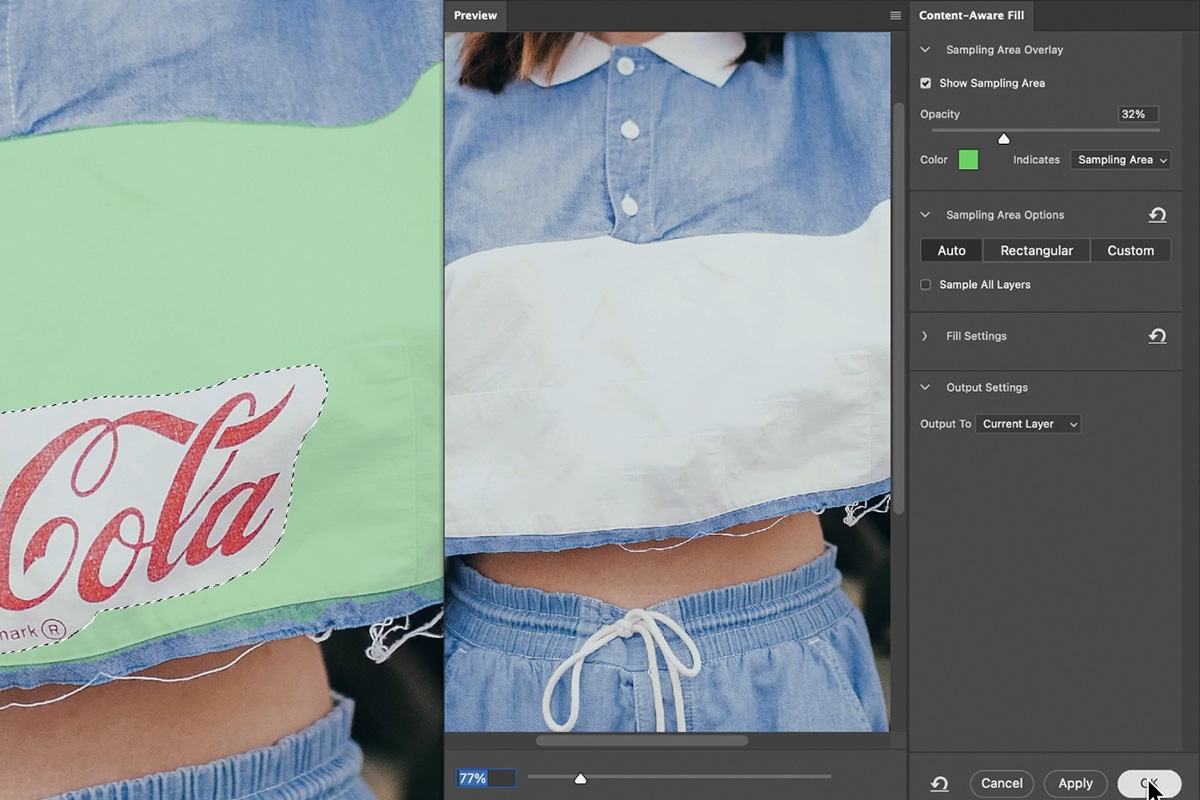
Watch the preview window as you adjust the settings, and dial in a result that you think looks good. Hit OK.
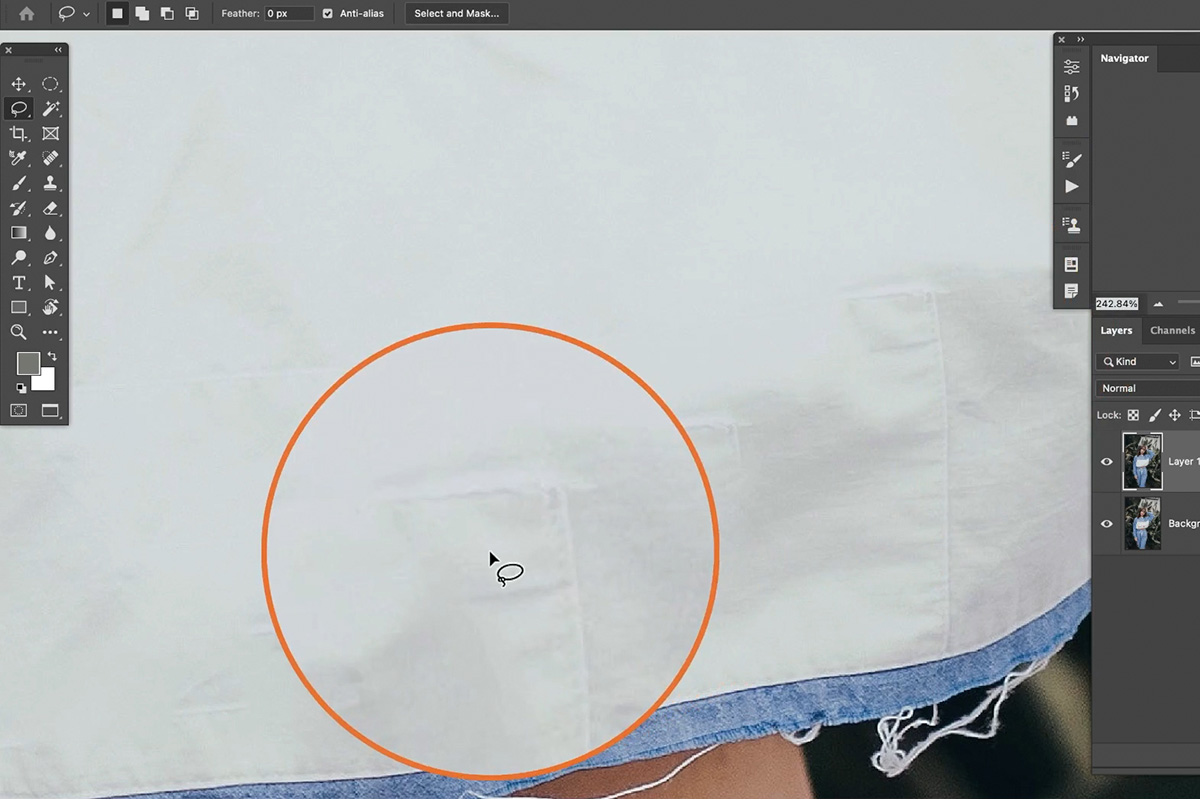
While Content-Aware Fill does a solid job of realistically removing the logo, zooming into the image reveals some strange repeating patterns and textures that make it obvious the image was edited.
The Healing Brush
After using an automated removal tool, it’s common to need to refine that area using more manual methods. This is where the Spot Healing Brush comes in.
The Healing Brush allows you to sample an area to pull texture from (hold ALT or OPTN and click on area to Sample it), and then paint over another area to apply that texture. The Healing Brush will then blend the texture you selected with the color from where you paint.
Before you use it, make sure to create a new, blank Layer on top of the Layer you want to remove the object from. Then, set the Sample option of the Healing Brush to All Layers. This will let you work on a separate Layer without damaging the work you’ve already done.
This is great for evening out textures in an area, while getting rid of any spots that repeat the same texture or pattern.
The Spot Healing Brush
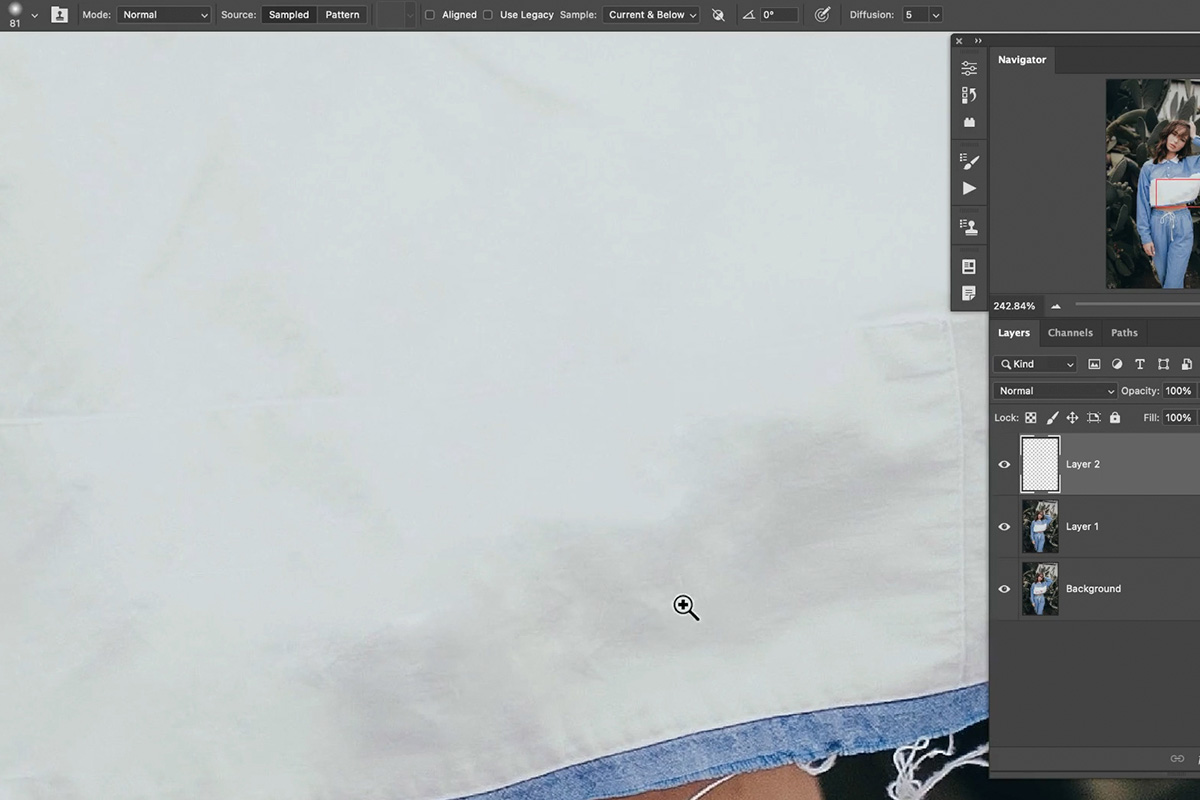
Our typical go-to tool for object removal is another automated powerhouse. The Spot Healing Brush allows you to simply paint over top of an object and Photoshop will do its best to remove it by automatically sampling color and texture from the surrounding areas.
Again, make sure to create a new, blank Layer first, and make sure to check the Sample All Layers box in the top toolbar of the Spot Healing Brush.
Now you’re free to simply paint over any details or distractions you want to remove, and Photoshop will take care of most of the hard work.
The Clone Stamp Tool
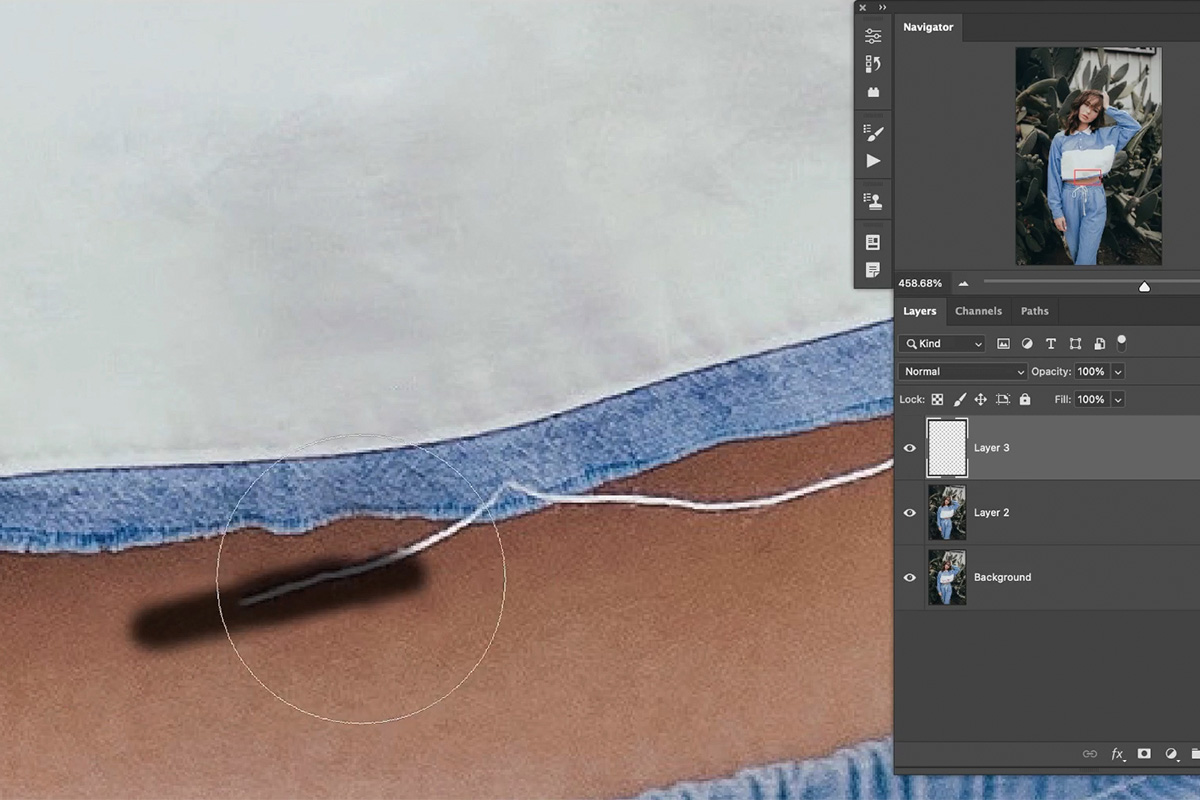
The Spot Healing Brush did a pretty good job of removing the loose threads at the bottom of the shirt, but notice that it had a little bit of trouble around line and edge details.
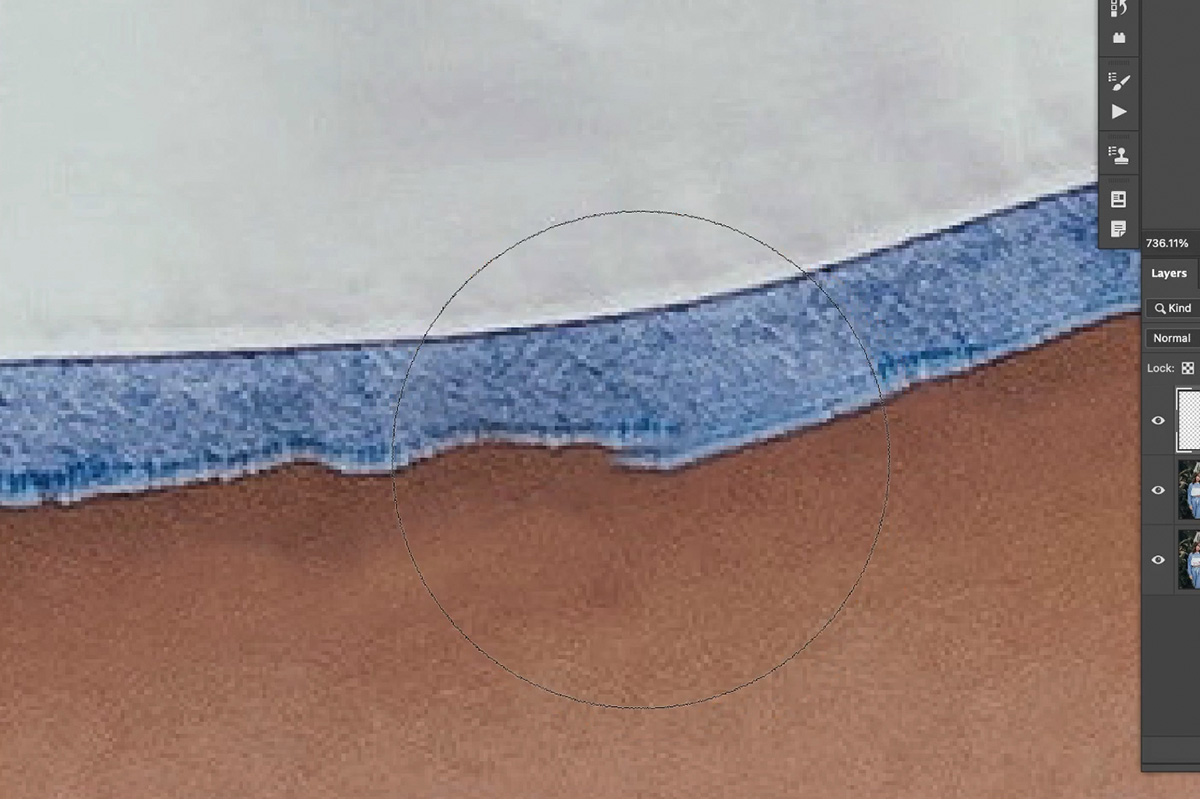
When working around lines and edges, there’s no better tool than the Clone Stamp Tool. The Clone Stamp Tool also allows you to Sample an area (ALT or OPTN) and then paint using the sampled information. But this time, it creates an exact copy of the sampled area–color and texture combined.

This means that if you want to clean and straighten an edge, you can sample another part of the photo where the edge is in tact, and then paint that clean edge over an area where the edge is broken.
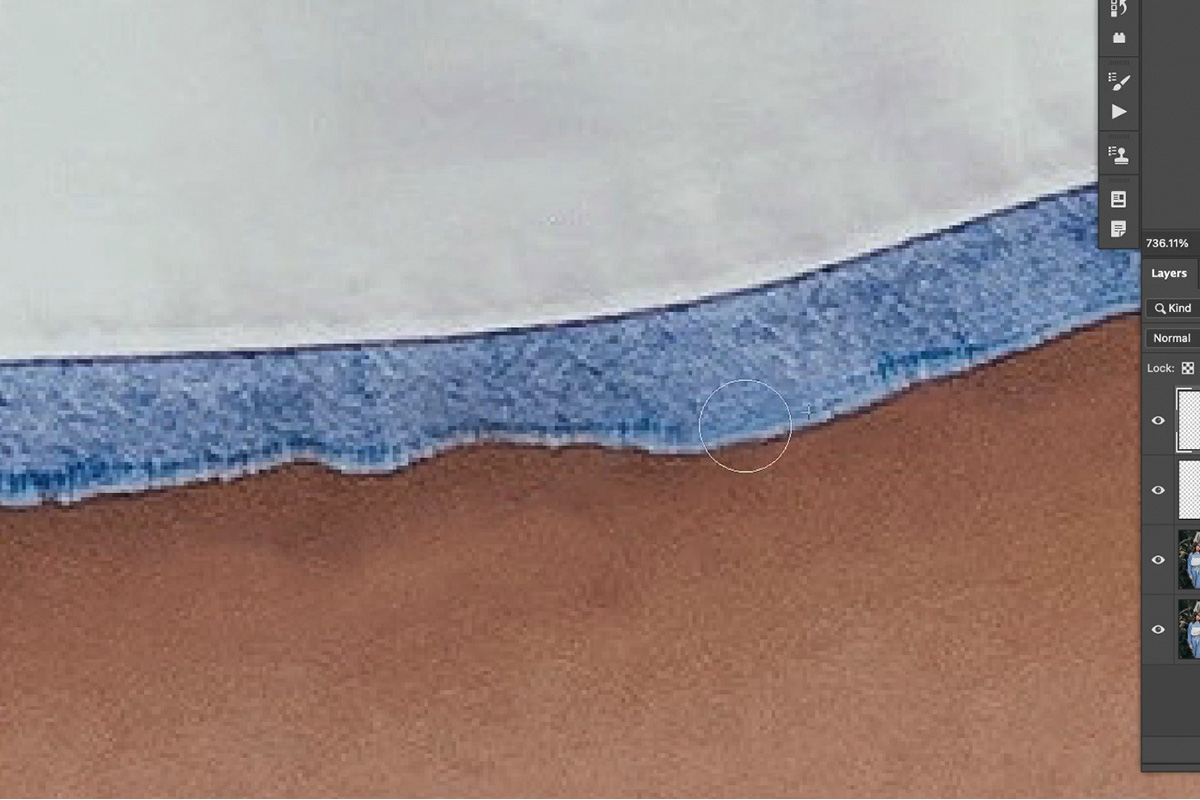
Once you’ve made a first pass with Content-Aware Fill and the Spot Healing Brush, the Clone Stamp Tool is a great way to finish a removal edit as it allows you to clean up any rough edges and make sure all of the textures are perfect.
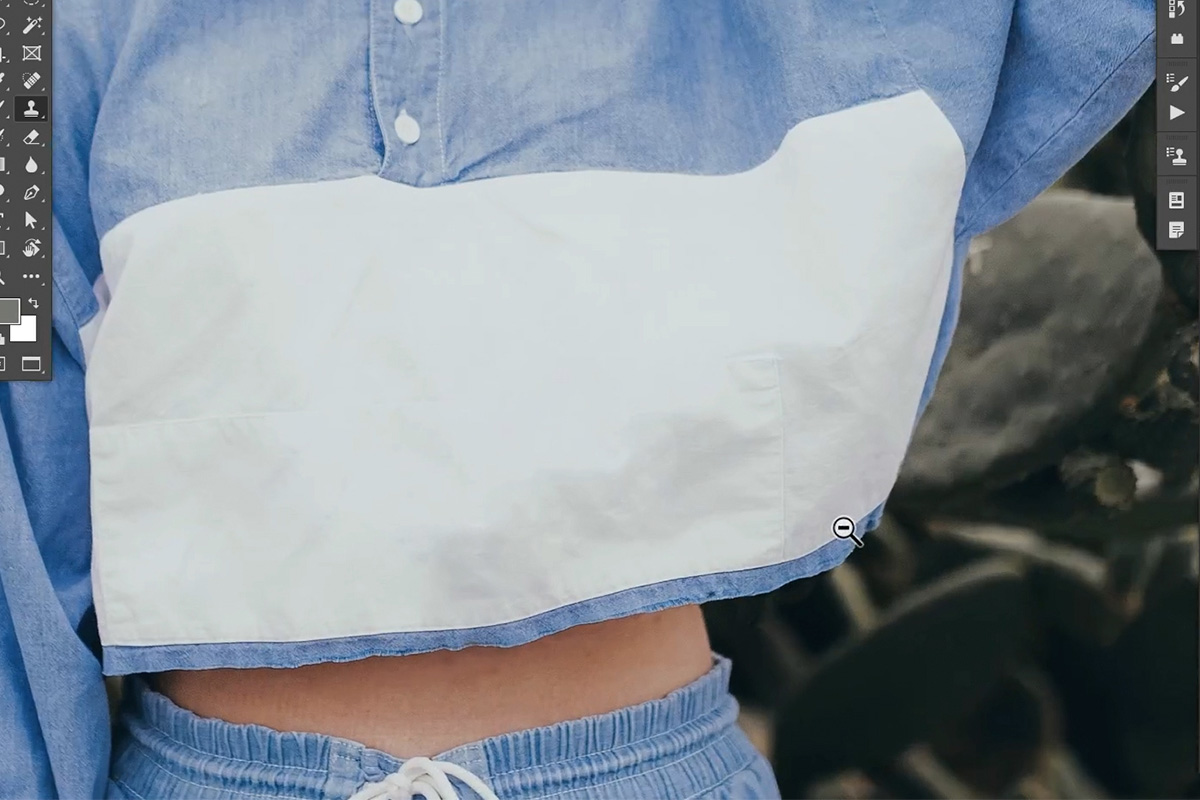
And there you have it! While this is a relatively simple example, it still required us to use four different tools to get a result that looks realistic. Once you know the tools, you’ll be ready to move on to our next example where we put them to use in a slightly more complex situation!