Download Assets
description
Learn how to create captivating double exposures in Photoshop! This artistic technique lets you seamlessly blend two images, creating dreamlike results. In this new FREE tutorial, we’ll show you exactly how to create this effect.
Go PRO:
Explore more about Double Exposure with our in-depth PRO tutorial How to Master Double Exposure in Photoshop.
Artist Credit
- Mari Korz
- Ruts Vakulenko
- Eda Yurtkuran
- Vanessa Martins
Images sourced from Pexels.
Share
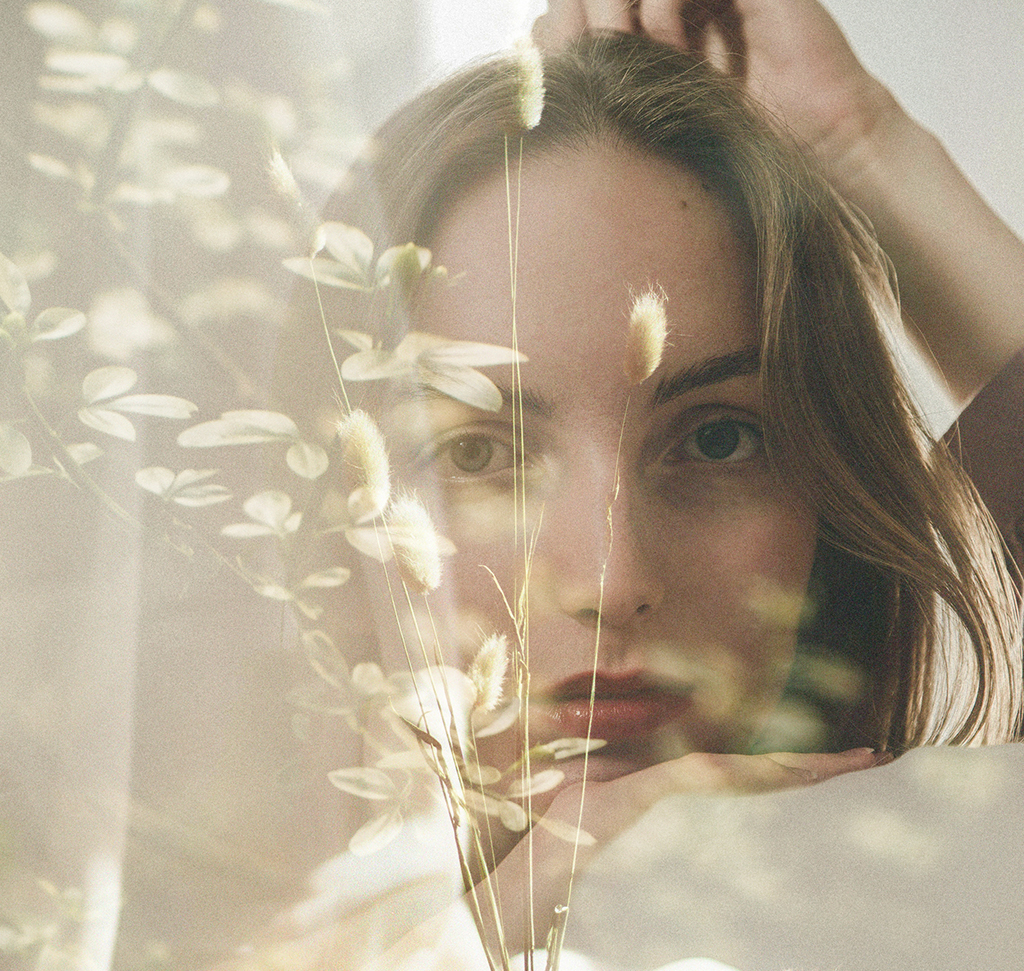
AFTER
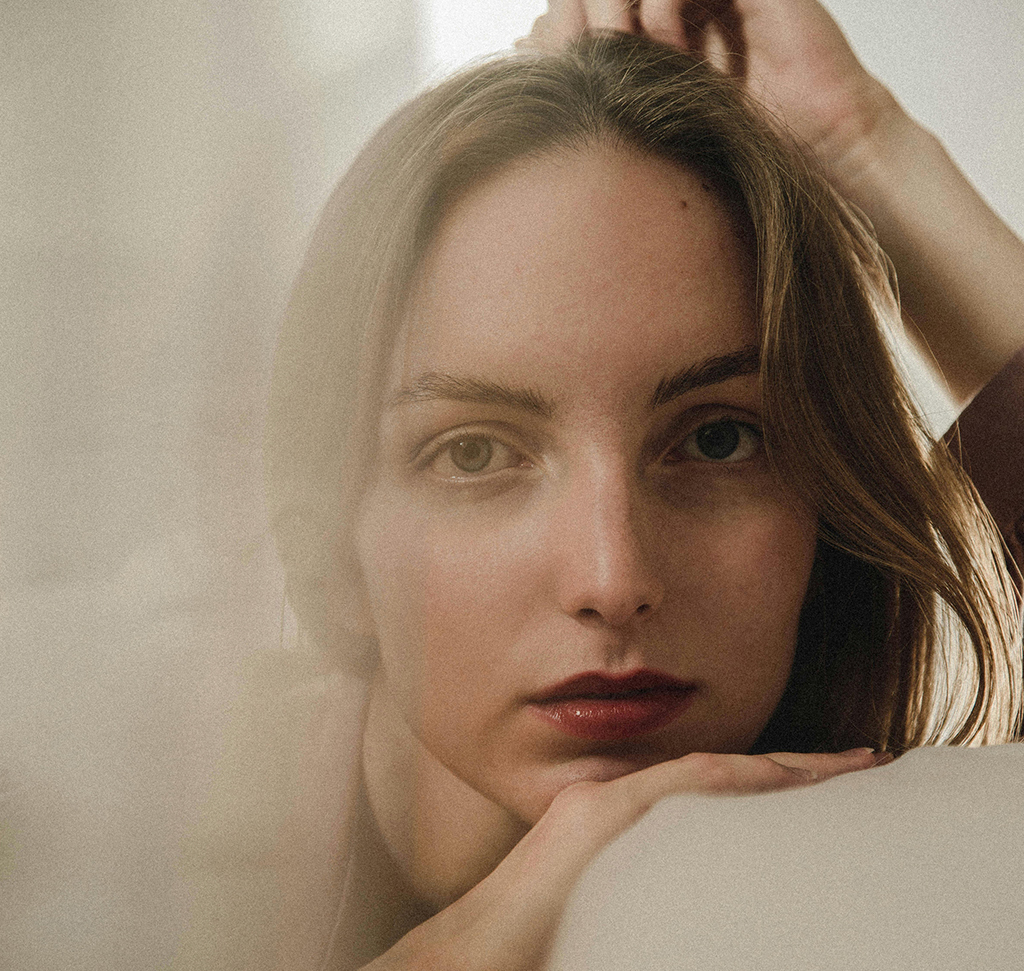
BEFORE
Dreamy Double Exposures
Double exposures have come a long way since the early days of film. With Photoshop, we can quickly and easily combine multiple exposures to help tell the story of our travels, capture a bride and groom with the romantic environment of their wedding, or create out-of-this-world conceptual images that stretch our creativity.
Gather Your Images
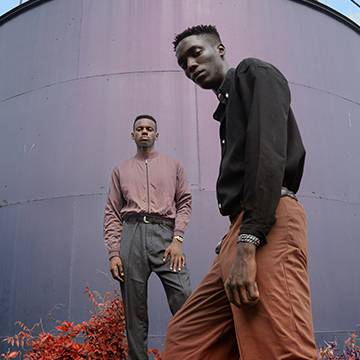
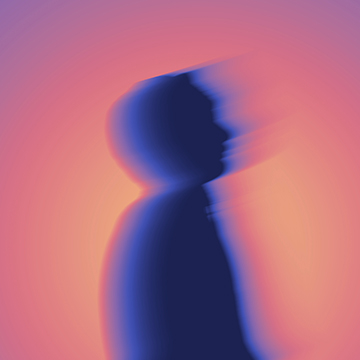
This artistic technique involves blending two photos. Choose one image for your main subject and another to create a dreamlike overlay. The success depends on the darkness of the overlay image, particularly in areas you want your subject to show through.
Import and Position Your Images
1. Open both photos in Photoshop.
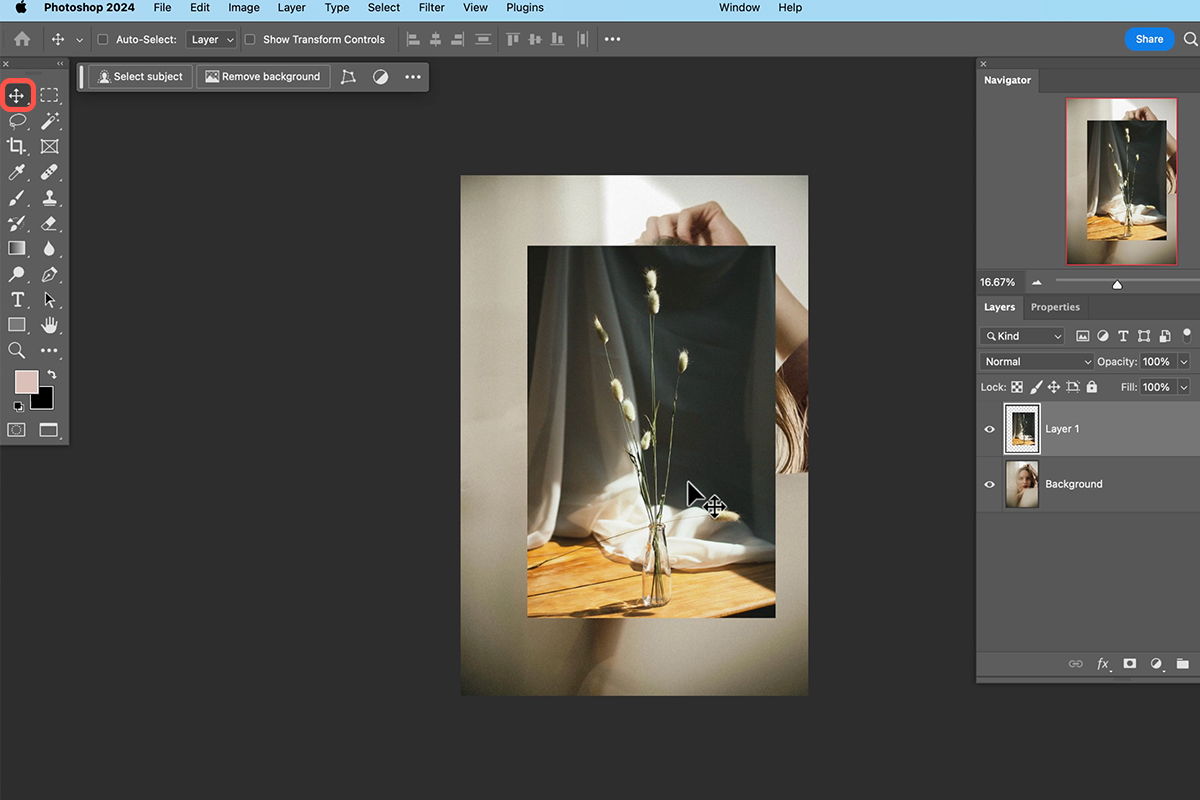
2. Drag the overlay image on top of your main subject image. Use the Move Tool (Keyboard Shortcut “V”) to position it and the Free Transform Tool (Keyboard Shortcut “Ctrl/Cmd + T”) to resize it as needed.
Achieve The Double Exposure Effect
3. Select the overlay image layer in the Layers panel.
4. Change the Blend Mode from “Normal” to “Screen” in the top left corner of the Layers panel. This allows the light areas from the overlay to blend with your main subject.
Refine The Blend
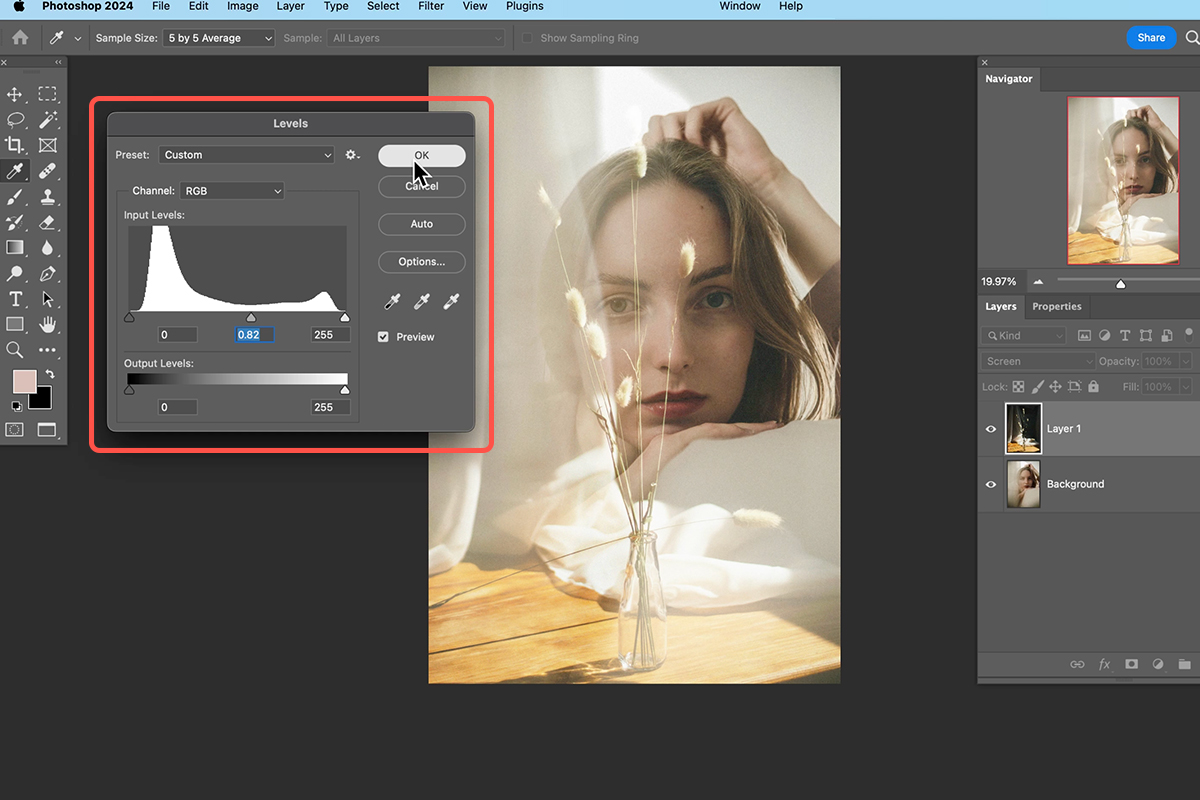
You can adjust the Levels (Keyboard Shortcut “Ctrl/Cmd + L”) to control how much of the underlying image shows through. Simply move the middle slider to reveal more or less of the bottom layer. Also, you can use the Free Transform Tool (Keyboard Shortcut “Ctrl/Cmd + T”) again for further adjustments to the overlay image’s size and placement.
Bonus Tip
For a successful double exposure, the areas you want transparent in the overlay image should be dark. This allows your main subject to shine through when using the “Screen” blend mode. Experiment with different overlay images to achieve the desired effect.
Remember, you can always play around with Levels adjustments, cropping, and even adding a third image for a “triple exposure” effect!

