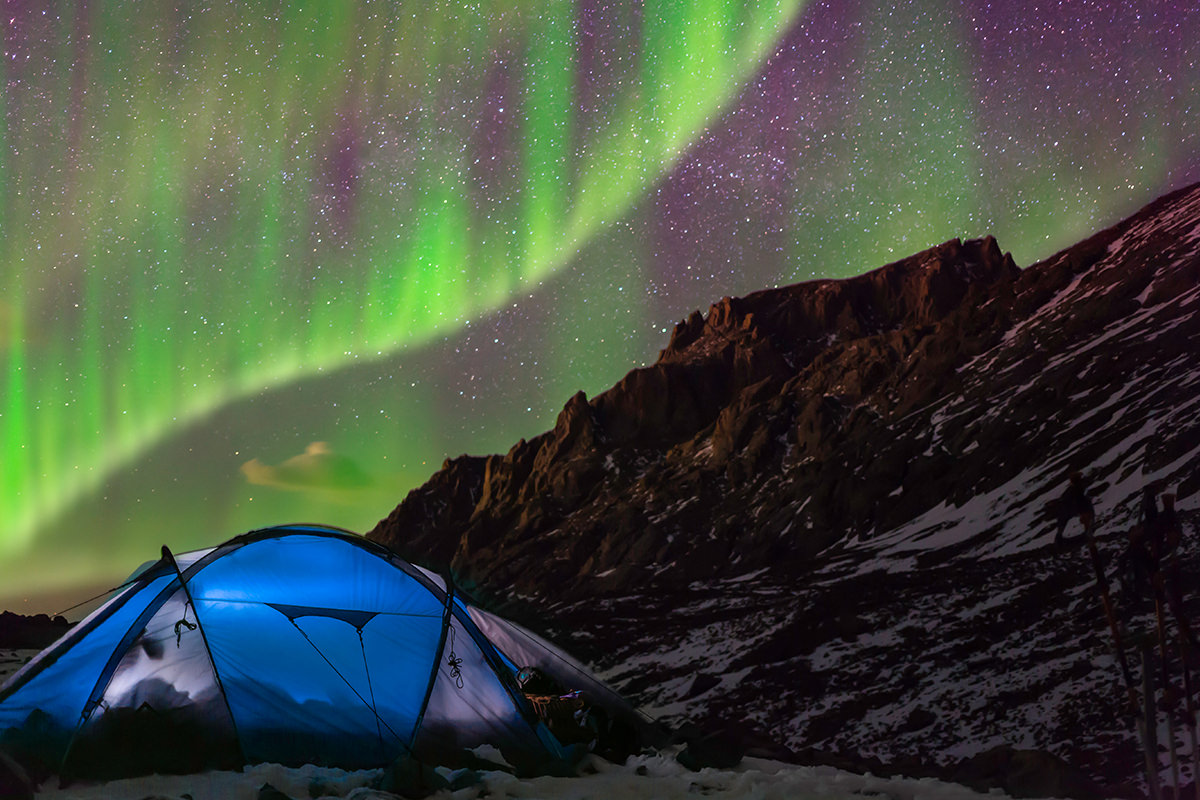



BEFORE
AFTER
Tutorial Description
Northern Lights are actually collisions between electrically charged particles from the sun that enter the earth’s atmosphere. Add this effect to any night photo in a few simple steps.
Painting Northern Lights
The key to painting Northern Lights is to start with a simple shape and then Warp it into the final form of the lights. In this case, we create a special Brush that scatters brush strokes, giving a more random Pattern to the Lights.
After Scattering brush strokes, a Motion Blur is applied to make it look like the Brush strokes are streaks of Light. It can be helpful to re-apply the Blur Filter to give a more scattered look.
Once you have created a ‘strip’ of Northern Lights, it is time to Warp it into place. To warp, press CTRL+T to bring up the transformation dialog. Then right-click on the layer and select ‘warp’.









Enjoying This Free Tutorial? Go Further with PRO.
Unlock Full Sample Files, PSDs, and Hundreds of Masterclasses!

Download full project assets, original PSDs, and RAW images for every lesson
Unlimited access to our complete library of PRO Photoshop & Lightroom courses
Instant 4K Ultra HD streaming on all devices, anytime, anywhere
Full access to our entire library of Photoshop Actions, Presets, and LUTs
Flexible monthly and annual membership plans
Cancel anytime with zero hassle or commitments