Intro to Photoshop Compositing for Beginners
-
Add to
favorites
-
DifficultyEasy
-
Length5.5 hours
-
Videos22
-
Software
Description
From high-end product photography to wild conceptual scenes, many of the pictures we see are actually two or more photos combined in post-production. If you’ve been searching for a great entry point into the fun and challenging world of image compositing, look no further!
In this tutorial, you’ll learn how to analyze light, perspective, and camera settings to predict how well two photos will merge. Then we’ll take you into Photoshop to break down the compositing process, covering tips and techniques for making selections, finding great composition, and matching light and color.
THIS COURSE INCLUDES
- 25 Sample Images
- 1 Photoshop Brush
Share
Table of Contents
-
01 - What is Compositing?1:47m
-
02 - Choosing Photos for Compositing: Light, Perspective & Focal Length5:05m
-
01 - Picture Frame - Image Analysis & Working with Smart Objects10:39m
-
02 - Picture Frame - Removing Backgrounds & Creating Realistic Shadows7:15m
-
03 - Picture Frame - Color Matching12:15m
-
01 - Castle - Image Analysis23:40m
-
02 - Castle - Removing a Background & Creating a Fog Effect17:16m
-
03 - Castle - Coloring for Composites13:17m
-
01 - Portrait - Image Analysis20:46m
-
02 - Portrait - Matching the Subject and a New Background21:25m
-
03 - Portrait - Matching Lightness, Hue & Saturation17:48m
-
01 - Mountain Scene - Image Analysis23:58m
-
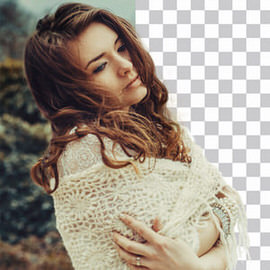
02 - Mountain Scene - Removing a Background & Cutting Out Hair14:01m
-
03 - Mountain Scene - Matching Light & Color20:31m
-
01 - Floating House - Image Analysis & Extending a Background6:53m
-
02 - Floating House - Removing a Background & Extending Walls8:39m
-
03 - Floating House - Creating the Bottom of the House from Scratch11:36m
-
04 - Floating House - Matching Light & Color8:29m
Course Downloads
Learn Compositing Basics
What is Compositing?
Image compositing has a very broad and easy-to-understand definition. When you make a composite, you merge two or more photos together to create a seamless final image. This usually involves several steps to ensure that everything looks like it was all captured straight out of camera.
Why Combine Photos in Photoshop?
There are countless reasons that learning to blend photos together can help you both creatively and professionally. Whether you’re working with products, landscapes, weddings, or you just want to create stunning visual effects, the ability to merge two or more photos together will often help you solve a number of creative problems and get the most out of your images.
A Beginner’s Guide
If you’ve ever come up with an idea for a great image but weren’t sure how to capture it in camera, this tutorial can help! Compositing images in Photoshop can help turn your imagination into reality. Whether you plan to merge two images or 200, this is a great place to start.
Easily Blend Multiple Images
Compositing is one of the most challenging skills to master. It requires knowledge of countless tools within Photoshop as well as a strong understanding of how to find and capture images that will blend together well. Starting your compositing journey has never been easier with our simple approach to the basics of combining pictures in Photoshop.
From Beginner to Pro
We start with the basics, but this tutorial is designed to help artists at every level. We teach the fundamentals and expand upon it by adding in powerful tools, tips, and techniques that can take your blending to the next level.
Our Secrets to Realistic Composites
Image compositing starts with finding and capturing the right photos. We start this tutorial by helping you develop the eyes of a compositing artist, teaching you how to analyze pictures in a way that will help you determine how well they will fit together. Learn the fundamentals of light, perspective, camera settings, and more!
Match Light
Photos are all about light, which is why being able to identify light quality and direction is so important for creating great composites. Learn the differences between soft light and hard light and how to determine the directionality of light to help make sure your subject fits naturally into an environment.
Match Perspective
In order to make everything appear like it was captured in the same environment from the same camera, you’ll want to make sure that the camera height and angle is similar across each photo. We’ll show you some tricks to help you find the vanishing point and horizon line in each image so that you can quickly and easily line up multiple photos in the same scene.
Match Focal Length & Camera Settings
A wide angle lens will exaggerate space and will stretch things out the closer they are to the camera. A telephoto lens will compress space and will typically result in more natural-looking dimensions. Learn to identify differences in focal length, perspective distortion, and depth of field to make sure all of the photos you’re compositing will fit together beautifully.
Compositing Made Easy
Beautiful Composites
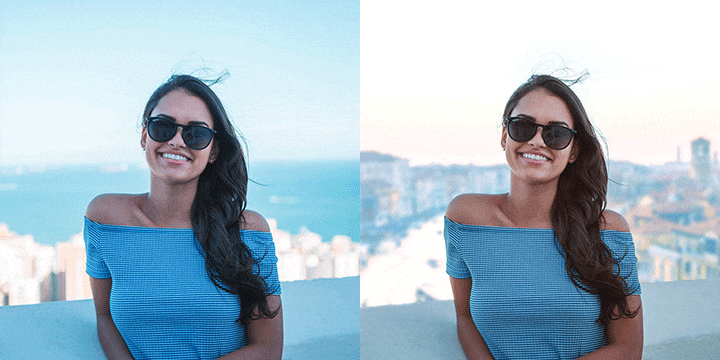
Follow along and learn to match color, luminosity, and perspective to create photorealistic composites.
Step-by-Step Tutorials
Like many things in Photoshop, compositing is a process. We’ve created a simple guide to walk you through each step, from determining which photos you should use, to making cut-outs and selections, and tying it all together by adding additional light and color.
Photo Analysis
We don’t just show you how to merge images together, we show you why certain images will work and why certain images won’t. See several examples that demonstrate what happens when the lighting, perspective, and focal length don’t match while we try to find the right photo for the job.
Compositing Tips & Techniques
Compositing has been a staple of PHLEARN education for a long time. Over the years, we’ve developed tried-and-true methods to making the process of blending images as efficient and effective as possible. Once you have mastered the basics, move on to some our favorites like Photoshop Compositing: Essential Tools & Techniques, How to Change and Remove Backgrounds in Photoshop, and The Beginner’s Guide to Levitation.
Light, Color & Check Layers
We can’t always trust our eyes in Photoshop. That’s why we teach you to use tools that will help help interpret things like color and luminosity. Learn to match light levels and color saturation between any number of images faster and easier than ever before!
Family Portraits to Creative Concepts
Compositing isn’t just for ultra-conceptual, sci-fi, and fantasy images. Being able to realistically blend multiple images together will help you solve problems like fixing someone’s blinking eyes in a group photo or placing a bride and groom in front of a more romantic scene. Once you’ve mastered the ideas and techniques in this tutorial, you’ll be ready to put your compositing skills to work in a way that’s best for you and your images.
Simple Examples for Advanced Results
There’s no secret to high-end composites. We use simple examples, each blending two images in Photoshop, that will have you feeling confident enough to start combining a dozen photos in no time.

Aaron Nace
PHLEARN Founder
Aaron Nace is a photographer, Photoshop artist and founder of PHLEARN. He is the #1 Photoshop instructor in the world with millions of YouTube subscribers.
Reviews
New & Popular Tutorials
Training Site in
the World
Tutorials!
Ratings
and Counting
Subscribers











Thank you for digging into this subject. I see a lot of “cutting out” that just doesnt work from an aesthetic point of view. Taking the time to assess the images that you want to work with will produce a better result. Aweseom Aaron!
Brilliant tutorial. This exactly got me going. The color matching technique is nicely explained. However my subject was wearing black clothes and got me fumbling around for a while. Overall I relish all this material.
Amazing. Took me from 0 to enough skills for making compositions for my job
I am enjoying the work that is being presented.
Good
I did really learn a lot however needs an update on the tools from the version of photoshop he is suing to todays version as there was some incompatibility and second notes on the tools and techniques would be super helpful.
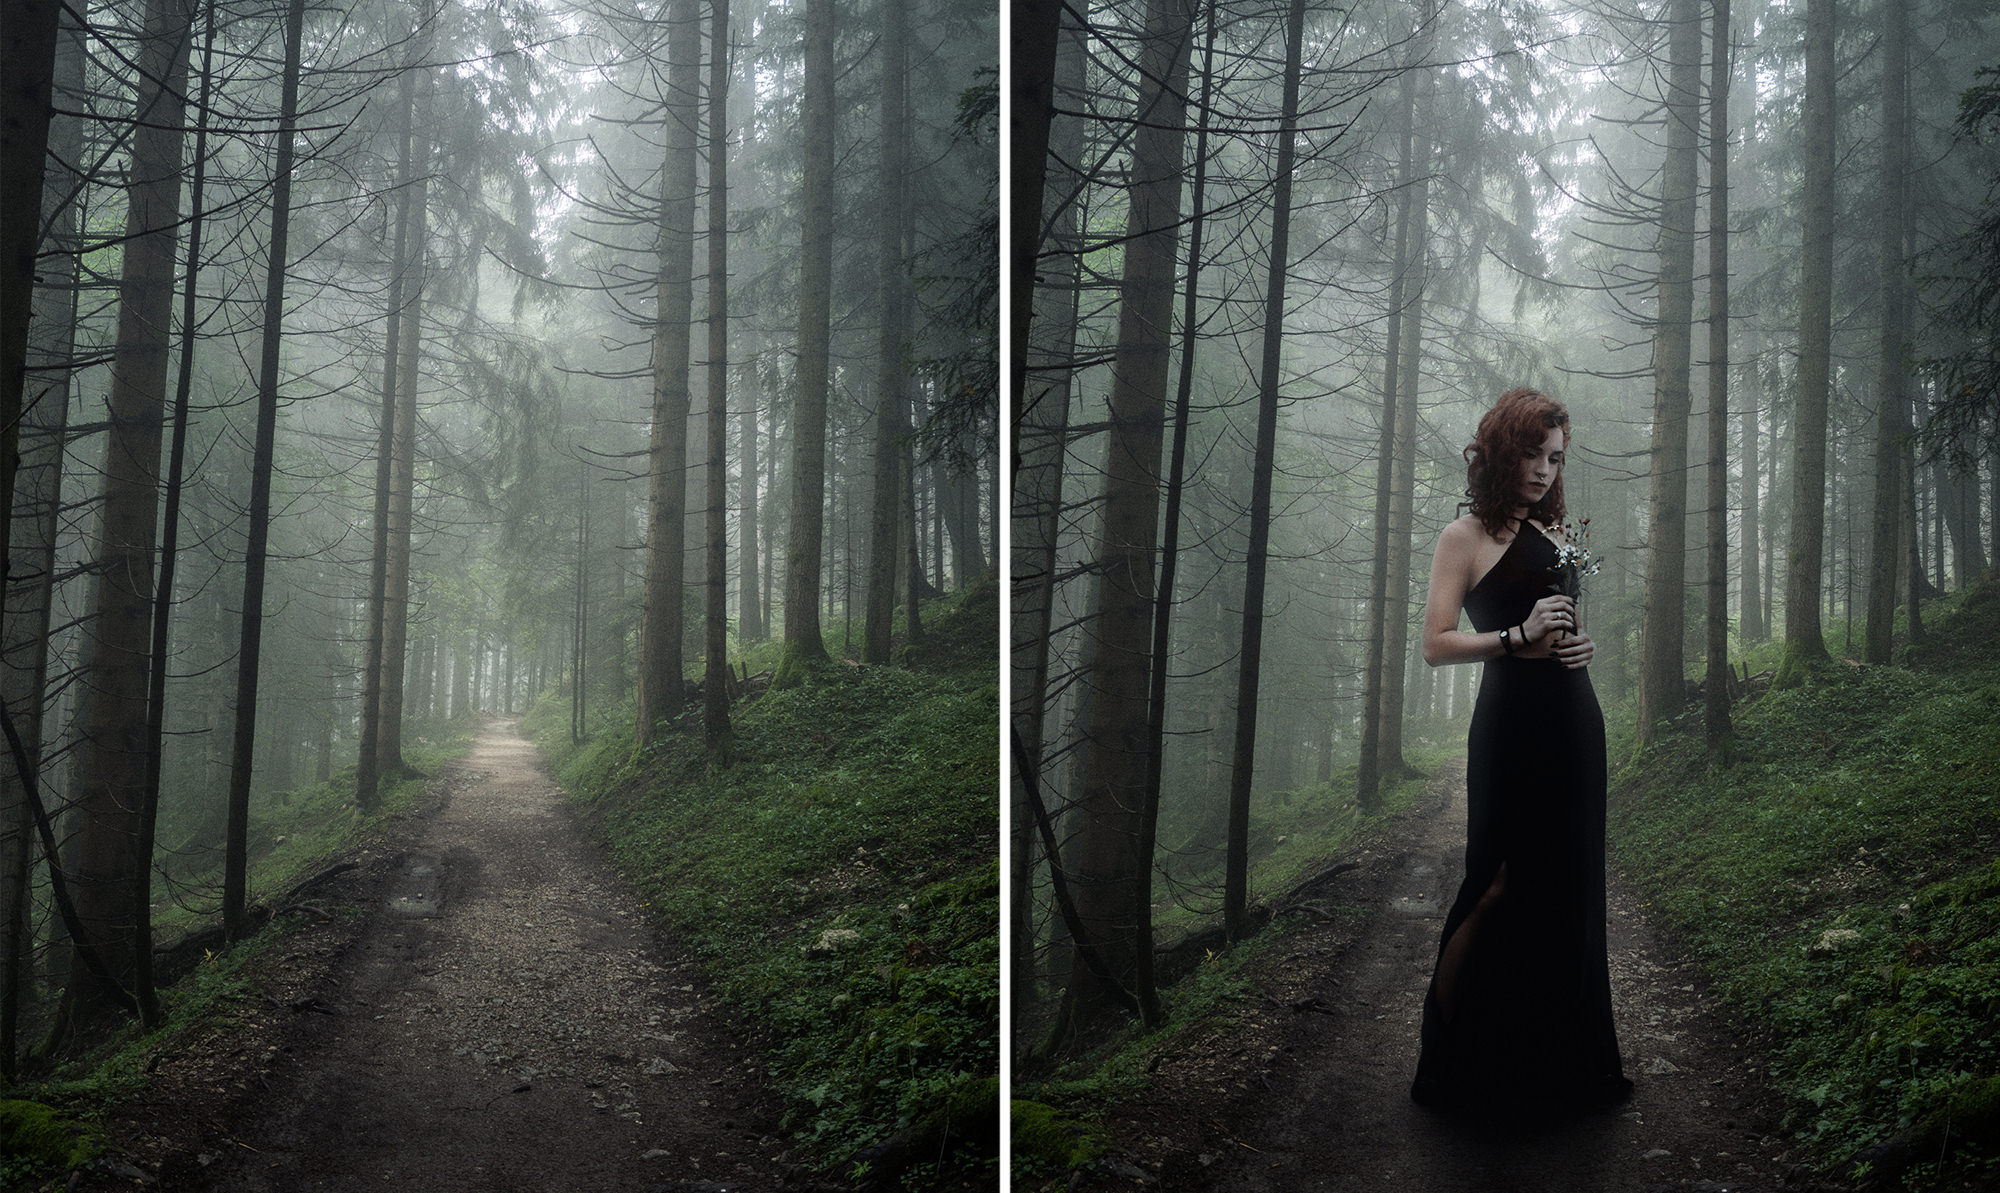
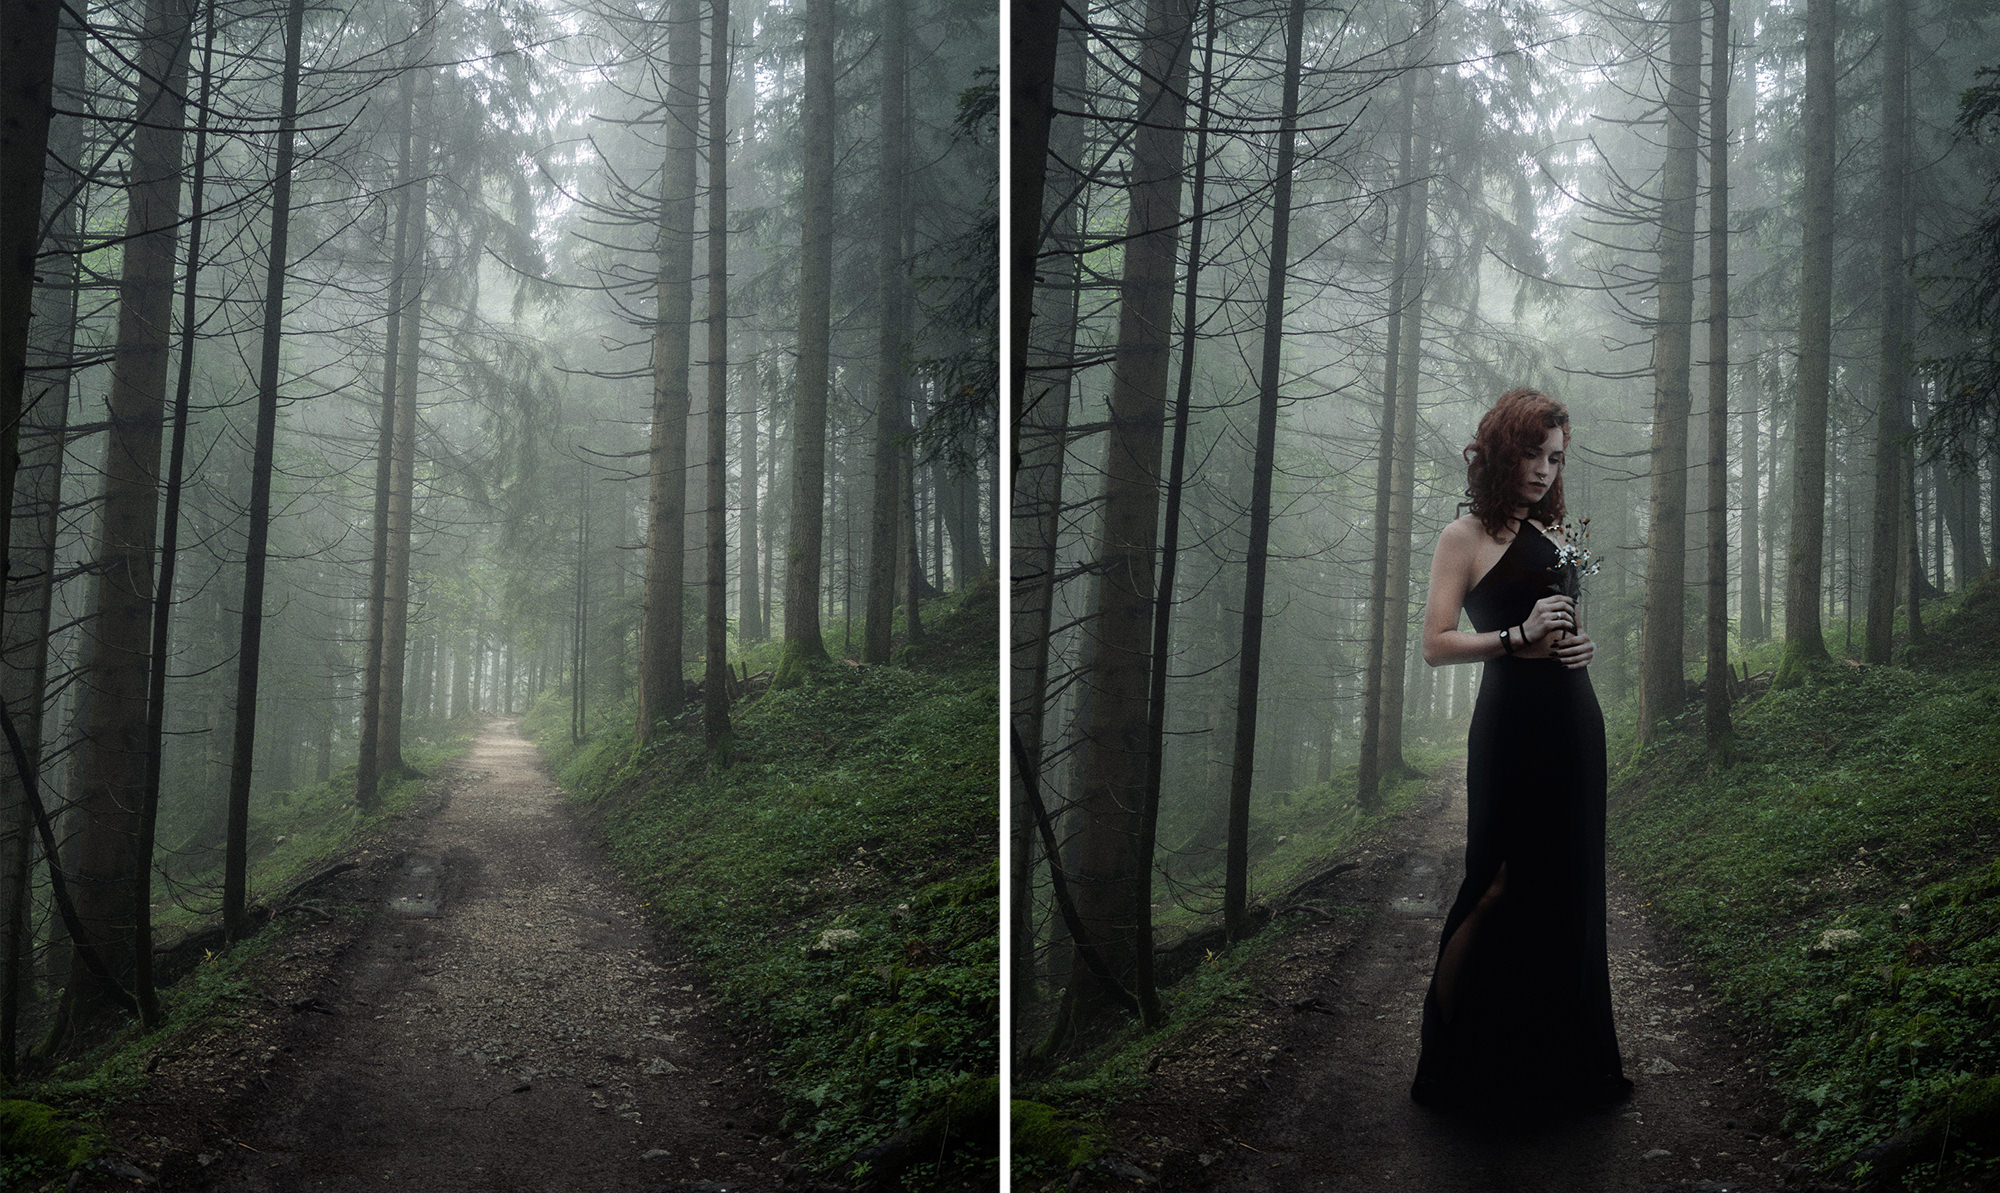
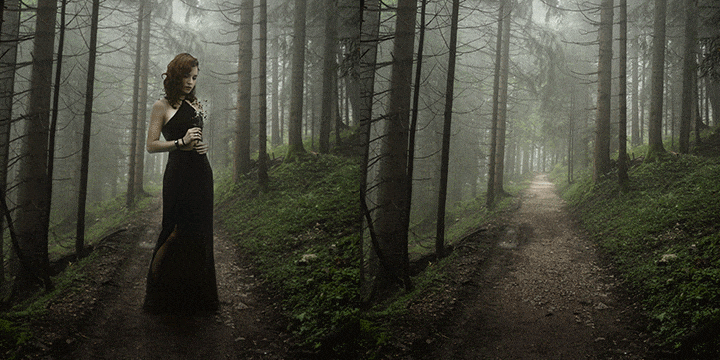
The final example of the lady in the forest was comprehensive and highly educational, bringing together an understanding of so many available tools and exactly how to apply them. Strongly suggest that having the final PSD file showing the complete list of layers would help students to be able to review each step, while being able to note the sequence that was used to reach the final goal….and have an excellent reference guide. A PDF script for this one demonstration would also be quite valuable.
Dear Aaron, Thank you for the instructional movie you offered us. There is one thing I don’t know the answer to though, maybe you do. When adding a layer to add a motion blur I get the message that “it is not possible to make an edit because the layer is empty”. Do you know of an adjustment to prevent or remedy this? Sincerely, Rob van Kerkoerle
Great tutorial as usual! Thanks
Amazing tutorial thanks Aaron!
Video consistently freezes and at times goes out of focus. Very disconcerting .
I just love the process of Aeron teaching from beginner to pro level. I have been looking forward to taking my retouching skills to another level and this course will be my ride there. Thanks again to the PHLEARN team.
I’ve been casually working with Photoshop for nearly three years now, but I’ve never really been sure what “aspect” of Photoshop I wanted to work in (retouching, logo design, etc). This course solved that question for me. I have fallen in love with the process of compositing, and I am for sure going to be taking the more advanced courses after having now completed the beginner course. You’re awesome, Aaron!
A really excellent tutorial, filled with information and techniques that I’m sure to find useful in all photo-editing, not just compositing. Thanks very much
Thanks for another great course. Heaps of different style examples to work along with.
can you please make a tutorial on how to create shadows in different situations based on the direction of the light and types of light ( hard or soft light), also I would like to learn how light falls and affect the subject( in a composite image) and how to create that effect, but more than anything else I want to learn how to determine the direction of light in a photo I found it very difficult to define it especially if the light source was large I wonder if there is a check layer or something that helps?
Loaded with information, technique, and essentials. Takes a while to get through. (I broke it up into 3 parts). Then I watched it again. Well worth it!
What a great course! I have done a bit of compositing in the past, but this beginners’ course was not only simple to follow, but already made me a much better composite artist! I highly recommend starting here if you are getting into compositing. Great job, Aaron!
Awesome course.
Omg… this course is really amazing I learn lots of new things and very simple easy tricks, this course is very helpful for a beginner like me, I love it…
I’m new to photo compositing and this course is a FANTASTIC introduction. I learned a ton. I appreciated the explanations of why certain images do or do not work near the beginning of each section.
What a great course. This is my second online Photoshop course and I have to say is superior to the Udemy course I took. Aaron is such a great teacher, and the subjects and tutorials feel more current and stylish. Highly recommend.
Really its a good tutorial. Mainly that threshold technique. Loved this one
Phlearn……I love you! These tutorials have been put together with so much thought. Every question that comes to mind while watching is answered only a few moments later. Aaron Nace is hilarious and easy to understand and he makes even the most complicated techniques fun to learn. Thank you for sharing your wisdom.
Intro to Photoshop Compositing for Beginners This was an amazing lesson for me. I stumbled up Aaron trying to put things and people in photos they weren’t in. After discovering the lessons he had to offer, I bought some and began my journey with floating books: the space one, (I forgot the name of, was just too hard back then for me), plus with my Pro subscription there were other things I need to learn before jumping into compositing again. Now I am here, and I am so glad I took all the pryor lessons because it is much easier to follow him as he mentioned tools I am familiar with; along with new ones that will be added to my toolbox. This lesson covers: horizons, perspective, threshold and so many other tools one truly needs to have in order to present a great composite. Vanishing Point Filter was my favorite. It takes an array of techniques for compositing because you’ll never know which tool will be needing until you find the right picture for what you want to create. Aaron gives great tips on how to find that also. Happy PHLEARNing, Rose
Brilliant tutorial, changed the way I view all of my photo compositions.
Great tutorial!!!
WOW! Ive been compositing for a few years and I learned so much from this beginners course… Im not to sure how and why I never knew this stuff on coloring but im sure glad I got this course… Thank you!
There is no way to describe how much I love these tutorials. Gonna stay here for a couple of months. 🙂
I love these tutorials!. Aaron is a great instructor and I love his sense of humor. The tutorials are easy to follow and I feel like I’m learning tons and can’t wait to continue on to another video lesson.
This is an outstanding course! I watched every video of this course on compositing and I many times go back to refresh because there are just so many valuable lessons here. Aaron is the best teacher for Photoshop and Lightroom (Although I haven’t started Lightroom yet). I super enjoy learning from him. He’s truly gifted and this platform is a huge gift as well because we can learn so much. These courses really speed up the process of learning from what would take some people years of trial and error. I simply don’t have much patience to do that. I love the Phlearn platform so much, I just wish I had founded out about this sooner!
I love how you break things into beginners to advanced like this tutorial series. There is no information overload, everything is getting imprinted in your head as you follow and amount of time we spend on topics is just on point. If you have Photoshop installed you need this website along with it.
I have learned so much! I have been working on compositing for a while, and this tutorial is one I will be referring to a lot, I am sure. There are tools I learned about that I have not used much and will be using A LOT in the the future. I had a lot of facepalm moments because there are things that made so much sense to think about, yet I never really have. I would totally recommend anyone interested in compositing (whether you are new or an old hat to it) to watch this tutorial.
This was so so helpful, thank you.
A tremendous amount of practical application of tools I’ve rarely used (select > modify > contract > delete), or even knew how to use correctly. Thanks for this intense and gratifying introduction to my new found compositing future. Aaron and his polished team continue to amaze.
You’re the best.
Simply great! Thank you!
How did you manage to squeeze so much information into those 5 hrs.. I do not know 😉 Absolutely loved it.
The Solid Color adjustment layer set to Saturation or Hue is absolutely fantastic and helps me get realistic results. Many thanks from France!
Another mindblowing easy to digest and fun course from Aaron. Thanks man, u’ve helped me a lot this last 10 months.
It was fantastic tutorial, Aaron! In particular, I admired that you showed the process of “Selecting suitable photos” for compsite, so that I could solve the problem that I always had. I think this tutorial not just focused on a technical issues, but it gives us a practical knowledge of the real world. And he also gives many Tips! How to use Threshold to analize the Lights between background & subject, How to adjust Hue, Saturation using hyper-Saturated Solid Color, How to find a Horizontal Line in the picture, Why things that are close look darker than far objects, How to draw the reflexion of the surrounding environment that permeates the subject. It’s a lecture that teaches you how to use these knowledges to make more natural composite photo! Thank you again, for your great tutorial!
Did she ever find Tony wandering around Yellowstone?
As someone who creates photo-composites to help clients visualise their design, I found that this tutorial helped me to elevate my skills to a whole new level. Understanding why certain images do and don’t work well together was extremely helpful. There is some really great content which makes it worth retaking this course a couple of times to help really solidify your understanding. Looking forward to pushing my skills further with future composting episodes. An excellent tutorial to upgrade your compositing skills.
Loved it. I feel I learned so much by seeing also what did not work and why.
I have watched many of Aaron’s composition vid’s and always been impressed but he has always left me with a few unanswered questions,This course answers those questions and a lot more i never even thought of.Probably not a complete beginners course but if a complete beginner can understand this,then he/she will be a top class compositor in a lot less time.This course is THE best on composting and i have watched a lot over the years.I am no way near Aaron but i thought I knew a bit about the subject,I know now I dont really but with this course i will.This course is worth the subscription on its own.Thanks Aaron and your Phlearn team, you guys really ROCK. My very best regards Rob
As someone who thought they already knew how to composites quite well… I learned so much from this tutorial! I was not as good as I thought I was! I always struggled to match colour balances and now I can do so easily. I learned how to create seamless composites that the viewer is unsure if it is photoshopped or not. Thanks Aaron!!
Having watched several PhLearn compositing tutorials, this one encapsulates all the essential guidance and techniques. I would say it’s the most efficient one in terms of getting the information across in the amount of time. Excellently done, and is the one I would use a reference guide. Not sure about the “for beginners” in the title given the use of masks and blending modes, but hey if there’s a future one for intermediate/advanced users then count me in! Love the inclusion of the Fog Brush, and it would have been nice to include an action similar to the “Bakster Check Group” .. perhaps a short additional bonus segment? Thanks Aaron and team PhLearn for this most excellent tutorial.