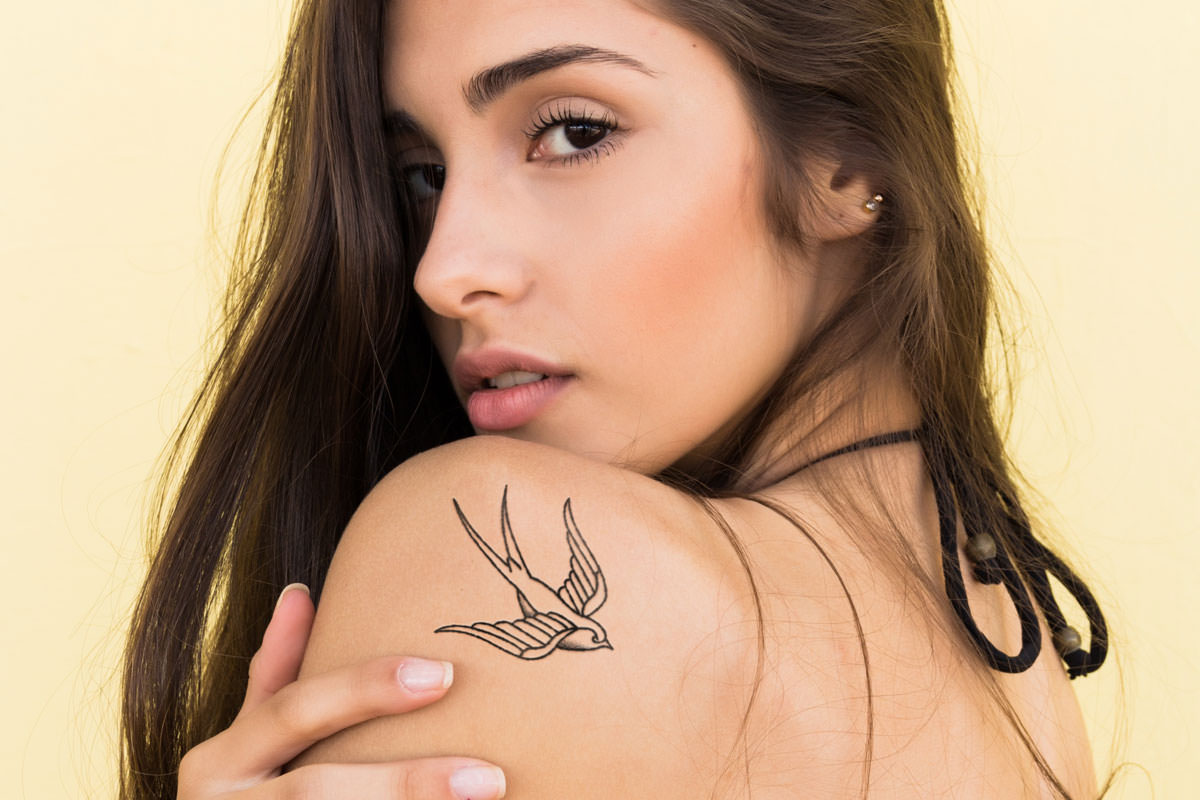

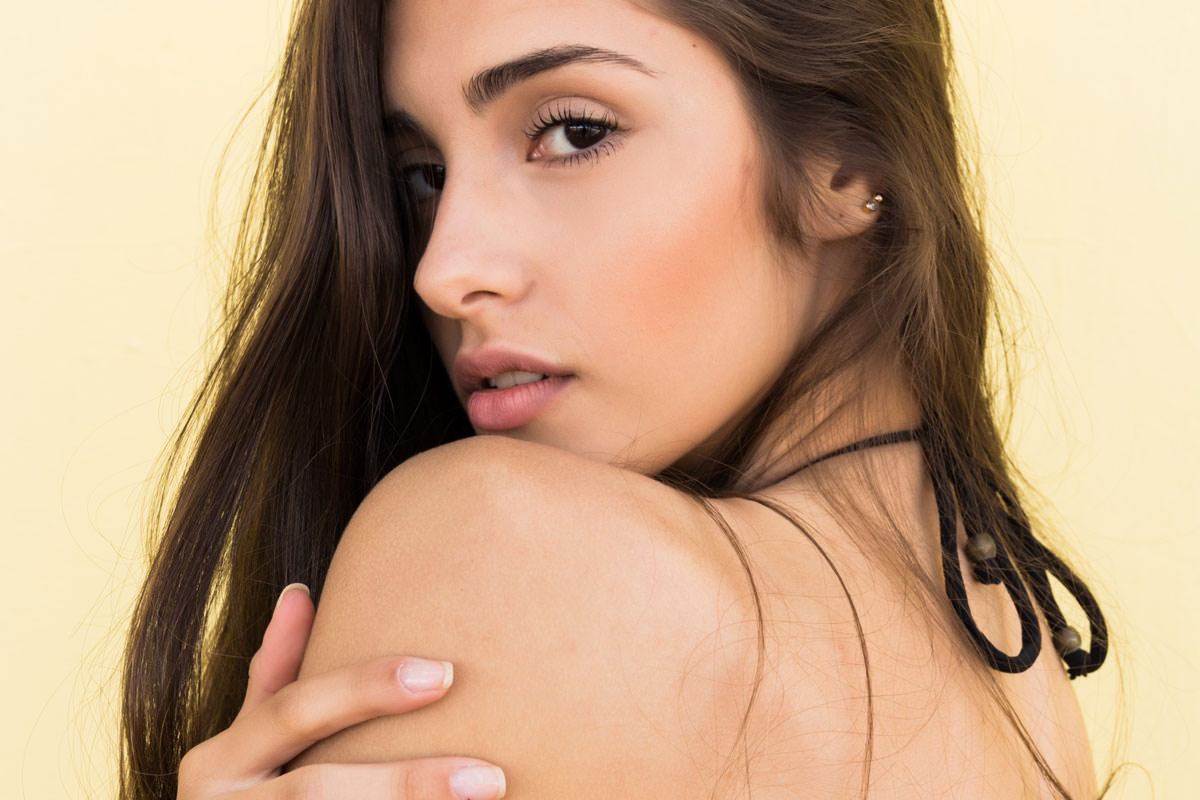

BEFORE
AFTER
Download Sample Images
Click the link below to download the sample images and follow along with this tutorial.
DownloadTutorial Description
Tattoos create visual interest and can help tell more of a story about your subject and scene. Whether you’re looking for a new way to add style to a photo or you just want to see how a design might look as body art, we break down everything you need to know to make it happen in Photoshop.
In this tutorial, we show you how to take any design and transform it into a realistic tattoo. Learn to use Filters to add natural variation to lines, conform an image to the shape of a body using the Liquify Tool and Smudge Tool, and add realistic shading using our exclusive custom brush!
The Hand-Drawn Look
Even the best tattoos will have slight variations along lines and edges. Take our sample tattoo image (which is a PNG created in Illustrator) and place it over the subject’s skin as-is – you’ll notice that the lines are too perfect to be a convincing tattoo. To recreate the slight unevenness of a real tattoo, we’ll be using the Filter Gallery to apply a series of filters.
We recommend working with the tattoo image at a larger size during this process. This will help exaggerate some of the filters so that they will still be visible after we scale it down to the final size.
In order to properly apply filters, we need to place the graphic onto a white background. You can use the Marquee Tool to create a square around the graphic and fill it with white. Place the new layer underneath the tattoo image and merge them together by hitting CTRL or CMD + E.
Once the graphic is placed over a white background, we’re ready to jump into the Filter Gallery.
Under the Filter Gallery, you can find the Glass filter under the Distort folder. The Glass filter will have options for Smoothness, Distortion, and Scaling. Set the Smoothness at a high enough setting to where the edges have subtle, natural-looking curves. Then adjust the Scaling and Distortion to add more variance to the edges. Once one filter is set, add another Glass filter and change the settings slightly to add even more variation. After applying a third Glass filter, the bird graphic should begin to appear hand-drawn.
Selections with Channels
Once the filters have been applied, we need to cut out our design from the white background. Fortunately, this is incredibly easy to do with Channels! Simply go to the Channels tab, select the Blue Channel, and click on the icon while holding ALT or OPTN. This will make a selection of the light areas in the image. Then inverse the selection by going to Select and to Inverse – this will change the selection from light areas to the dark areas.
Go back to the Layers tab and create a new Layer. A new Layer will appear at the top of the Layer Stack with our Channels selection active. Simply fill the selection with black and the tattoo design will reappear.
Use a Layer Mask to remove any excess areas that were selected during the Channels step.
Getting Inked
Now that our lines are finished, it’s time to resize and place the tattoo on our subject. No matter where you decided to place it, it’s important that the tattoo follows the natural contours of the skin and body of the subject.
You can use the Smudge Tool and the Liquify Tool to gently push and pull the design so that it wraps around any curves in the skin. The Smudge Tool will create an effect that looks like ink has been absorbed into the skin around a line. The Liquify Tool will allow you to make subtle changes to direction to help the tattoo look like part of the subject’s skin.
Adding a little bit of dimension can also help sell the effect. To do this, add a Bevel & Emboss Layer Style to the tattoo layer. First, match the light direction with the lighting in the scene. (In our example, the light is coming from the top and down.) Then we set the Depth to 1000%, the Size to 5, and Soften to 8. Then we changed the Highlight Mode and Shadow Mode both to Soft Light. This creates a very subtle effect but one that will make a huge difference in how the tattoo appears as part of the subject’s skin.
A little blur goes a long way to helping the tattoo look and feel like it was made with ink. Duplicate the tattoo layer and go to Filter, then to Blur, and select Gaussian Blur. We chose a Gaussian Blur of 3.9, which gave a look like ink had been absorbed by the surrounding skin around the tattoo. Add a black Layer Mask to this new layer and, using a soft brush, paint white in any areas where black lines converge. If this were a real tattoo, more ink would be concentrated in these areas – this blur technique will help simulate that effect.
Custom Stipple Brush
We wanted to add some realistic shading to our bird graphic in a style found in tattoos and body art. To make it easy, we created (and included) a custom brush which will apply shading effect using a technique called stippling.
The brush is a concentration of small, random dots that, when applied at a low flow, create a realistic shading effect that looks like it came straight out of a tattoo parlor.
Using a Flow of 10%, paint in any areas of the tattoo that you want any shading to appear. Since we’re using a low a flow, we can really build up the effect however we want, creating a beautiful gradient from light to dark. If you go outside the lines at all, you can use a Layer Mask to refine and fix the shading at any time.
Integrating the Tattoo into Skin
The final step is to make the tattoo look as though it’s embedded in the subject’s skin and not just sitting on top of it.
Duplicate the background layer and place the duplicate on top of the layer stack. Fill the layer mask with black. Then, using a large, soft brush with a Flow of 10%, paint white on the layer mask over the area with the tattoo. This will introduce some of the subject’s skin over top of the tattoo, helping it appear as if it is part of the subject’s body.
Lastly, we can add more appearance of skin texture into the tattoo. Go back to the custom stippling brush that we’ve included. Sample a color of the subject’s skin near the tattoo. Then make the brush very small and begin to lightly paint over areas of the tattoo. This will add small specks of skin color that will create the illusion of skin texture across the dark lines of the tattoo.
That’s all there is to it! Now you can give yourself that tattoo you’ve always dreamed of without having to worry about your mother’s disapproval.
Tutorial Image by: Rafaella Mendes Diniz










Enjoying This Free Tutorial? Go Further with PRO.
Unlock Full Sample Files, PSDs, and Hundreds of Masterclasses!

Download full project assets, original PSDs, and RAW images for every lesson
Unlimited access to our complete library of PRO Photoshop & Lightroom courses
Instant 4K Ultra HD streaming on all devices, anytime, anywhere
Full access to our entire library of Photoshop Actions, Presets, and LUTs
Flexible monthly and annual membership plans
Cancel anytime with zero hassle or commitments