
The Power of AI: Creating Graphics in Midjourney and Compositing Them into Portraits in Photoshop
-

-
Add to
favorites
description
Discover how to create stunning composite images using AI-generated backgrounds and portraits in Photoshop. Join Mid Journey’s Discord server to generate custom backgrounds, then follow our step-by-step tutorial to seamlessly merge the images and enhance your final result. Unleash your creativity with AI and Photoshop today!
Stock Images
Share
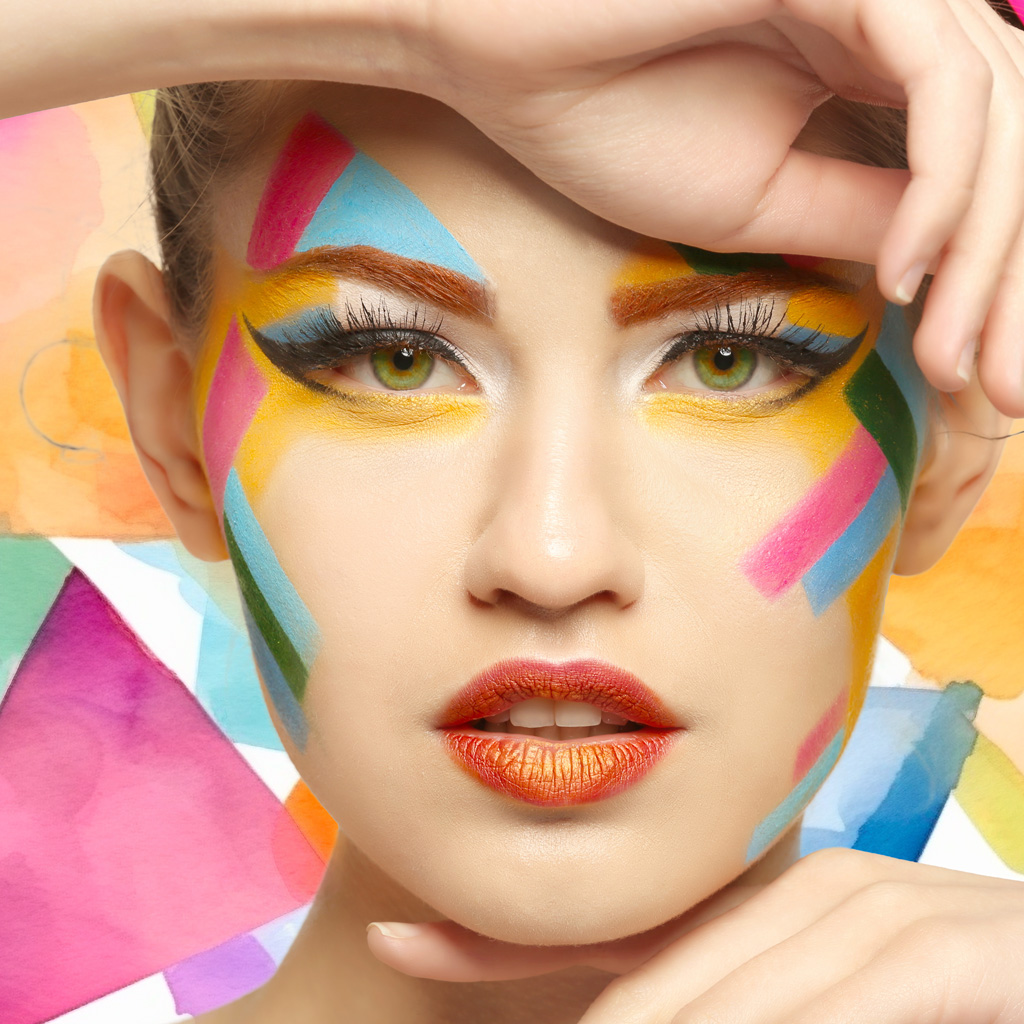
AFTER
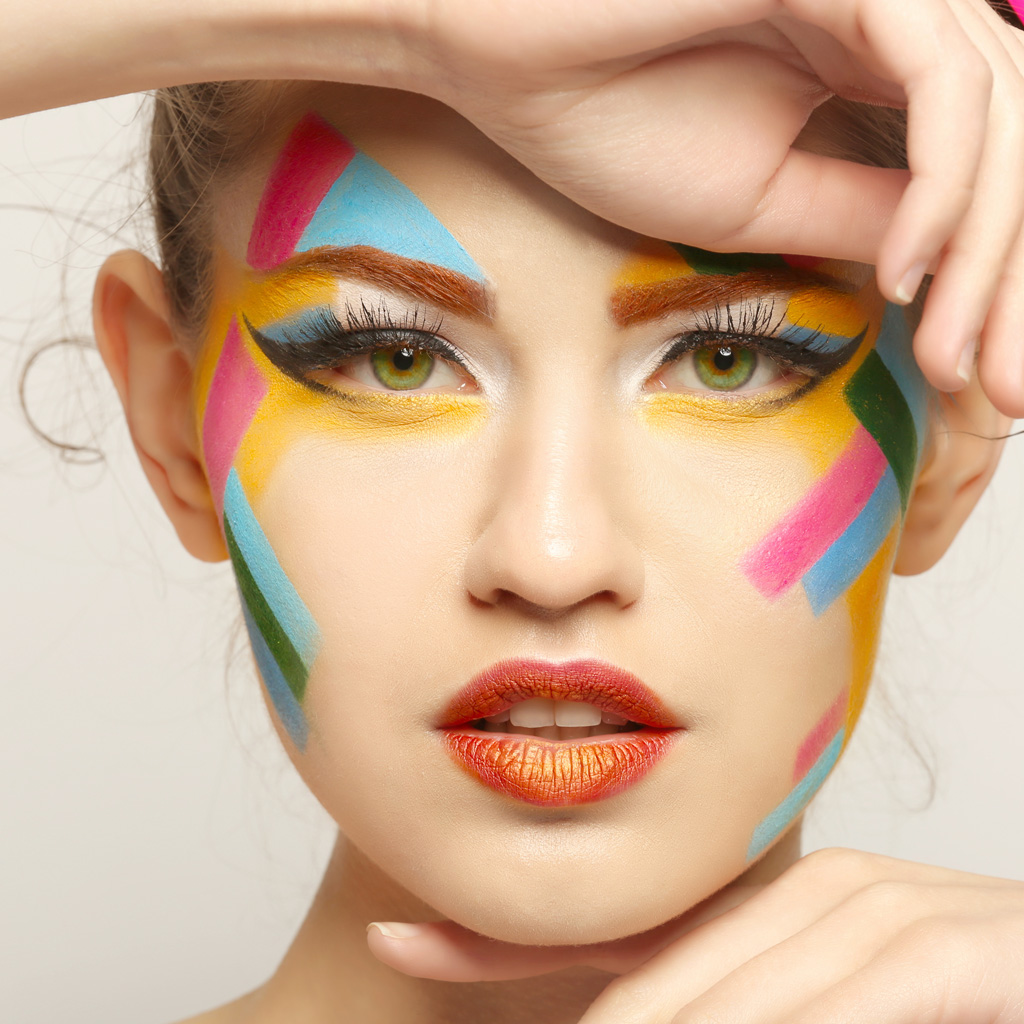
BEFORE
Unlocking Mid-Journey Graphics’ Secrets
In this tutorial, we will learn how to use artificial intelligence to create a background for a portrait and composite the two images together in Photoshop. We’ll be utilizing an AI-powered platform called Mid Journey on Discord to generate the background and then merge it with our existing portrait.
Step 1: Join Mid Journey’s Discord server
First, join the Mid Journey Discord server by visiting their website at midjourney.com and clicking on the Discord icon. Follow the instructions to join the server and access the AI background generation bot.
Step 2: Create an AI-generated background on Discord
Interact with the Mid Journey bot by following the instructions provided in the server. Customize the colors, textures, and patterns to suit your preferences. Once you are satisfied with the background, the bot will generate a high-resolution image. Download this image to your computer.
Step 3: Open both images in Photoshop
Open both the portrait and the AI-generated background images in Photoshop. Make sure both images have the same dimensions or resize them accordingly.
Step 4: Prepare the portrait
Before combining the images, remove the original white background from the portrait. Use the “Select Subject” feature in Photoshop by going to Select > Subject. This will automatically create a selection around the subject. Then, add a layer mask to hide the selected background.
Step 5: Refine the selection
Refine the edges of the subject in the portrait to ensure a seamless blend with the new background. You can use the Select and Mask workspace to achieve this. Adjust the settings, such as feathering and contrast, to make the edges look more natural.
Step 6: Combine the images
Drag the AI-generated background layer below the portrait layer in the Layers panel. Use the Move tool to adjust the position and alignment of the background as needed.
Step 7: Enhance the composite
Add any necessary adjustments to improve the overall appearance of the composite. You may use adjustment layers such as Curves, Levels, or Hue/Saturation to balance the colors and tones. Additionally, you can apply filters and blending modes to further enhance the final result.
Step 8: Save the final image
Once you are satisfied with the composite, save the final image in your desired format, such as JPEG or TIFF. Make sure to save a PSD version as well, to preserve the layers for future edits.
The Mid Journey AI-powered platform makes it easier than ever to create custom backgrounds for your portraits and composite the images together in Photoshop. With these techniques, you can unlock endless possibilities and take your creative vision to the next level.


