
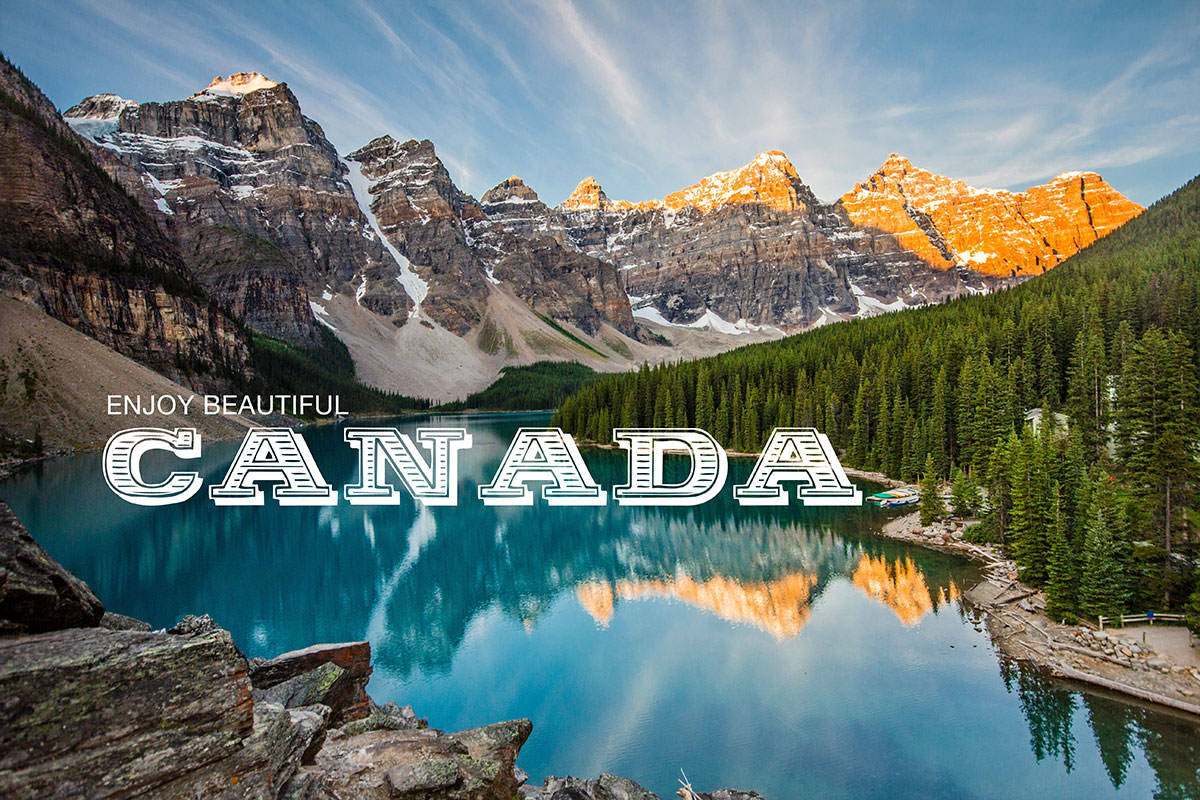
BEFORE
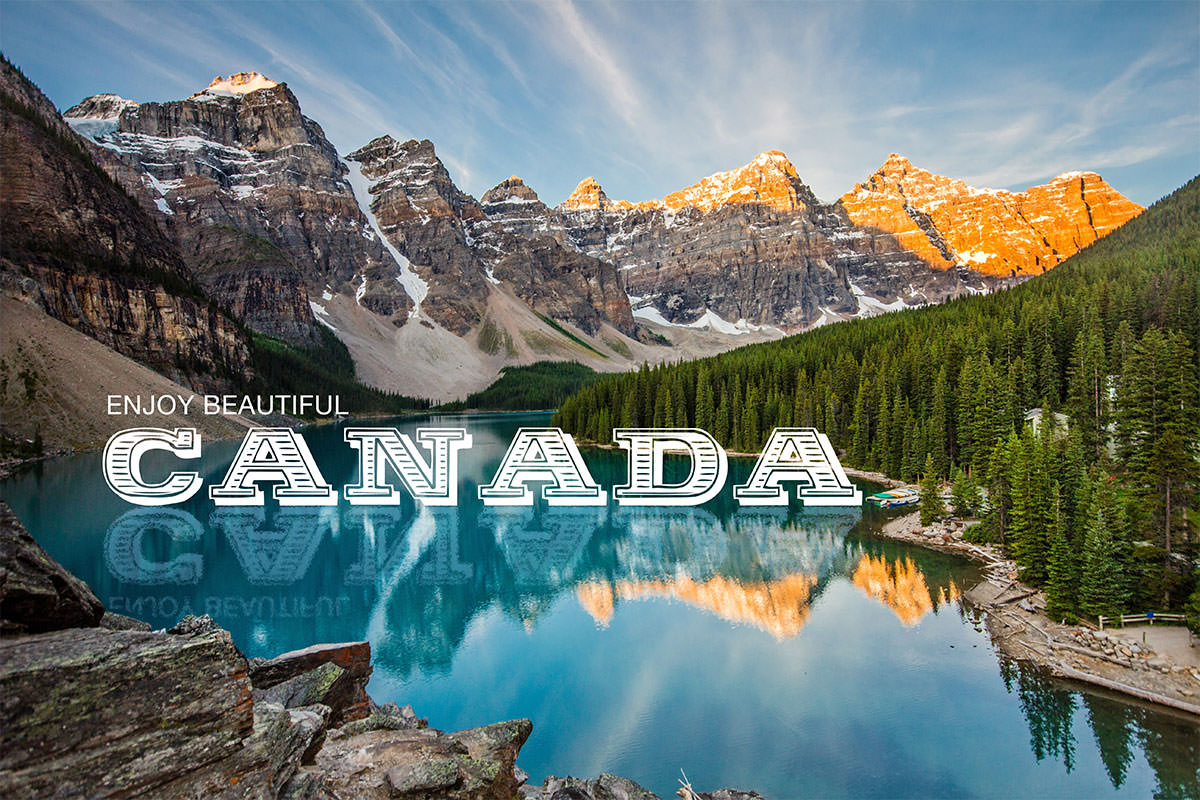
AFTER
Learn how to create a reflection in Photoshop in this episode!
We use a fun font and beautiful Background to demonstrate how to flip the Text and apply some ripple effects.If you’d like to check out the free font from this episode, CLICK HERE.
Section 1: Creating & Placing a Smart Object
If you’ve been watching Phlearn for a while, this trick might already be up your sleeve: Smart Objects & Filters! These allow changes to be made to Filters even after they are applied to a layer, and come in handy for many reasons.
To create a smart object on a separate document, right click on the Background layer and Duplicate it. Be sure to check “New” for the destination, and save it under a new file name. Now, on your background image, go to File – Place Linked and select your newly saved Smart Object.
Now, any changes made to the Smart Object will update immediately on the background image! This is great for after the reflection has been placed, because it will update both the original Text and the Reflection accurately and at once.
Section 2: Filter Gallery Basics
If you apply Filters directly onto a white object or white Text, nothing will happen. The Filter needs some Contrast in order to create an effect. So, we can place a black background behind the Text (On the Smart Object file) and then use the blending mode “Screen.”
Now, if you go to Filter – Filter Gallery and choose a ripple effect that suits your photograph, it will actually show changes.
Section 3: Applying & Editing the Ripple
From here, it’s up to you to edit the effects however you’d like! In this case, we decreased the Ripple Size and increased the magnitude so that the effect matched up with the actual lake in the photograph.
We also applied a bit of a Gaussian Blur, because the lake reflection isn’t perfectly clear. You can do this by going to Filter – Blur – Gaussian Blur.
We also changed the Color of the Reflection to be a nice subtle blue. This can be done by adding a Hue/Saturation layer, pressing the Colorize button, and altering the Hue, Saturation, and Lightness.
The final step is minor Adjustments, like a Linear gradient that goes from black to white on a Layer Mask to subtly blend away the reflection. A Layer Mask is also great for painting away any unwanted additions in the image.


