Download Assets
description
Discover the power of Adobe Camera Raw! This tutorial unlocks its secrets, showing you how to use it for non-destructive editing just like Lightroom. Learn how to open photos, master masking basics for selective adjustments, and make targeted exposure, brightness, and color corrections.
Go PRO:
Interested in exploring more of Adobe Camera RAW? Watch our in-depth PRO tutorial Master Adobe Camera RAW 2024.
Share


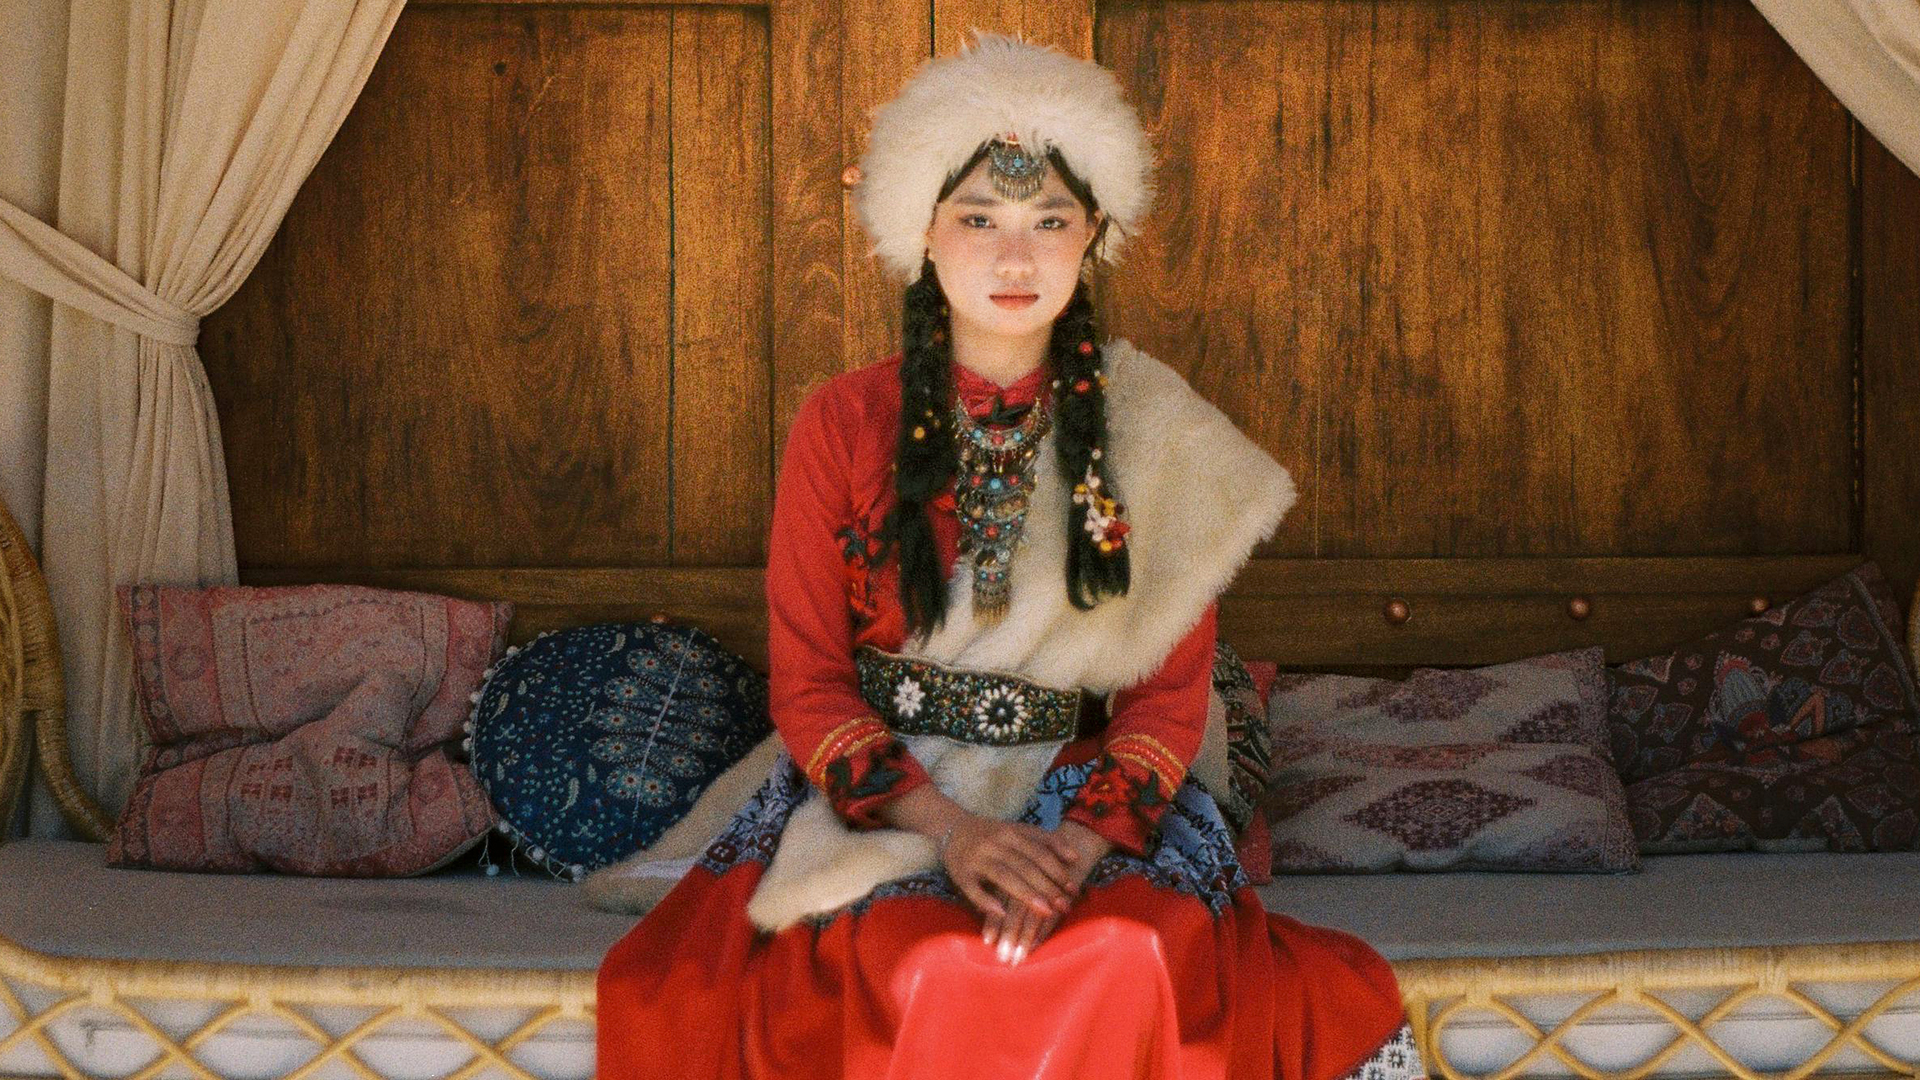
AFTER
BEFORE
Raw Edit Magic
Adobe Camera Raw is a powerful tool hidden within Photoshop, offering an amazing photo editing experience, especially for those familiar with Lightroom. In this tutorial we’ll show you how to leverage Camera Raw’s potential to enhance your images. Follow the steps below to get started!
Accessing Camera Raw
1. Open your image in Photoshop.
2. Locate the “Layer” panel and double-click your background layer. This unlocks it for editing.
3. Convert the layer to a Smart Object by navigating to “Layer” > “Smart
4. Objects” > “Convert to Smart Object.” This allows you to make non-destructive edits.
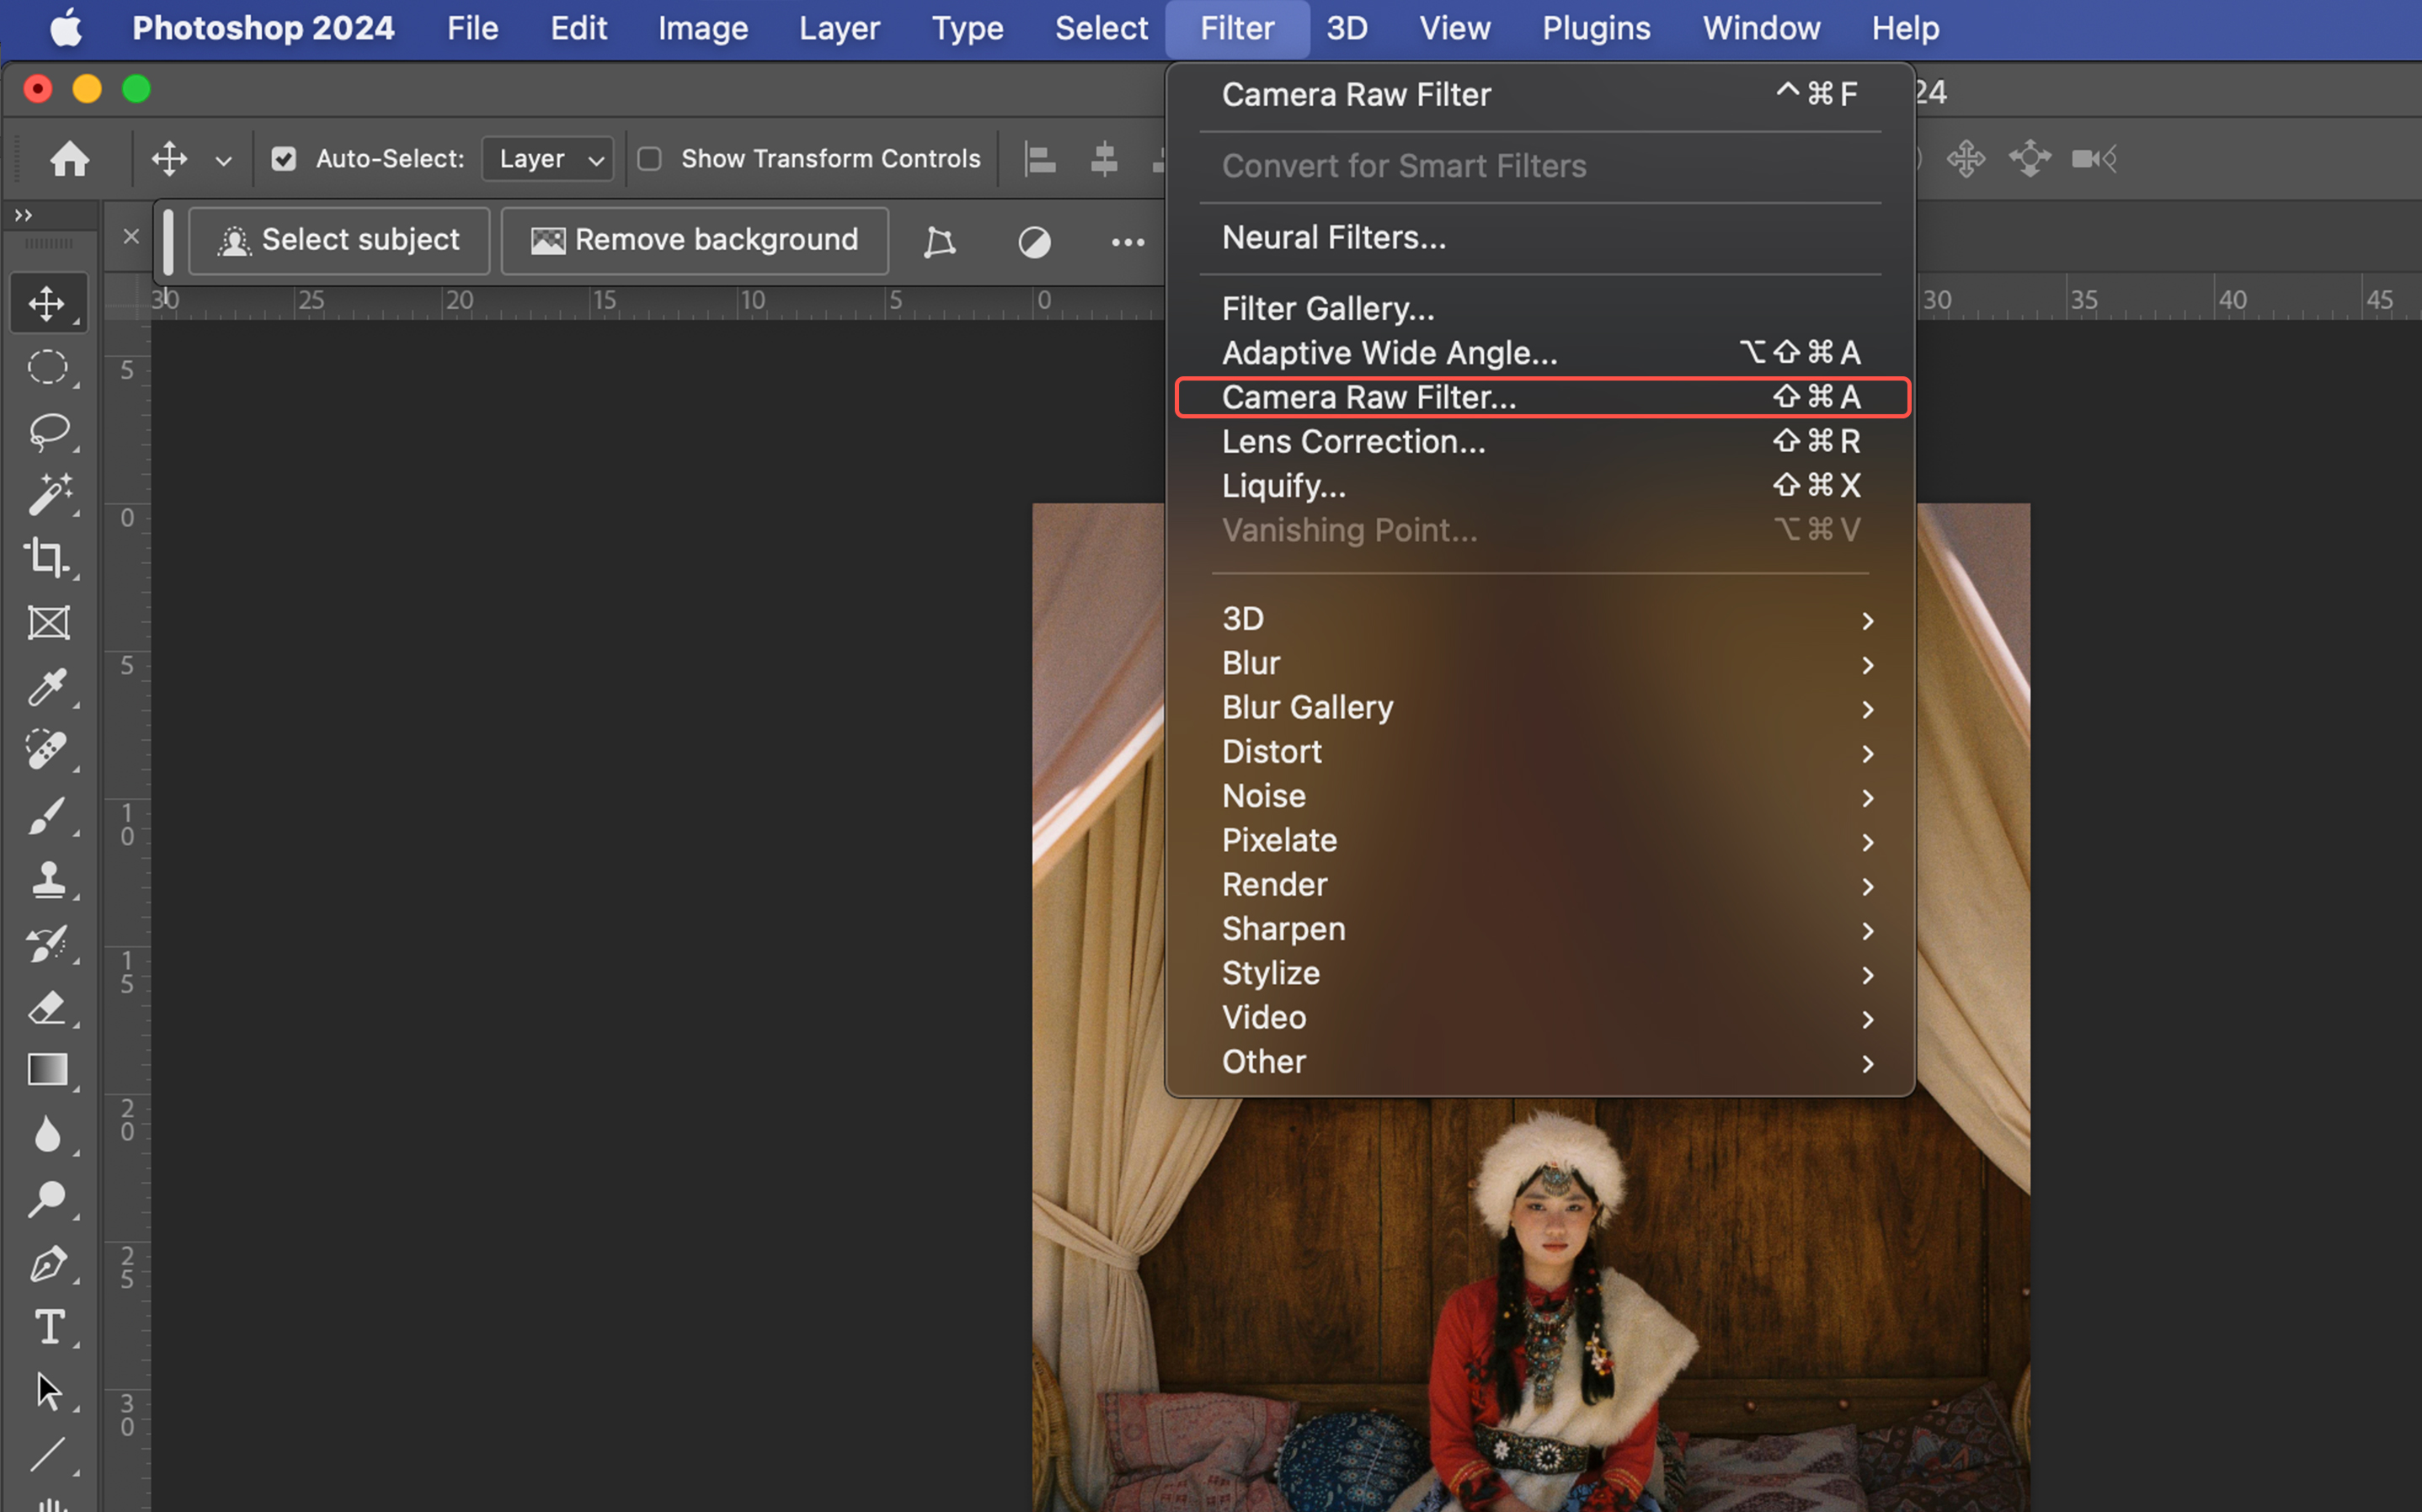
5. Go to “Filter” > “Camera Raw Filter” to open the editing interface.
Selective Editing with Masks
The magic of Camera Raw lies in its masking capabilities. Here’s how to use them:
1. Click the “Masking” icon and choose “Select Subject.” This automatically selects your subject.
2. Refine the selection using the “Subtract” brush to remove unwanted areas.
3. Adjust exposure, shadows, or other settings specifically for your subject.

Creating Targeted Adjustments
Masks act like spotlights in Camera Raw, letting you focus on specific areas for adjustments. You can use a brush to paint over a bright spot and dim it down, create a radial glow behind your subject, or use linear gradients to darken specific background areas. With masks, you have the power to refine your edits and make them truly impactful.
Saving Your Work
1. Click “OK” in the Camera Raw window to apply the edits as a Smart Filter.
2. Double-click the “Camera Raw Filter” in the Layers panel to revisit your edits and masks.
3. You can adjust any mask or setting you created previously.
Remember, converting your layer to a Smart Object is crucial for accessing Camera Raw’s full potential and preserving the ability to revisit your edits.


