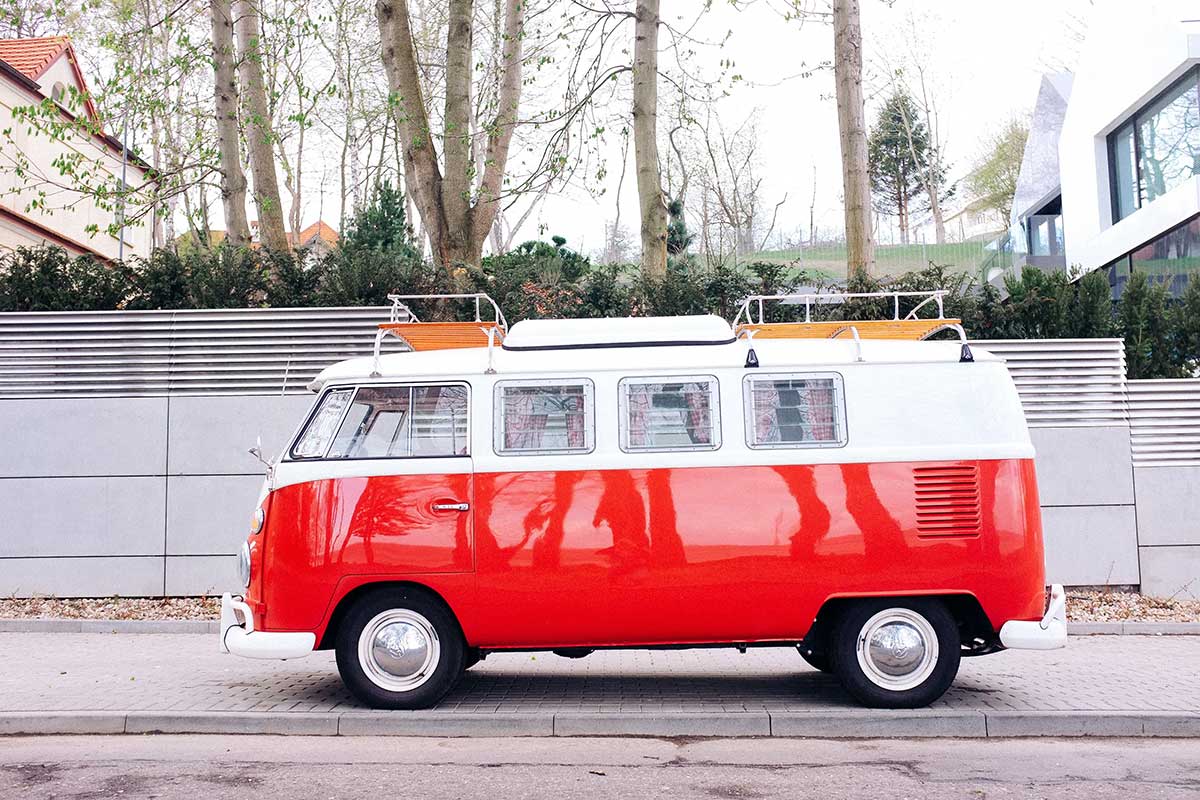

BEFORE
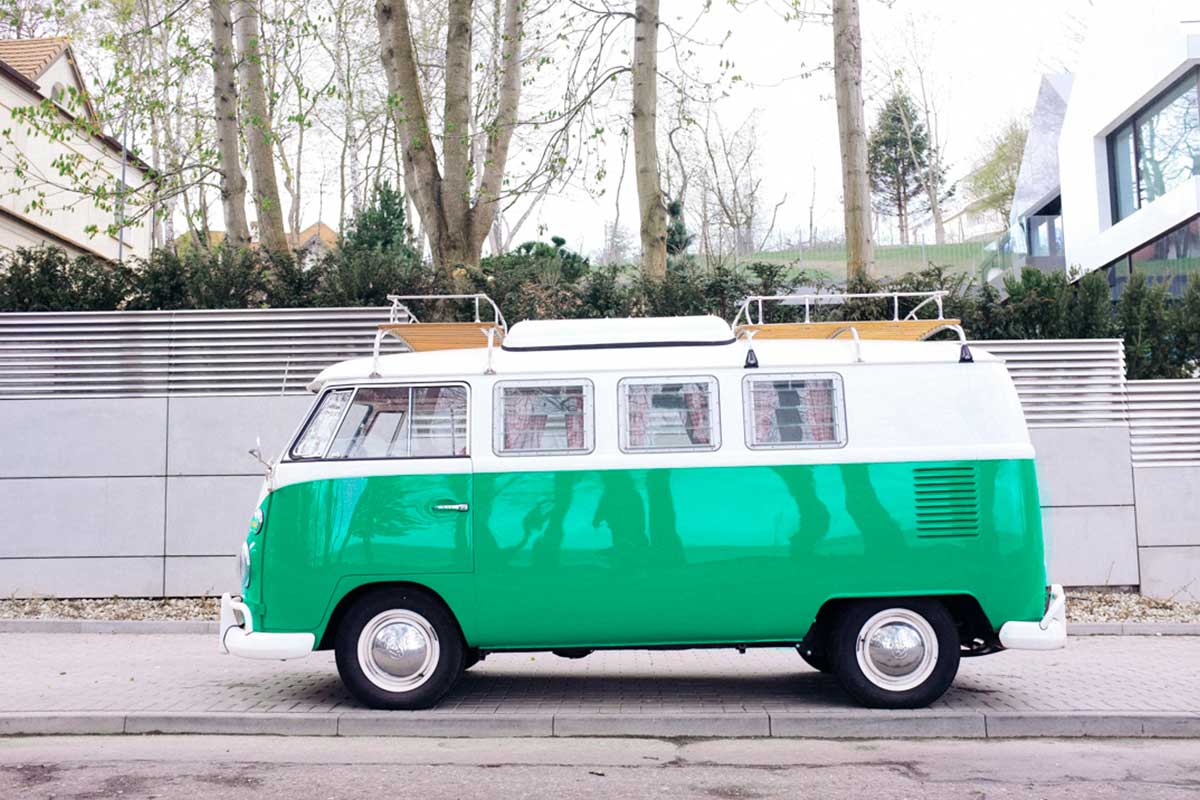
AFTER
Download Sample Images
Click the link below to download the sample images and follow along with this tutorial.
DownloadTutorial Description
Are you a Lightroom Classic power-user? Recent changes have made it more robust and versatile than ever before. Things that were once only possible in Photoshop can now be done in Lightroom–making for a smoother workflow and easier editing.
In this episode, Aaron shows you how to use the Adjustment Brush in combination with Range Masks to make precision selections and use those selections to change the color of nearly in anything! Powerful results without ever leaving Lightroom!
Quick & Easy Color Changes
At a glance, changing the color of something in Lightroom isn’t difficult. Once you open an image in Lightroom, the Develop Tab gives you quick access to making color adjustments right away. The HSL/Color menu allows you to adjust hue, saturation, and lightness in a wide variety of color channels.
In our example, we have a van with some red and we want to change the red to a different color. Under the options for Hue, we can move the slider for Red, which will shift the reds in our image. But you’ll quickly notice that this option only lets you push it so far. We can change the reds to orange or magenta, but what if we wanted to change the color to blue or green? More extreme color changes just aren’t possible with this method.
The other downside is that this method will affect colors in our entire image. If we only wanted to change the colors of the van’s door and body, we don’t have the precision to do so using only the Hue/Color menu.
Greater Precision
Enter the Adjustment Brush, Lightroom’s attempt at matching the masking power of Photoshop. It isn’t as precise or as flexible as Photoshop, but for Lightroom lovers, it’s extremely useful.
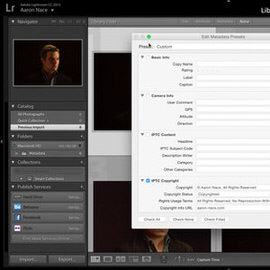
Under the Histogram, you’ll see a row of icons representing various tools. You can access the Adjustment Brush by clicking on the right-most icon on this row. We’ve got our Adjustment Brush ready to go, now how does it work?
The Adjustment Brush is simple to use. Simply paint where you want your adjustments to appear. What adjustments? Any changes you make in the right panel of Develop Tab–like we used the HSL/Color options to change reds to orange. Now we can make changes to exposure, white balance, contrast, and color, all in specific areas of a photo.
Using the Adjustment Brush, we can now make it so that only the door and body of the van are affected by the color change. Easy precision, right? Well, sort of. The thing is, the Adjustment Brush isn’t that accurate on its own. In our example, we painted where we wanted to change a color, but it’s difficult to avoid overlapping areas we don’t want to change. Now you could use a tiny brush and zoom in, painstakingly painting every pixel you want to change and avoiding every pixel you don’t, but there’s a better way.
The Range Mask
So now we have a decent selection, but it’s nowhere near perfect. That’s where Range Masks come in. Before we get into what Range Mask can do, be sure to download the latest version of Lightroom Classic! It’s a recent feature so you’ll need a newer version of Lightroom to use it.
In the right panel, you should see a drop-down box labeled Range Mask. In our case, since we’re working with color, we want to choose the Color option. This tool will allow us to further refine our Adjustment Brush selection by narrowing down the colors that it affects. If we select the Range Mask eyedropper and then click and drag over any of the red areas of the van, Lightroom will automatically adjust the selection to only include the red we want to change.
We’re almost there! We’ve got a clean selection of the colors that we want to change, but how do we get our van to be a bright blue or green? We’ve got a trick that makes it possible.
More Color Options
Near the bottom of main exposure adjustments, you’ll see a small box labeled ‘Color’. This option will apply any color of your choice over the area that you have selected. So let’s say we want to change our red van to more of a blue color. We click the Color box, select a blue we like, and, well, not much happens. Lightroom color adjustments are often very subtle. In order to get a more noticeable change, we simply have to duplicate our blue color adjustment over and over until we get a more pronounced effect. Once we see a substantial color change, we can go back down to our HSL/Color tab and dial in the color we want.
Bingo.
Accurate and realistic color changes in Lightroom Classic CC 2019.