Download Assets
description
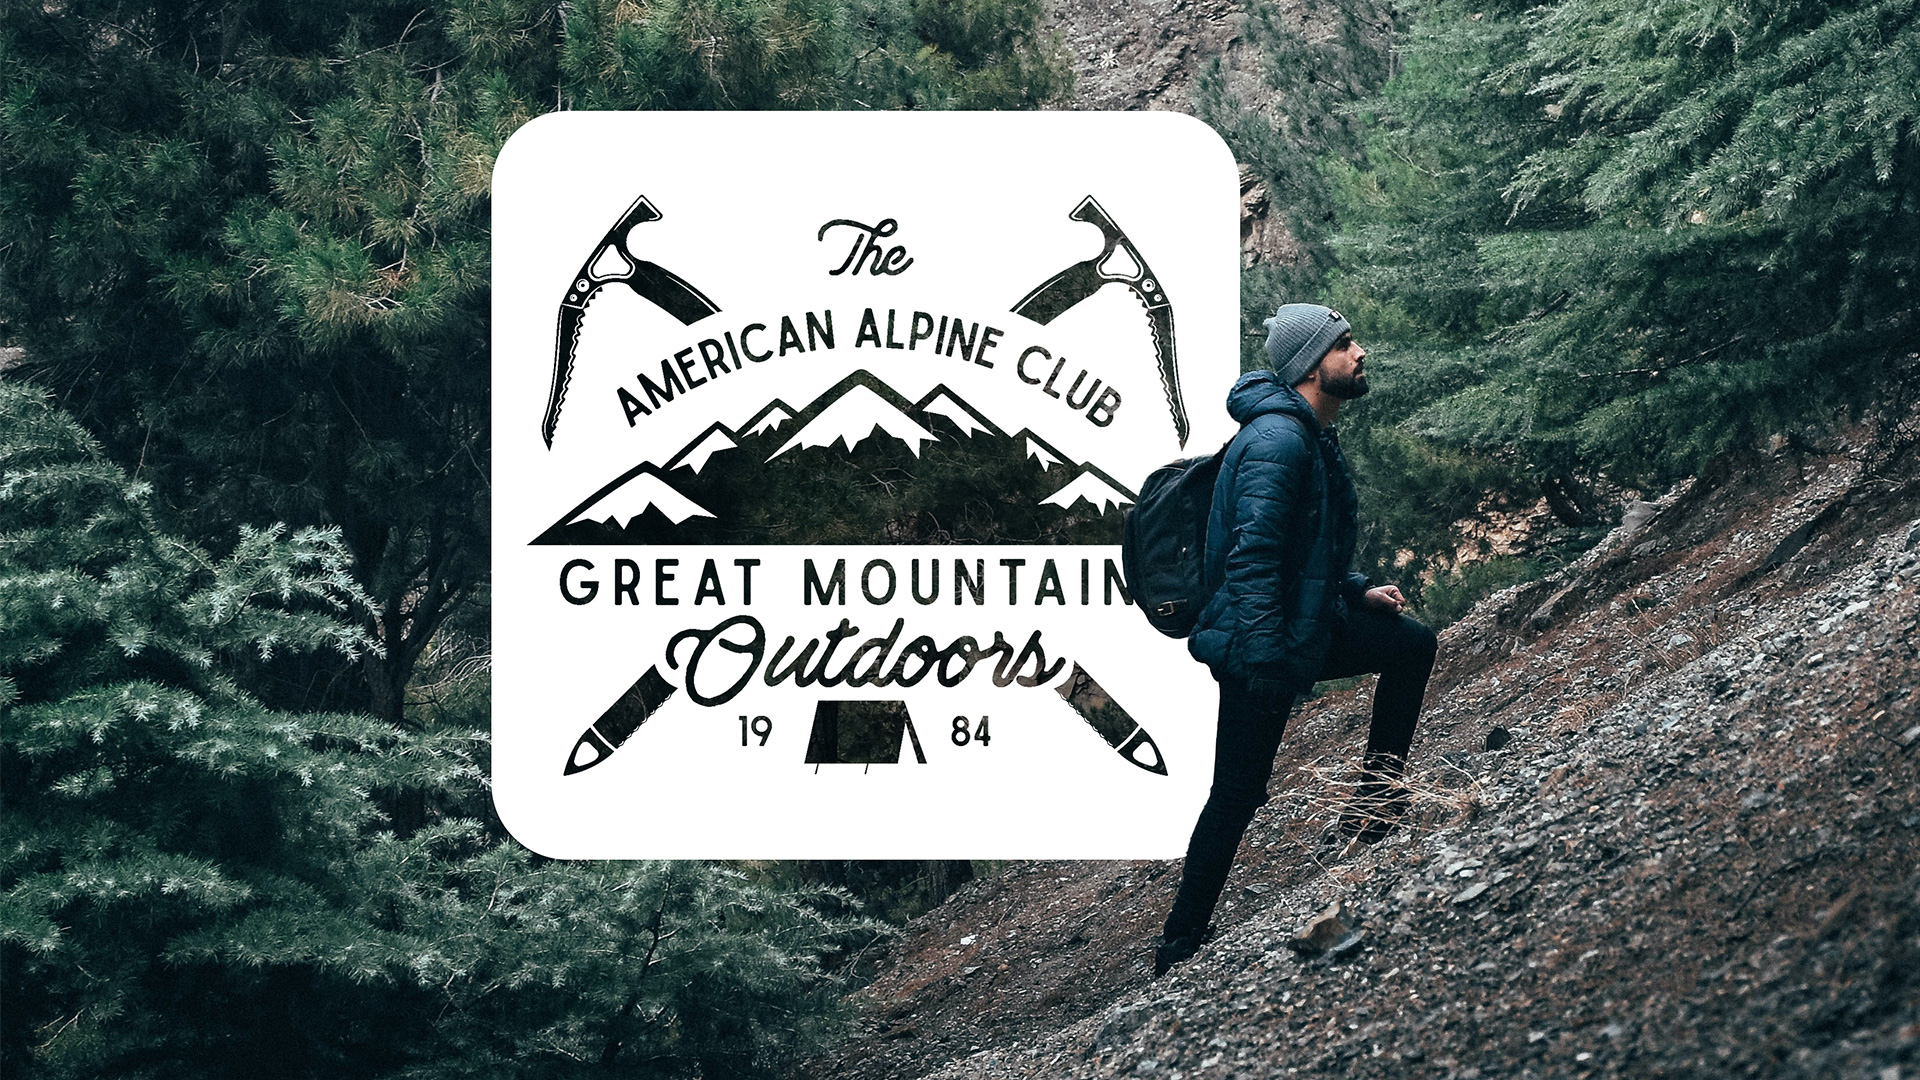
In the second episode of our series on selections in Photoshop, let’s explore some of the more advanced selection tools that allow us to mask objects in front of complex backgrounds.
Follow along as we make a precise selection of a subject to integrate graphic elements into the environment behind them.
Click here to download the complete PSD file (113 MB).
Free Selection Series
- Replace a Sky with Simple Selection Tools
- Add Logos & Graphics to a Photo with Advanced Selection Tools (This Episode!)
- Refine Selections with Select & Mask (Coming Soon)
Share
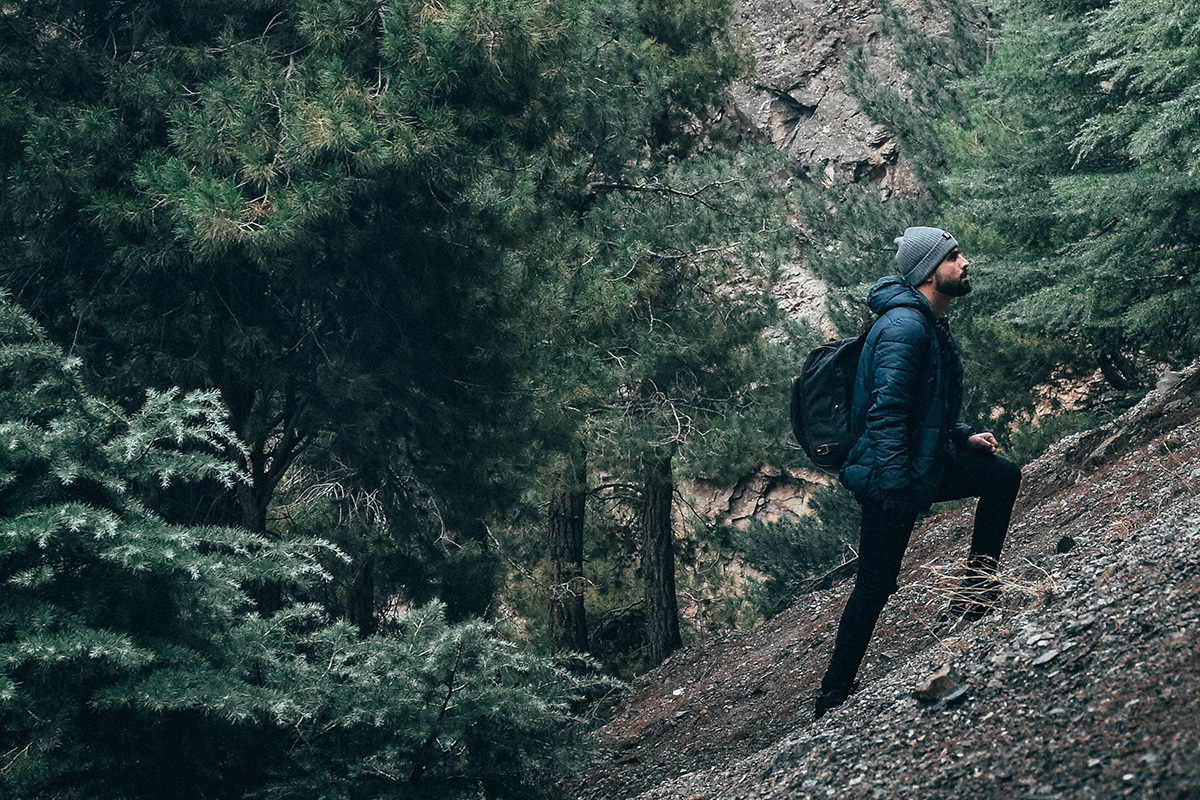

MAKE SELECTIONS IN COMPLEX BACKGROUNDS
BEFORE
Advanced Selection Tools
Getting Started with Photoshop Selections
Selections are some of the most powerful and versatile tools in Photoshop, allowing us to cut things out from their backgrounds, make ultra-precise edits, and blend elements from multiple photos together seamlessly. Let’s explore the basics of selections using some of the simpler selections tools that Photoshop offers.
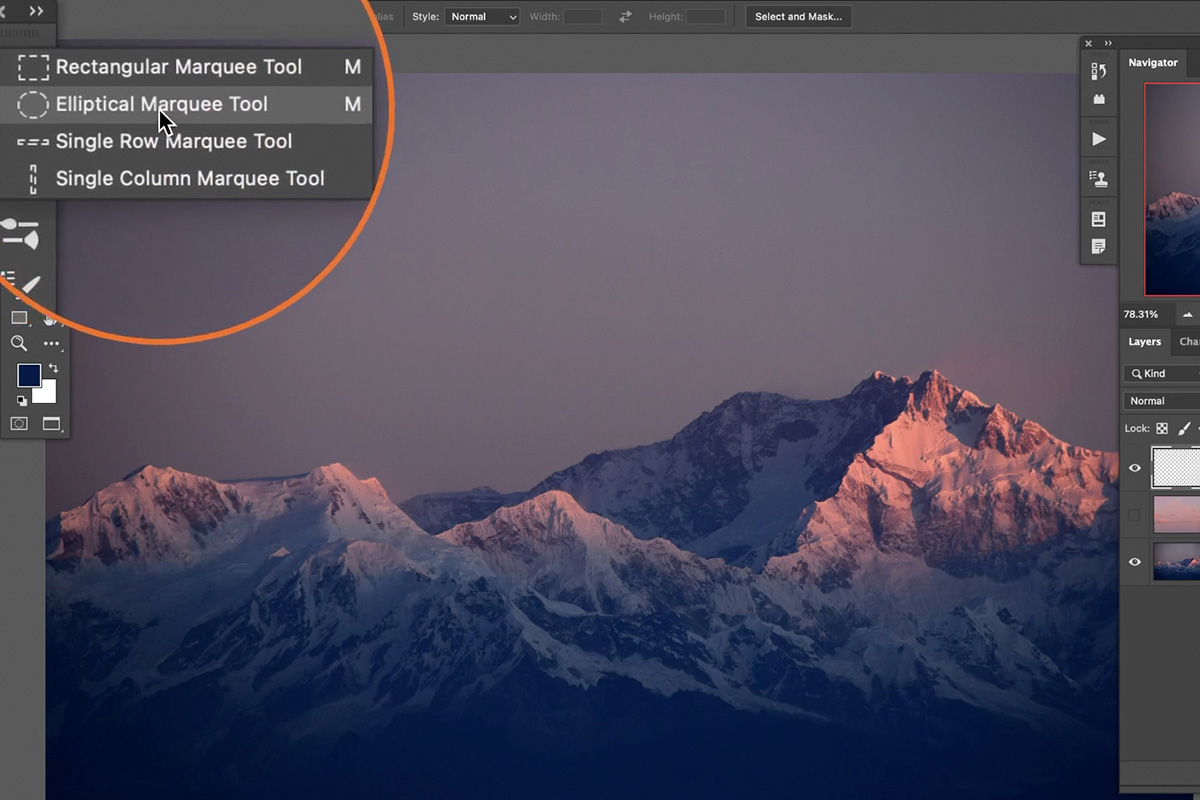
Selecting Basic Shapes
When it comes to making selections, it doesn’t get any simpler than rectangles and circles. The Marquee tools allow you to make a selection in the form of a rectangle or ellipse.
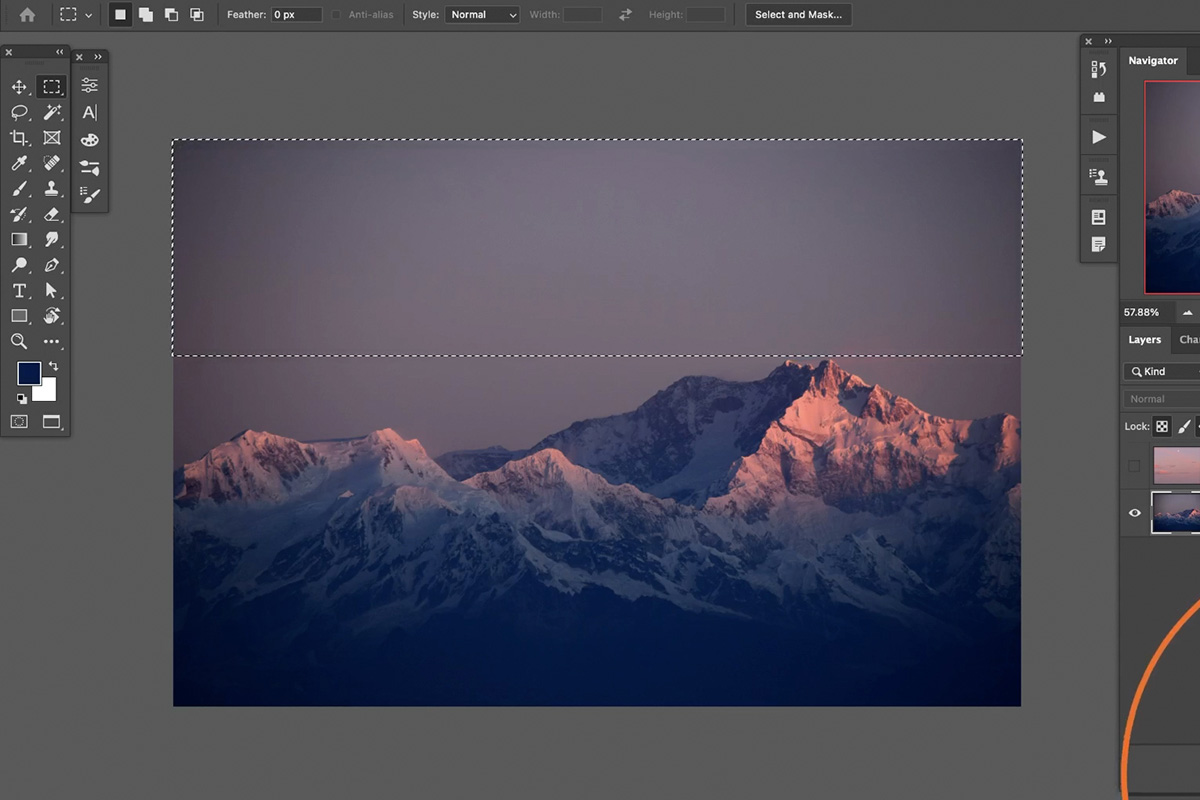
Select the Rectangular Marquee Tool and create a rectangle anywhere over top of the image.

Then, create a new Layer above the background image, select the Brush Tool, and try to paint all over the canvas. Notice that the Brush Tool only works within the bounds of the rectangular selection while its active.

When a selection is created, it defines an area that can then be edited or copied. Anything outside of the selection is ignored. This is great when you need to make edits to specific portions of a photo.

Once you’ve created a selection, you can add to it by holding the SHIFT key while creating another.
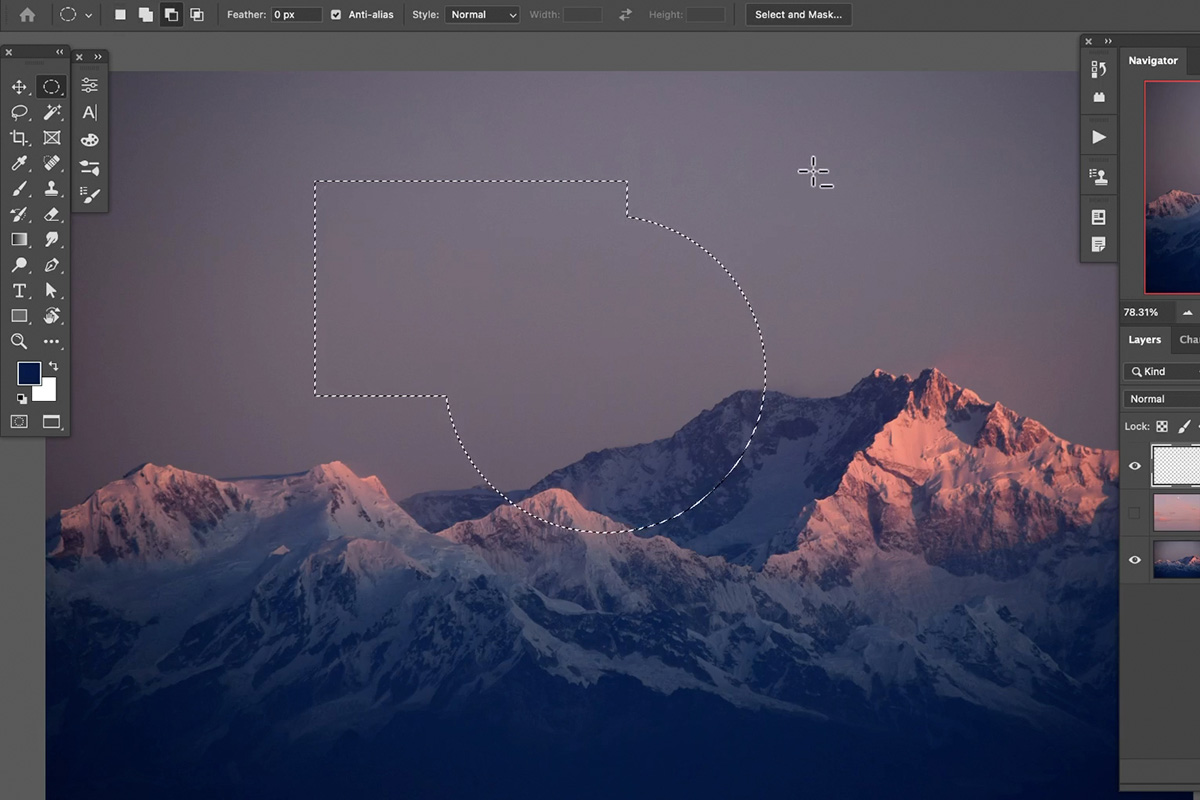
You can combine multiple types of selection tools, adding to the original selection with each to create more complex shapes.
Replace a Sky & Combining Selection Tools
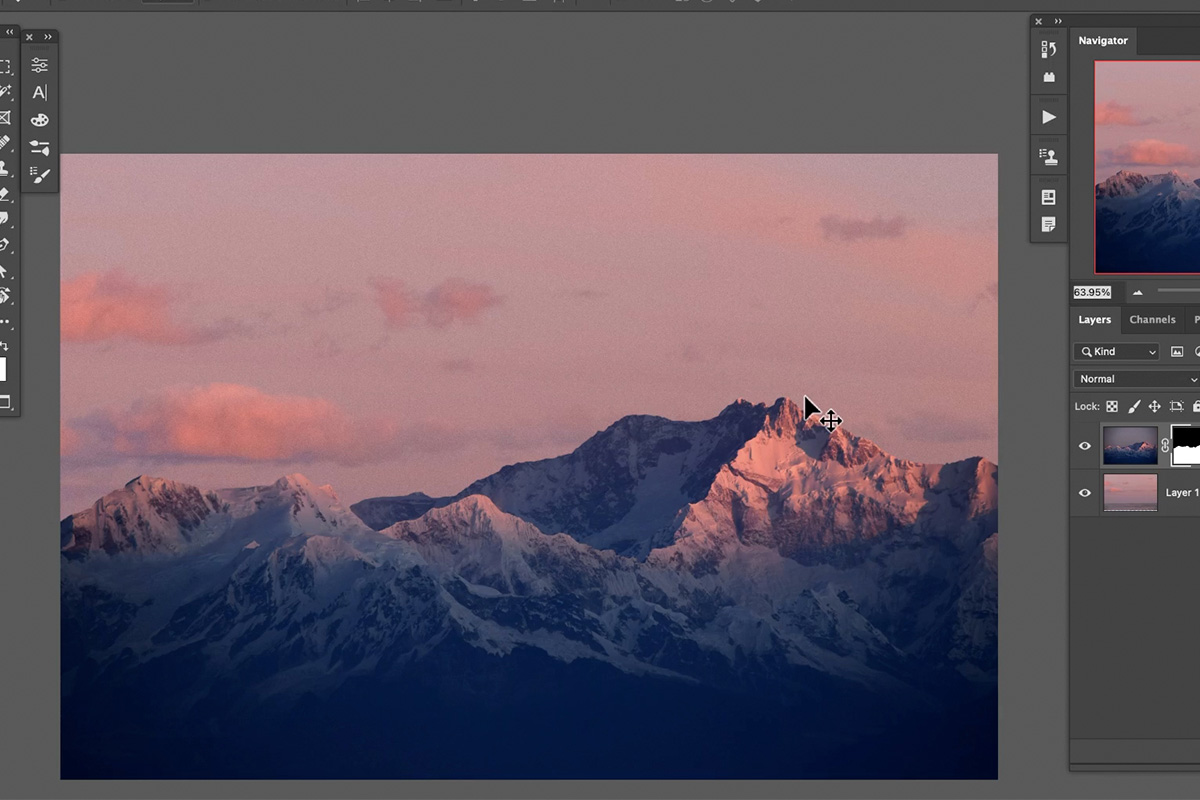
Now that we have some of the basics down, let’s explore how to use some simple selection tools to replace the sky in this landscape photo.
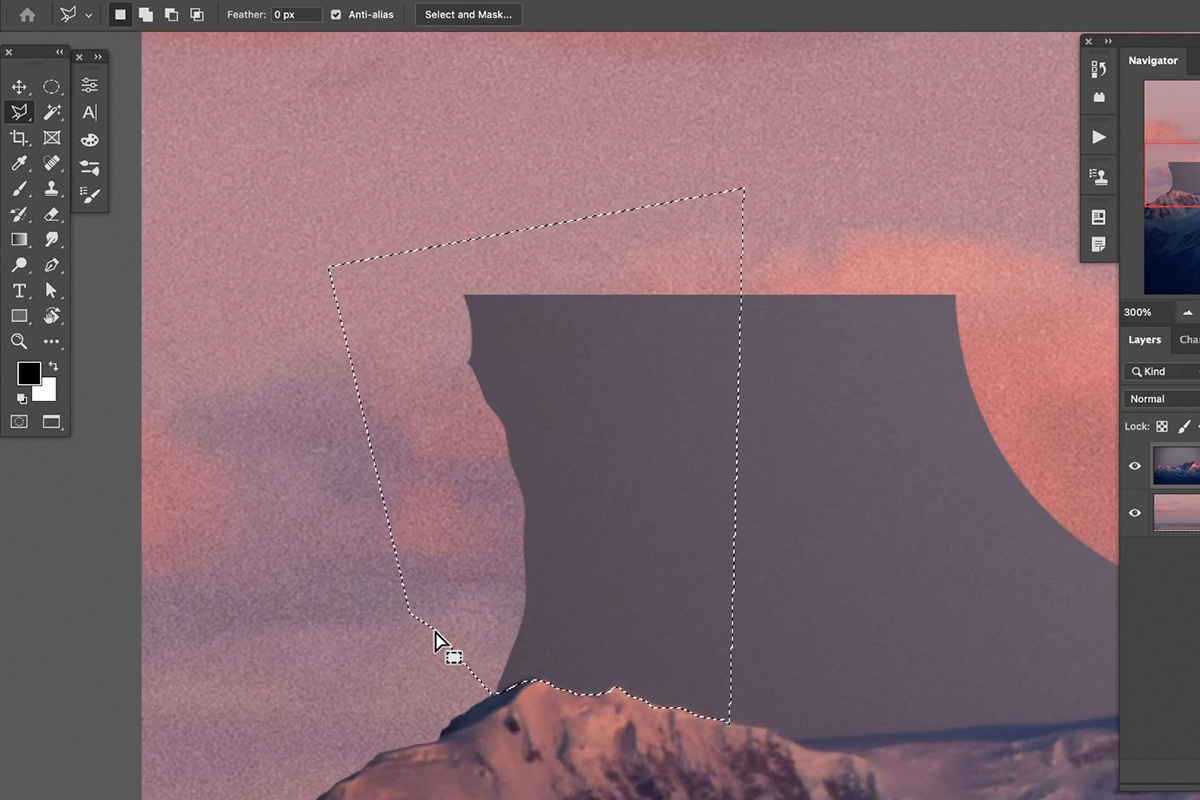
First, let’s see what we can do with our basic Marquee selections. Creating a Rectangular Marquee selection over as much of the sky as possible without overlapping the mountains, we can take care of a large chunk of the work.
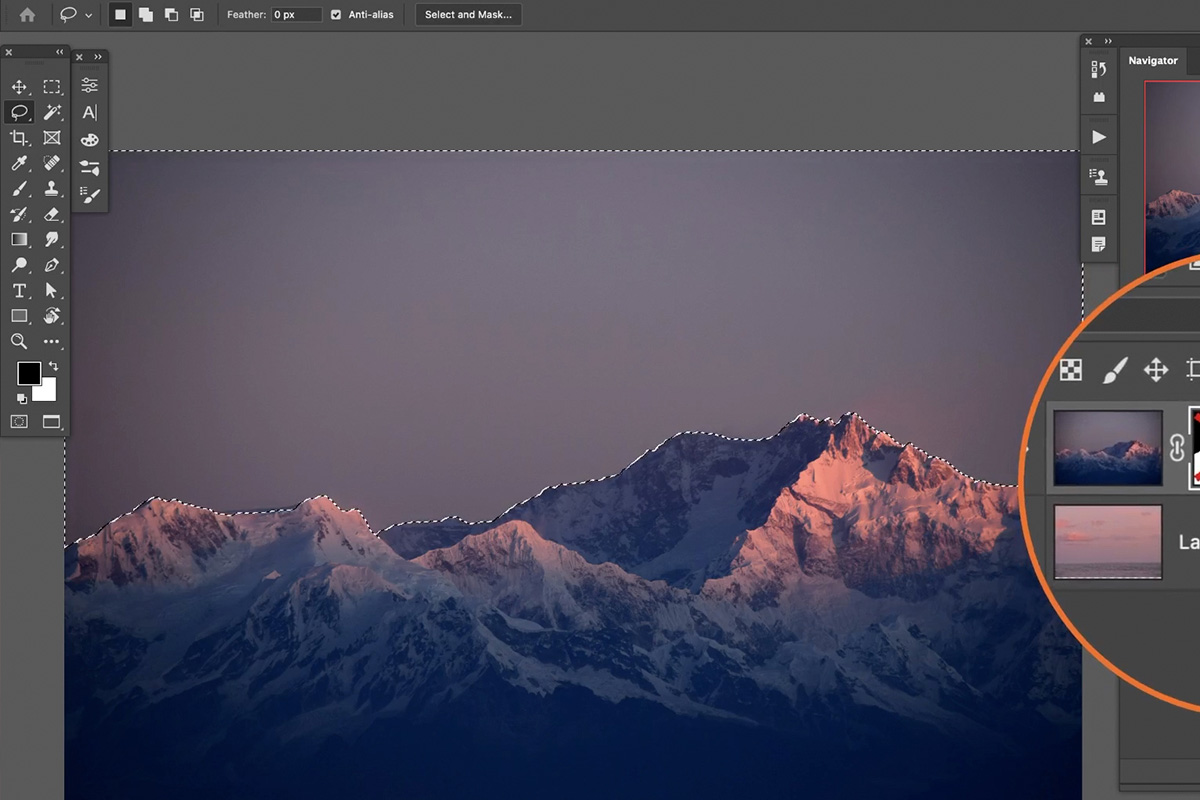
Once you’ve made the selection, select the mountain Layer (make sure the image with the new sky is underneath it in the Layers Panel), and click on the Layer Mask icon. This will hide the selected area from that Layer, revealing any Layers that are underneath it.
But what about the areas along the edge of the mountains? We’re going to need something a little more precise than our basic shape tools to work around such an irregular edge.
Let’s try some tools that allow us to make more freeform selections.
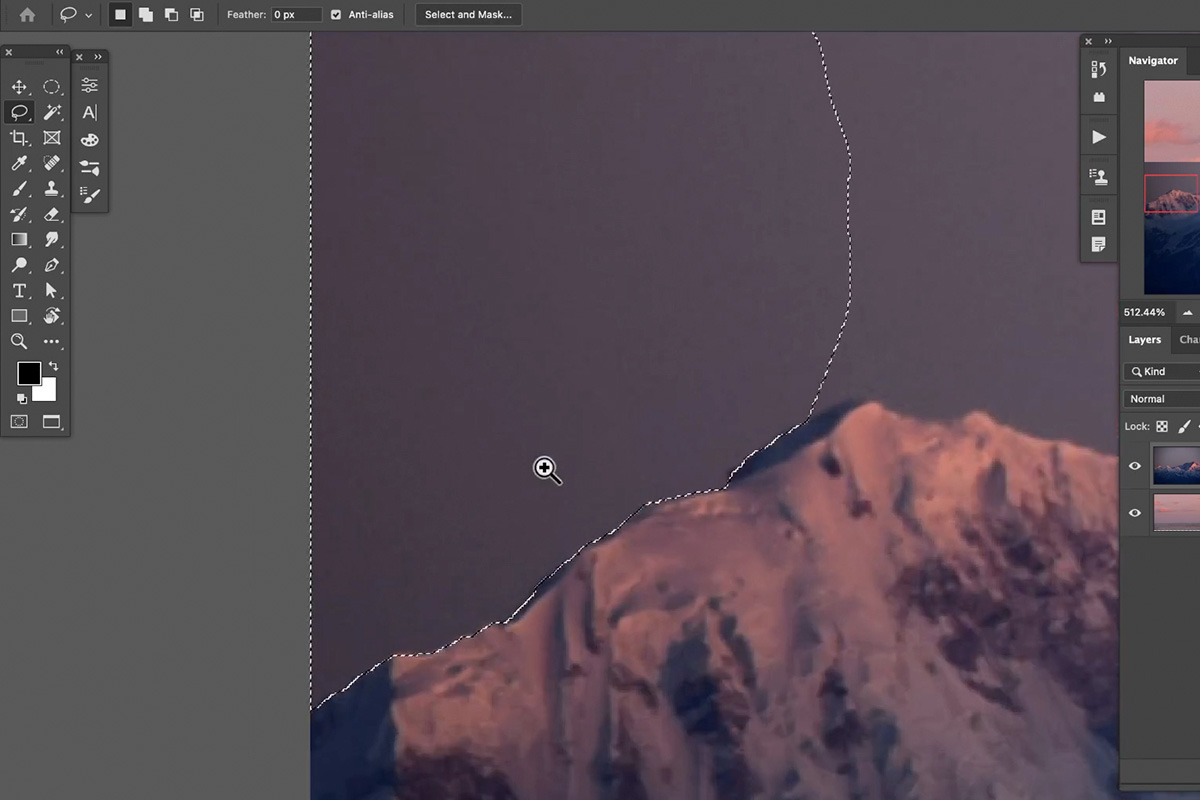
Our next simple selection tool is the Lasso Tool. Rather than using a pre-defined shape to select an area, the Lasso Tool allows us to draw any selection we want.
The drawback to the Lasso Tool is that the edges can look a little rough. But since we’re working with the edge of a mountain range, the Lasso Tool actually does a decent job of recreating the natural rough edges along the landscape.
You can also try the Polygonal Lasso Tool, which, instead of allowing you to draw a freeform selection, allows you to draw a selection using a series of straight lines.
Automated Selection Tools in Photoshop
So far we’ve covered some easy-to-use manual tools, but Photoshop has a number of ‘smart’ tools that will try to automatically select an area for you.
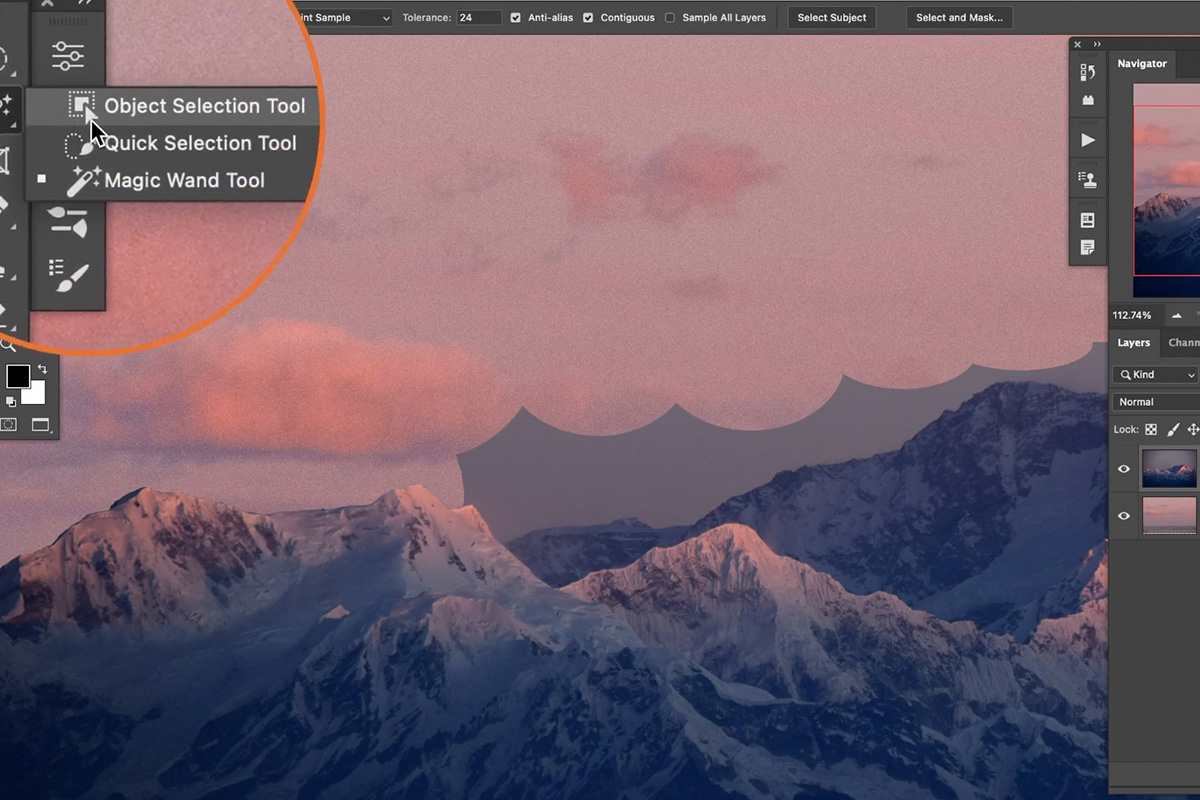
For example, there is the Object Selection Tool. The Object Selection Tool allows you to define an area using what looks like a Rectangular Marquee, and then Photoshop will try and automatically select whatever object it thinks you want selected within that area.
And, more commonly used, is the Magic Wand Tool. The Magic Wand couldn’t be easier, requiring you to simply click on an object or area you want to select, and Photoshop will make a selection of everything similar to that area.
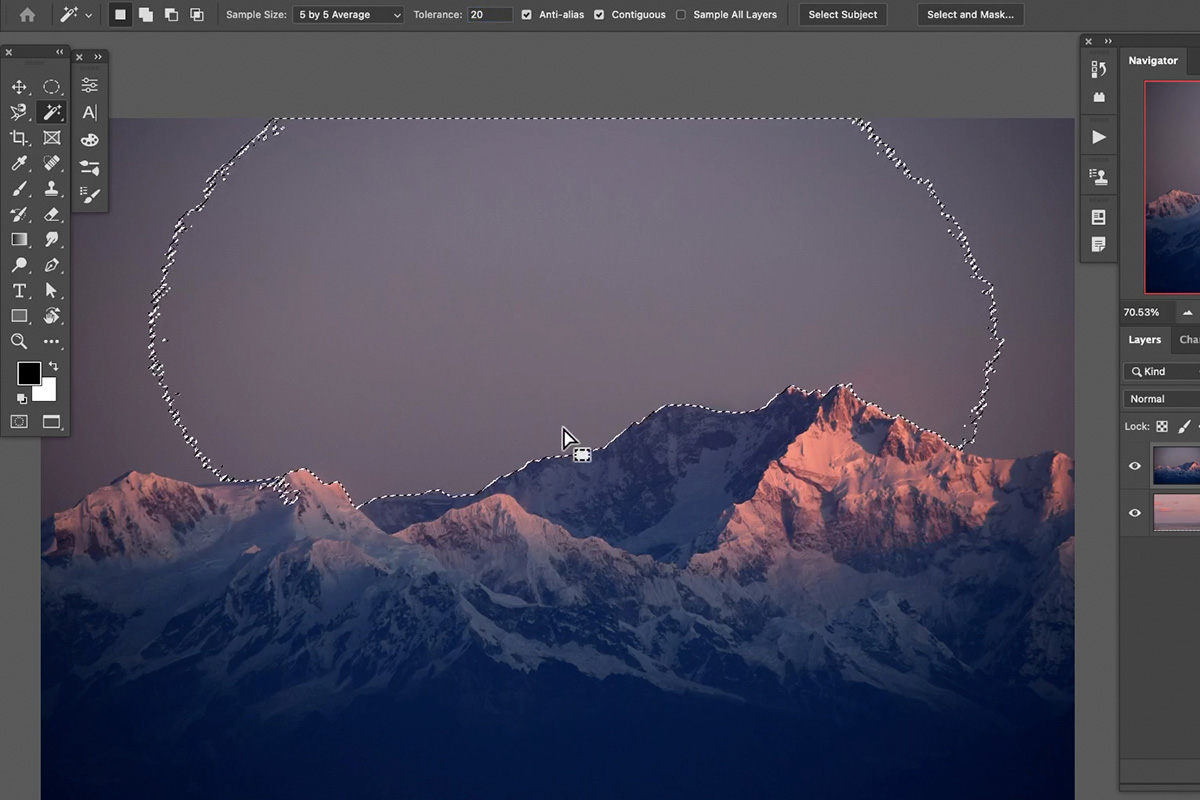
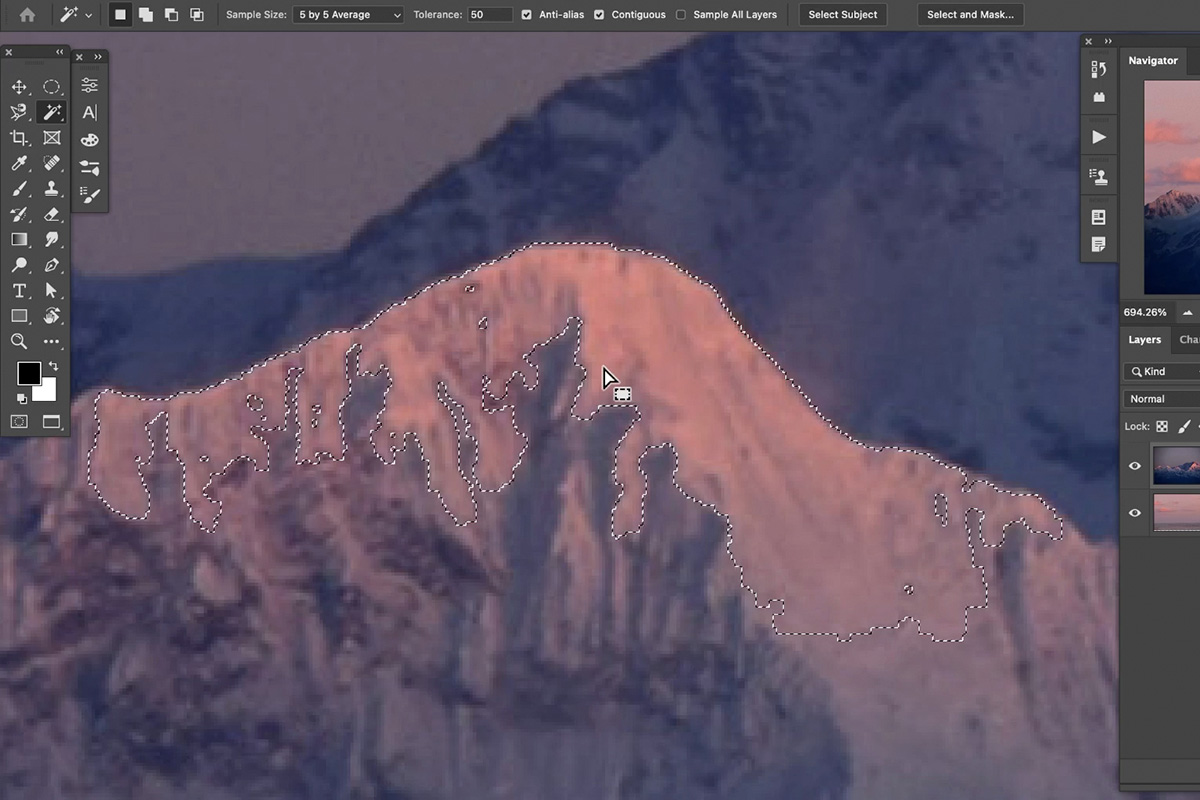
For example, using the Magic Wand to click on the sky, makes it pretty easy to get a decent selection of the sky which is largely mostly a similar color and texture.
Again, the Magic Wand Tool isn’t always perfect, and the edges of the selection can be a little rough. Luckily, those rough edges work pretty well with mountain landscapes.
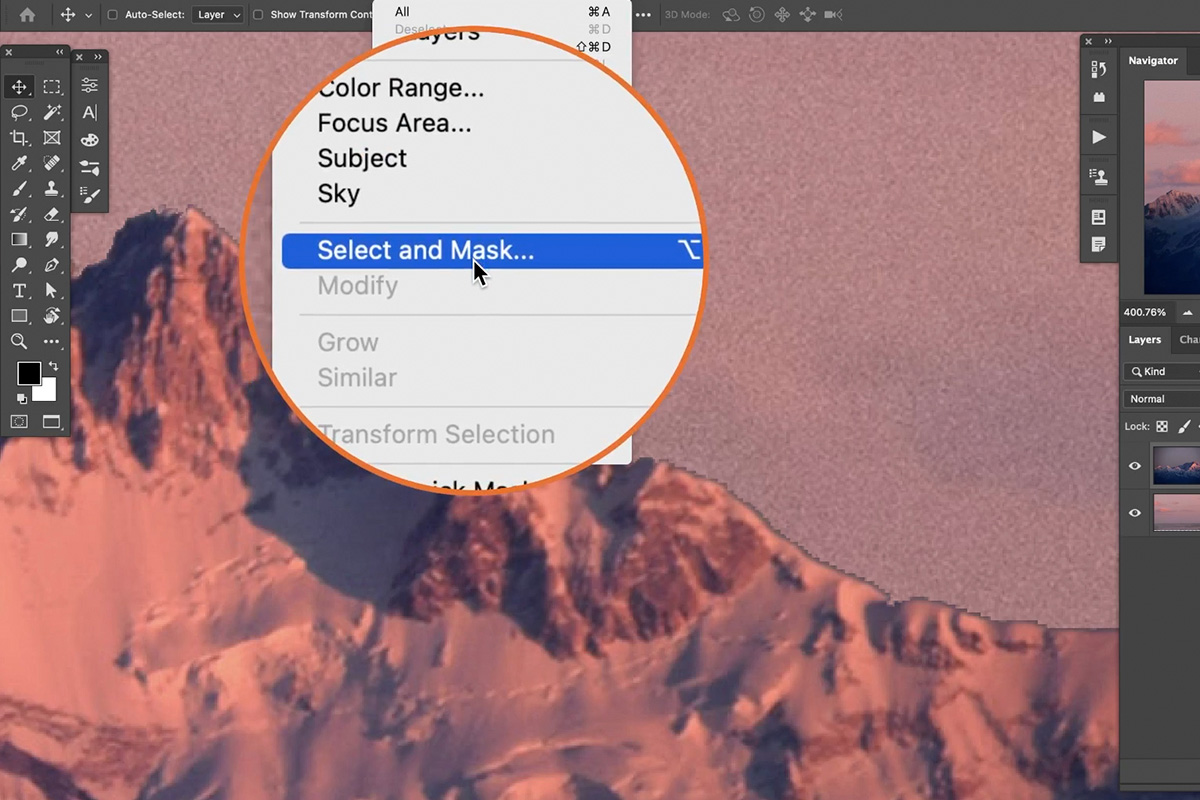
And if you do need to make some adjustments to the selection, there’s the Select and Mask dialog.
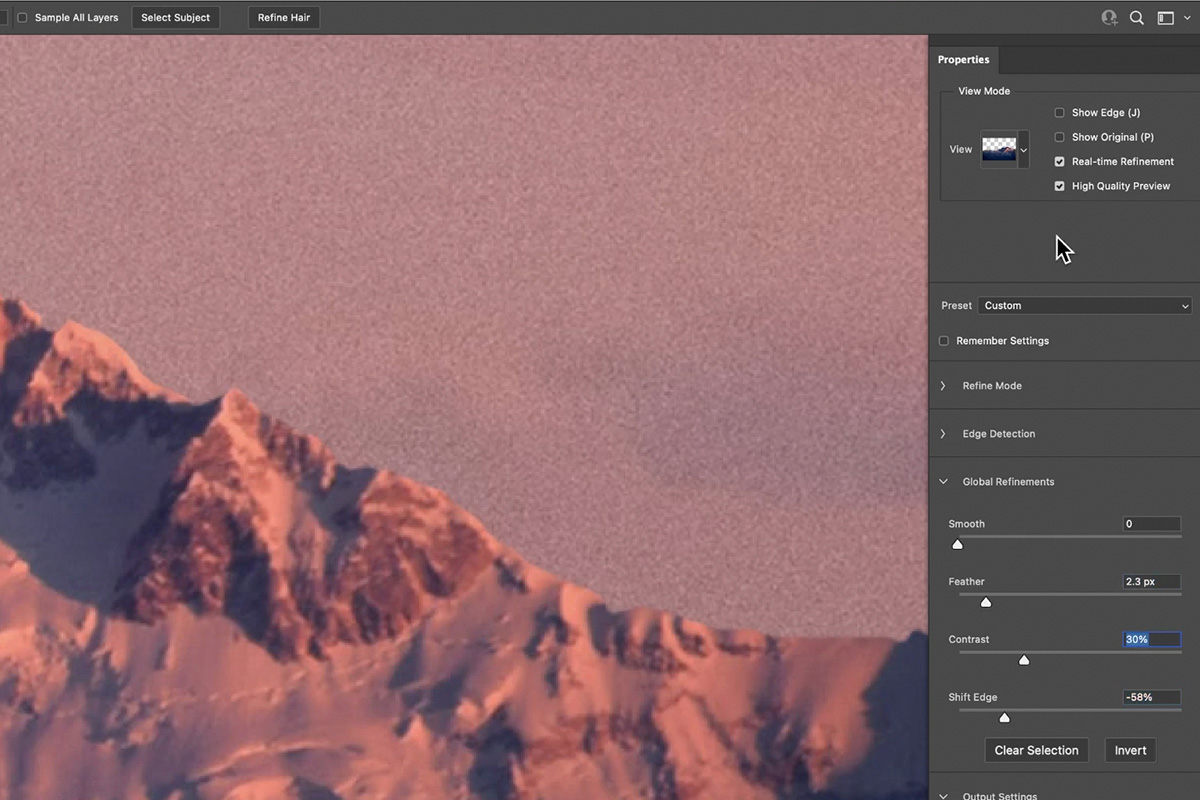
The Select and Mask dialog provides a number of options to refine and smooth out the edges of a selection. In our case, the Magic Wand Tool left a little bit of the sky visible along the edge of the mountain range. We can use Select and Mask to move the edge of our selection inward until the sky is no longer visible. Additionally, we can add a little bit of feathering so that the new edges matches the amount of blur that should be present in the photograph.
Once the sky has been fully selected and masked away, you should be left with a brand new sky that blends in seamlessly with the original photo!