How to Quickly Change Backgrounds in Photoshop
-

-
Add to
favorites
-
DifficultyMedium
-
Length2.25 hours
-
Software
Description
Whether you work with commercial photography, conceptual composites, or even products and ecommerce, the ability to change and remove backgrounds is an essential skill for any image editor.
Learn how to quickly remove and change any background with realistic, professional results in Photoshop. Through 3 examples, we’ll show you how to analyze images for a composite, cut out subjects, match light and color, and bring everything together for a seamless final photo.
THIS COURSE INCLUDES
- 6 Sample Images
- 3 Sample PSDs
Course Downloads
Remove & Change Any Background
Place People into New Environments
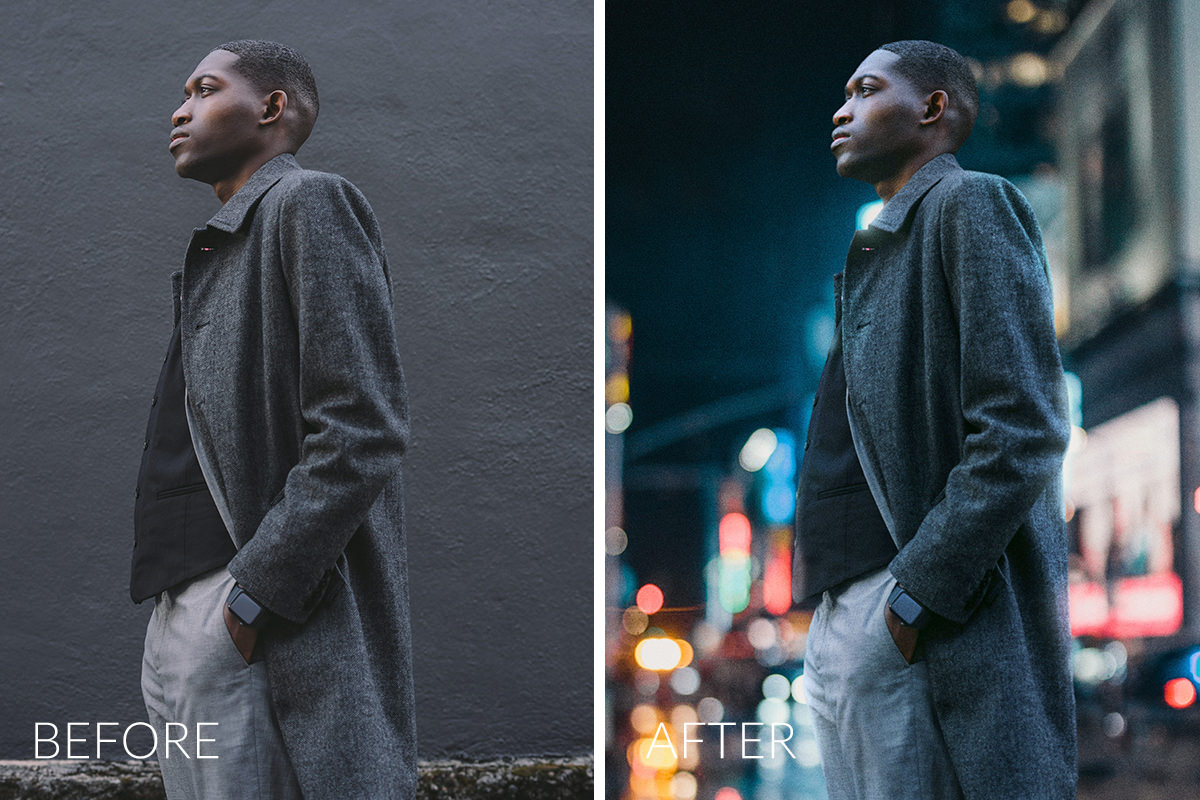
Follow along through 3 examples where we show you how to quickly cut out subjects, place them onto a new background, and blend them into the environment by matching light, perspective, and color.
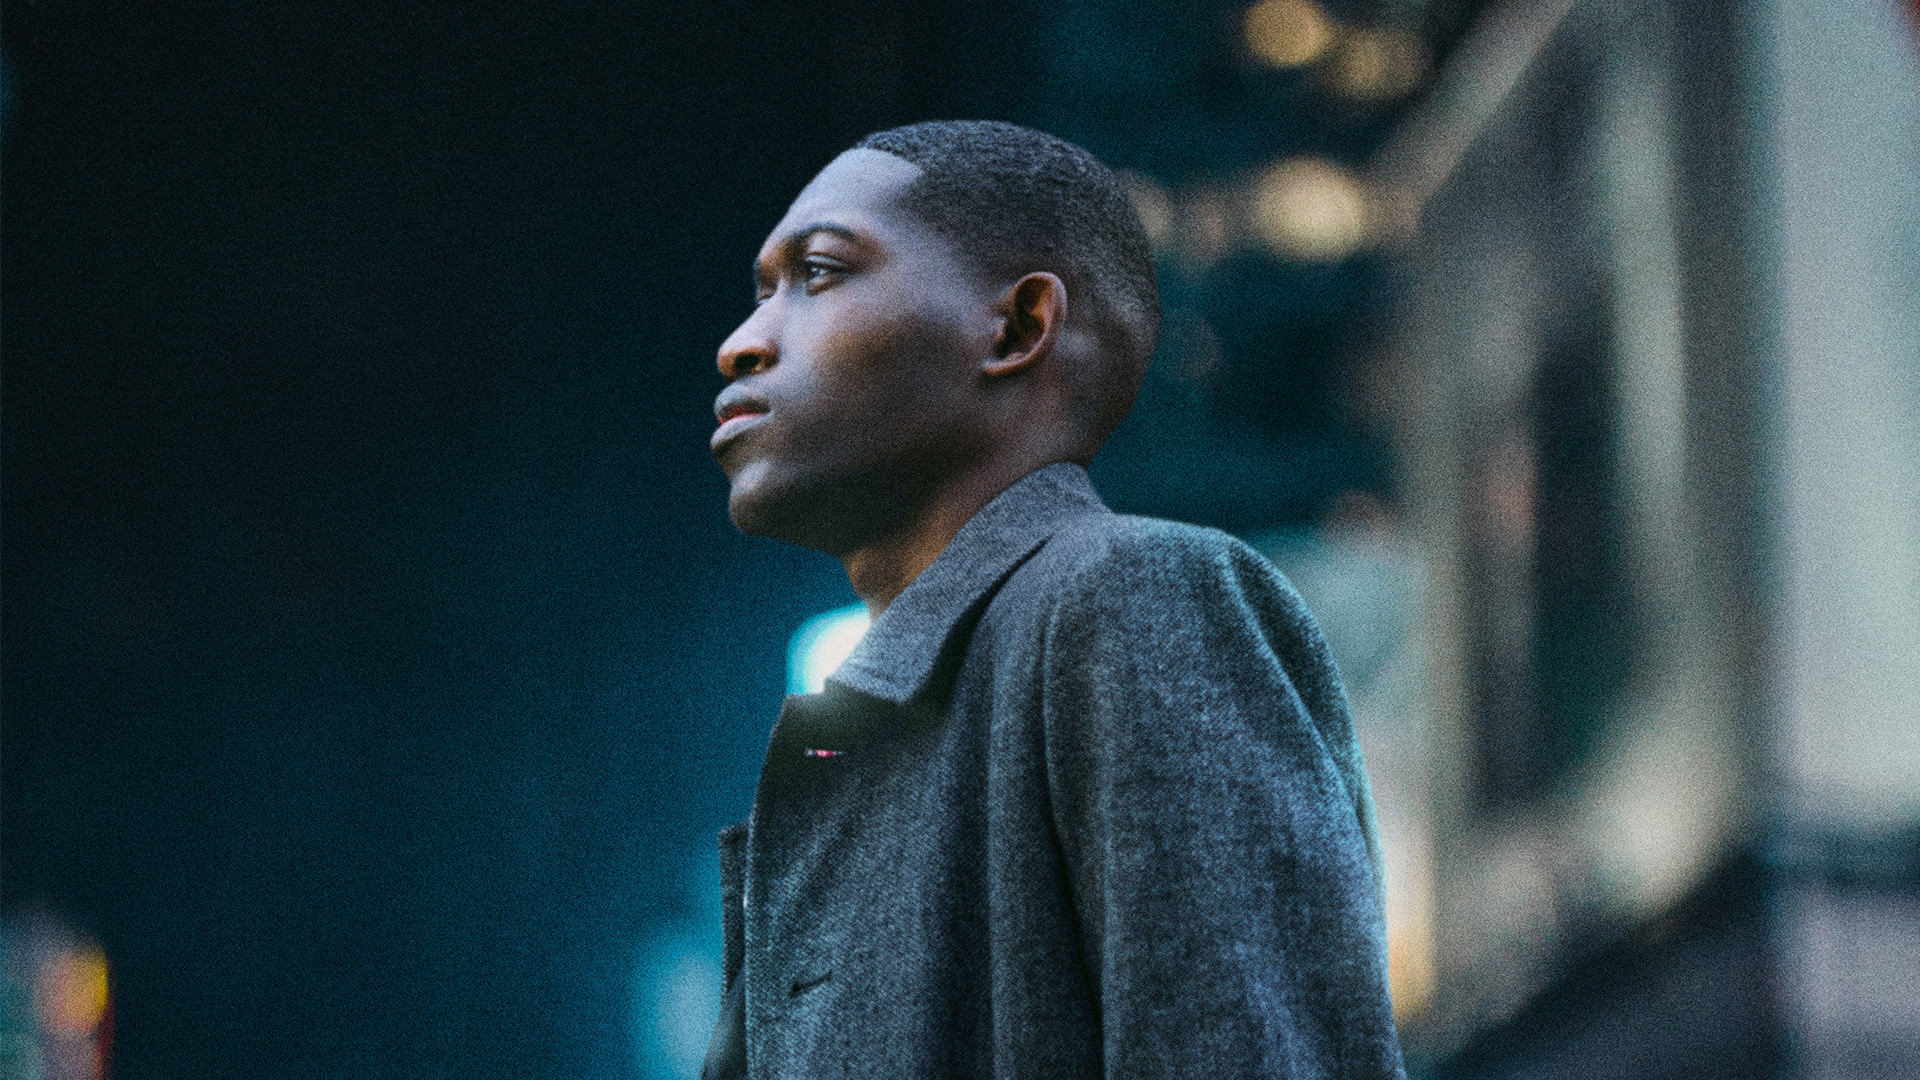
PLACE PEOPLE INTO NEW ENVIRONMENTS
ORIGINAL
Change & Remove Backgrounds in Photoshop
For some Photoshop skills, it’s just as important to work quickly as it is to work with precision. That’s why we’re going to show you how to quickly change and remove backgrounds using professional techniques to create a seamless final image.
Quickly Cut Out Subjects
Photoshop has added a number of tools over the years to help us speed up the process of cutting people out of their backgrounds. Learn how to use automated tools like Select Subject along with some more manual techniques to get fast and precise selections.
Match Perspective
Before you can get into the editing steps of compositing, it’s important to have photos that are going to work well together. If the perspective of the photographs doesn’t match, chances are the final composite won’t work very well. Learn how to quickly identify and match the perspective between photos to create truly realistic composites.


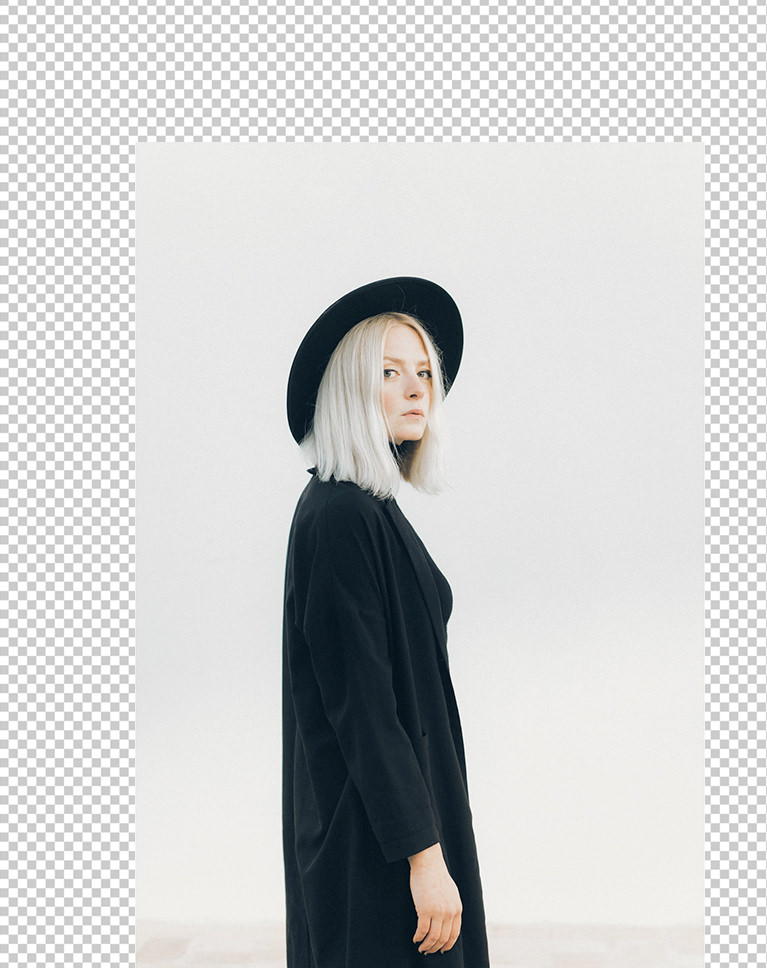
INDOOR & OUTDOOR EXAMPLES
ORIGINAL
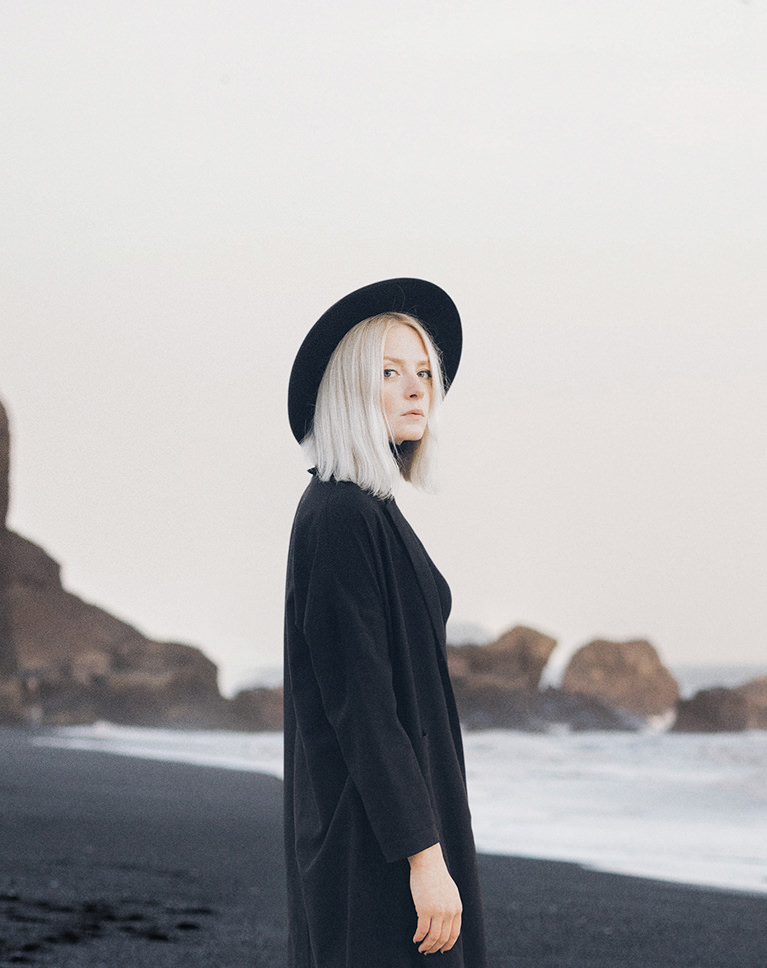
Indoor & Outdoor Environments
Learn how to composite subjects into a variety of different environments. From indoor to outdoor, daytime to nighttime.
Compositing Fundamentals
Whether you’re new the world of compositing or you’re just looking to practice your skills, this course can help you master the tools, techniques, and best practices the pros use. Follow along through 3 complete examples where we show you every major step to create perfect composites.
Adjustment Layers
Adjustment Layers can do it all. Not only are they a key component of non-destructive editing, they’re the most important tool we have when creating realistic composites. Learn all about Levels, Curves, Hue/Saturation, and more.
Match Light & Color
ANALYZE LIGHT
MATCH LIGHT & COLORS
Analyze Photos for Compositing
What is the primary light source in an image? What direction is it coming from? What is the quality of the light? Do the colors match between two photos? Are some colors more or less saturated than others? Learn how to ask, and answer, all of these questions and more to create professional composite images. For a more in-depth look, be sure to watch How to Choose the Best Images for Compositing.
Match Light & Color
It’s oftentimes not enough to just place a subject into a new environment. Even the most subtle differences in lighting and color can ruin a composite effect. Learn how to use Adjustment Layers to shift colors, match lighting, and seamlessly blend two photos together.
Check Layers in Photoshop
Compositing is already difficult, but it’s even harder when you have to rely on just your eyes to match different elements together. That’s why we show you how to use special Adjustment Layers called Check Layers that make it easier to see, and match, differences in lighting, color, and saturation.

Aaron Nace
PHLEARN Founder – Class Instructor
Aaron Nace is a photographer, Photoshop artist and founder of PHLEARN. He is the #1 Photoshop instructor in the world with millions of YouTube subscribers.


Reviews
Artist Credit
Special thanks to Nataliya Vaitkevich, Matt Hardy, Polina Kovaleva, Bruno Emmanuelle, Guilherme Rossi, and Maria Orlova. Images for this PRO course were sourced from Pexels and Unsplash.
New & Popular Tutorials


Training Site in
the World
Tutorials!
Ratings
and Counting
Subscribers
Even in these days of GenAI and the harmonise button, it is such a useful skill to be able to change backgrounds manually. This is one of those tutorials I keep coming back to.
Another amazing tutorial, Aaron. I liked very much the way you have integrated check layers into Phlearn work flow for luminosity, hue and saturation. As soon as you understand the principle it gets easier to use and becomes very helpful. Contratulations!
Wow! The guy in the nighttime tutuorial blends perfectly! Another professional compositor would never guess this was anything but original photo.
mind blown. I’m going to be busy with learning this for a while. Thank you!
Excellent tutorial!