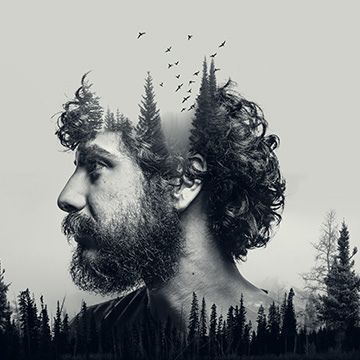
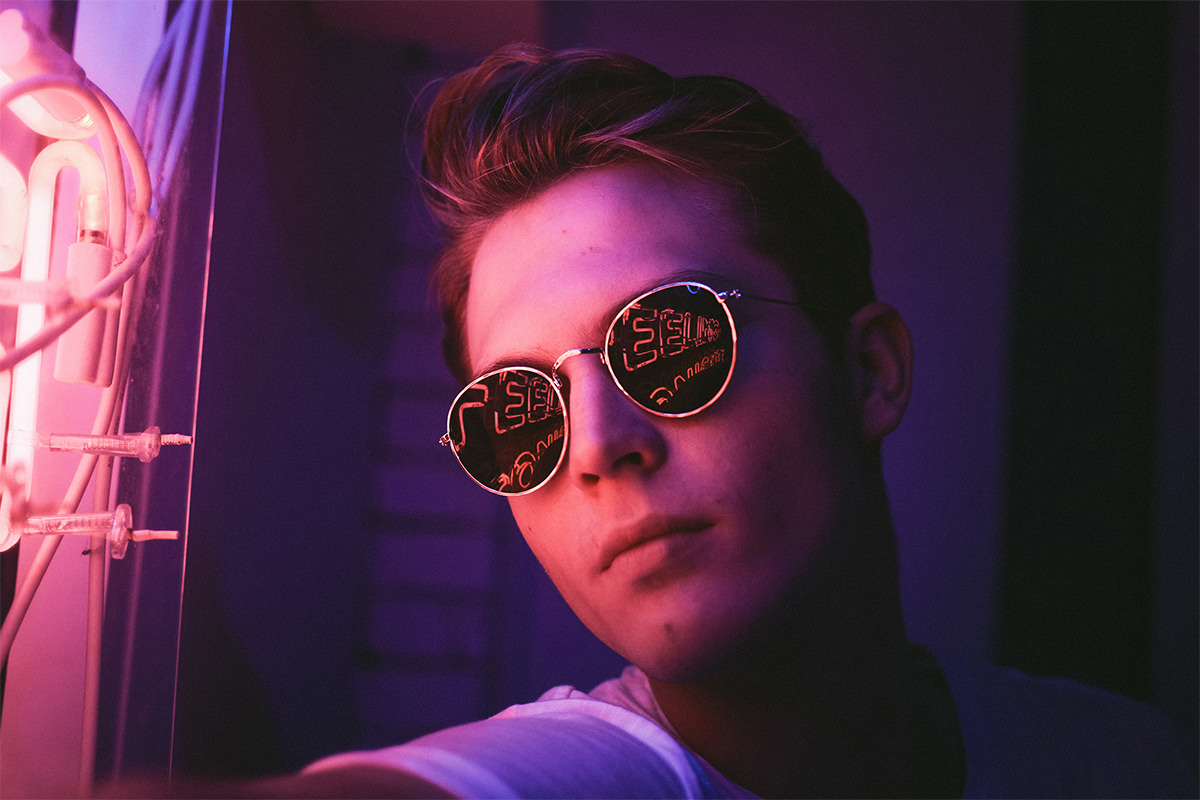

BEFORE
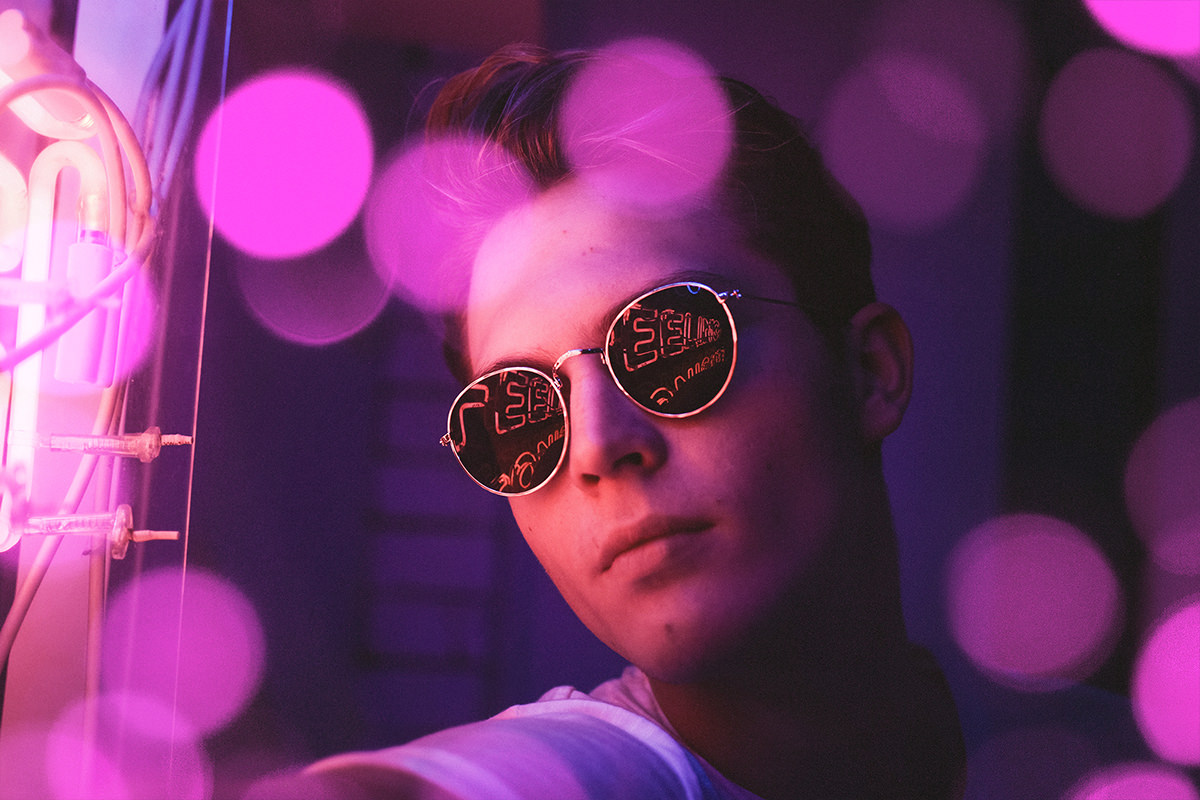
AFTER ADDING BOKEH
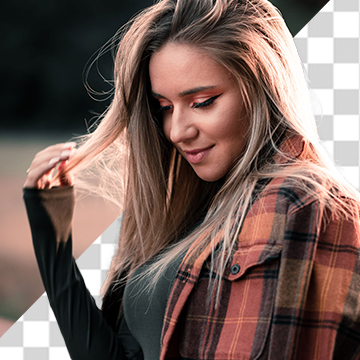
Download Sample Images
Click the link below to download the sample image and follow along with this tutorial.
DownloadTutorial Description
The creative use of lighting and bokeh continue to be popular among photographers and photo editors. Follow along as we show you how to add bokeh to nearly any photo, adjusting the color, size, and positioning for an eye-catching effect!
If you’re looking for more amazing Photoshop effects, check out How to Create a Dispersion Effect!
Finding Images
To begin, you’ll need a photo that you think would benefit from having some soft and colorful bokeh. Images with a shallow depth of field and that already have some light sources in the frame work great to help sell the effect.
You’ll also need an image of bokeh on a dark background. There at plenty available on free stock image websites (try Unsplash). You can also capture your own! Use some string lights at home or try using lights from a city street at night. Just expose the shot for the light sources and then set your camera to manual focus. Throw the lights out of focus and snap away!
Adding the Bokeh
With your images prepared, it’s time to jump into Photoshop. Start by placing the bokeh image over top of the main image in Layer Stack. Set the Blending Mode of the bokeh layer to Screen. The Screen Blending Mode makes the darker areas of a Layer transparent and keeps the highlights visible. You should see the dark background disappear while the brighter bokeh elements remain visible.
If you notice that any unwanted areas of the bokeh layer are still visible, just use a Levels Adjustment Layer to make the darks of that Layer darker. Doing so will help make sure they’re hidden when the Layer is set to the Screen Blending Mode. If you want to learn more about Blending Modes, check out How to Master Blending Modes in Photoshop.
Coloring, Resizing & Repositioning
With our bokeh blended with the main image, we’re now free to move it around and make adjustments to the color and composition. To change the color of the bokeh, use a Hue/Saturation Adjustment Layer with the Colorize box checked. Be sure to clip any Adjustment Layers to the bokeh layer so they don’t affect the entire image!
To improve composition, use the Transform Tool to resize and rotate the bokeh layer. If you want to make even more detailed changes, you can move, add, or erase bokeh. Just use the Clone Stamp Tool to Sample an area of bokeh (make sure Current Layer is selected within the Clone Stamp Tool options) and then paint where you want new bokeh to appear!