download sample images
description
From exposure adjustments, to color grading, to creating seamless composite images, Adjustment Layers can help us tackle a lot. Learn about the different types of Adjustment Layers and how to use them to enhance a photo.
This is Day 4 of our 30 Days of Photoshop series. If you enjoyed it, follow along with all 30 episodes as we explore the the magic of Photoshop together!
watch next
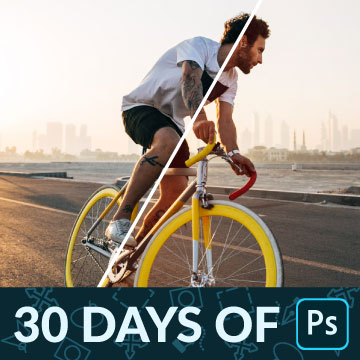
30 days of photoshop

Sign up to receive email updates to keep you going, sample images to follow along, and a printable calendar to keep track of your progress!
Share
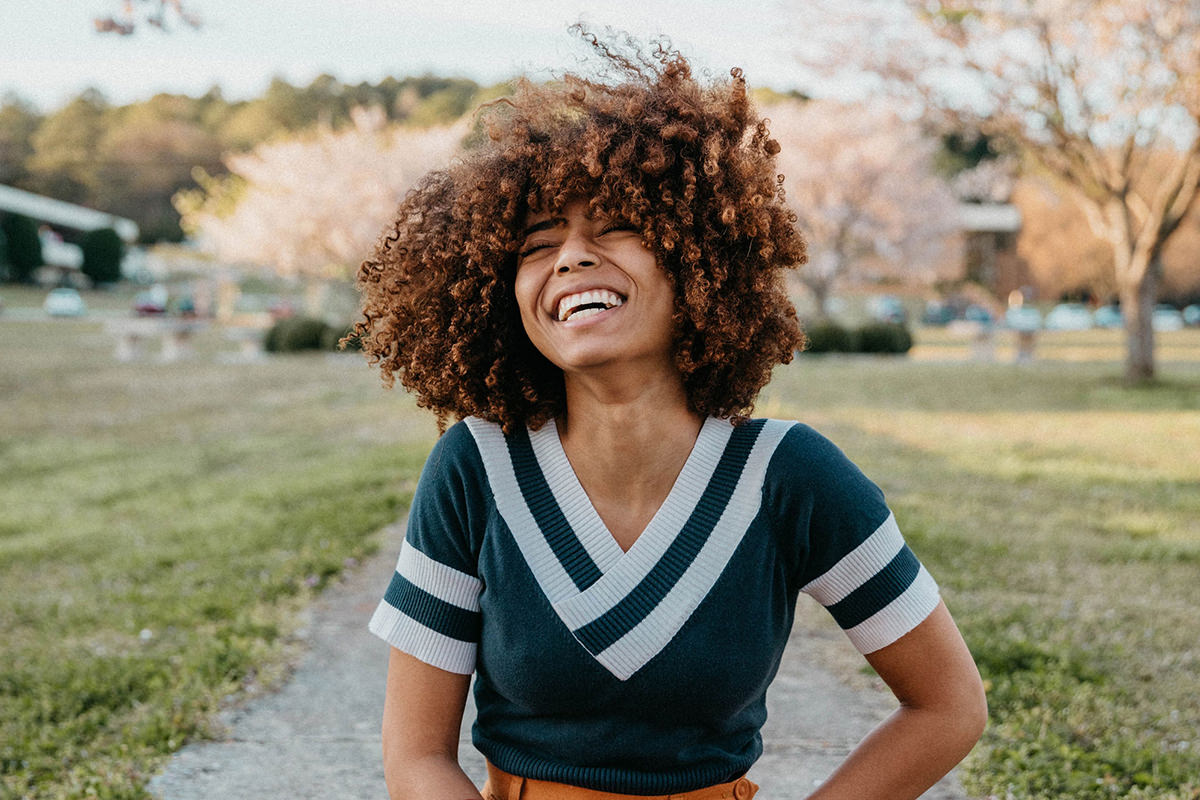
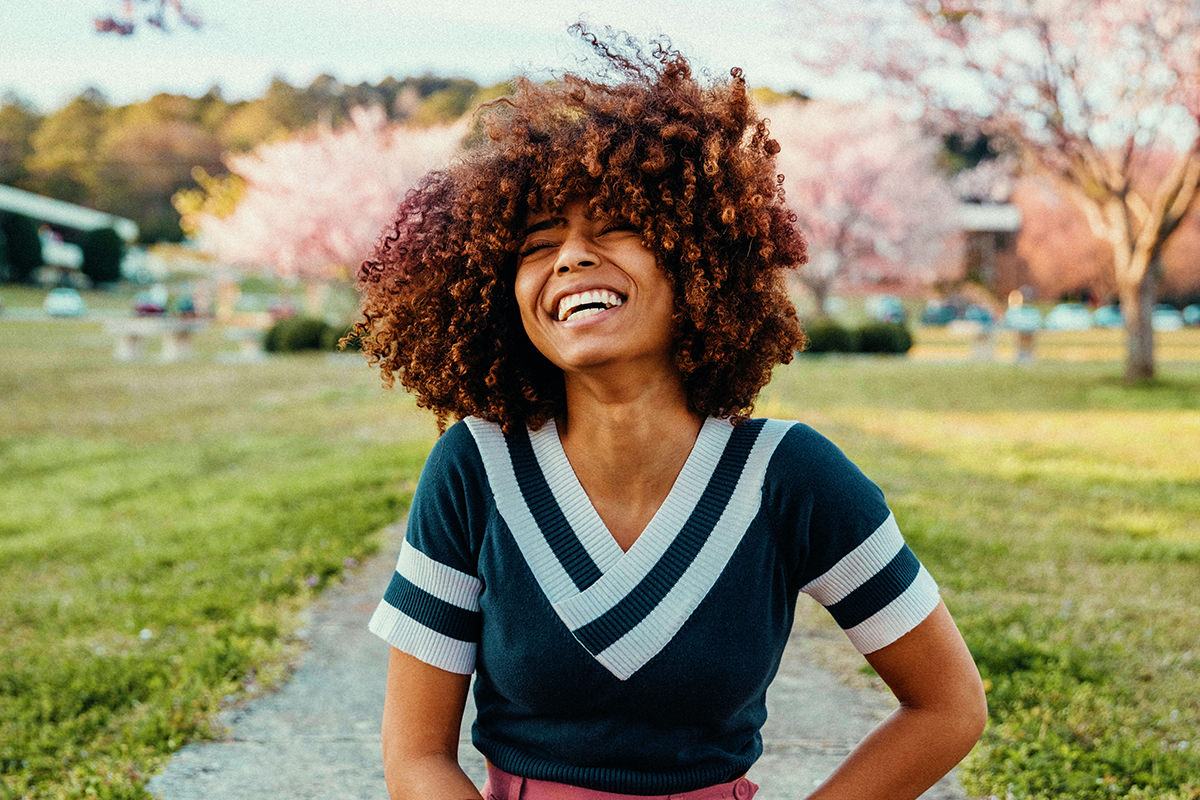
AFTER ADJUSTMENT LAYERS
BEFORE
Non-Destructive Editing
Adjustment Layers
There are a wide variety of Adjustment Layers in Photoshop. Some are extremely powerful and flexible and will help you solve many problems you run into while editing. Some are more specialized, but even though you may not use them as often, they still come in handy under the right circumstances.
Adjustment Layers are great because they’re an easy way to make edits non-destructively. They also function just like any other Layer, so you can use Layer Masks, Blending Modes, and Layer Styles to make sure they’re only affecting the areas you want them to.
Here’s a list of the Adjustment Layers you’ll find in Photoshop:
- Brightness/Contrast: Brighten up an image and add contrast.
- Levels: Make precise exposure adjustments, color corrections, or add stylistic color grading.
- Curves: Similar to Levels, but with added precision.
- Exposure: Make quick adjustments to the overall exposure of an image.
- Vibrance: Make colors pop without affecting skin tones.
- Hue/Saturation: Target and change any colors in a photo.
- Color Balance: Make subtle color shifts for color correction or color grading.
- Black & White: Instantly convert an image to black and white while adjusting the tonal values of each color channel.
- Photo Filter: Add warming or cooling filters for quick color correction.
- Channel Mixer: Convert an image into greyscale, sepia tone, or other color tints.
- Color Lookup: Add beautiful color to your photos by creating and saving LUTs.
- Invert: Creates a photo negative effect.
- Posterize: Reduces the the number of brightness values in an image for a graphic effect.
- Threshold: Great for matching color and contrast when compositing images together.
- Gradient Map: Color grade photos with a custom gradient, adding specific colors into the highlights, midtones, and shadows.
- Selective Color: Shift cyans, magentas, yellows, and blacks to change the appearance of those colors in an image.
The MVPs
There’s a lot of options to choose from when editing your photos with Adjustment Layers. While they all have great applications under the right circumstances, we find that you’ll end up using a handful of them more than the rest.
Levels, Curves, Hue/Saturation, Black & White, and Gradient Maps are our favorites. If you master those, you’ll be able to make detailed exposure adjustments, color corrections, and add beautiful color toning to any image.