Download Sample Image & PSD
description
Learn how to use the new Style Transfer Neural Filter in Photoshop to apply eye-catching art styles to your photos in just a few clicks.
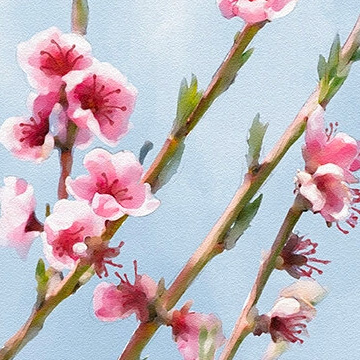
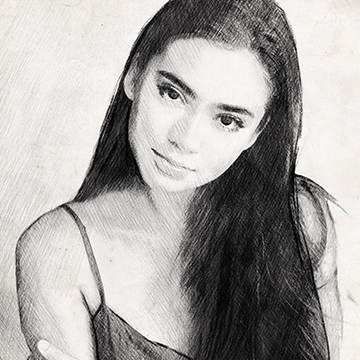
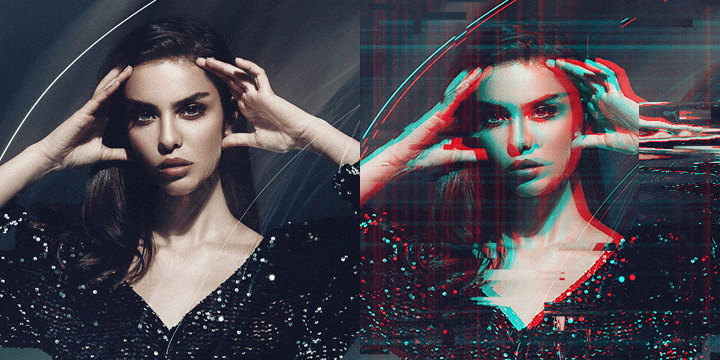
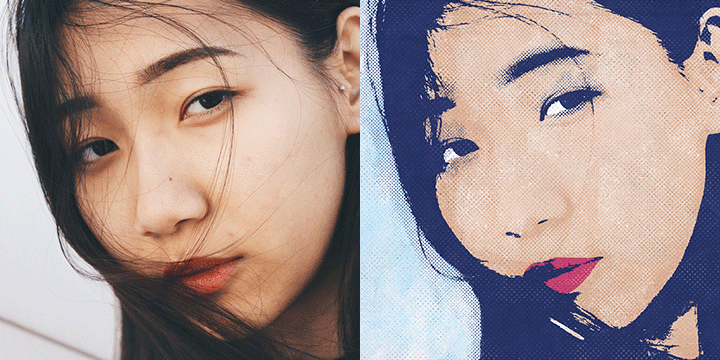
If you want to learn how to create special effects like this from scratch, try PHLEARN PRO and learn how to transform your photos into a watercolor painting, a pencil sketch, pop art, and more!
Share
APPLY CLASSIC ART STYLES TO YOUR PHOTOS
BEFORE
Add Instant Style to Your Photos
Neural Filters in Photoshop
We’ve explored Photoshop’s new Neural Filters in a few other tutorials, using them to colorize black and white photos, create realistic depth of field effects, and to even change facial expressions in a portrait.
These automated tools can do a lot to help us work faster while helping us solve common problems, but they also have some fun, creative uses as well.
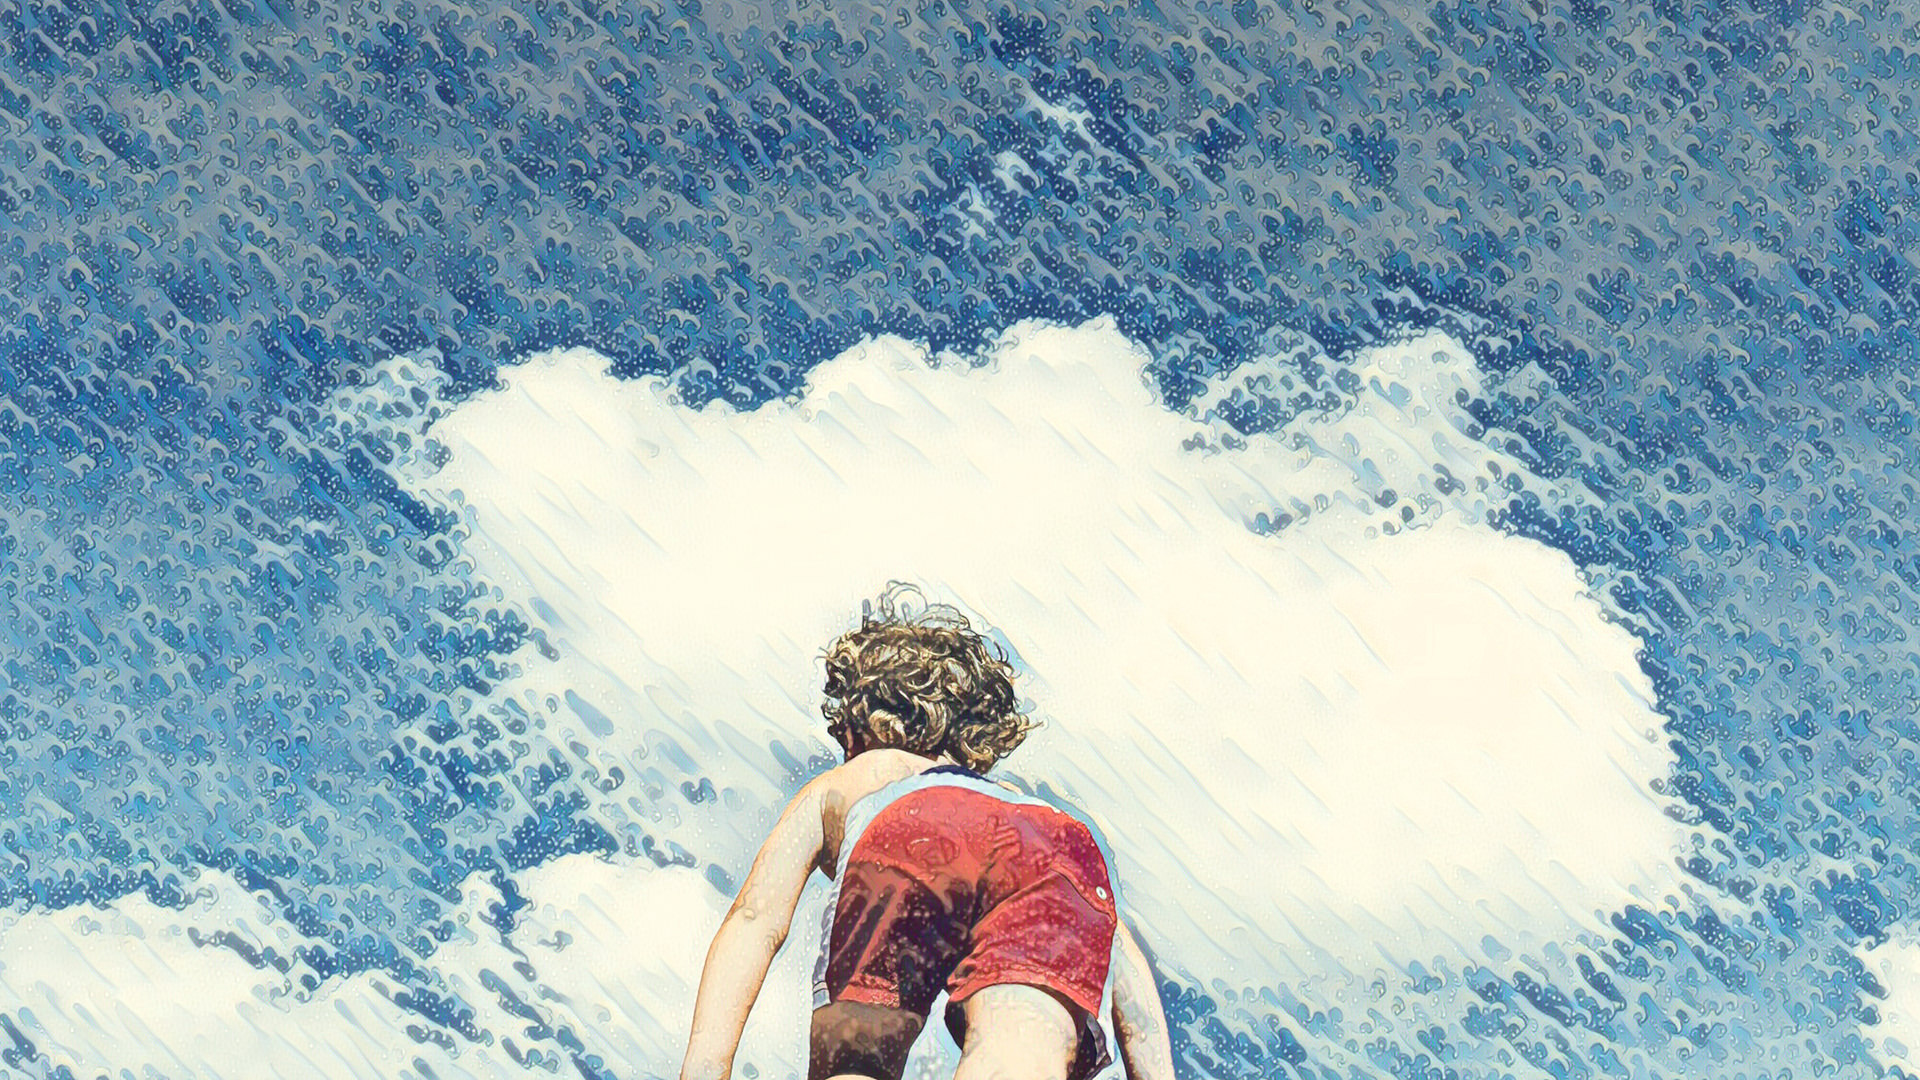
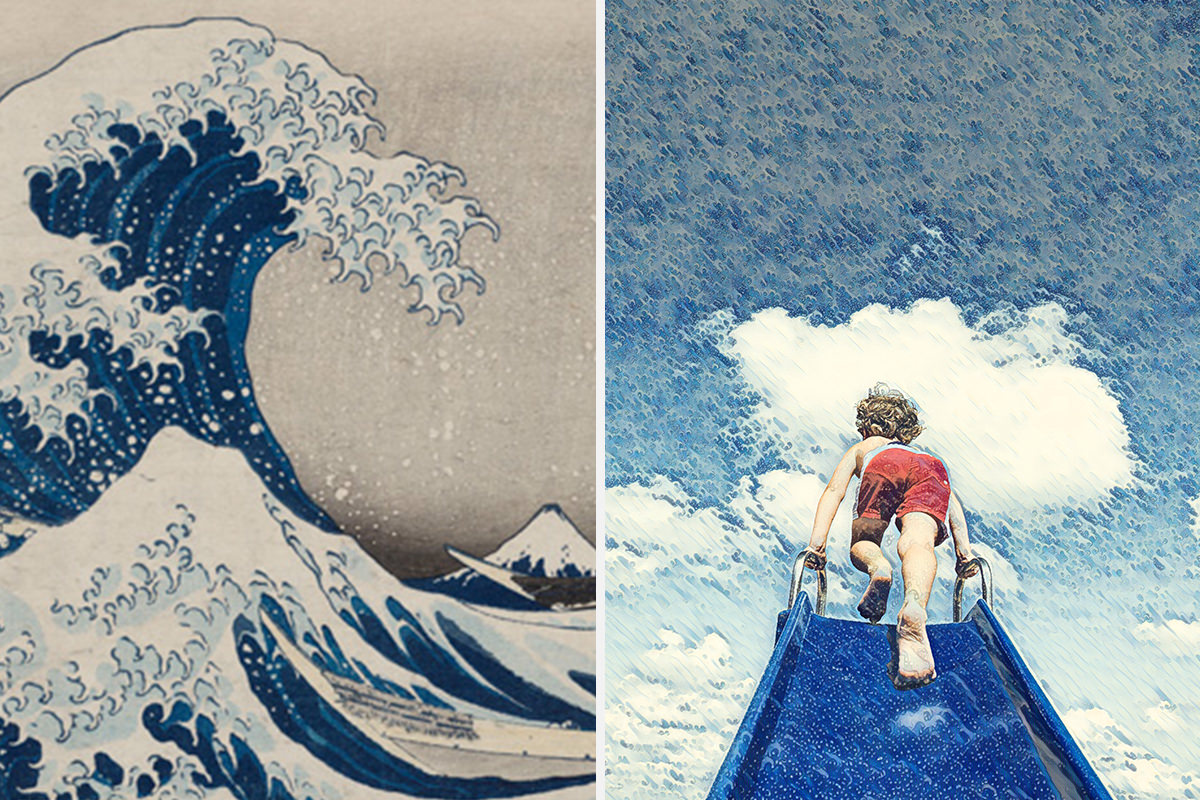
The Style Transfer Neural Filter can help us create some pretty eye-catching effects, allowing us to apply styles from other works of art, like classic paintings, to our images.
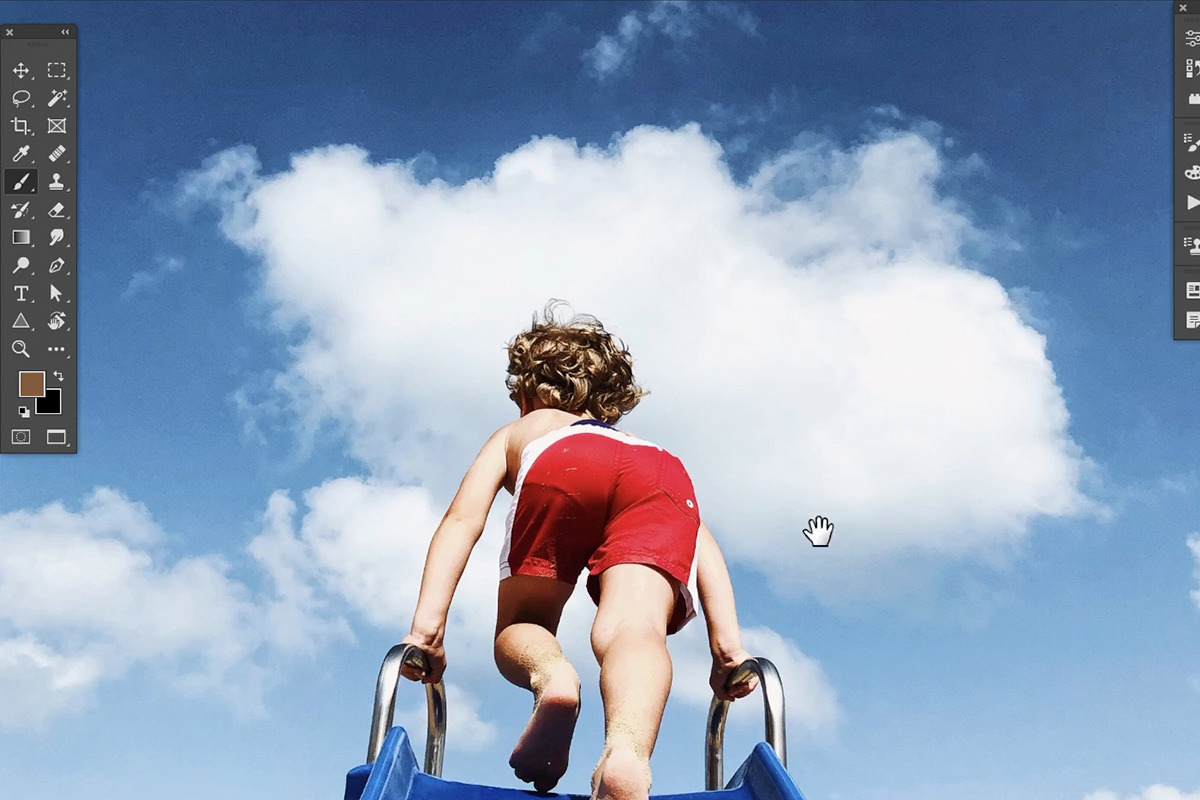
Open up the included sample image or an image of your own.
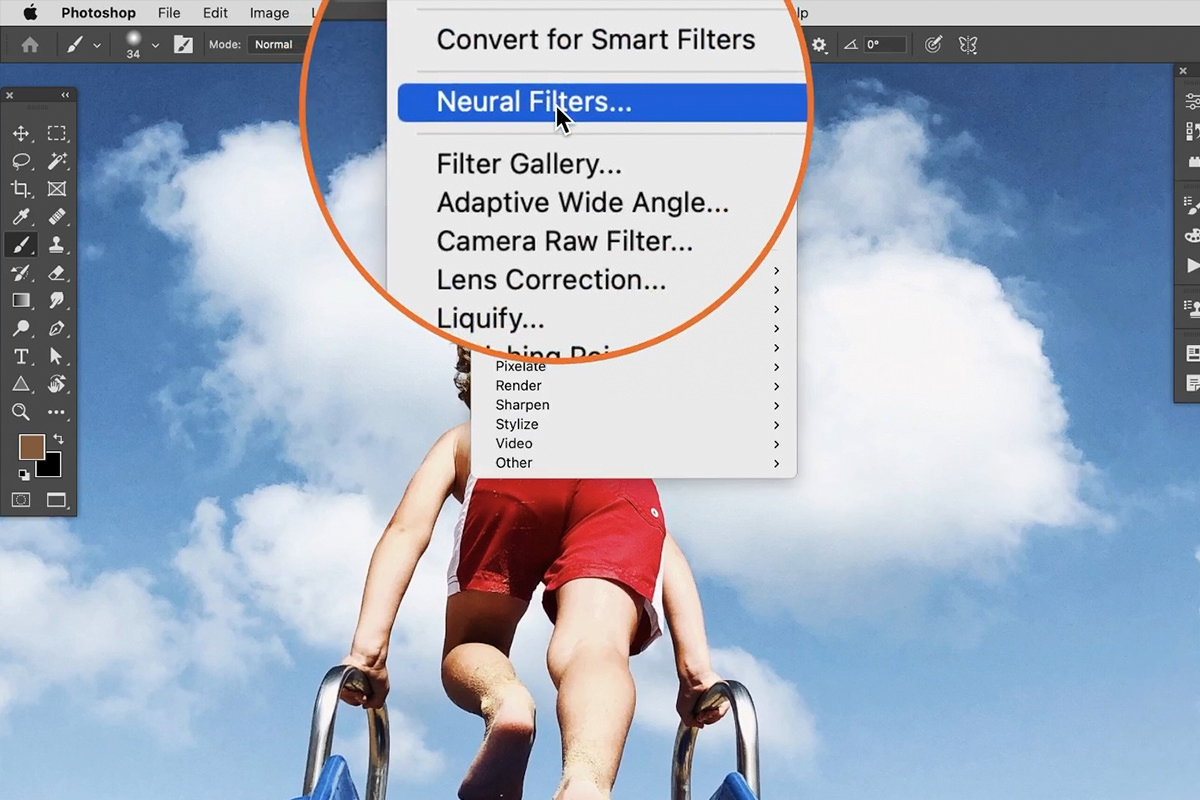
Open the Filter menu and select Neural Filters.
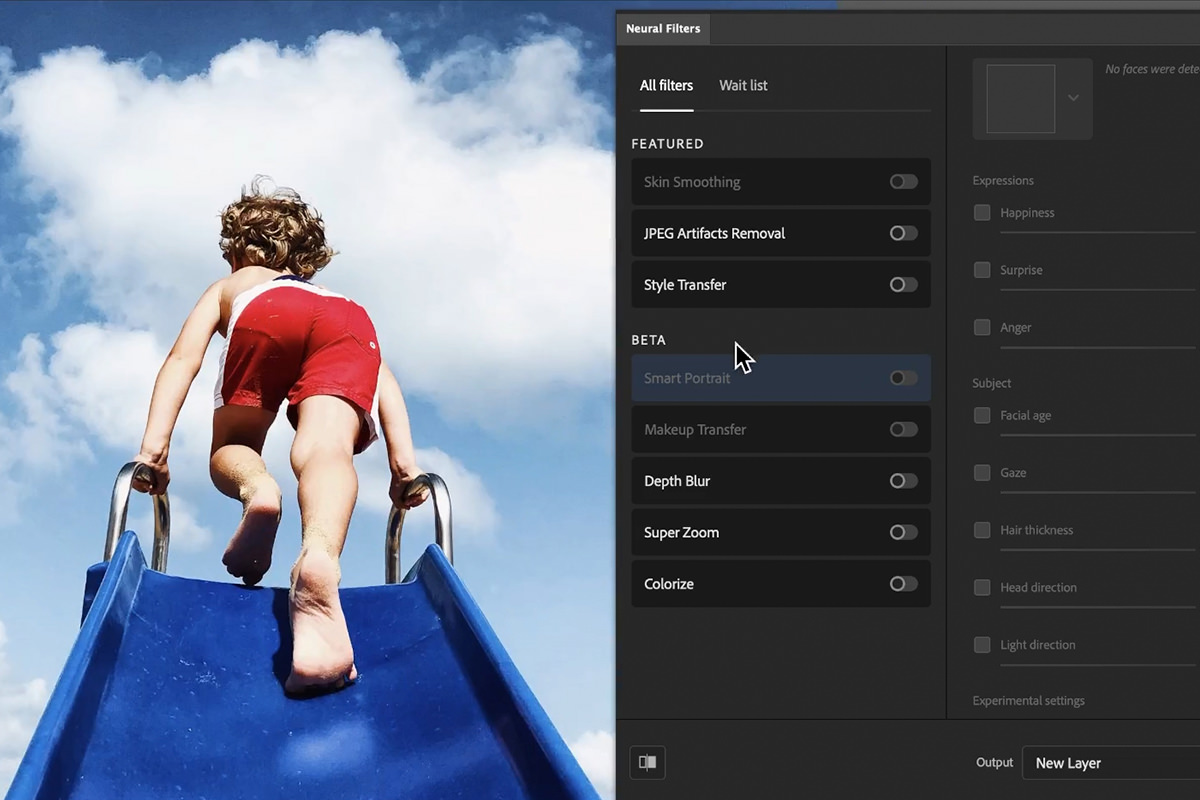
You’ll see a list of the Neural Filters included in Photoshop as well as a list of Beta filters that are available for public testing.
Let’s dive into the Style Transfer Filter and see what it can do!
The Style Transfer Neural Filter
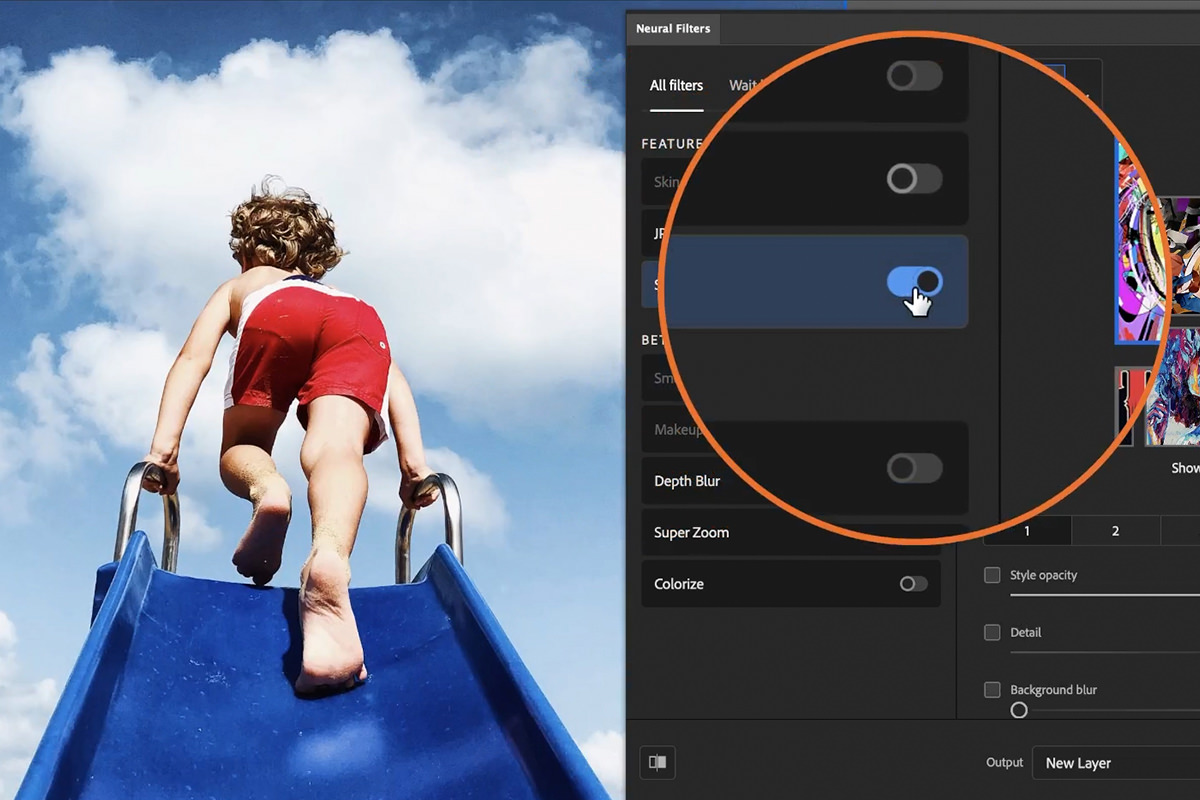
Toggle the Style Transfer Neural Filter by clicking on the switch to the right of the filter name.
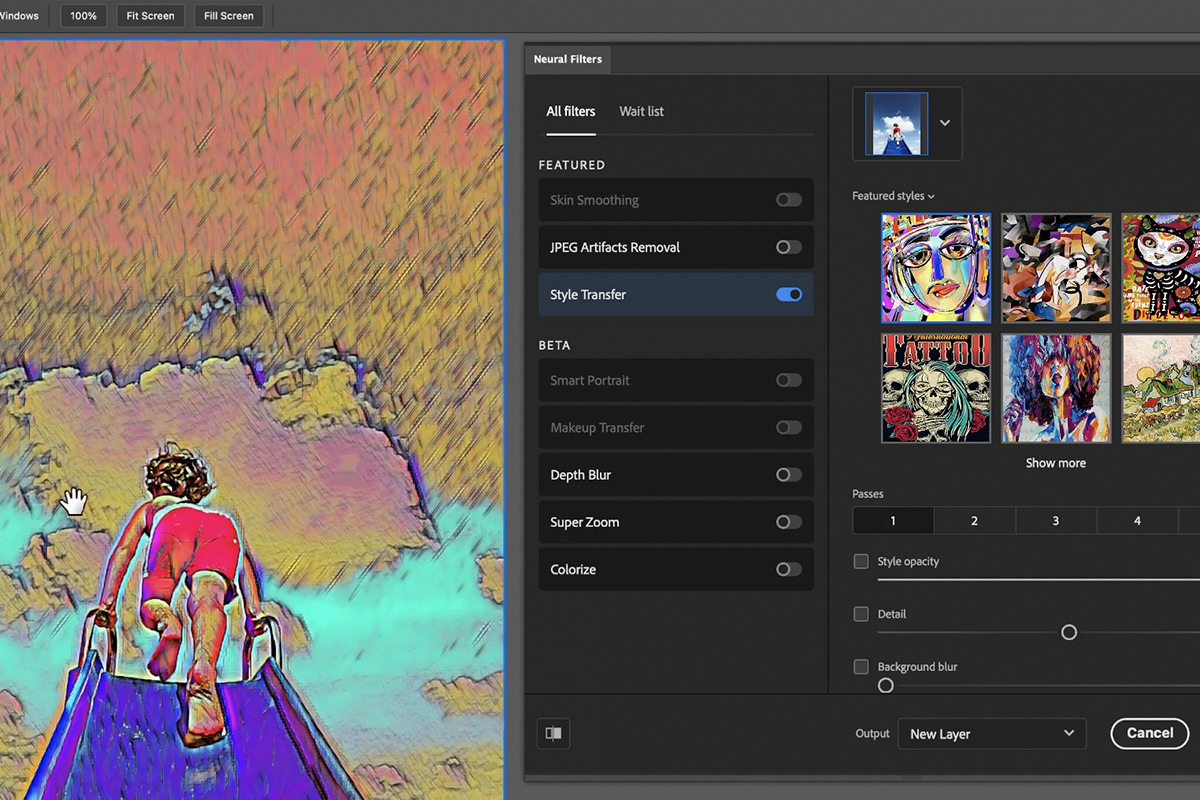
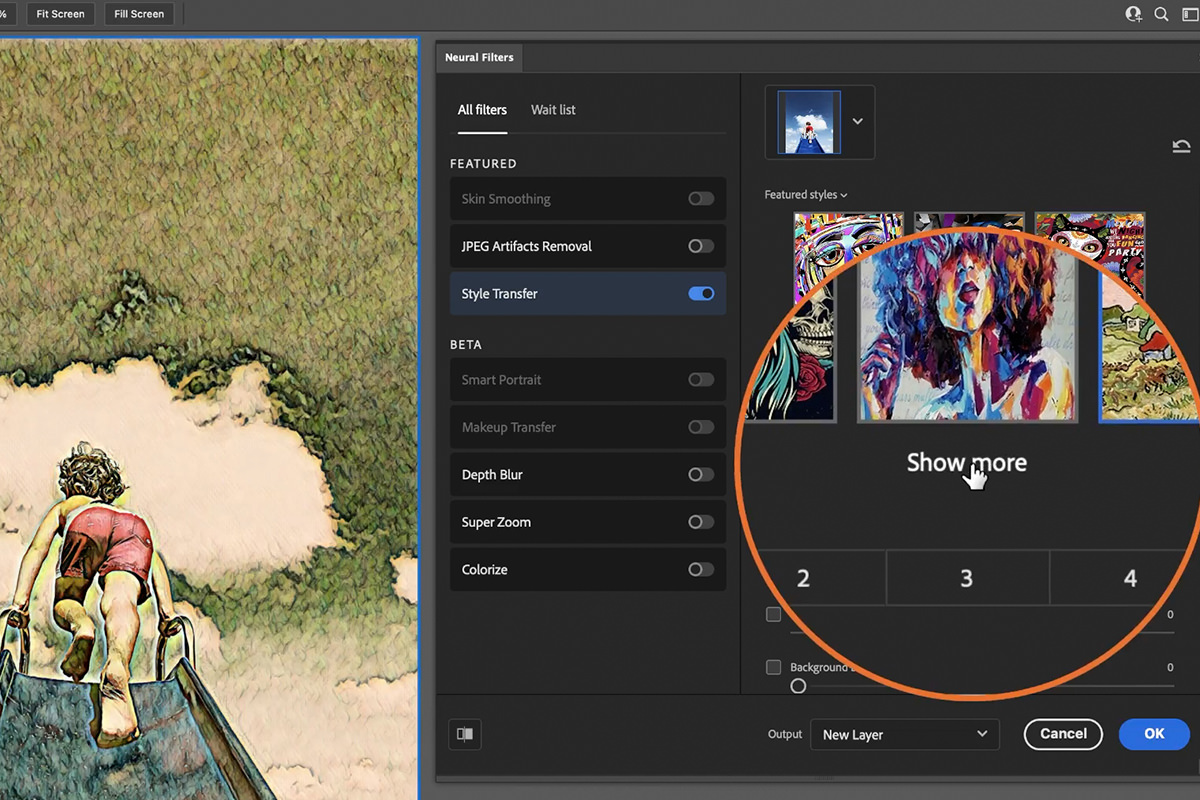
Once the Style Transfer dialog opens, click on one of the provided images. Photoshop will apply an effect to the photo attempting to emulate the style and colors of the selected photo.
This can lead to some pretty wild results. Take some time and explore the different image options. You can reveal more by clicking on the Show More option near the bottom of the image previews.
Unfortunately, since this is still a relatively new feature, you can only pull styles from the images included in Photoshop. So you won’t be able to upload your favorite paintings–yet!
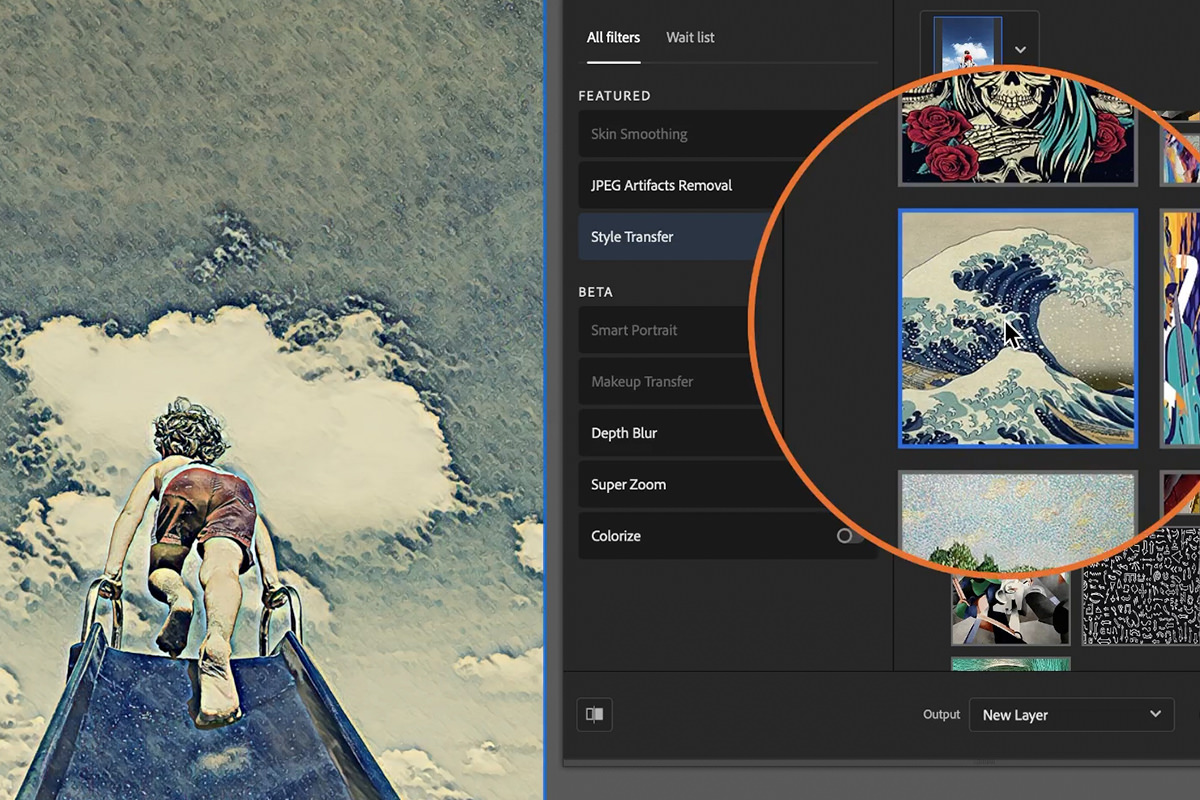
We recommend trying to find an image that has a style that is similar in color and mood as the photo you’re trying to stylize.
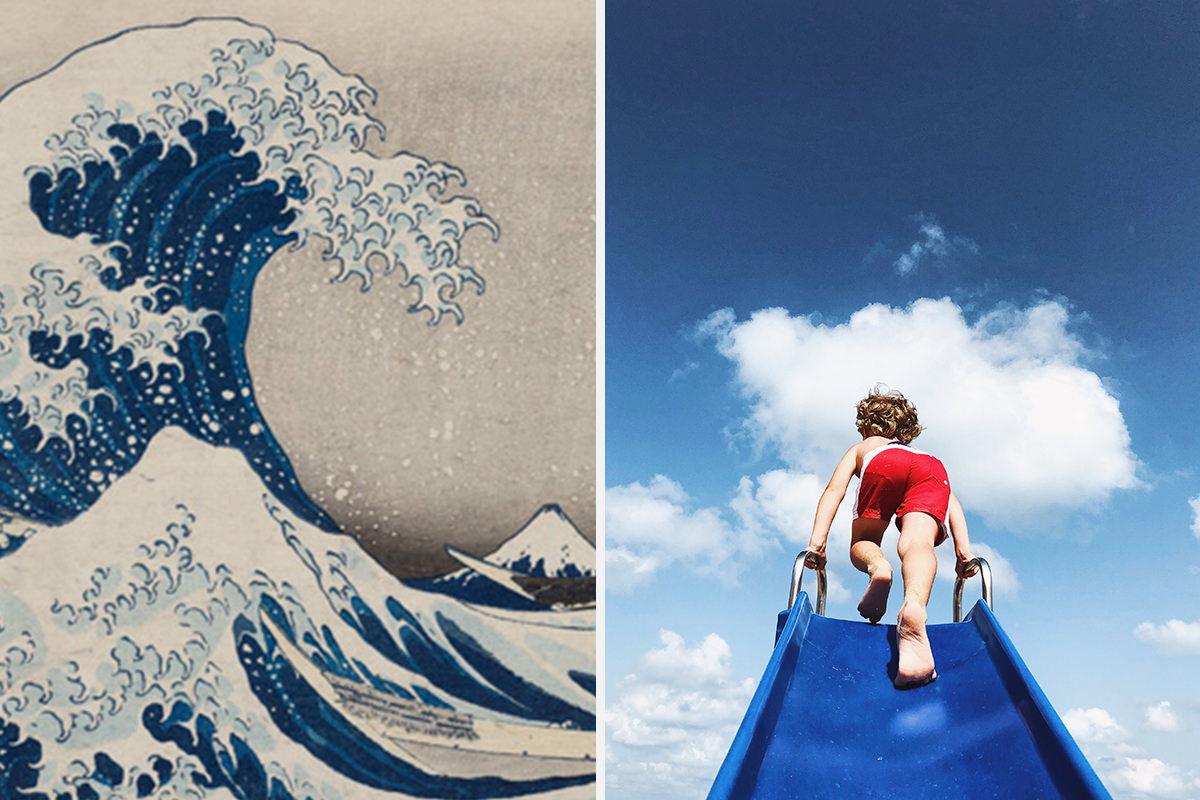
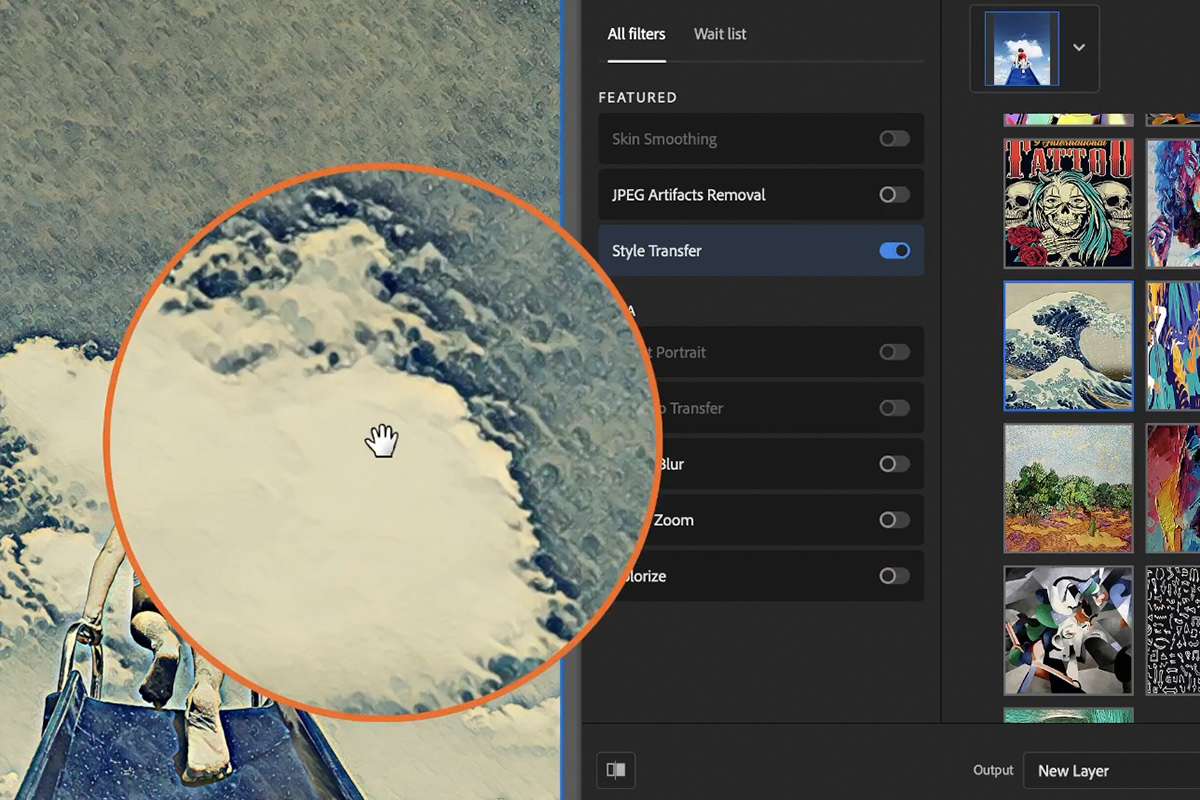
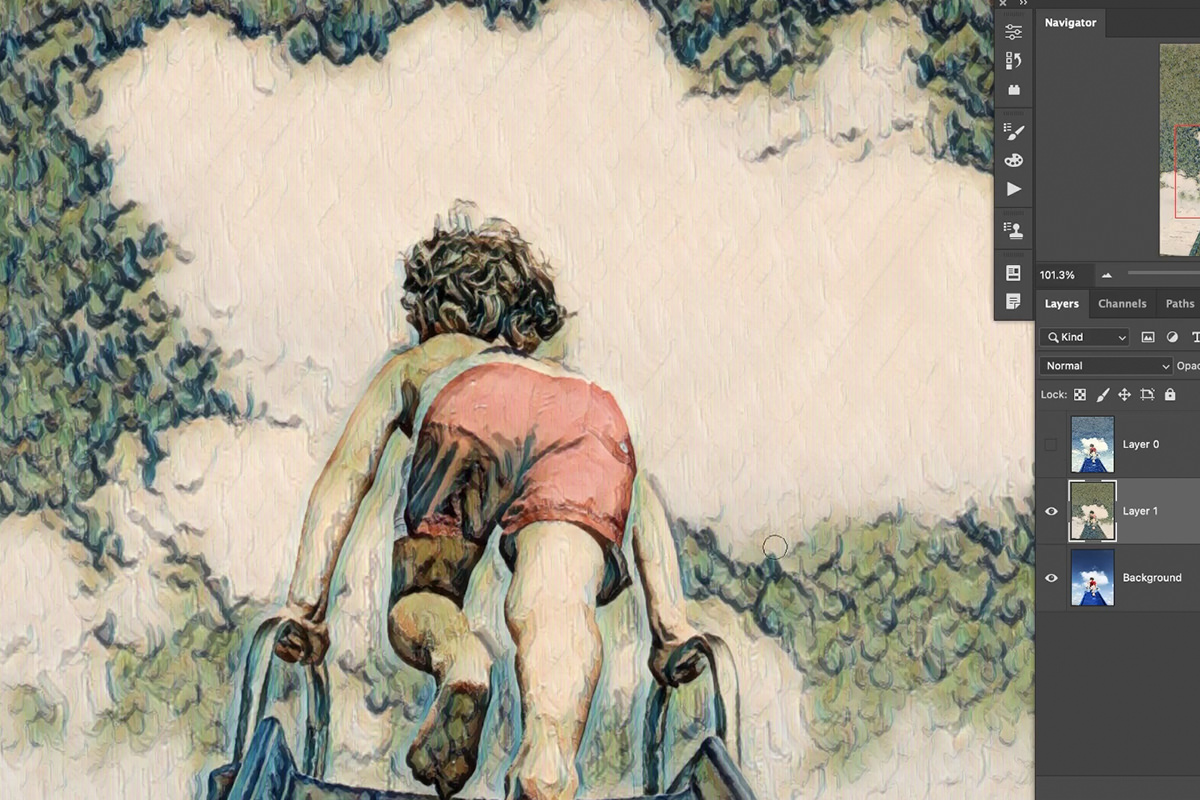
We chose The Great Wave off Kanagawa–the colors are similar and we may be able to create an effect where the clouds look like the crashing wave in the artwork.
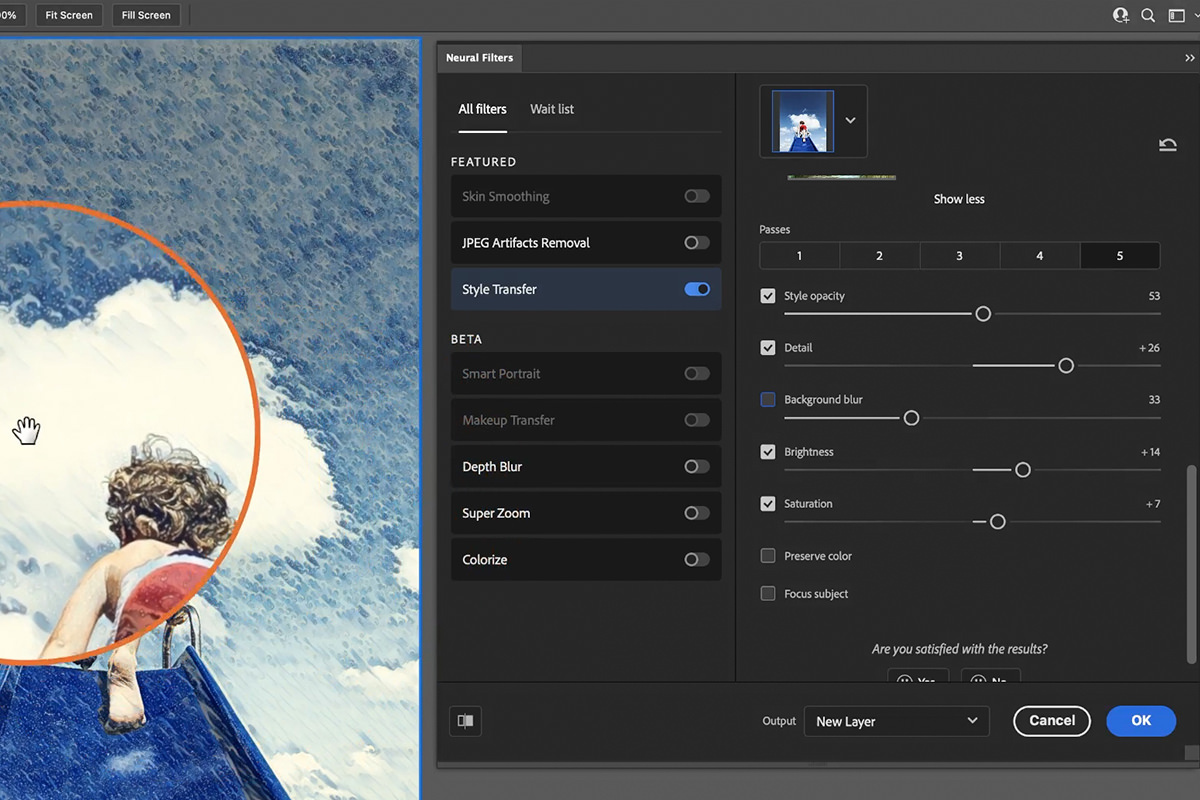
When you first apply a style, you may notice that the effect doesn’t look great. Fortunately, there are a number of adjustments that we can make to help blend the effect in with our image.
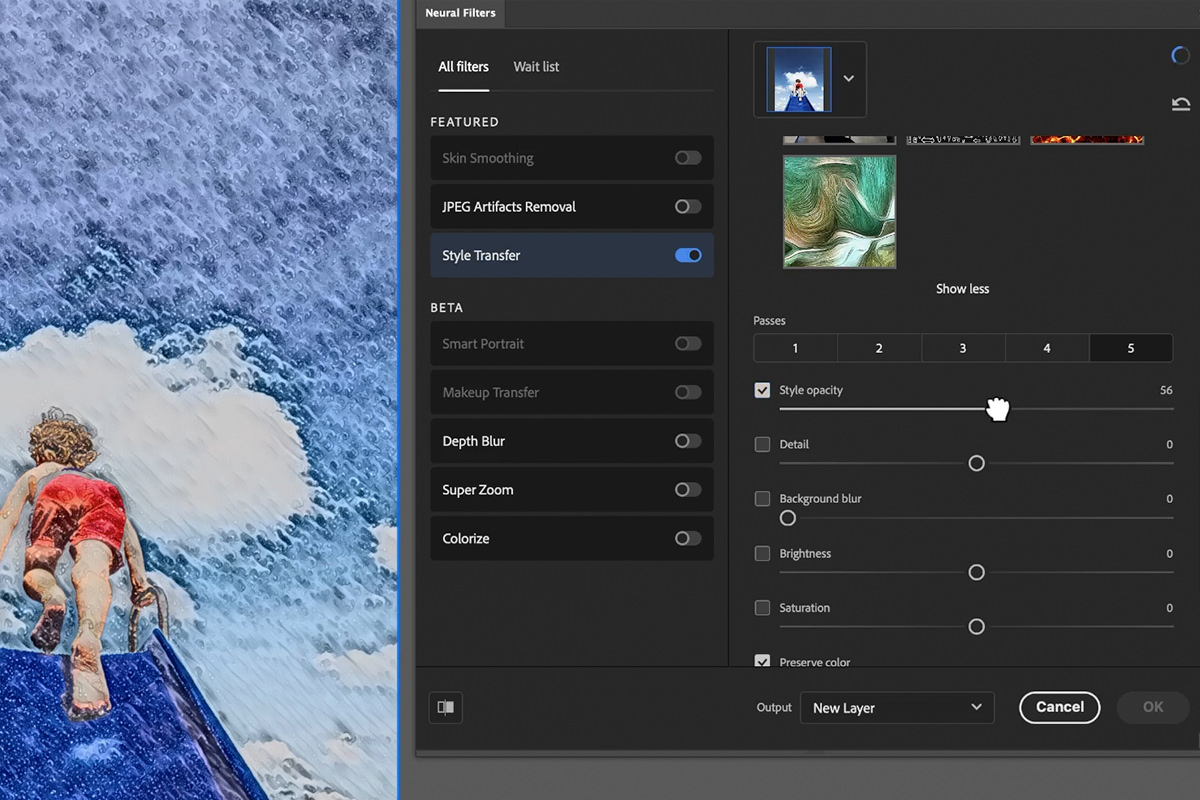
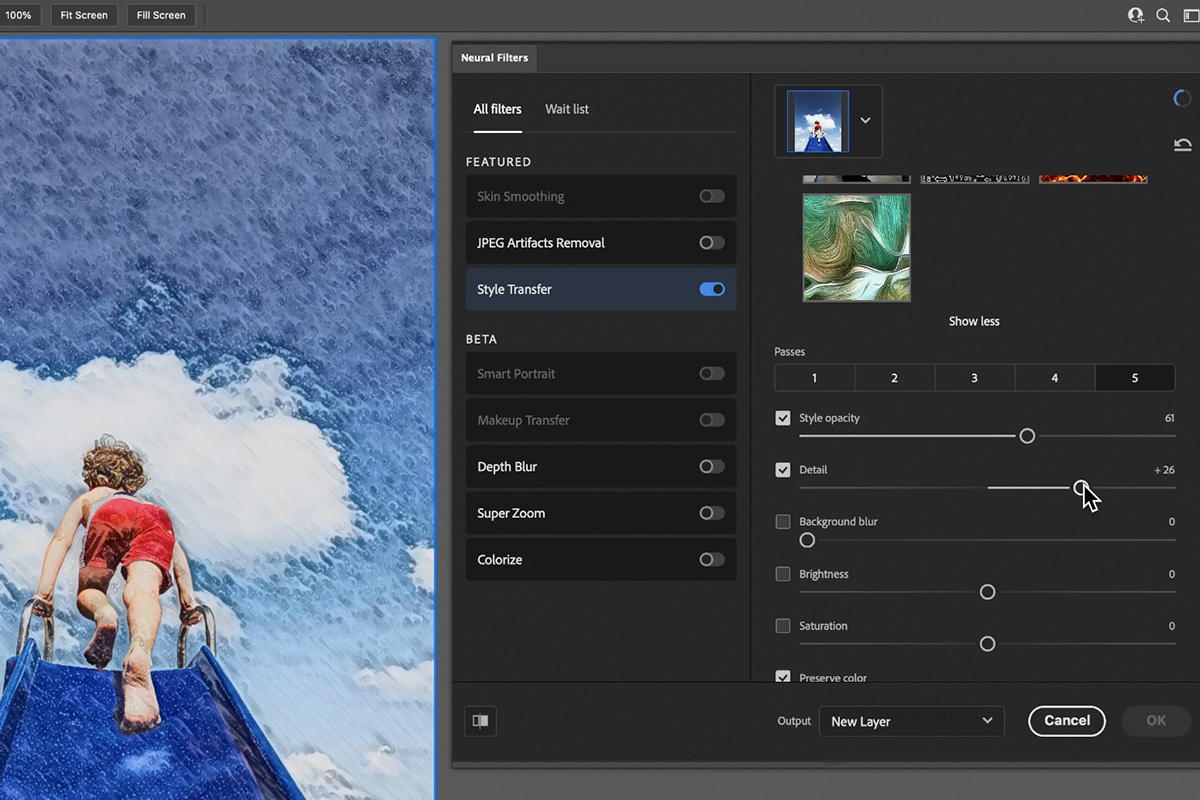
First, there’s Style Opacity, which controls the amount at which the effect will be visible in the image. Lowering this a bit will help preserve some of the colors and details in the original photo.
You can also increase or decrease the amount of detail transferred from the selected style.
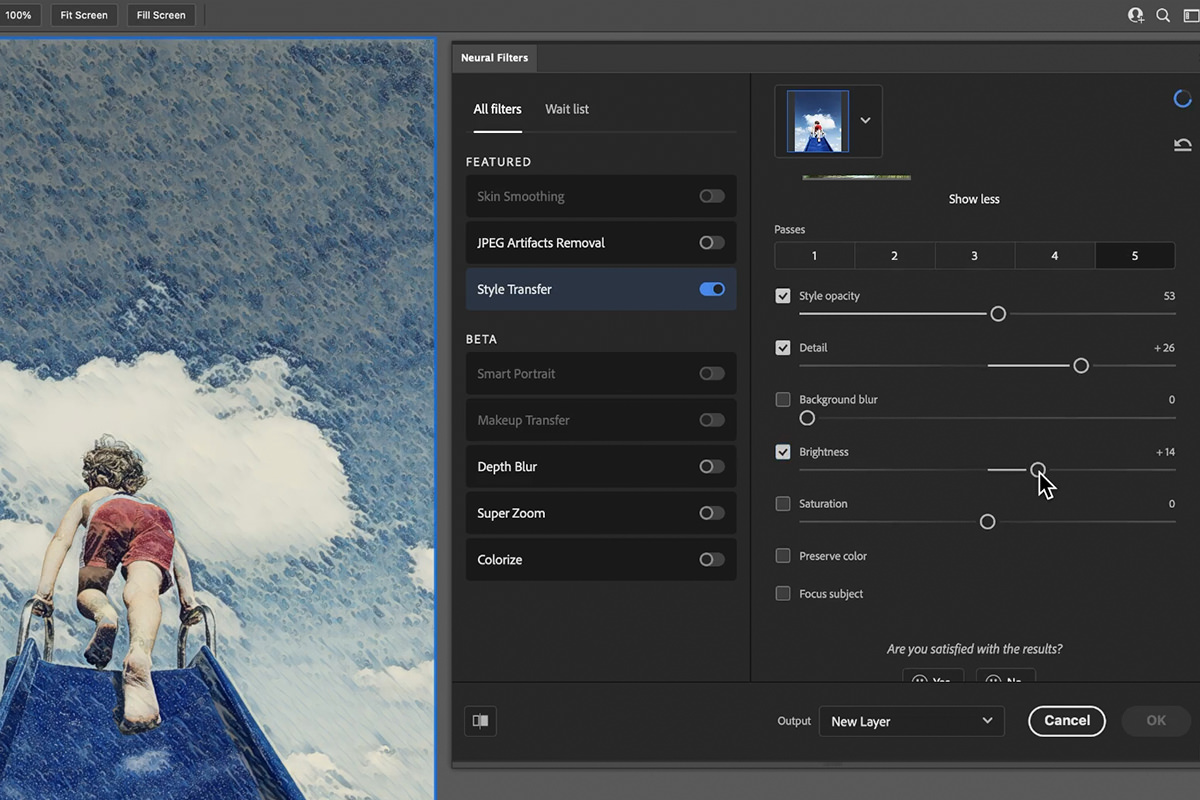
Increase or decrease the overall brightness of the effect.
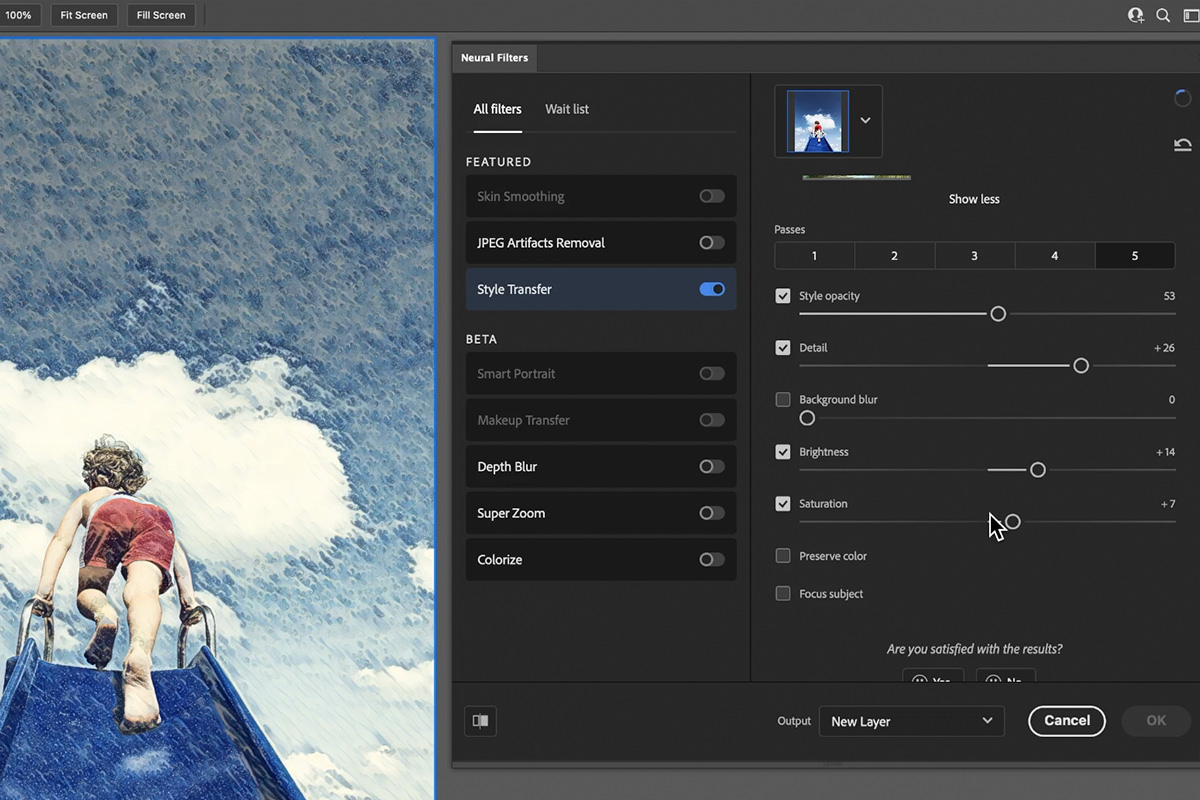
Increase or decrease the saturation.
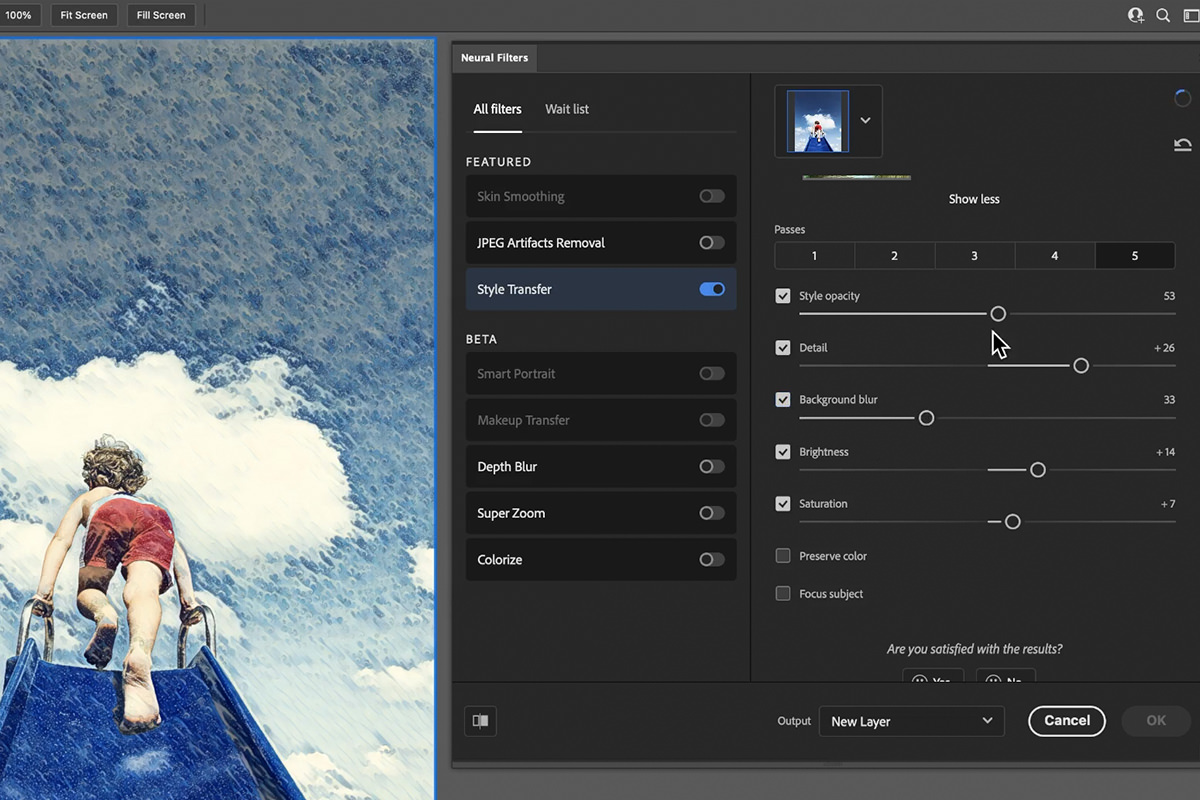
And even add a little bit of background blur to help isolate the subject in the scene.
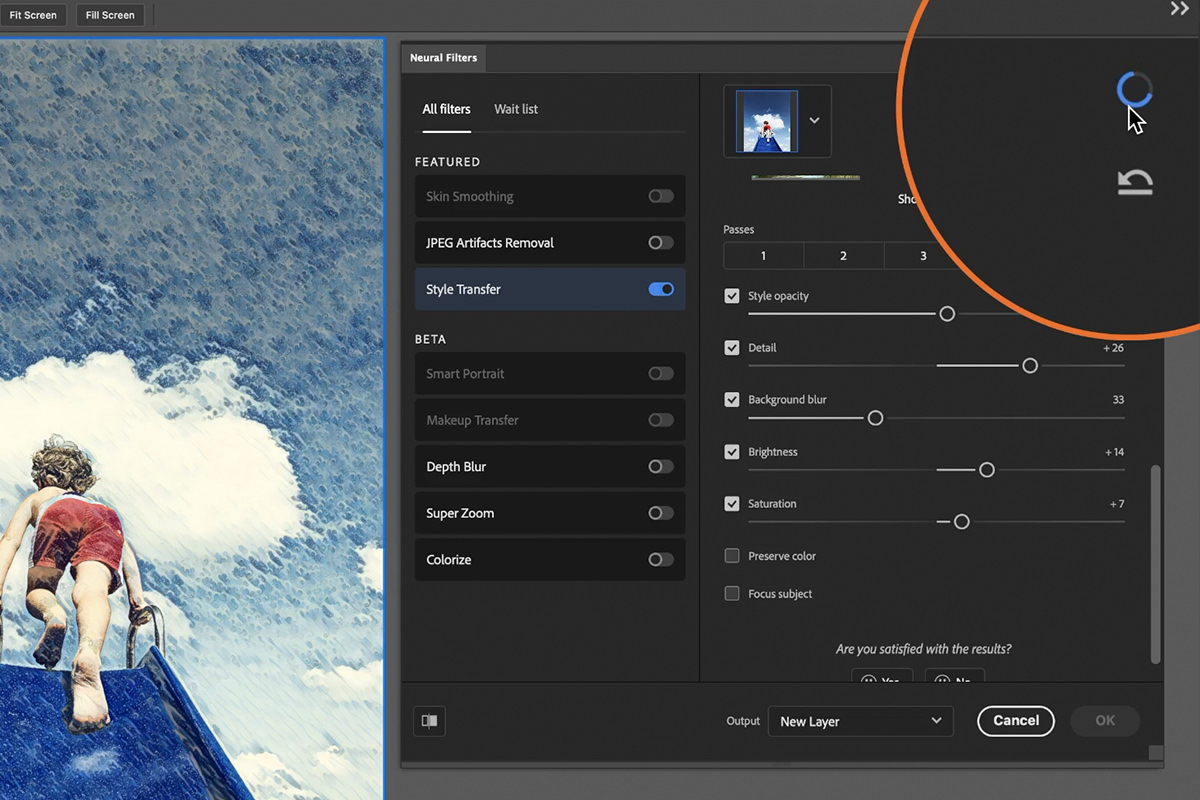
If you change a setting and nothing seems to happen in the preview window, check to see if Photoshop is still working behind the scenes to make the changes (There will be a loading animation near the top right of the window.) Many of the Neural Filters pull information from external sources, so the effects might take a second to load.
Take your time and experiment with the different styles available, and with all the ways you can adjust their appearance with the included settings.
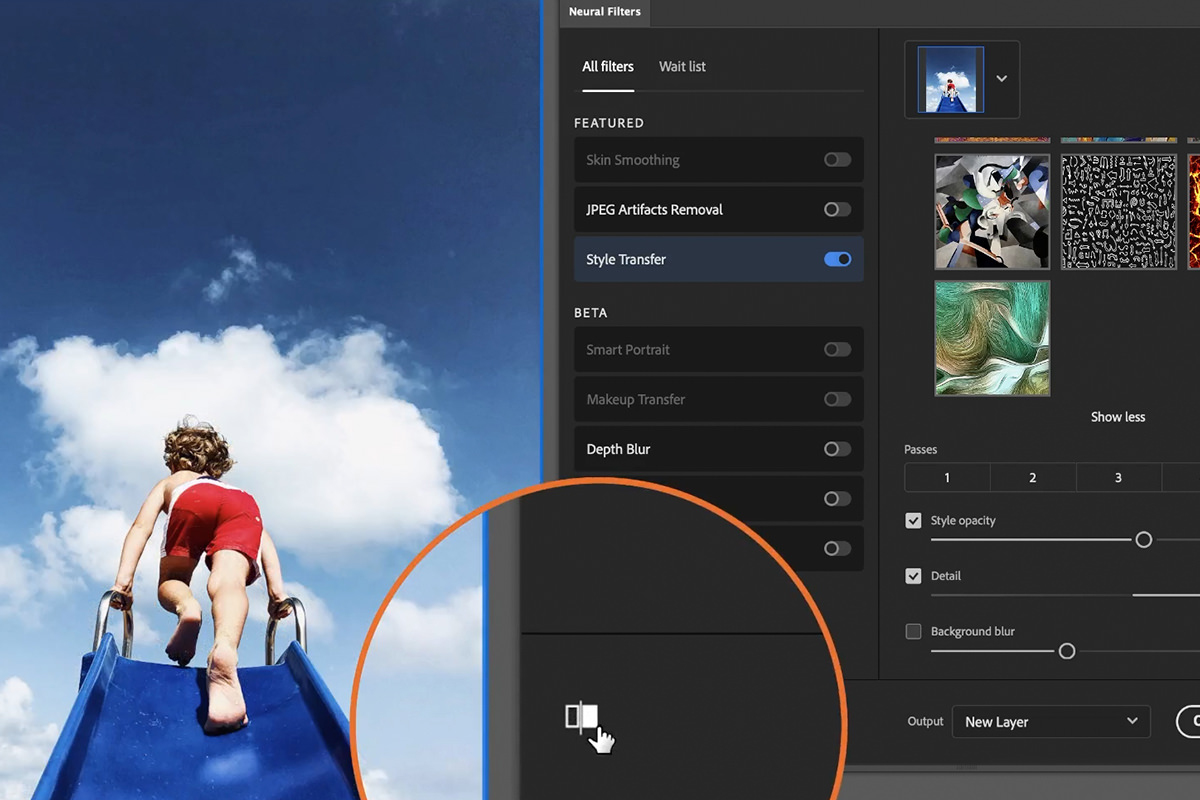
And if you want to compare the effect with the original, unedited image, you can click on the Preview button near the bottom left corner of the settings dialog.
If you’re looking for something to inspire your creativity, the Style Transfer Neural Filter is a great, and fast, way to experiment with a wide variety of effects.
Try it out on your own images and, most of all, have fun!
