BEFORE
AFTER
Download Sample Images
Click the link below to download the sample images and follow along with this tutorial.
DownloadTutorial Description
Time to Make Dad Proud!
To make things easier, simply download everything we use in this episode to make your own Deer Dad Card!
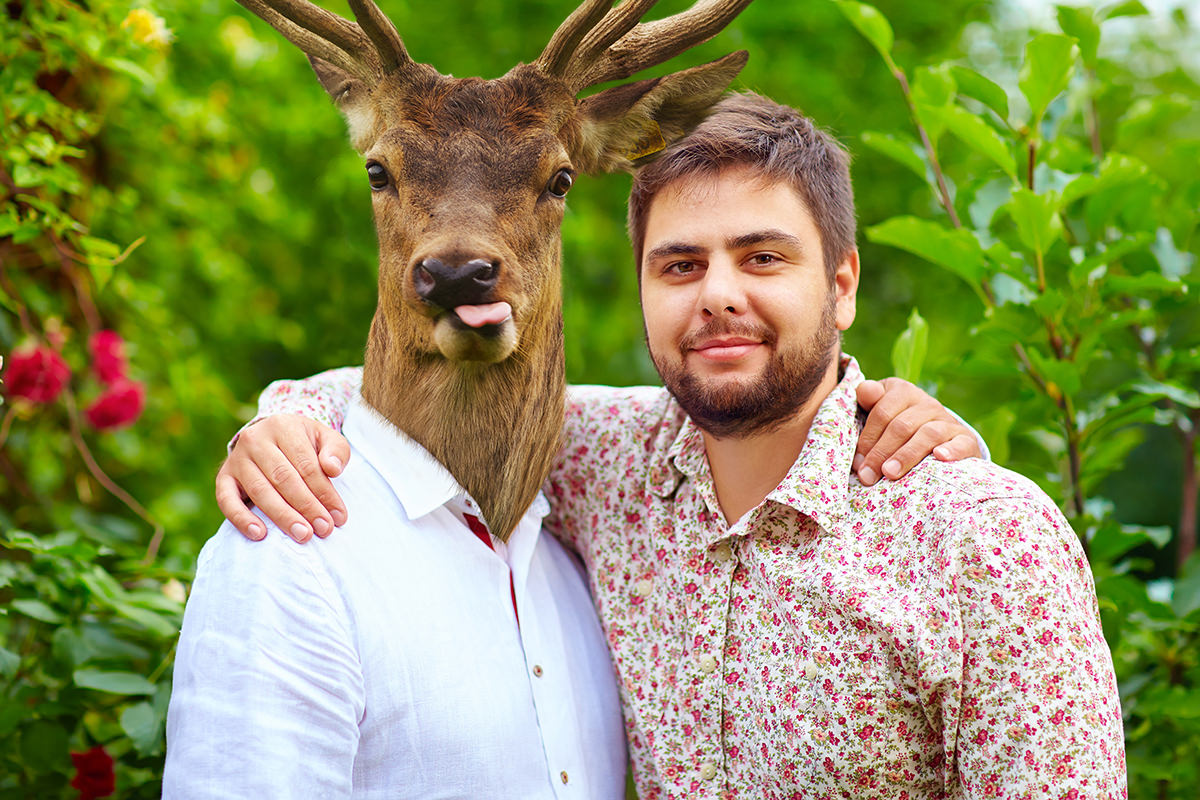
How to Make a Deer Dad Card
Have you ever wanted to replace a person’s head with an animal head? Well if so, you are in luck. In this tribute to Father’s Day, we show you how to turn your dear dad into your DEER DAD.
How to Cut Out the Deer
The first step to creating the Composite is to cut the deer (or another animal) out of its Background. In this case, we start by using the Magic Wand Tool to cut out the area over the sky. Because the background is simple, the cut-out process goes quickly.
Use the Lasso Tool to make a selection around the lower part of the deer and then paint black on the Layer Mask to remove the deer from the background.
Refine the Selection Edge
After cutting the deer out from the Background, go to ‘Select – Refine Edge’ and add some feathering and bring in the edge of the mask. This will reduce the white fringing around the edge and give a more realistic look.
Create Animal Hair from Scratch
After the deer is cut out from its background, the next step is to paint in ‘deer Hair’ around the edges to make the deer look more realistic. To paint deer hair, first, you will need to create a ‘deer Hair Brush’.
Start by using a small (3px) brush with a Hardness around 80%. Paint a thin line resembling a deer hair. After you are happy with your hair shape, use the Marquee Tool and make a square selection around the hair and on a New Layer, fill that selection with white.
The best way to create a custom brush is to have the Brush shape in black and the background pure white.
Next, make a selection around the white Background and go to ‘Edit – define brush preset’. This will turn the hair shape into a custom Brush.
Next, open the brush menu – ‘Window – Brush’ and define settings to make the Hair appear more random when painted. Use Size Jitter, Angle Jitter, Direction, and Scattering.
After making the custom brush, go to the menu in the Brush Window and go to – ‘New Brush Preset…”. Then you can use this same brush with the Clone Stamp tool and paint real hair!