Download Assets
description
Learn advanced Lightroom masking techniques on Day 6 of our 30-day series! This tutorial covers combining masks, like radial gradients and subject selections, to create stunning effects. Refine highlights, add glows, and precisely control edits for professional-looking photos. Make sure to download the sample RAW file, so you can practice!.
Follow along with all 30 episodes as we explore the the magic of Lightroom together!
Watch Next
JOIN 30 DAYS OF LIGHTROOM (FOR FREE!)
Ready to jump in? Sign up and we’ll email you a printable calendar and daily class schedule so you can get started right away!
Image Source
Share
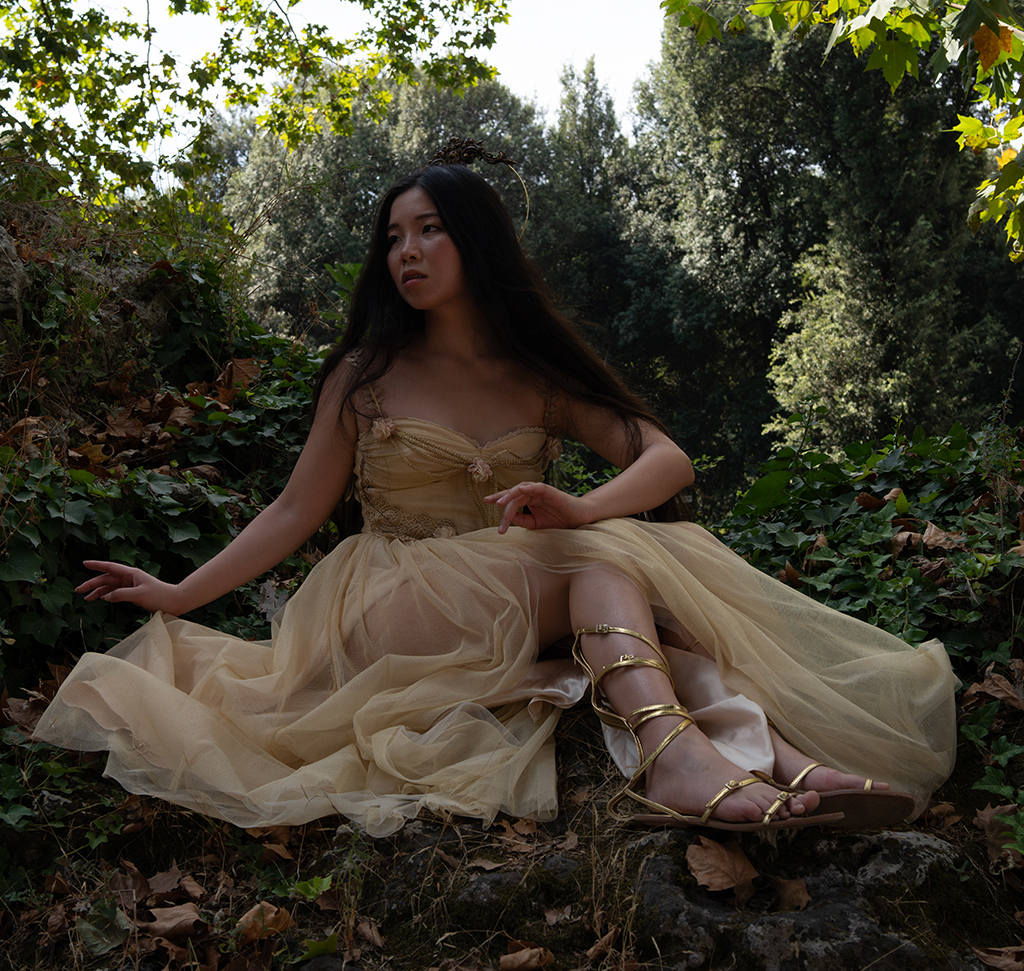
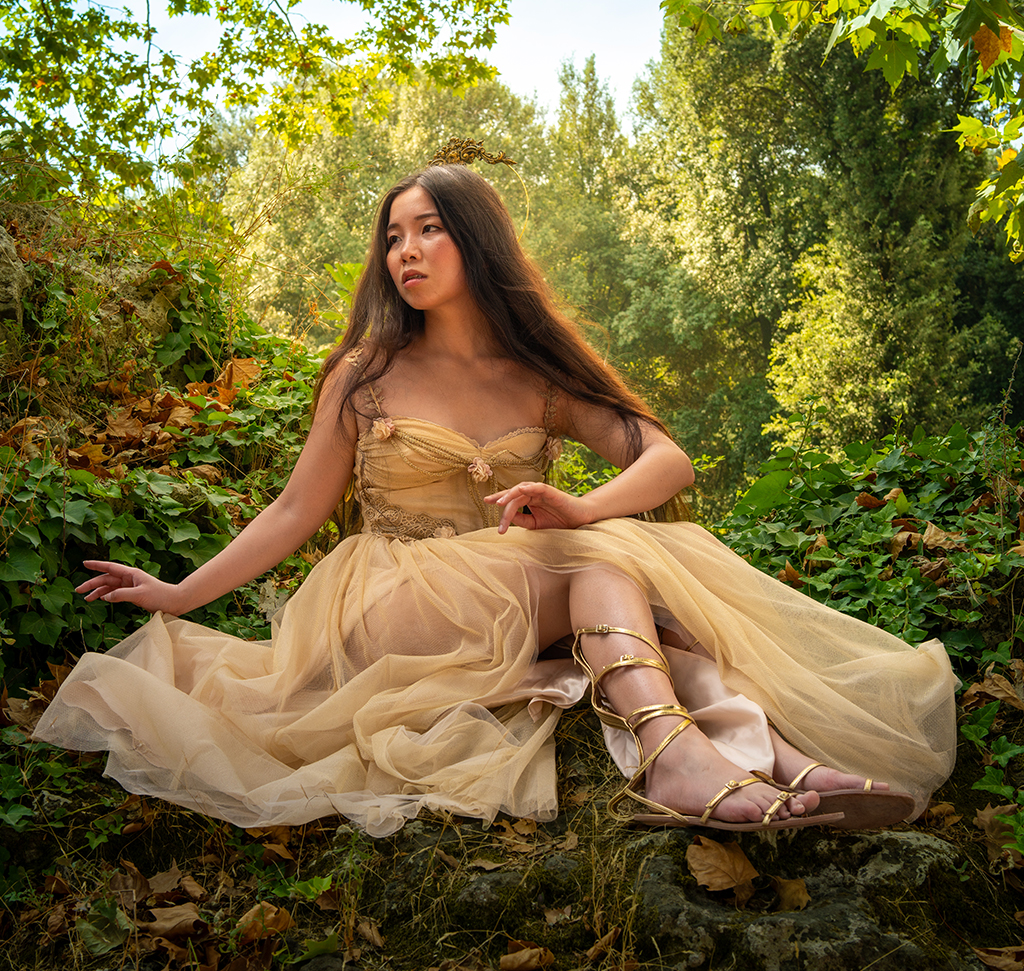
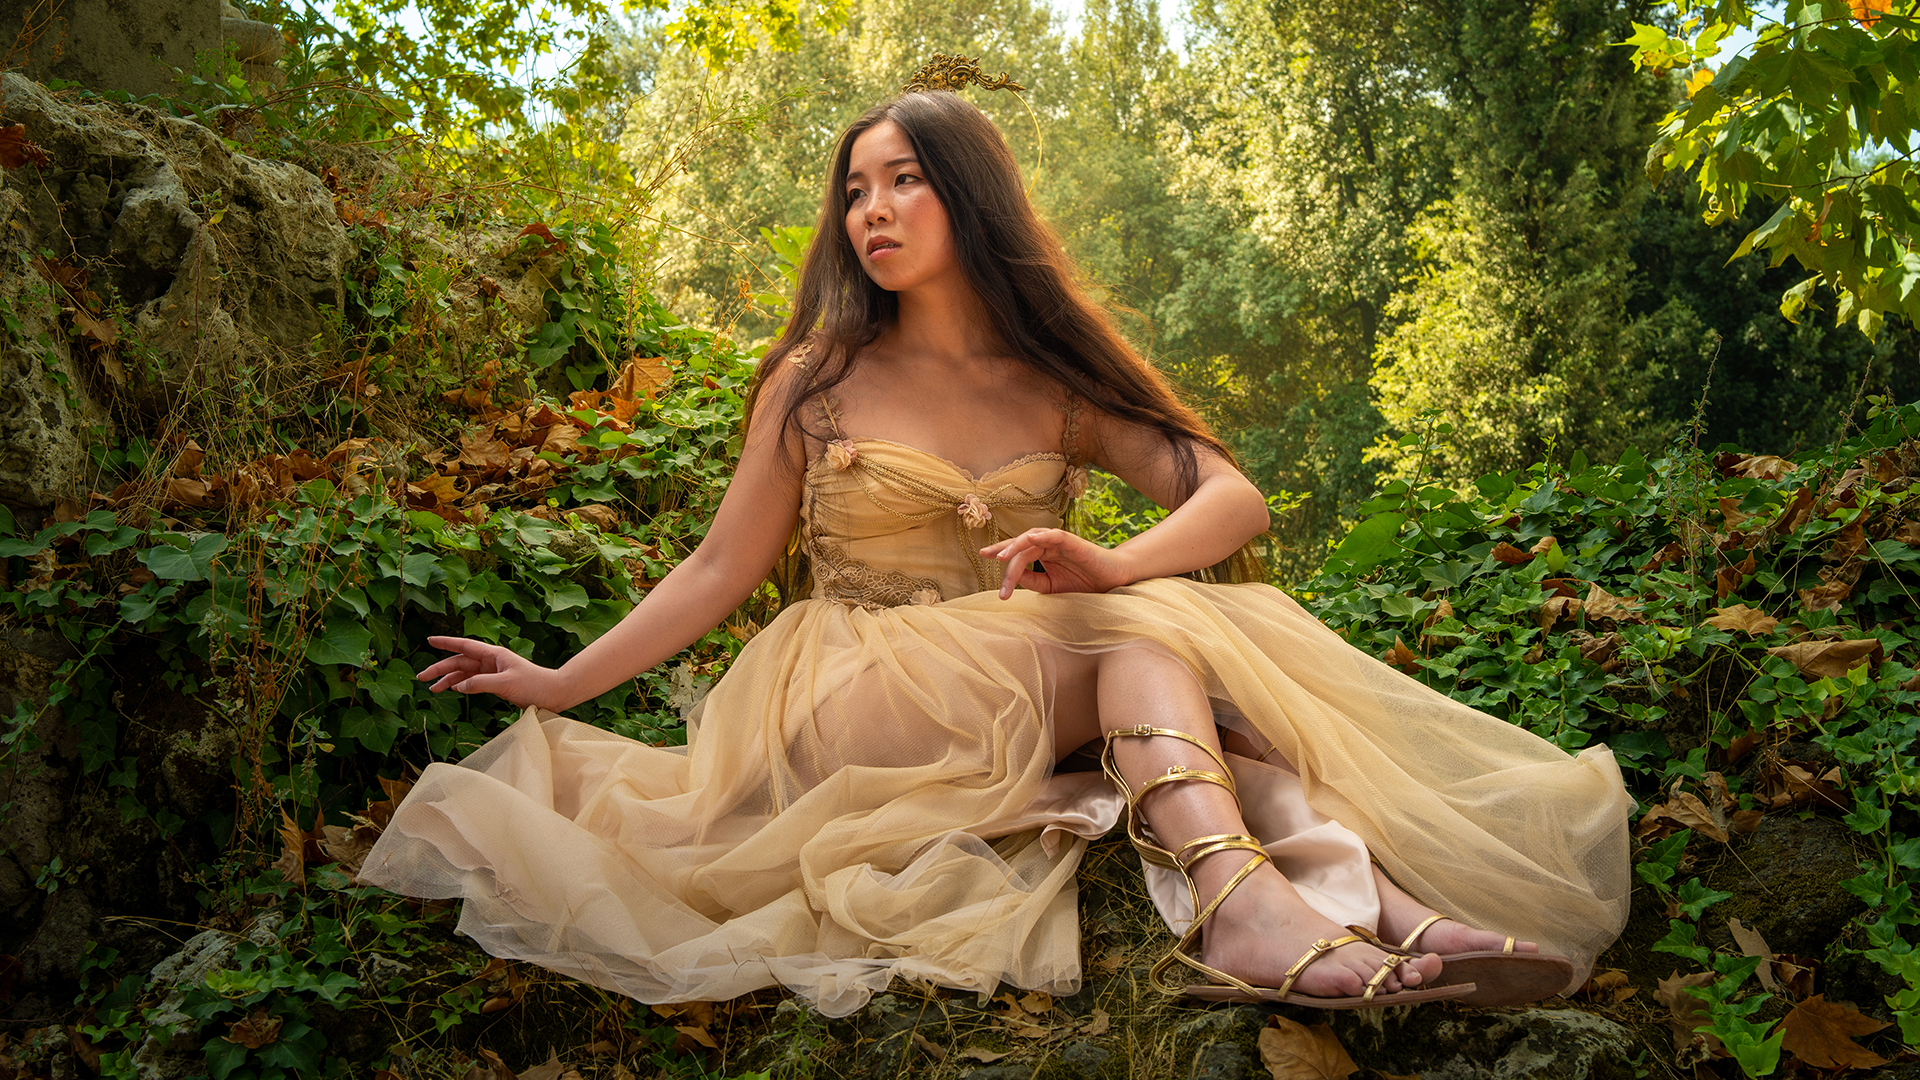
AFTER
BEFORE
Refine & Combine
On Day 6 of 30 Days of Lightroom, we’re building upon the basics of masking and diving into advanced techniques. This guide will walk you through combining and refining masks to achieve truly professional results, transforming your images with precise control.
Initial Image Adjustments
1. Begin by downloading the provided RAW image and opening it in Lightroom’s Develop module. Start with basic adjustments by using the “Auto” button to establish a good exposure.
2. Move to the “Masking” panel. Select the background and enhance its vibrancy by adjusting tint and saturation.
3. Create a sky mask and shift the color temperature towards blue.
4. Select the subject and fine-tune their exposure, highlights, and shadows.
Combining Mask Elements
5. Now, for advanced masking techniques, create a radial gradient behind the subject to simulate a glowing light. Adjust exposure, shadows, contrast, and color temperature to achieve the desired effect.
6. To make the glow appear only behind the subject, subtract the subject mask from the radial gradient mask.
7. Further enhance the subject by selecting it again and subtracting the shadow luminance range, focusing on the highlights.
Refining Subject Details
8. To add a subtle glow to the subject’s face, create another subject mask and subtract a radial gradient, inverting the gradient to isolate the face.
9. Adjust exposure and color temperature for a soft, focused light.
10. Refine the dress effect by subtracting linear gradients, ensuring the light effect is concentrated.
11. Finally, use the brush tool to selectively brighten and warm the subject’s hair, subtracting the background mask for precision.
That’s a wrap on Day 6! Tomorrow, we’ll cover essential image adjustments: cropping, straightening, and correcting perspective.


