
Download Assets
description
Vanish distractions with Lightroom’s AI object removal tool! Day 10 unveils the magic of generative AI, removing unwanted elements seamlessly. Learn to refine compositions, enhance lighting, and perfect symmetry. Transform cluttered scenes into polished, professional images with just a few clicks. This tutorial includes a RAW file!.
Follow along with all 30 episodes as we explore the the magic of Lightroom together!
Watch Next
JOIN 30 DAYS OF LIGHTROOM (FOR FREE!)
Ready to jump in? Sign up and we’ll email you a printable calendar and daily class schedule so you can get started right away!
Image Source
Share
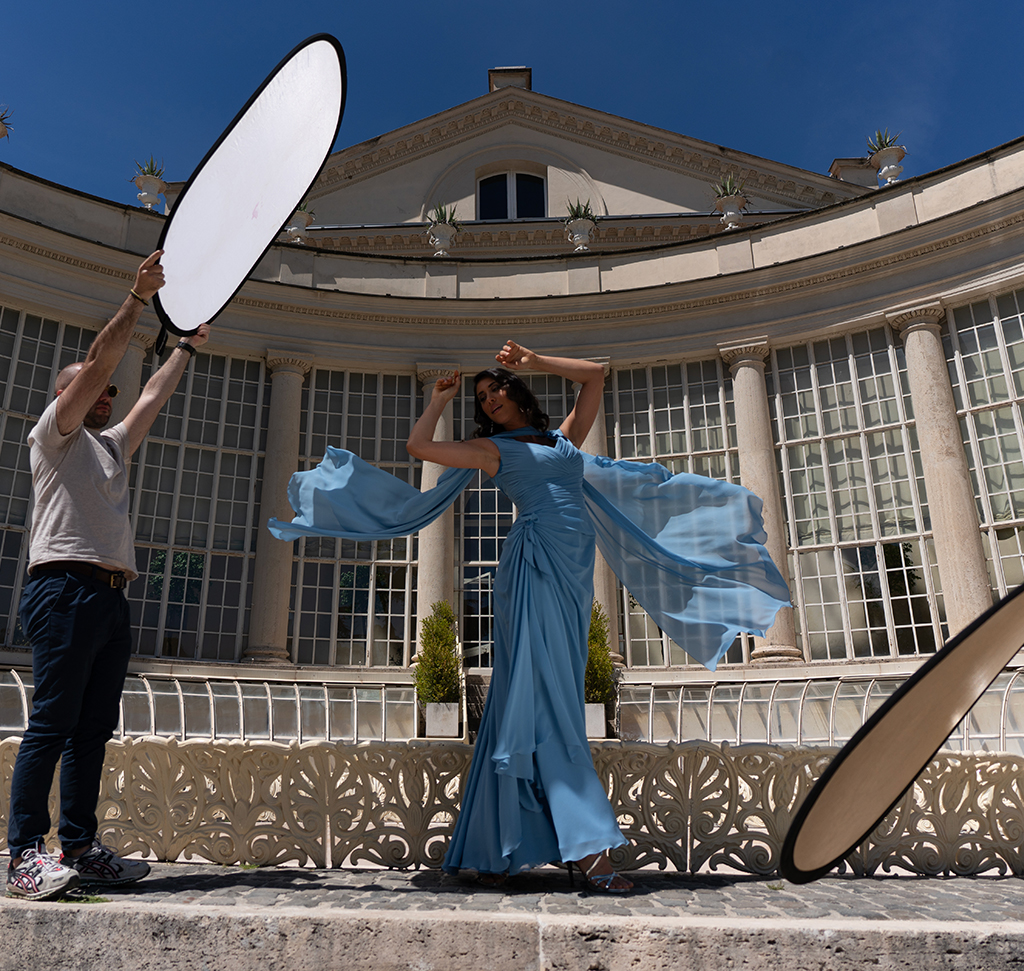

AFTER
BEFORE
Remove Distractions
Today, we’re harnessing the power of AI to effortlessly remove unwanted objects and distractions from your images, helping you achieve clean, focused, and professional results.
AI Object Removal
1. Open your RAW image in the Develop module and select the “Remove” tool (Keyboard Shortcut “Q”). Ensure “Use Generative AI” is enabled.
2. Adjust the brush size and paint over the objects you want to remove, including shadows. 3. Click “Remove” and watch as AI seamlessly fills the area. You can review variations and choose the best result.
Enhancing the Image
After removing distractions, enhance the image with basic adjustments. Increase exposure, shadows, and vibrance. Use masking tools to select the subject and add a radial gradient for targeted lighting adjustments. Ensure your subject is well-lit and the overall image has a pleasing aesthetic.
Transform & Crop
To improve symmetry and composition, use the “Transform” panel. Adjust horizontal and vertical sliders to align architectural elements. Use the crop tool to remove excess space and center the subject. Fine-tune the horizontal transformation for a perfectly balanced image. Use the slash key to compare before and after edits.
That’s a wrap for day 10! Tomorrow we’ll jump onto HDR editing, exploring how to expand dynamic range and create stunning, high-contrast images.


