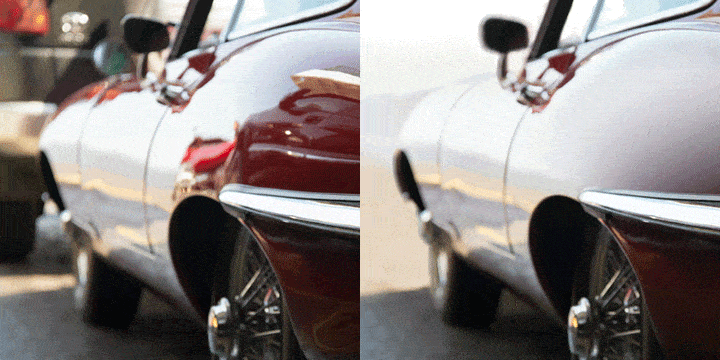
Download Sample Image
description
In episode two of our four-part series, let’s put some of the tools we learned about to work to clean up a relatively simple background in Photoshop.
Click here to download the complete PSD file (139MB).
Free Object Removal Series
- A Tour of the Best Object Removal Tools in Photoshop
- Clean Up Simple Backgrounds in Photoshop (This Episode!)
- Remove Objects Around Lines & Edges in Photoshop (Coming Soon)
- Remove Objects From Complex Textures in Photoshop (Coming Soon)
If you’re ready to take these skills to the next level, be sure to check out our PHLEARN PRO series on object removal in Photoshop.
Share
Clean Up Simple Backgrounds
Removing Distractions from Simple Backgrounds
Removing objects and distractions from a photo is an easy way to help your subjects stand out and to help the image feel more focused. Better yet, cleaning up the background in a photo can be easy as long as the background is relatively simple.
What do we mean by simple backgrounds? Well, it could be a solid-colored studio background or even a solid-colored wall if you’re shooing out on a location. Or it could be a busier background, but one that’s out-of-focus, eliminating the need to work around sharp, complicated details.
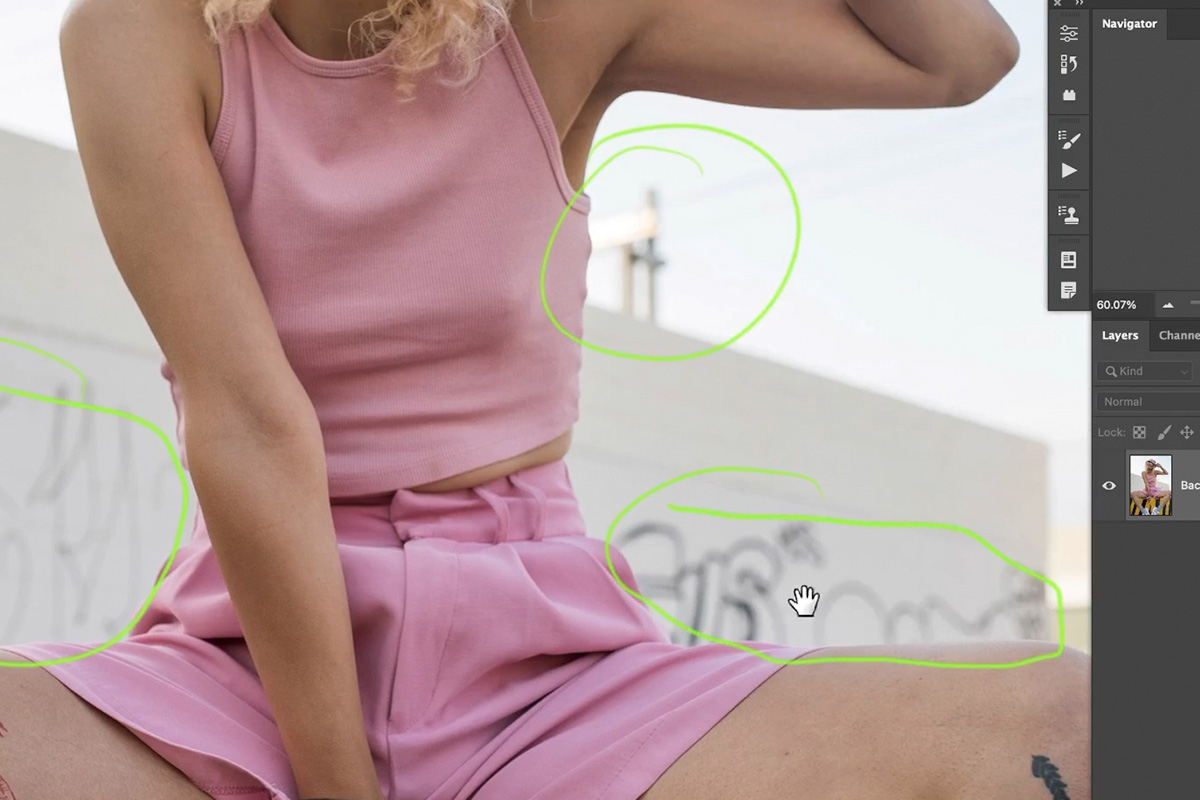
This image has what we would call a relatively simple background. It’s mostly out-of-focus, making it easy to remove any distracting elements without having to work too hard to recreate the details in the photo.
Before we start the process of covering up distractions, let’s first make a plan of what elements to remove. This can be done by creating a new Layer, and then using the Brush Tool to circle (in a bright, noticeable color) all of the things we want to cover up. This is a great way to make sure we hit everything we want since we can always reference it later as we’re working.
Content-Aware Fill
We recommend always starting with quick, automated tools first. These will handle the majority of the heavy lifting that we can later clean up using more manual tools.
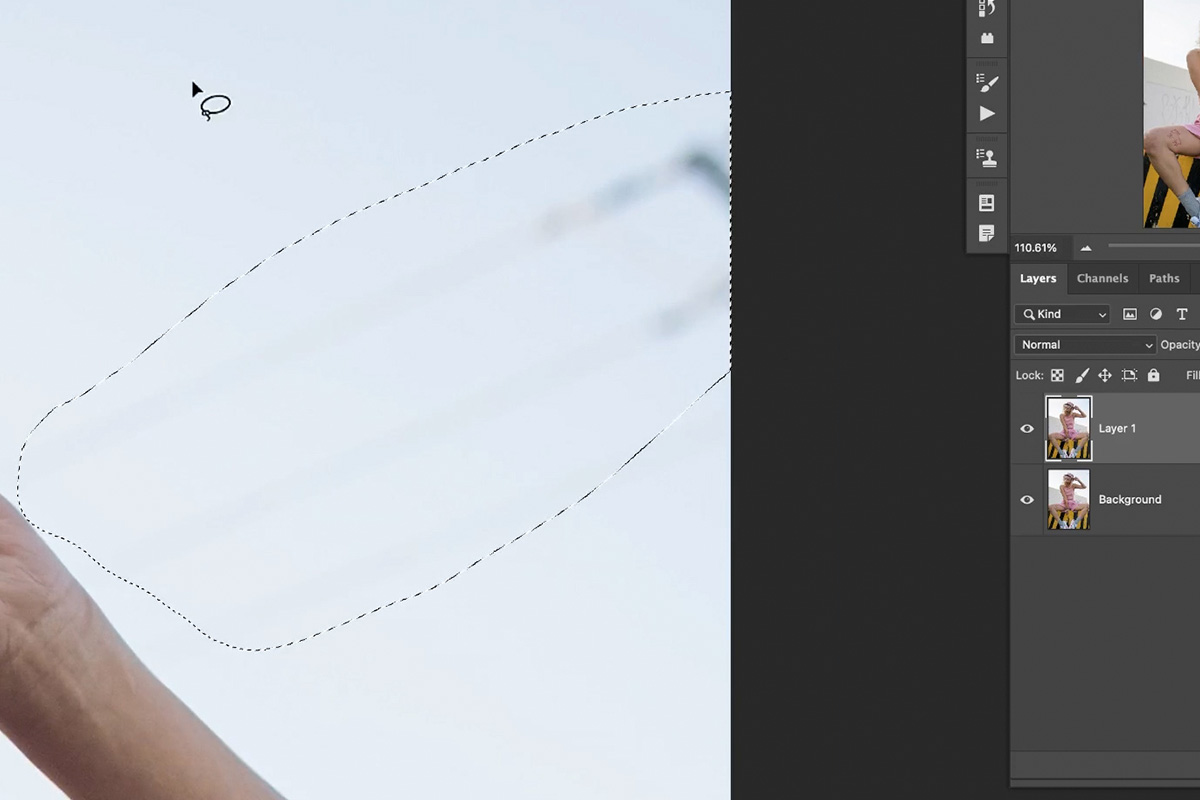
Start by Duplicating the background image by hitting CTRL or CMD + J. This will allow us to use Content-Aware Fill to remove the logo on the duplicate image, leaving the original image unchanged.
Then, use the Lasso Tool to make a rough selection around the thing you want to remove–in this case, the power lines in the background..
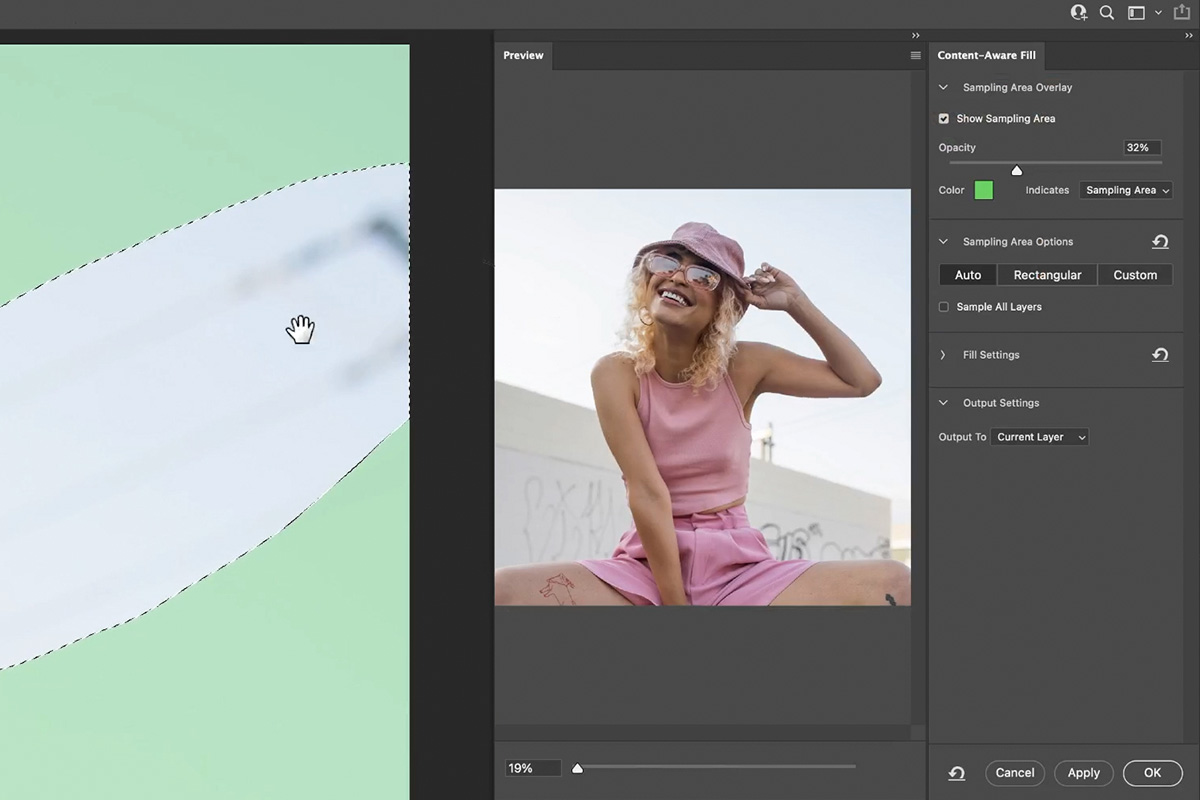
Open the Edit menu and select the Content-Aware Fill option. The Content-Aware Fill dialog will open. Content-Aware Fill will use Adobe’s AI technology to analyze the areas highlighted in green, and use information from those areas to fill in the selected object.
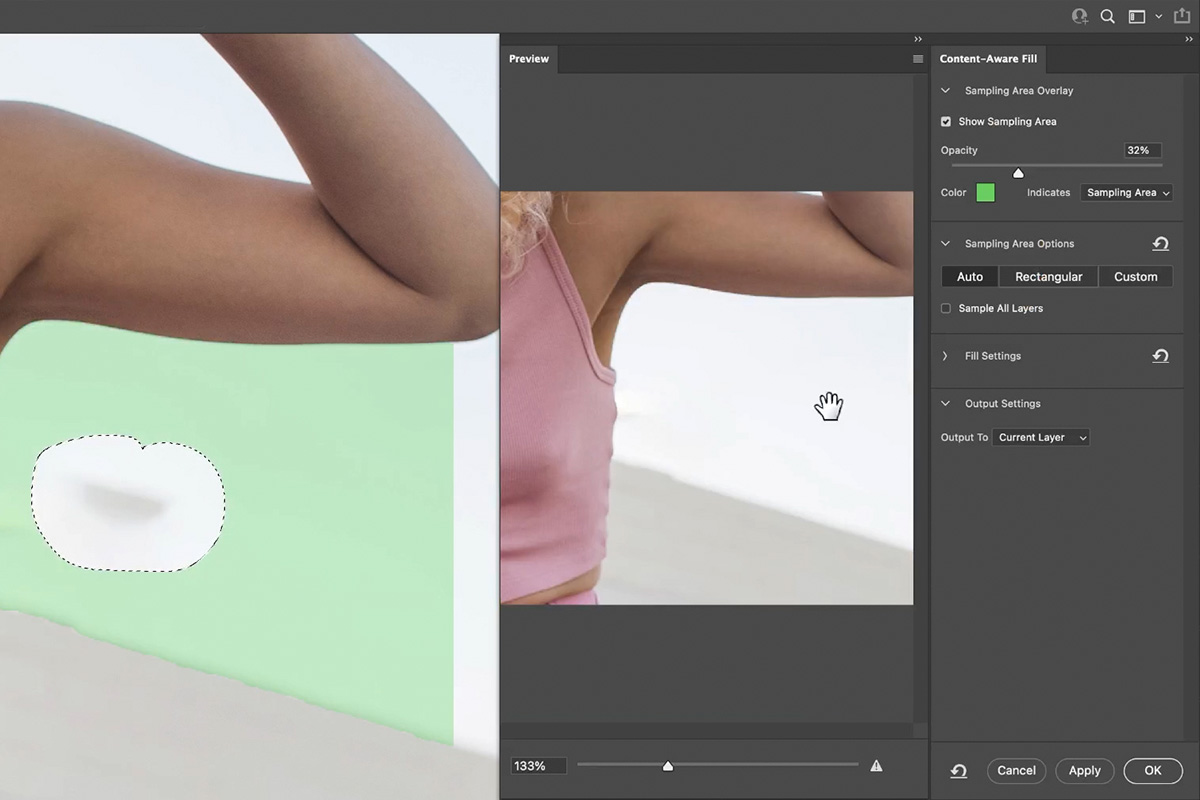
Watch the preview window as you adjust the settings, and dial in a result that you think looks good. Hit OK.
Repeat this process until you’ve taken care of all the unwanted elements in the sky of the image. Notice that there might be some imperfections in the final result though, especially in areas near the subject. Let’s switch over to a more manual method to refine these areas so that they look more realistic and unedited.
The Clone Stamp Tool
The Clone Stamp Tool The Clone Stamp Tool also allows you to Sample an area (ALT or OPTN) and then paint using the sampled information. This is especially useful because it creates an exact copy of the sampled area – both the color and texture combined.
We can use it to clean up unwanted spots and textures where the Content-Aware Fill Tool might have not done exactly what we wanted.
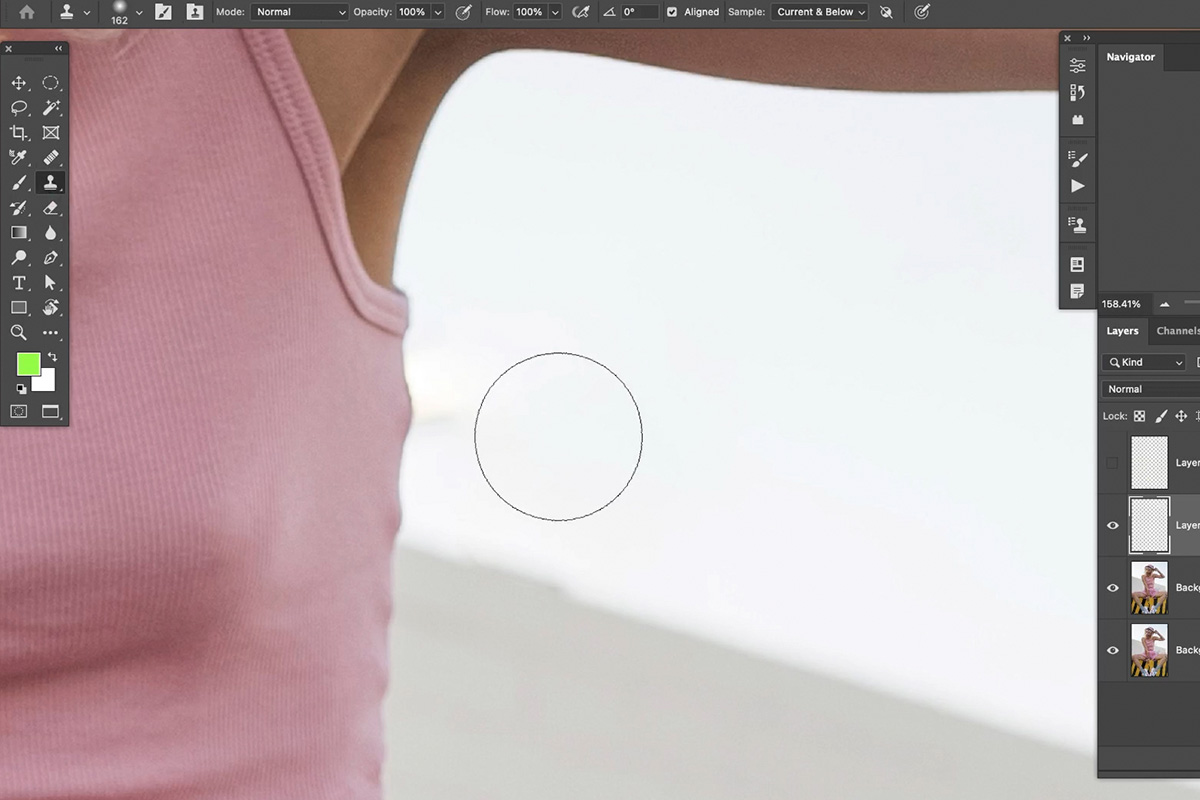
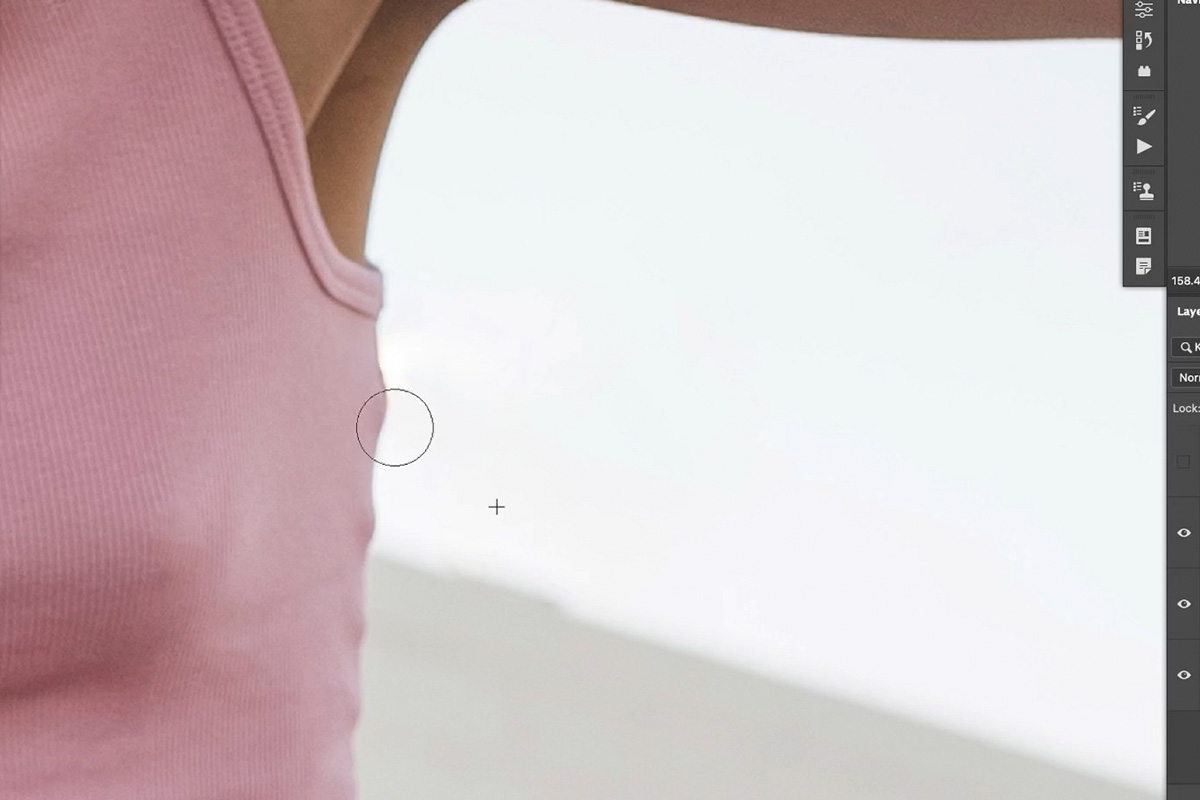
And we can also use to clean up the edges of the subject that overlap distractions we want to remove. If you want to clean and straighten an edge, you can sample another part of the photo where the edge is in tact, and then paint that clean edge over an area where the edge is broken.
The Clone Stamp Tool can also be used for more general clean-up as well. Since it creates an exact copy of color and texture from the sampled area, it makes it easy to cover up elements on surface that has subtle textures and variations.
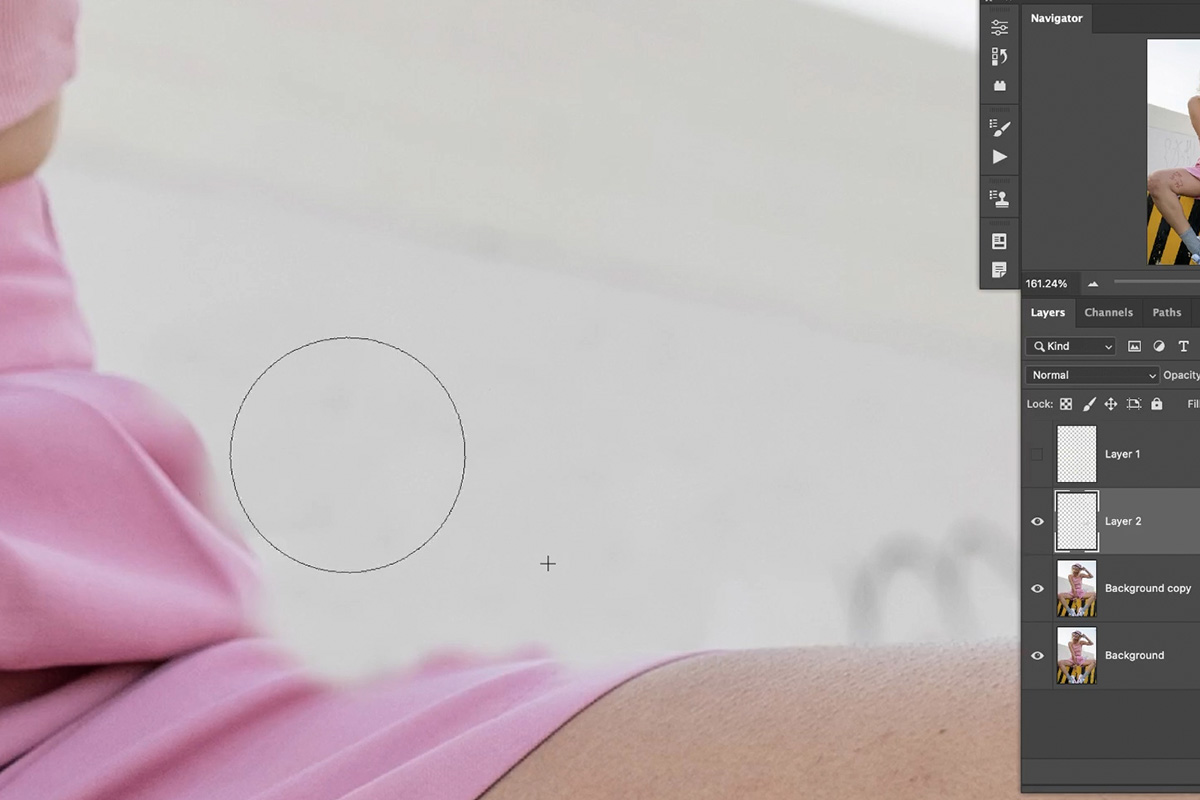
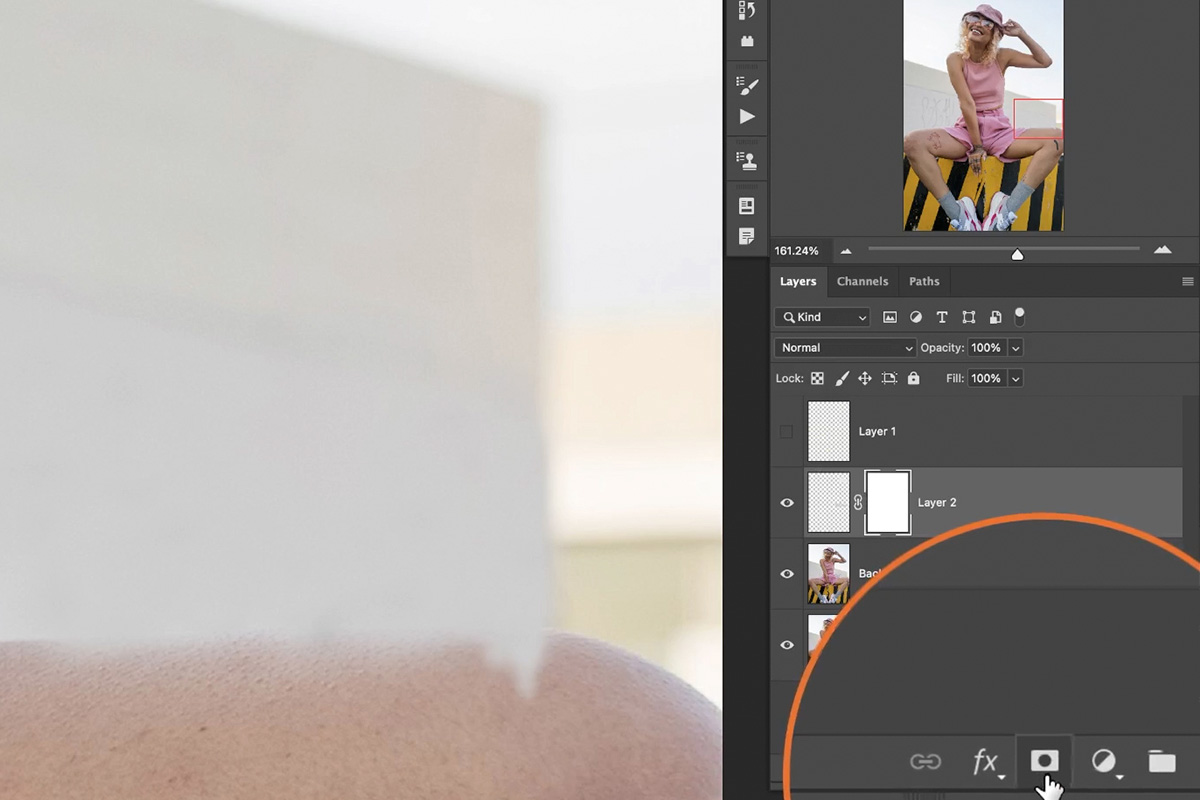
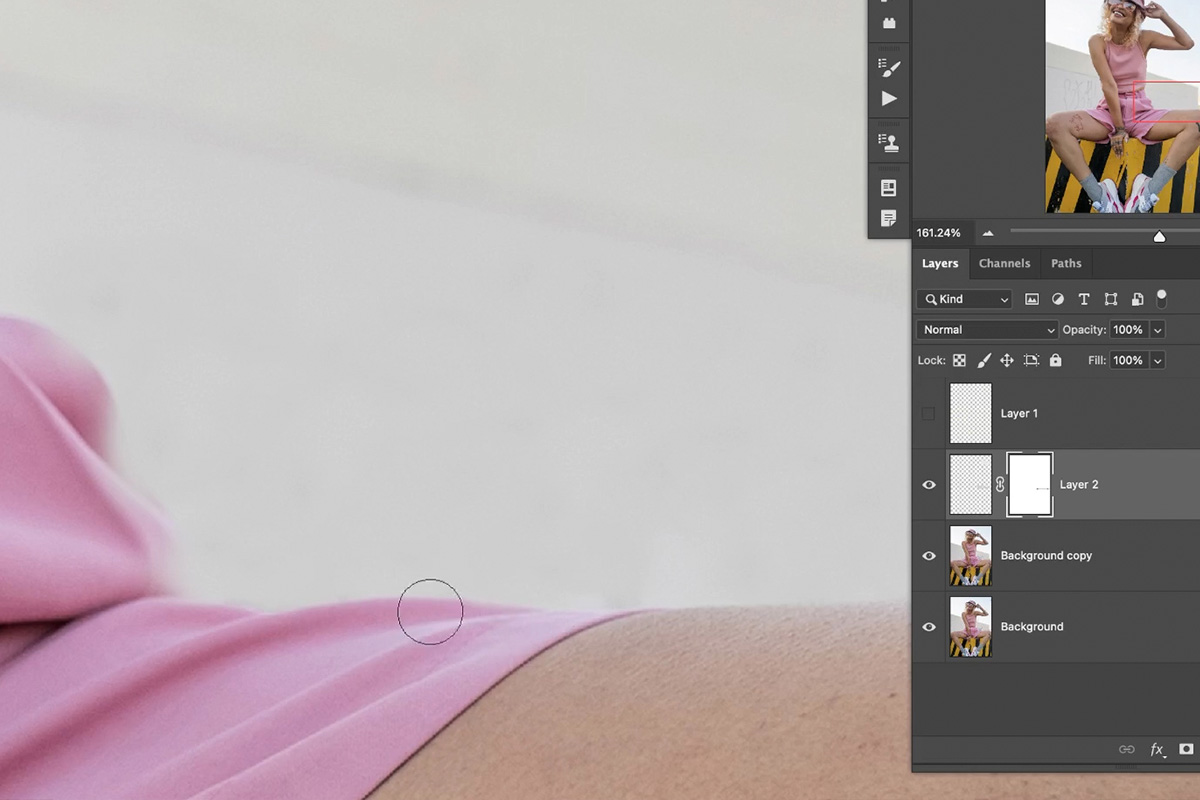
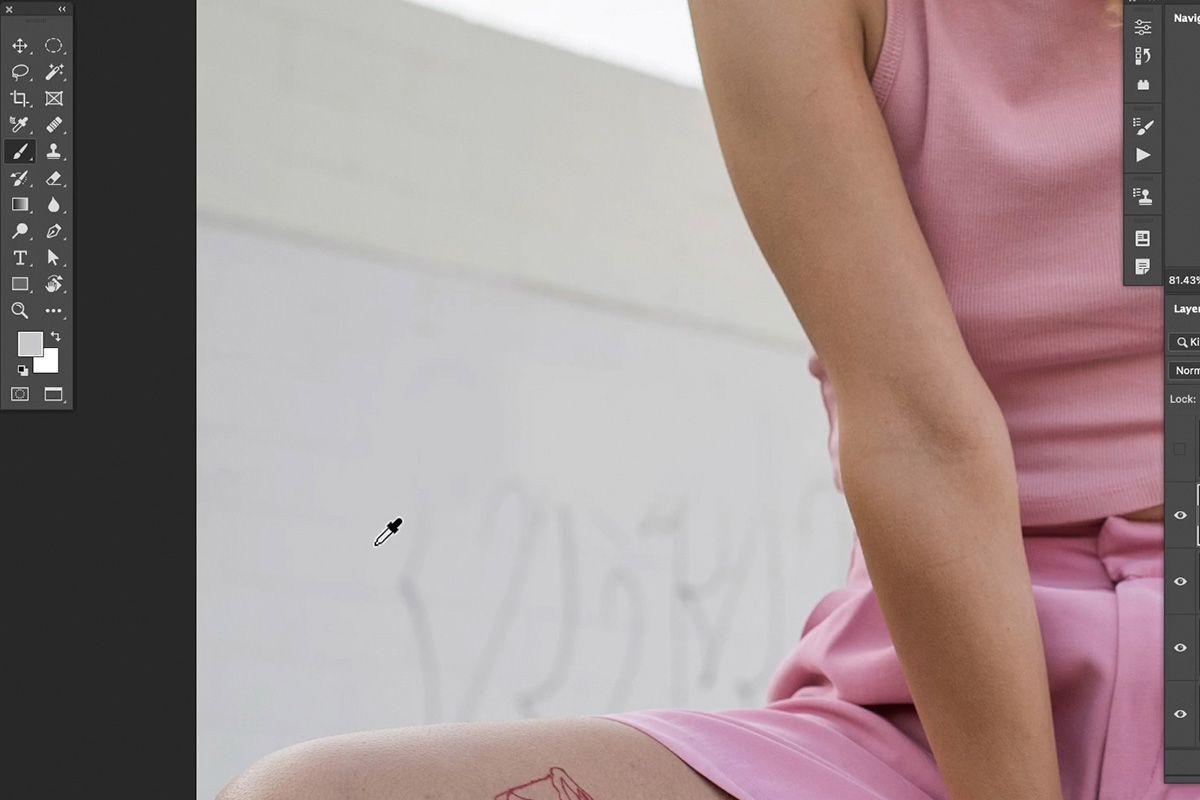
Try using the Clone Stamp Tool to cover up some of the writing on the wall behind the subject. And don’t worry about it being perfect. If you accidentally paint over top of the subject, add a Layer Mask to the Layer where you used the Clone Stamp Tool, and then paint with black using the Brush Tool over any areas you don’t want the sampled textures to appear.
It might take a little time to refine the edges, but once you do, you should have a clean background and clean edge between it and the subject.
The Brush Tool
The Brush Tool is the most versatile tools in Photoshop, and that holds true for object removal techniques as well. Let’s learn how to use it to clean up the other half of the wall behind the subject.
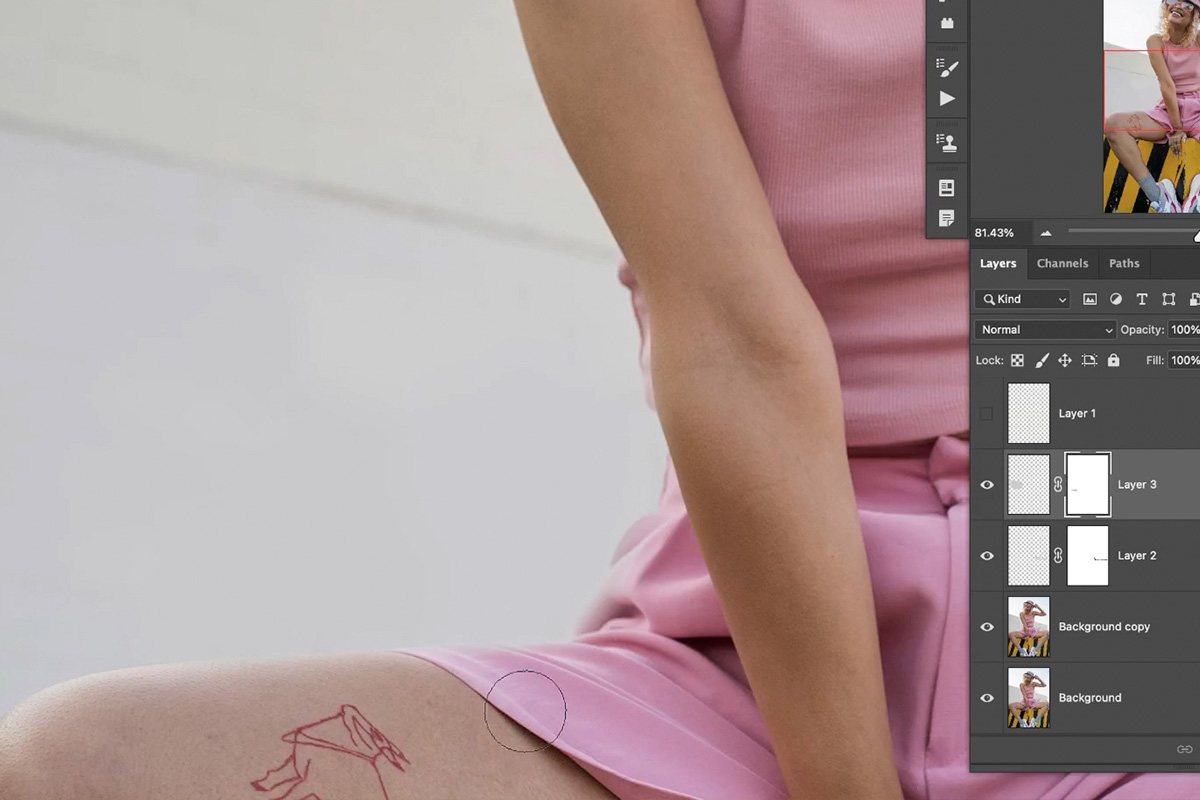
Like the Clone Stamp Tool, hold ALT or OPTN to Sample a color from the wall where there isn’t any writing. Then, on a new Layer, use that color to paint over the writing to cover it up. Make sure to use a soft, round Brush set to a relatively low Flow. You’ll also want to continually Sample new areas to make sure the color, highlights, and shadows all match.
And again, if you accidentally paint over the subject, use a Layer Mask to refine the effect.
The Spot Healing Brush
We haven’t talked about our favorite removal tool yet, the Spot Healing Brush Tool. This tool allows you to simply paint over an object, and Photoshop will do the rest to try and cover it up.
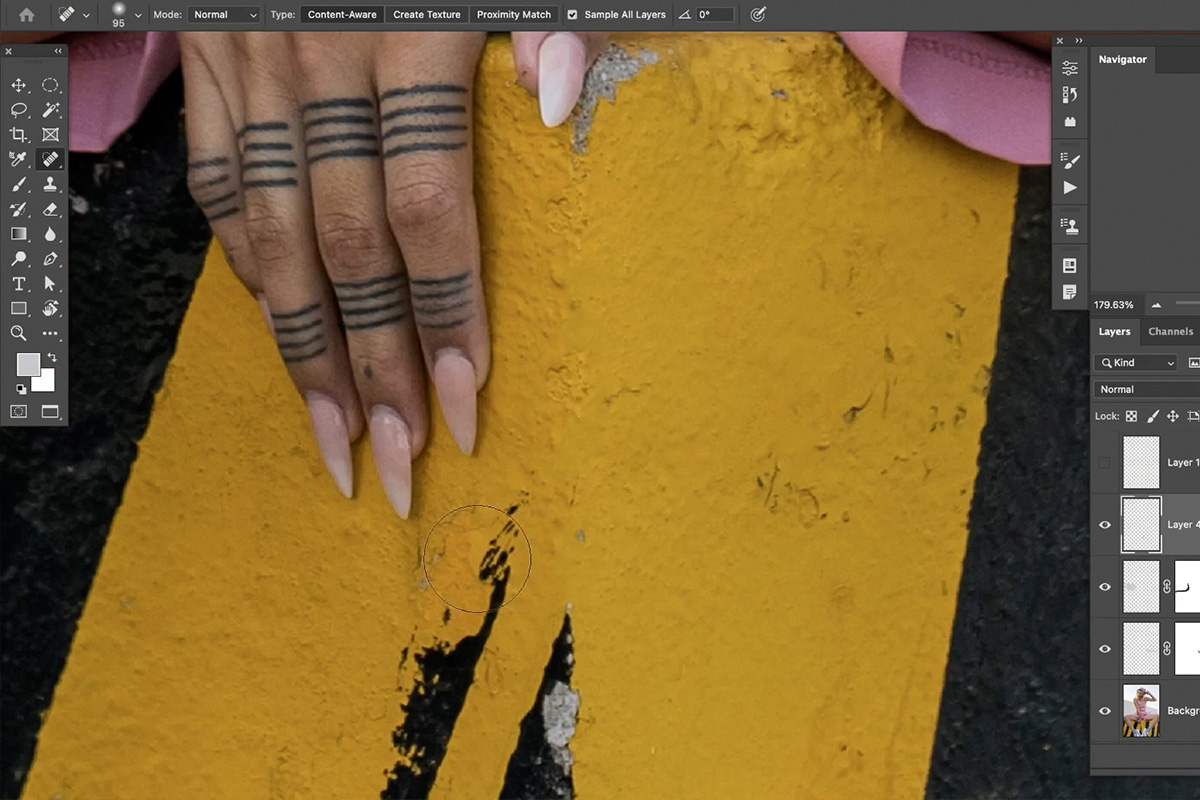
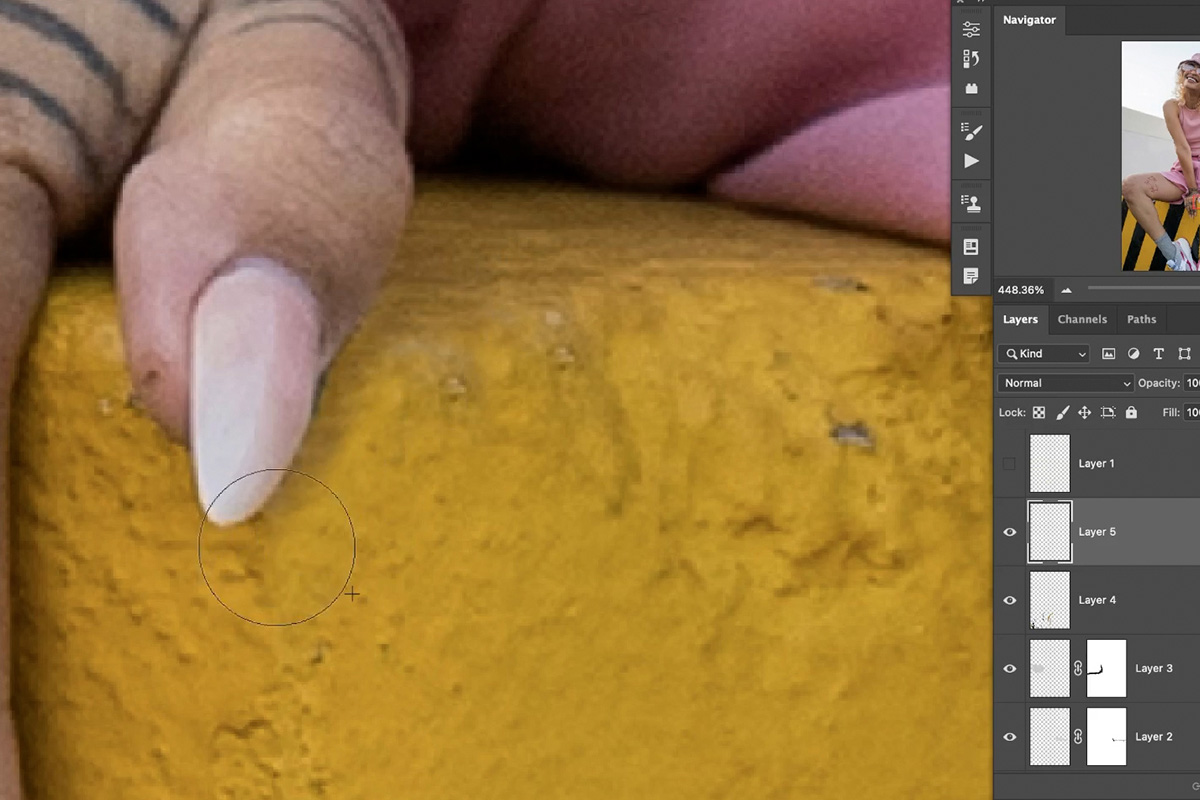
As always, be sure to create a new Layer first, and don’t forget to set the Sample option of the Spot Healing Brush to Current & Below. Then, just start painting over any small spots or distractions that you don’t want to be visible.
Work your way around the painted concrete block that the subject is sitting on. If you run into any areas that are troublesome, like areas along the edge of the subject, just switch over to the Clone Stamp Tool so that you can get the textures and edges just right.
Practice using all of these tools until you’ve cleaned up the background of the image. Now that you’ve mastered the basics, in the next episode we’ll tackle an example that includes more complex details in the background like patterns, lines, and edges.

