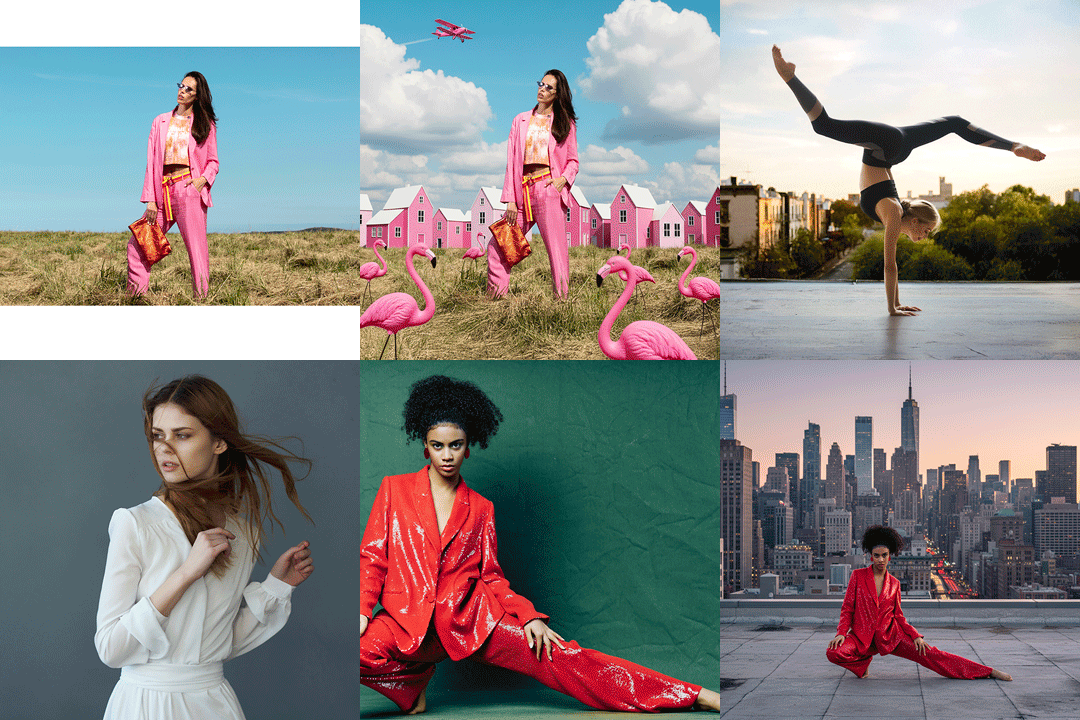

Download Assets
Sample assets are included with this tutorial. Downloads are free with a PHLEARN account.
- Download the sample images and PSDs from every free tutorial on PHLEARN
- New free tutorials published every week
- One free account — sign up once, then download anything
description
Color toning needs no specialized plugin and no complicated multi-layer stack. A single Levels adjustment layer, worked one color channel at a time, gives non-destructive control over exactly which colors appear in the shadows, midtones, and highlights. This tutorial explains what Input Levels and Output Levels each do, how combining them widens your control, and how the red, green, and blue channels push an image toward one color or its opposite.
Enjoying This Free Tutorial?
We publish a new free tutorial every week, each one with sample images and PSDs you can download and follow along with. Sign up and they land straight in your inbox, along with early word on sales, events and subscriber-only offers.


How to Color Tone in Photoshop in Under 5 Minutes
Color toning an image doesn’t require a specialized plugin or a complicated multi-layer setup. A single Levels adjustment layer, applied one color channel at a time, gives full, non-destructive control over exactly which colors show up in the shadows, midtones, and highlights of a photo, and the whole technique takes just a few minutes to apply once the underlying logic clicks.
Why Use a Levels Adjustment Layer for Color Toning
Levels adjustment layers are most commonly used to control brightness and contrast, but the exact same sliders work just as well for color, since Photoshop’s RGB channels can each be adjusted independently through the same Input and Output controls. Layer > New Adjustment Layer > Levels adds one to the image, ready to work with either the combined RGB channel or any individual color channel.
Understand Input Levels: Black Point, White Point and Midtones
The top scale in the Levels dialog controls Input Levels. Dragging the black point slider to the right pushes everything on the darker side of the histogram down to pure black, effectively making more of the image dark; dragging the white point slider to the left does the same thing in reverse, pushing more of the image up to pure white. The middle slider shifts the midtones brighter or darker without touching either the true black or true white point.
Understand Output Levels: Compressing the Tonal Range
The bottom scale controls Output Levels, and it works in the opposite direction from Input Levels: dragging its left slider from left to right lightens the darkest parts of the image instead of darkening them further, while dragging its right slider from right to left darkens the lightest parts of the image instead of brightening them. Rather than pushing pixels toward pure black or white, Output Levels compresses the overall tonal range inward from both ends.
Combine Input and Output Levels for More Control
Input and Output Levels aren’t limited to being used one at a time; combining both gives finer control over the final result, for instance darkening more of the image with the Input black point while also using the Output shadow slider to keep those darkened shadows from crushing all the way down to pure black. This same combined-control approach carries directly over into color toning once individual channels come into play.
Switch to an Individual Color Channel
Clicking the channel dropdown, which defaults to RGB, and choosing Red, Green, or Blue instead applies every one of the same Input and Output level controls to just that single color channel rather than overall brightness.
How the Red Channel Affects Reds and Cyans
On the Red channel, dragging the Input slider from left to right removes red from the darker parts of the image, shifting those shadows toward cyan instead, while dragging from right to left adds red into the lighter parts of the image.
Input vs Output on the Red Channel
The Output slider on the Red channel works in the opposite pattern from Input: dragging left to right adds red specifically into the shadows, and dragging right to left reduces red, and therefore increases cyan, specifically in the highlights. Understanding this Input-versus-Output relationship on one channel makes every other channel immediately predictable.
How the Green and Blue Channels Work the Same Way
The Green channel behaves identically to the Red channel, just with green and magenta as its opposite pair instead of red and cyan: pushing toward one end of the slider adds green, pushing toward the other adds magenta. The Blue channel follows the same pattern with blue and yellow as its opposite pair, so pushing one direction adds blue and pushing the other adds yellow, in either the shadows or the highlights depending on whether the Input or Output slider is being used.
Color Tone an Image: Warm Shadows, Cool Highlights
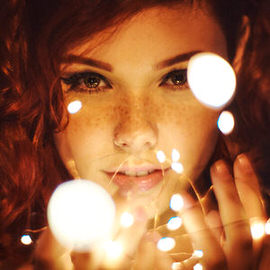
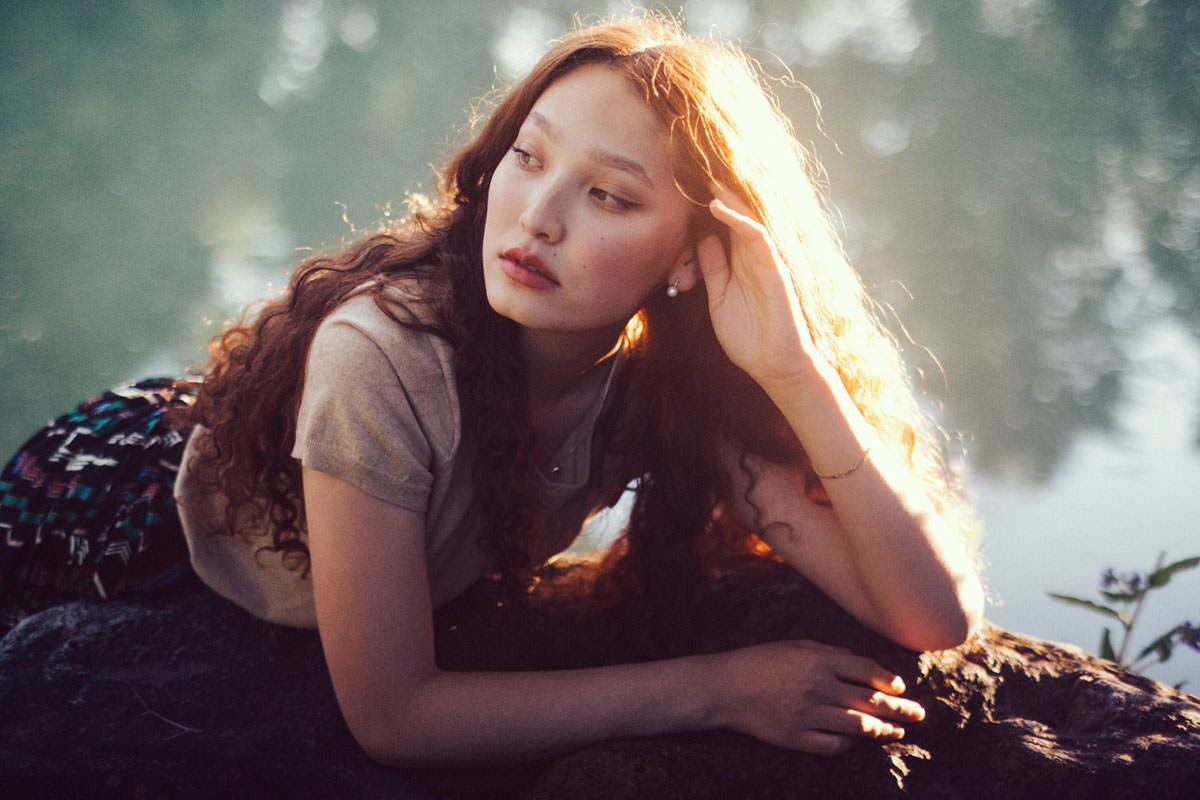
Starting on the Red channel, raising the Output slider slightly introduces a bit of red into the image’s shadows, a nice way to bring out warm tones already present in a subject’s hair or lips.
Balancing Warm and Cool Across All Three Channels
To keep that red shadow tone from making the whole image feel unbalanced, a small amount of green gets added into the highlights to counterbalance it. Moving to the Green channel’s midtone slider, pushing it one direction shifts the midtones toward green, and the other direction shifts them toward magenta, whichever suits the image better. Finally, on the Blue channel, adding yellow into the highlights warms the image up overall, while adding a touch of blue into the shadows introduces a cooler, moodier tone right where the darkest parts of the image sit, creating a classic warm-highlight, cool-shadow color grade using nothing but the three channels of one Levels layer.
Lowering Opacity for a Subtler Effect
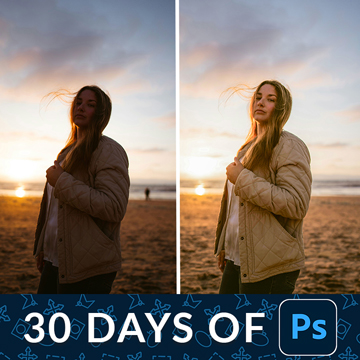
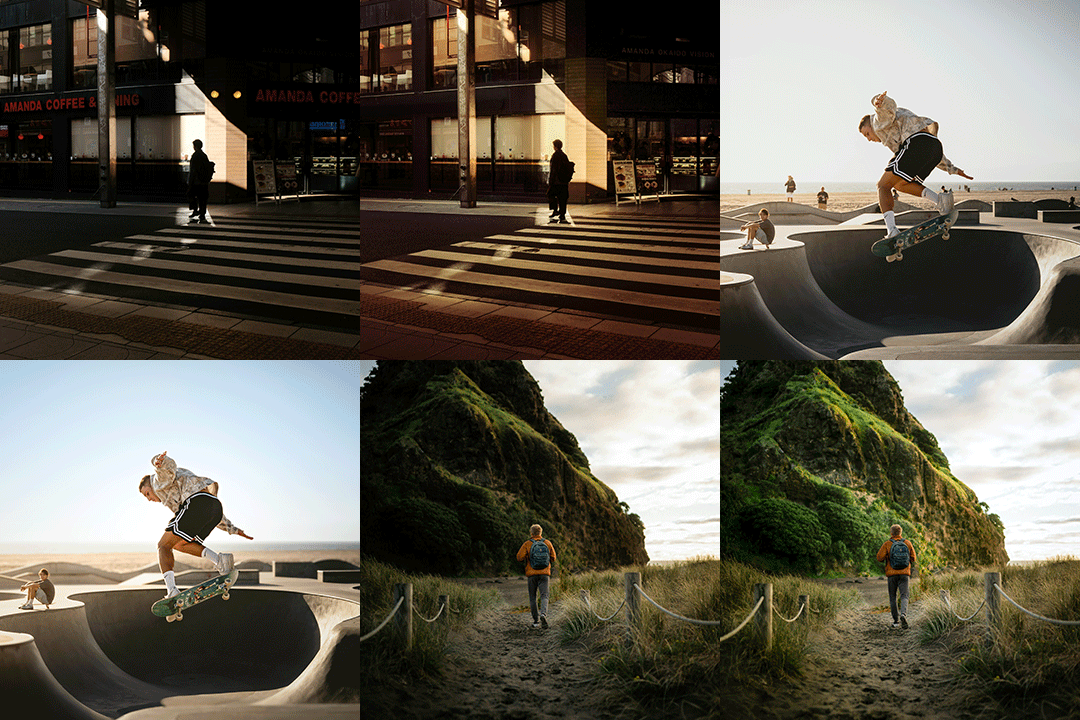
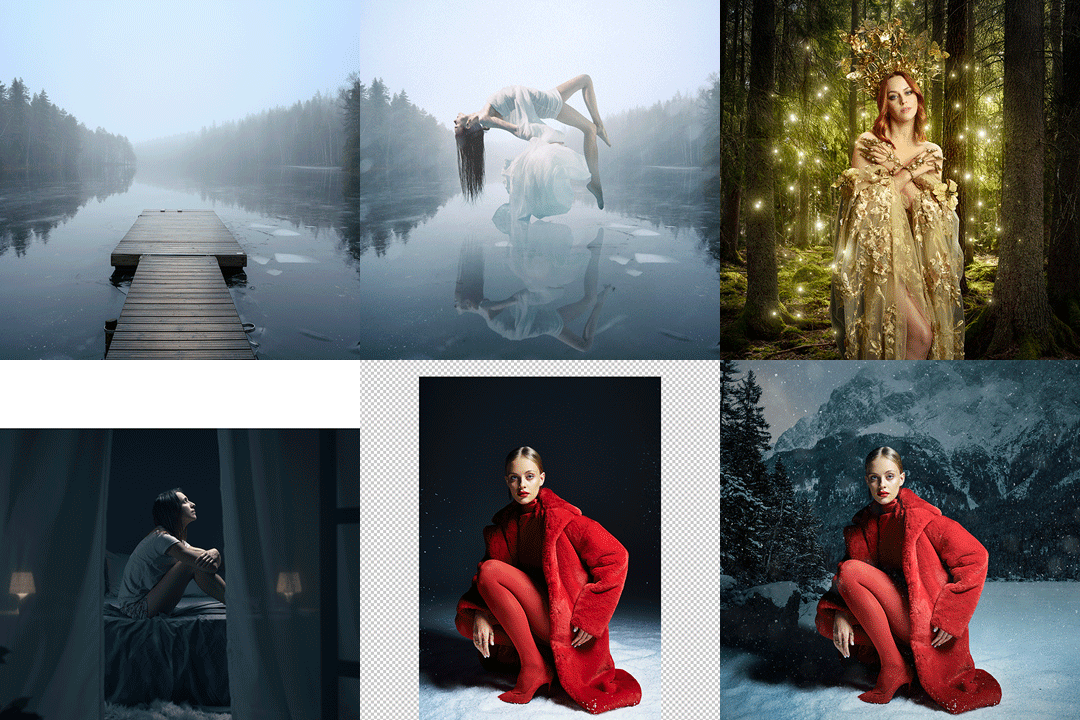
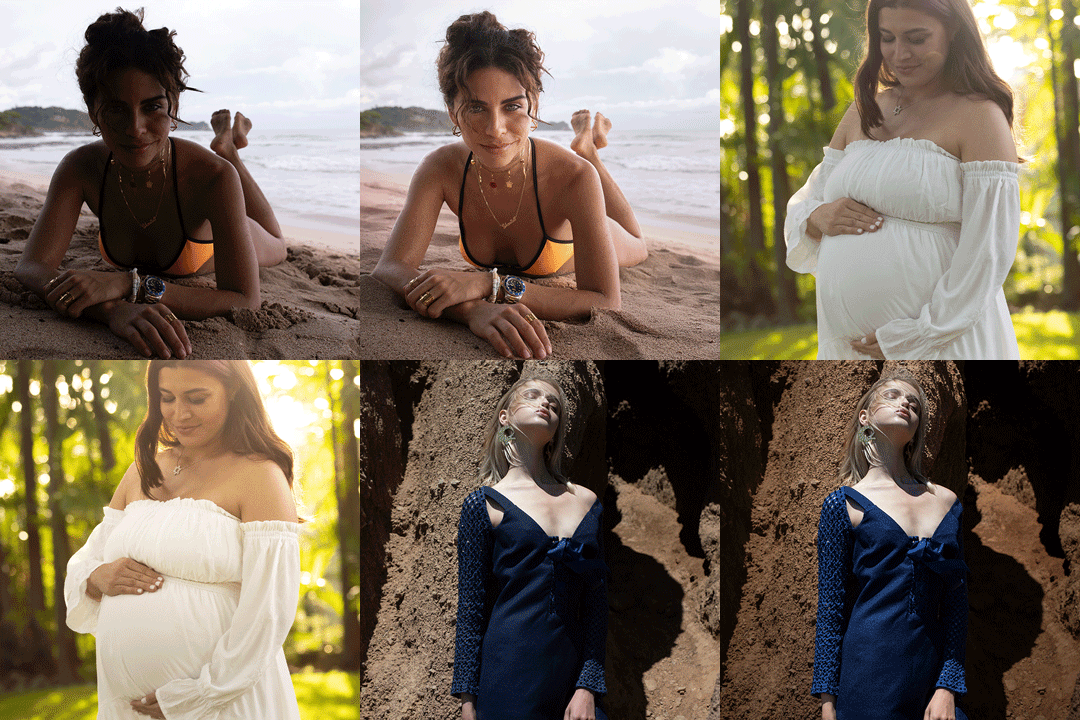
Toggling the finished Levels layer off and on shows the full before-and-after difference the whole technique makes, and because it’s a normal adjustment layer, simply lowering its opacity afterward dials the entire color-toning effect back to something more subtle whenever the full-strength version feels like too much.
More Free Photoshop Tutorials
- Select Subject and Refine Edges in Photoshop
- Three Ways to Use Blend If
- Curves vs Levels: Learn the Difference
Why Channel-Based Toning Beats a Single Color Overlay
Working through Red, Green, and Blue individually, rather than just laying a single tint color over the whole image, gives independent control over shadows, midtones, and highlights within each of those three channels separately. That’s what makes a genuinely two-toned look, warm highlights paired with cool shadows, or the reverse, achievable with one adjustment layer, since each channel’s Input and Output sliders can push in a completely different direction from the others at the same time.
Final Thoughts
A single Levels adjustment layer, worked through its Red, Green, and Blue channels one at a time with both Input and Output sliders in play, is genuinely enough to color tone an entire photo in just a few minutes, entirely non-destructively and fully adjustable afterward through opacity. Once the Input-versus-Output and channel-versus-opposite-color relationships click, applying a custom color grade to any image becomes second nature.
Enjoying This Free Tutorial? Go Further with PRO.
Unlock Full Sample Files, PSDs, and Hundreds of Masterclasses!
Download full project assets, original PSDs, and RAW images for every lesson
Unlimited access to our complete library of PRO Photoshop & Lightroom courses
Instant 4K Ultra HD streaming on all devices, anytime, anywhere
Full access to our entire library of Photoshop Actions, Presets, and LUTs
Flexible monthly and annual membership plans
Cancel anytime with zero hassle or commitments